
At last, after all kinds of admin/techy-type issues, I’m finally in a position to start posting to my new-fangled WordPress blog. I’ve been intending to do this for some years now. But somehow I either never got around to it, or I tried, but found it too time consuming to make it work.
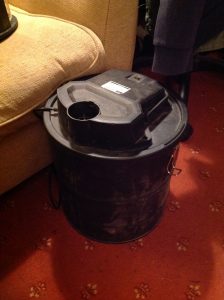
My first post, rather dully, is about one of the many ‘workshop’ projects I usually have on the go these days. This one is one that’s been simmering on the back-burner for ages, a Cyclone Dust Vac, to help with the very real problem of dust and wood chips, etc, in the ‘workshop’.
I got the idea from Marius Hornberger, who got it from Cosmas Bauer. My build has been agonisingly slow, and plagued by difficulties, such as my 2mm polycarbonate not behaving like Marius’. Where his flexed nicely, mine was far more stubborn, and continually split or shattered. In the end I spent way too much on several sheets of plastic. But I was determined I would succeed, eventually.
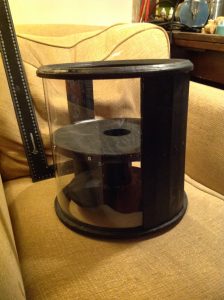
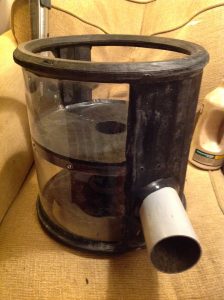
In the end the solution I arrived at was a combination of two slotted wooden panel, one quite small, the other somewhat larger, and thinner polycarbonate ‘plexiglass’. I quite liked how I constructed the curved panels, from several staves. And they also had the benefit of giving me somewhere, the larger of the two panels, easier to mount the air outlet tube.
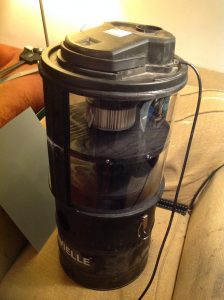
Any-the-hoo… here are a bunch of pics of the beastie. I haven’t bothered with pegs on the middle cyclone part, as yet, to help secure the clips on the bottom bucket part. I may do at some stage. The friction fit is sufficiently tight for the time being.
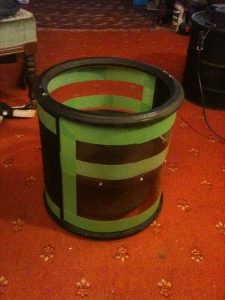
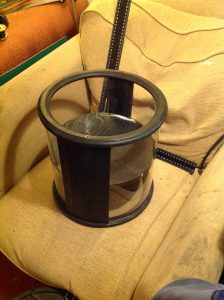
I tried using Frog tape to help tidy the application of the glue/sealant, mastic, or whatever it is. I bought some black stuff, as the white stuff I’d used previously obviously clashed. Very messy stuff. At least when I use it.
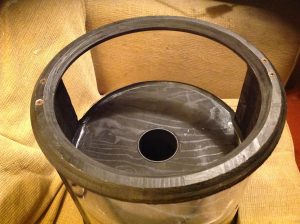
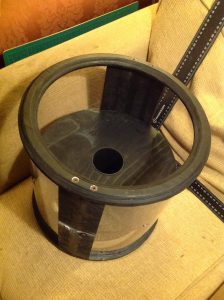
Then it was time to drill the hole for the suction port. This was quite tricky. Probably should’ve done this before assembling the middle-section. Had to buy a rasp and work on the circle-cutter hole I drilled out. Then wood glue and mastic were applied.
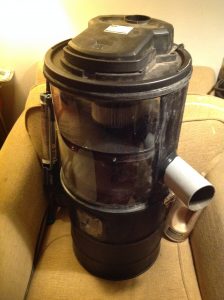
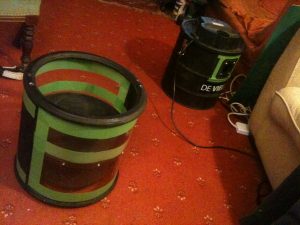
I tested it out as shown, by switching it on and covering the hole at the end of the grey tubing. It certainly works! Alas, the 1mm polycarbonate I wound up using visibly flexes when I do this, unlike the 2mm stuff Marius used. But my 2mm plastic kept fracturing, and was impossible to flex enough to put in place.
Next I need to make an adaptor for connecting the hose, and then I can start using it it…