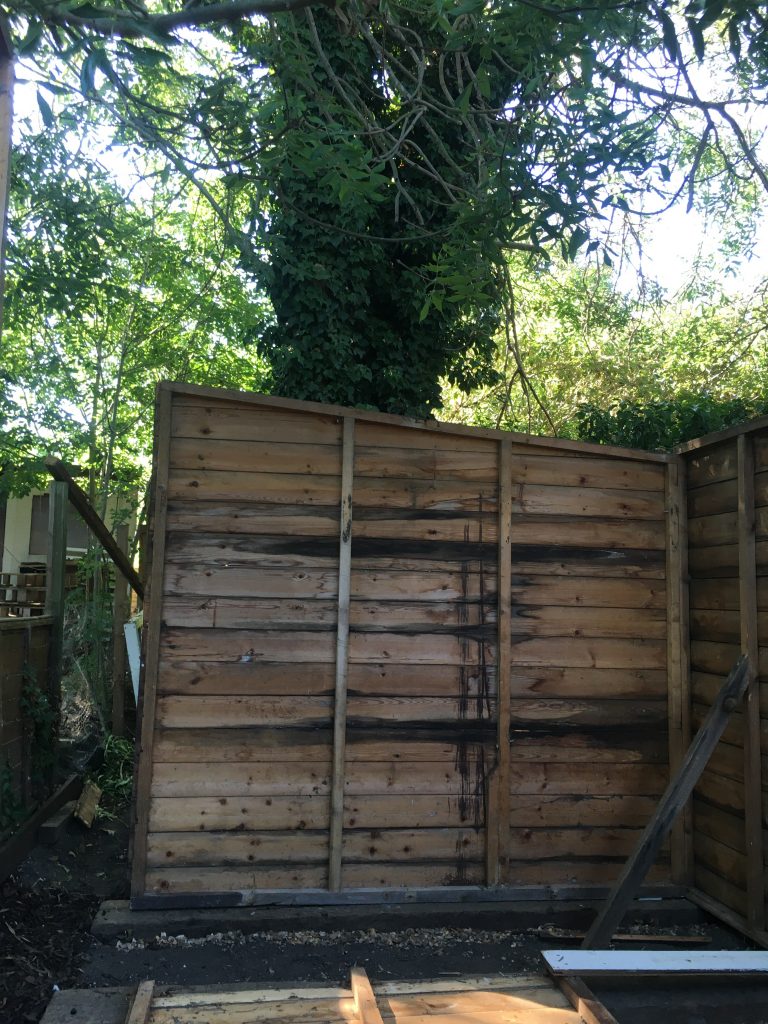
Yesterday I got the two back panels of the shed roughly in situ’. I kind of wanted to go further. But I didn’t have the right fixtures (coach-bolts!). So I ordered some from Screwfix.
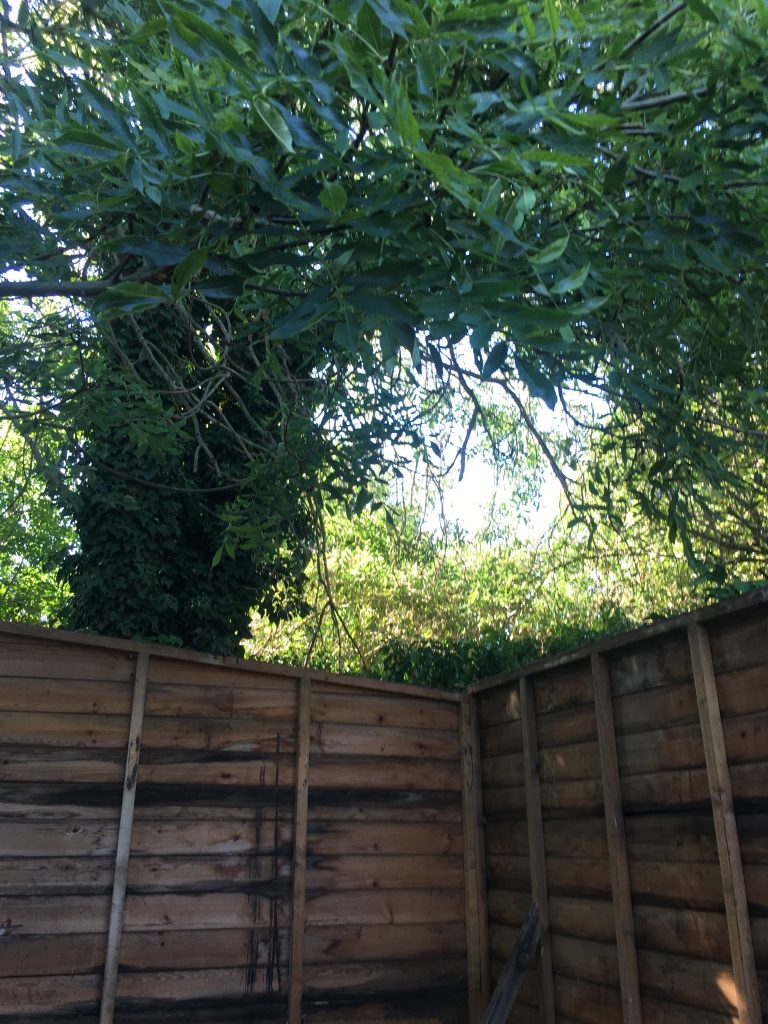
They arrived today. So it was on with the show… This shot shows how the tree at the back of the Arden overhangs this newest shed.
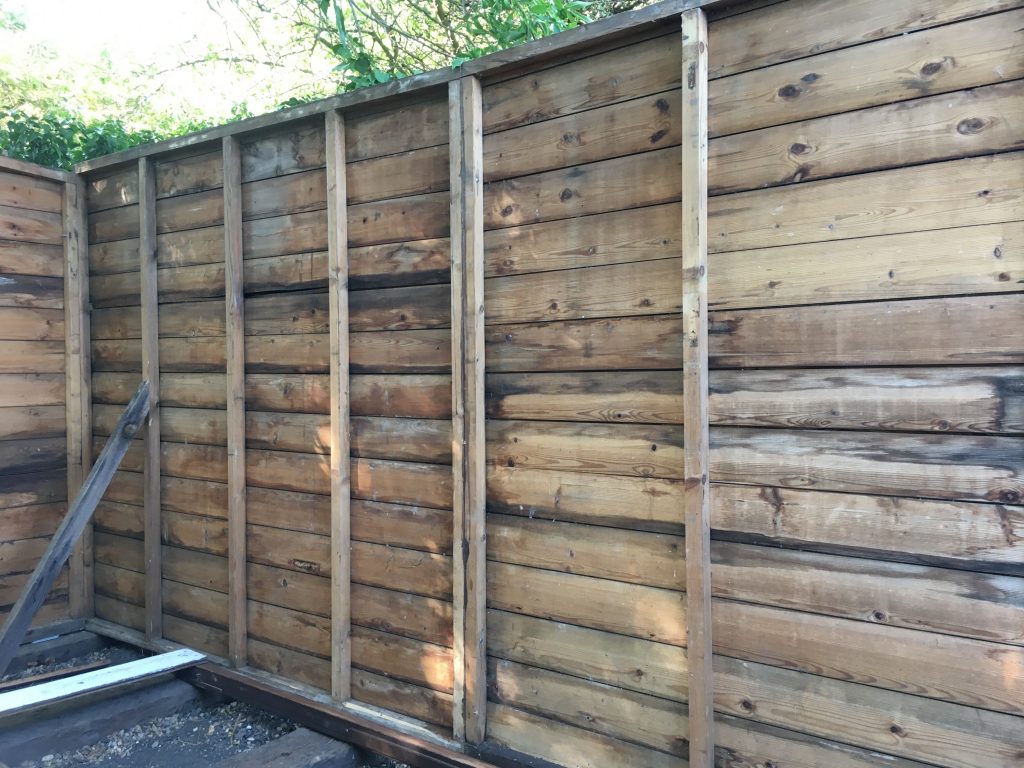
Note the little brace, on the left panel. I had a few others in different places, just holding stuff roughly in plane. I did all this assembly on my own. It was quite tricky!
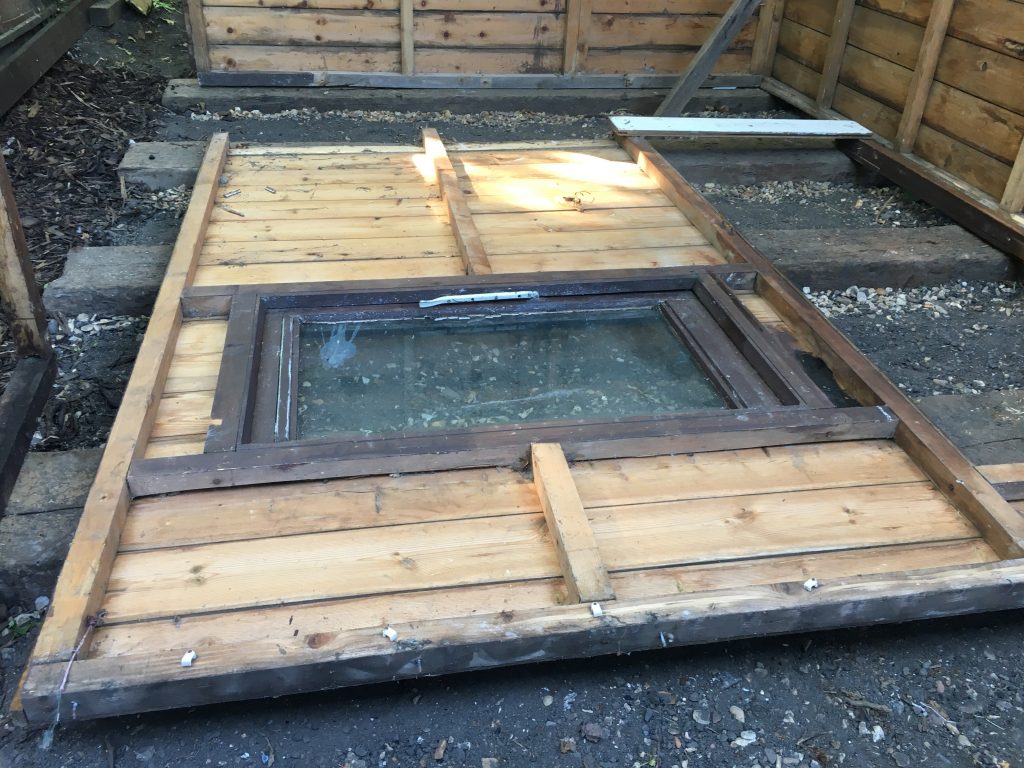
All the panels needed the bottom framing element – at the furthest end, above – replacing, as the shed was pretty old, and the bottom was a bit rotten in places (very rotten in some!). I did all that before assembly, except for this final panel.
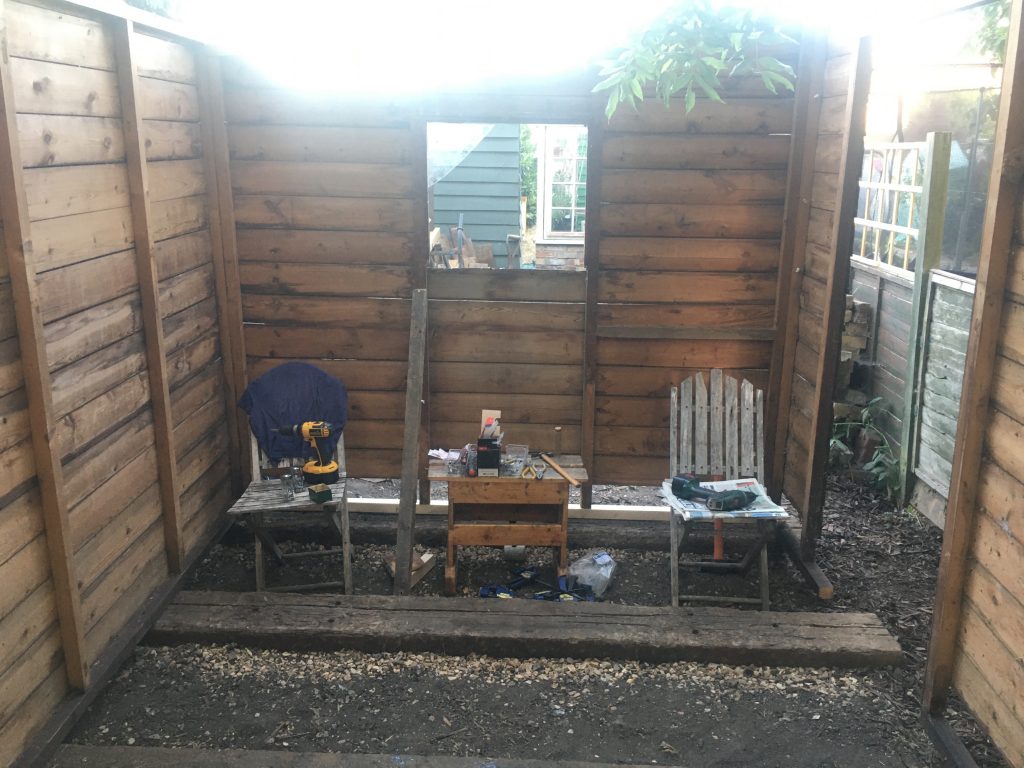
I moved a few bits inside the shed, so I could work on it internally.
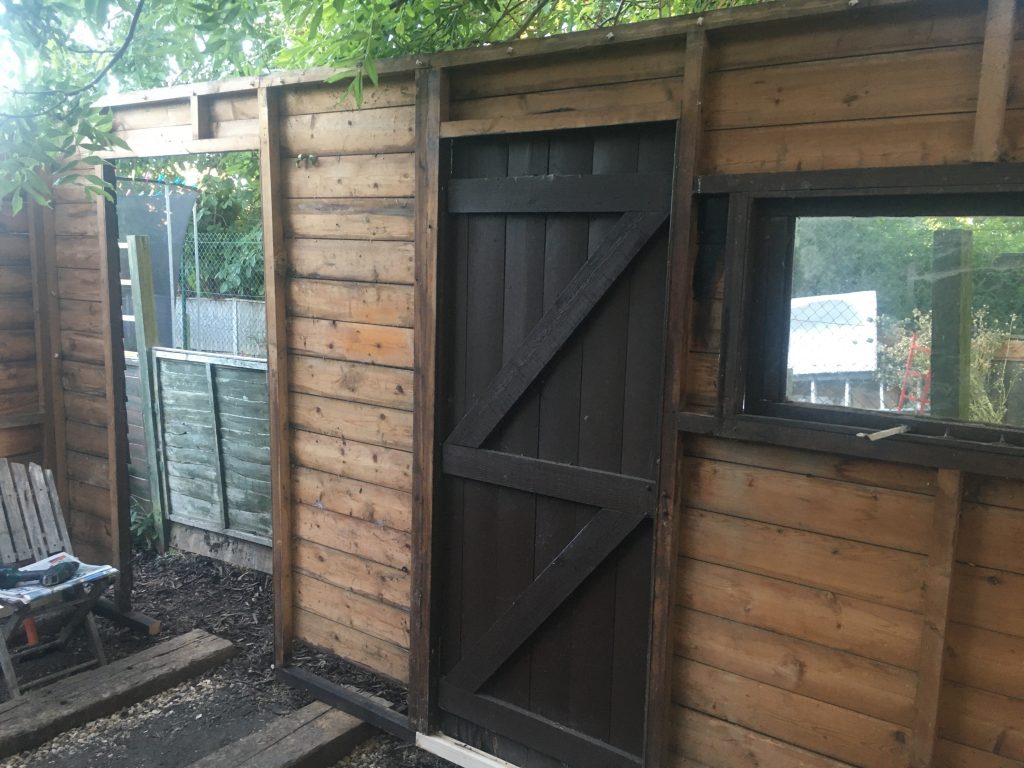
Got the larger of the two side doors in place. I’m not sure about retaining the doors in the long side, as that doesn’t suit our long narrow garden too well. I’ll come back to this later!
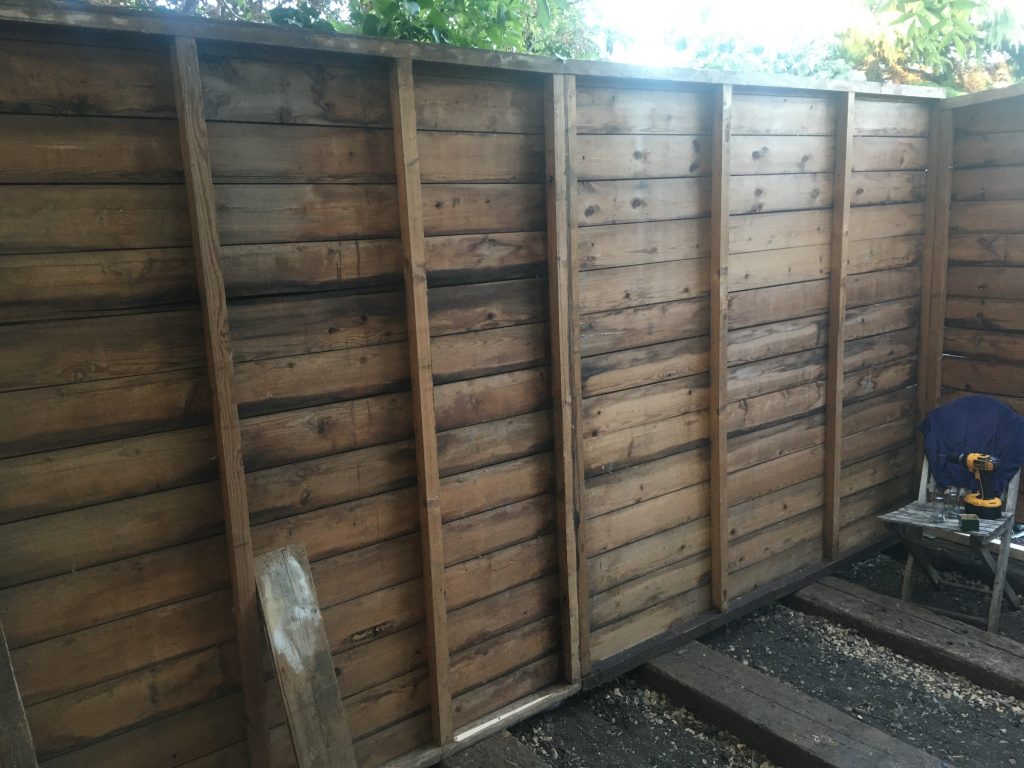
The longer and lower side of the shed, running along Sean’s – our northern neighbour’s – fence.
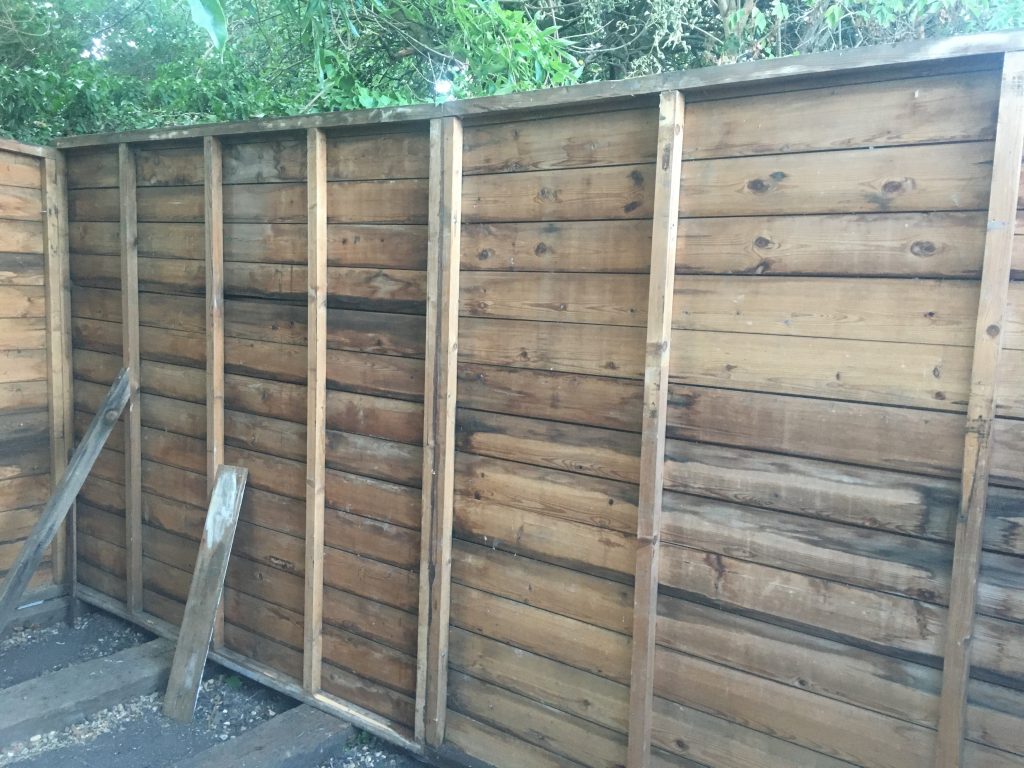
Note how the panel on the left has five verticals, whilst the one on the right had just four. Evidence of this being a self-build project, perhaps, by whoever made this shed originally?
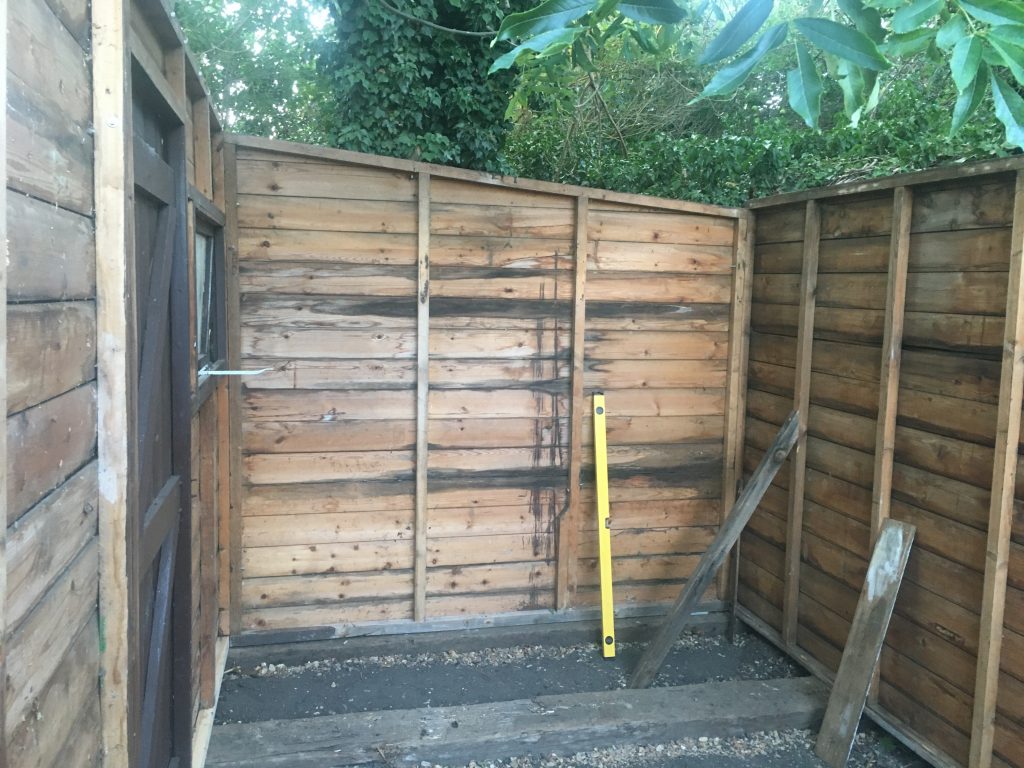
This panel, originally the left of the shed, is what’s now the back, facing the far end of our long garden. I’m thinking about putting a pretty large window in. So we can see to the back of the garden, enjoy evening sunlight, and see the big old tree that’s only feet away.
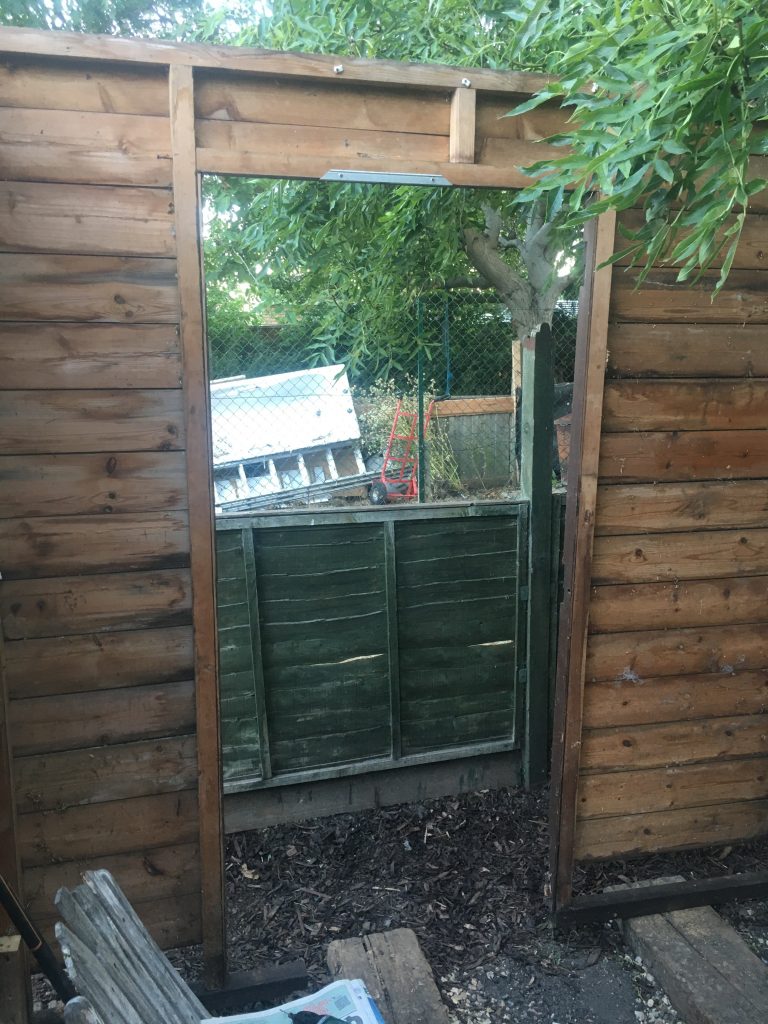
This larger opening has two smaller doors that go in it. Again, I’m thinking I might change the layout a bit, in the fullness of time. These two doors are the last major components of the shed walking ‘as is’ that remain to do. Then there’s the roof and floor!
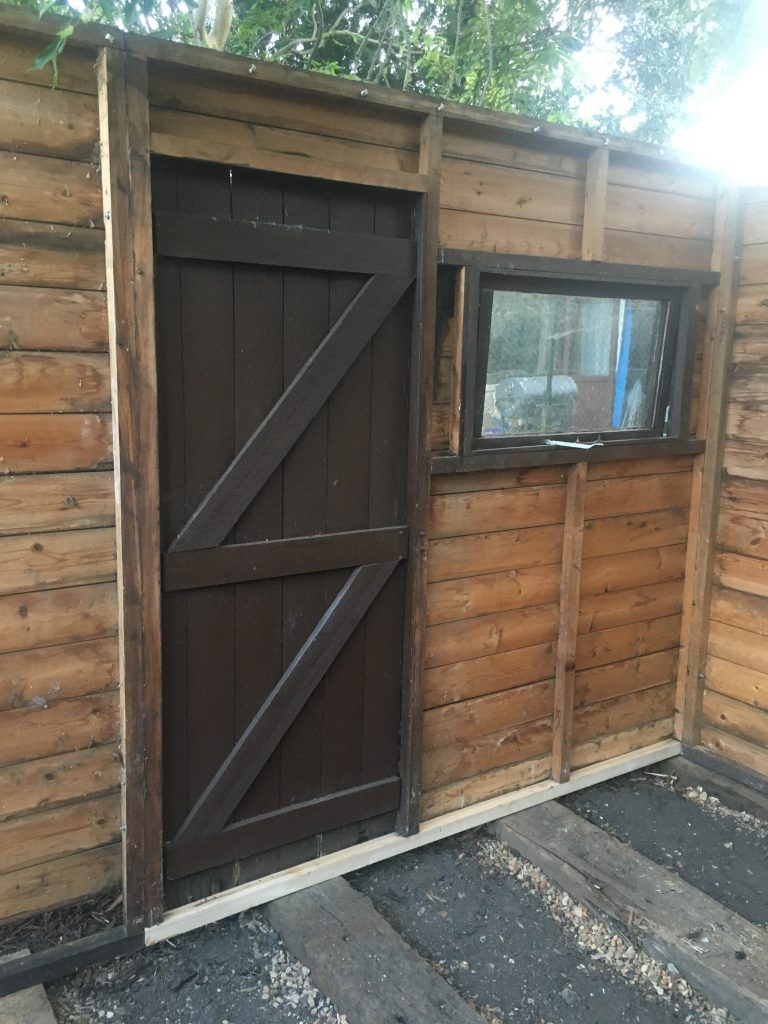
One of the new timbers is very obvious in the above image. Also worthy of note is that the window in this photo survived transit and re-assembly unbroken. Whereas the other window – below – didn’t!
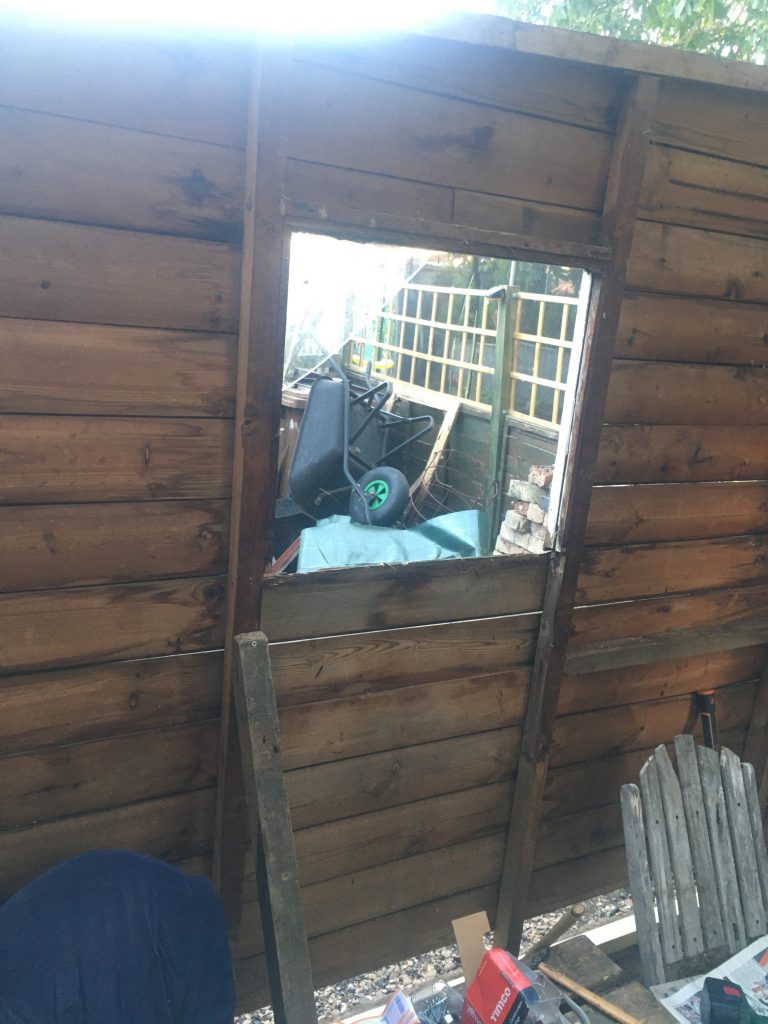
Note another supporting brace, in the above picture. This was the right end, but is now the front facing aspect of the shed, that you see as you come down the garden. As can be seen in the next pic’, below.
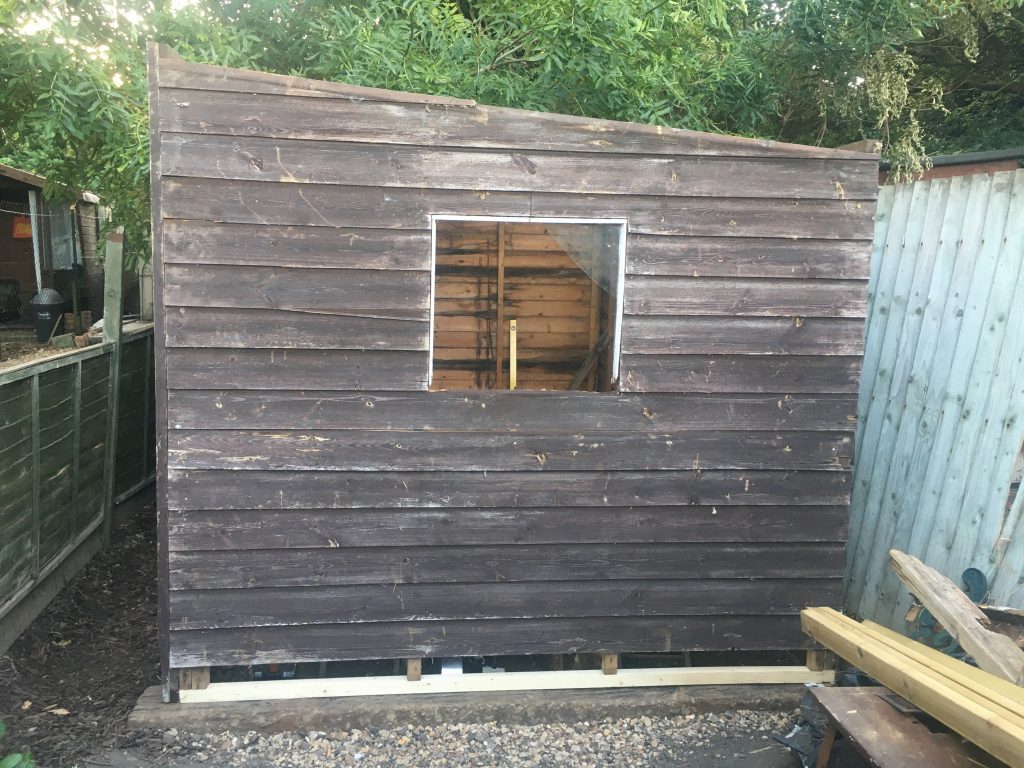
There’s another highly visible new bit of timber along the bottom of the above panel. Plus the lowest piece of timber cladding on this face was rotten, and fell off/to bits! That’ll need replacing.
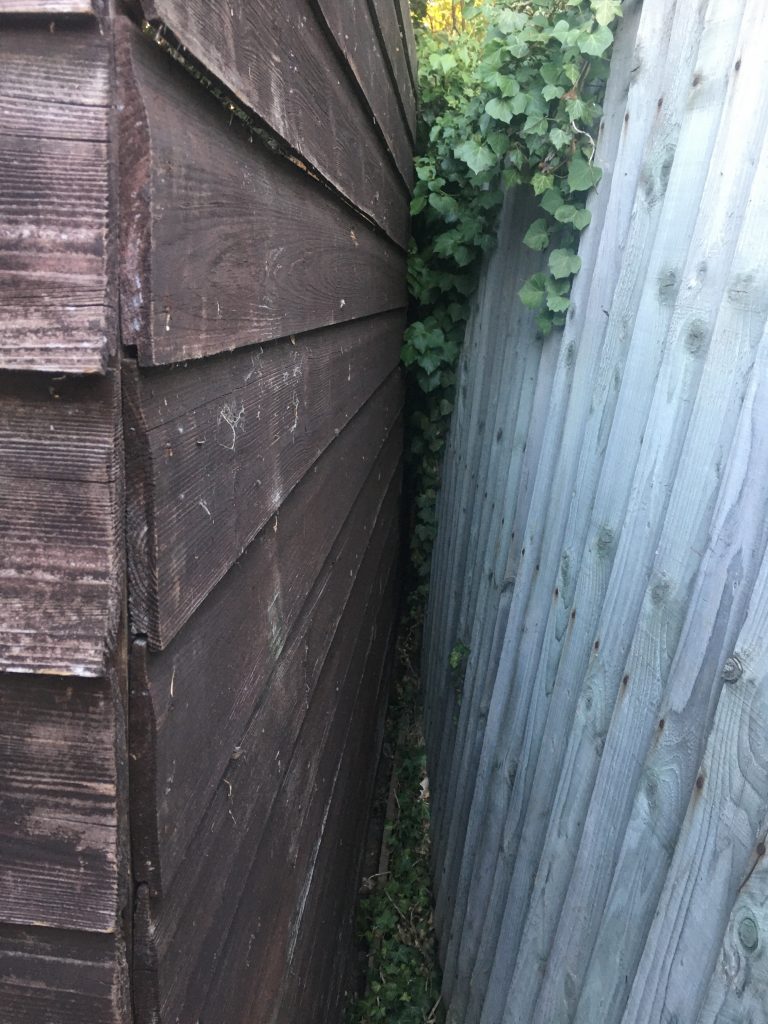
The whole shed might want shifting, about three or four inches towards the fence. I’ll defola need help doing that! But in the meantime, there’s a bit of a gap here.
The neighbours fence is falling down in places along this part. Is there sufficient gap, I wonder, to allow for minor repairs and weatherproofing painting/treatment?
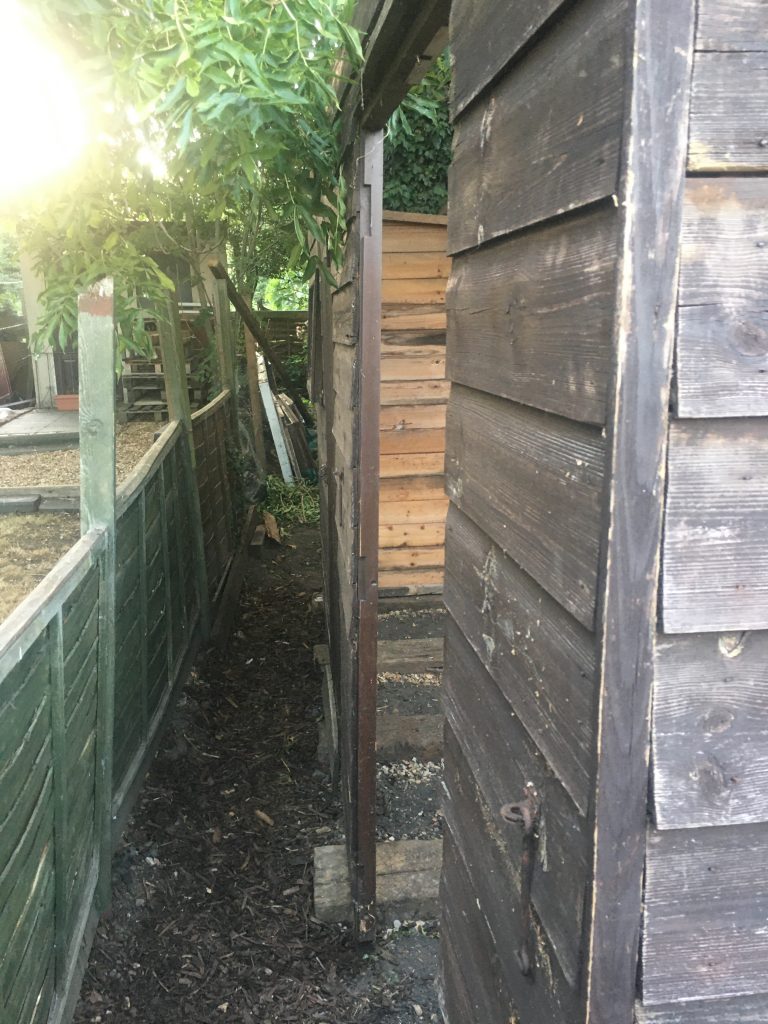
The strip of garden south of the shed, ‘twixt the shed and Ruben and Anne’s garden is pretty narrow! If I can shift the whole shed towards Sean’s, we’ll gain a bit more space here. Albeit only three or four inches!
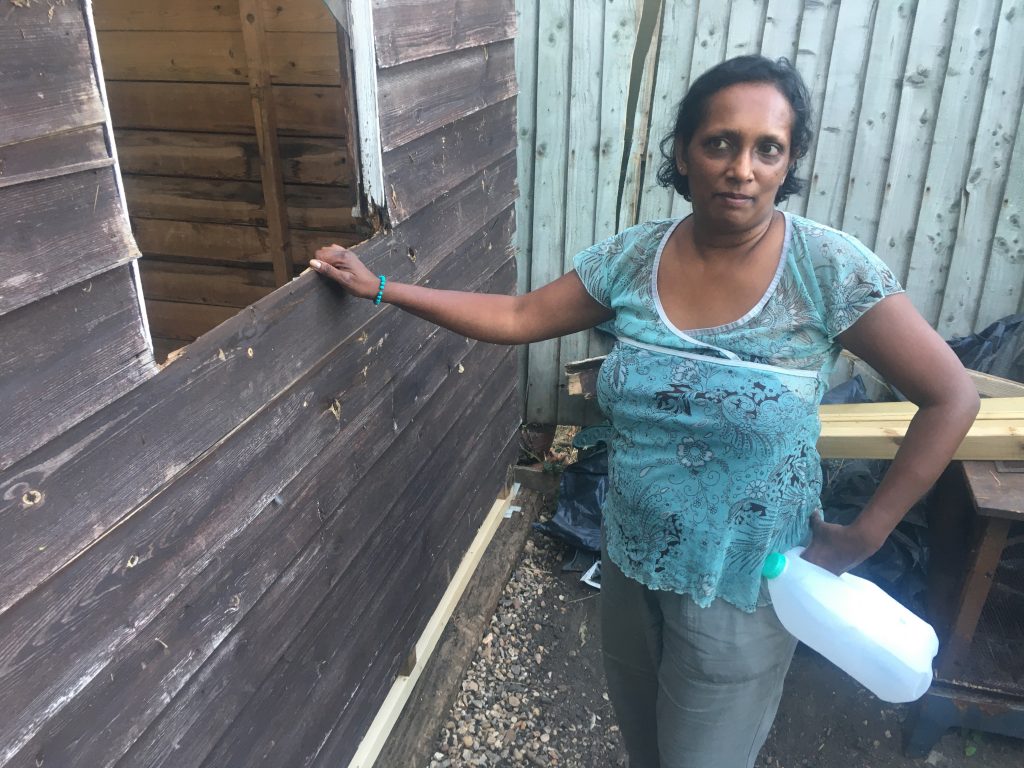
Teresa arrived home whilst I was chatting to Chris and his partner, our relatively new neighbours, at no. 66. She was really impressed that I’d ‘got it up’ all by my own! Not that you can tell that from this pic’.
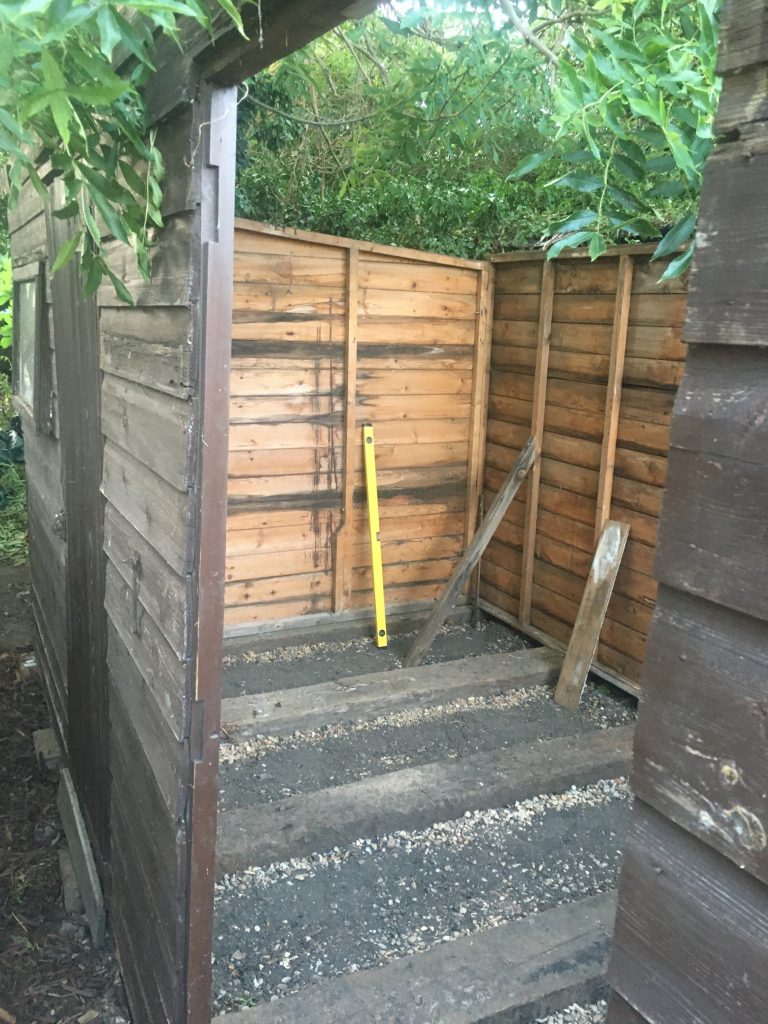
Looking into the shed interior as we go down to the rear/far end of the garden.
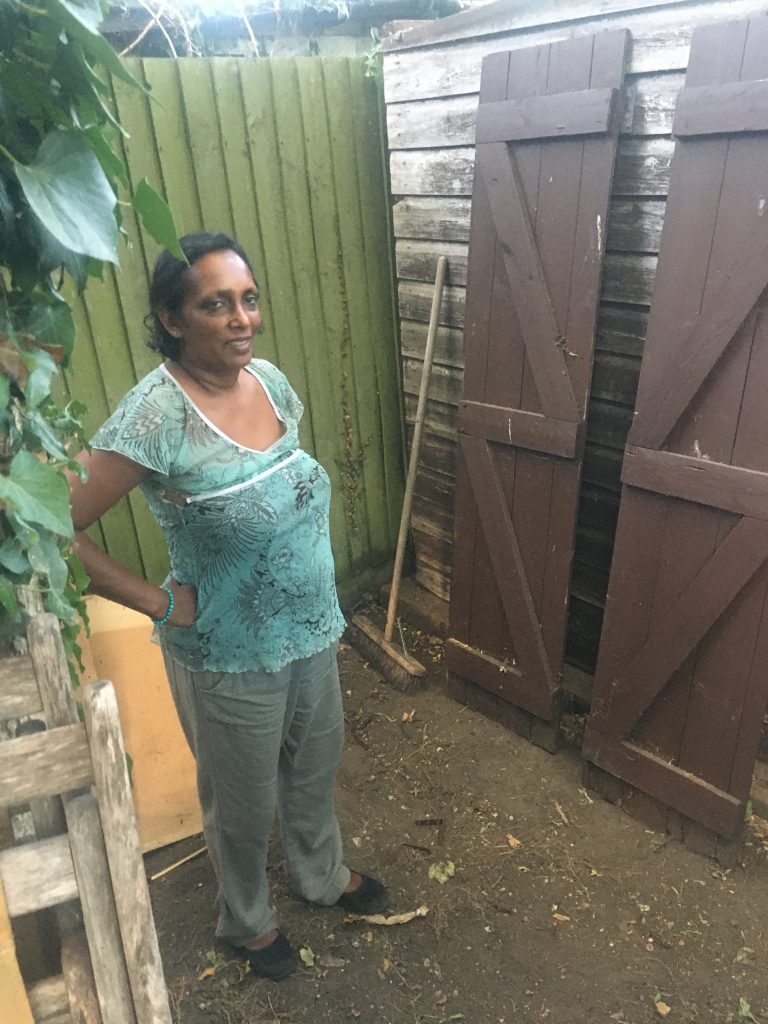
Teresa’s approbation of my efforts is more visible here, methinks. Also visible here are the two doors yet to be affixed to the larger side openibg.
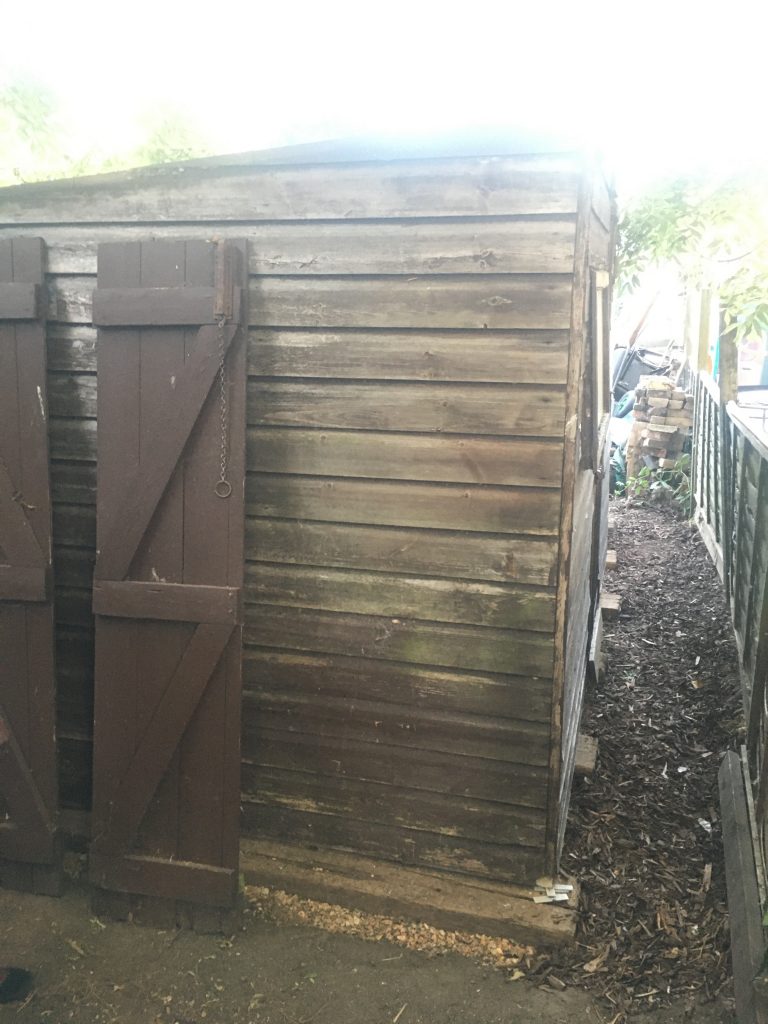
Looking back towards the house. My what a tight passage we have! If we can shift the whole shed back a few inches, it’ll help ease our passage…
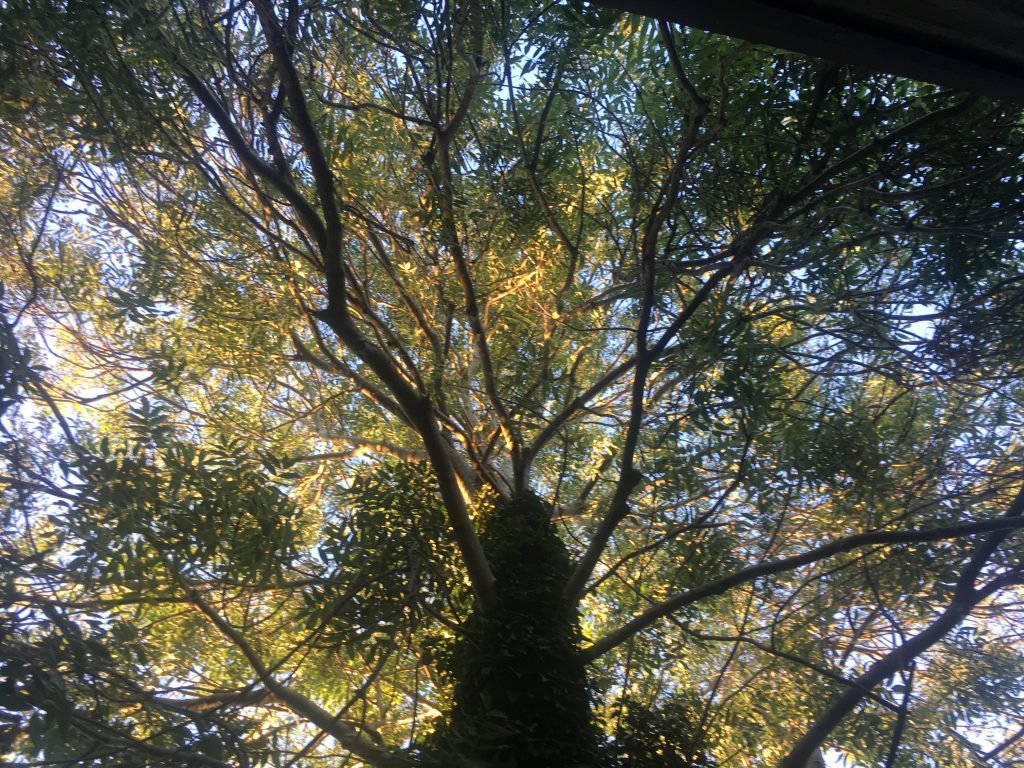
This is the view, sat in our deckchairs, behind the shed, looking up at the venerable aulde tree, around 7pm this evening. What a beauty, eh!?
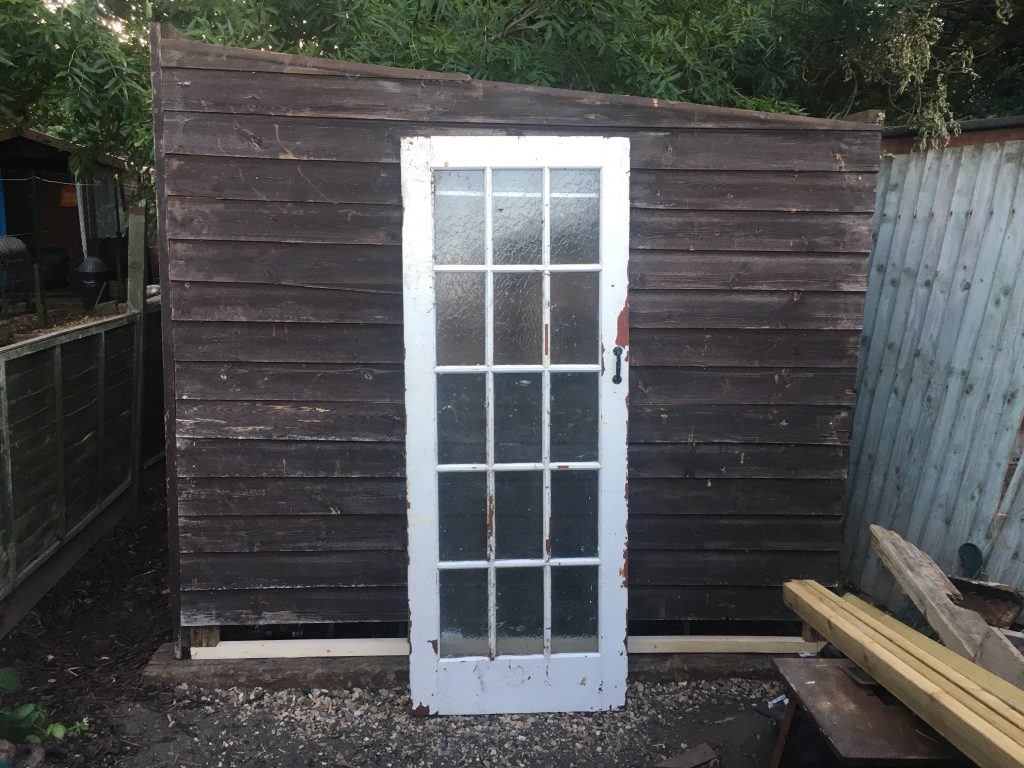
So, sometimes it really does pay to be a scavenging hoarder! This old door, a Freecycle acquisition going back four or five years, perhaps, is going to be ideal – with some judicious trimming – as the new front door, probably roughly where I’ve leaned it in the above picture
