
Over the last day or three I found myself having to repair the door to one of our sheds. This door – a Freecycle freebie of many moons past – was old and knackered when we got it. And it’s subsequently fallen apart a couple of times.
About four or five days ago, whilst putting stuff in said shed, this same door totally fell apart on me… again! Wish I’d have gotten pics! It was really something.
So I removed it, with a view to repairing or replacing it. I prob’ oughta just replace it. But lack of funds means fixing is the more immediate viable option.
Last time I fixed it simply by gluing the old joints back together, using clamps and straps, in the hope it’d all bind up ok. And it did, for a year or more.
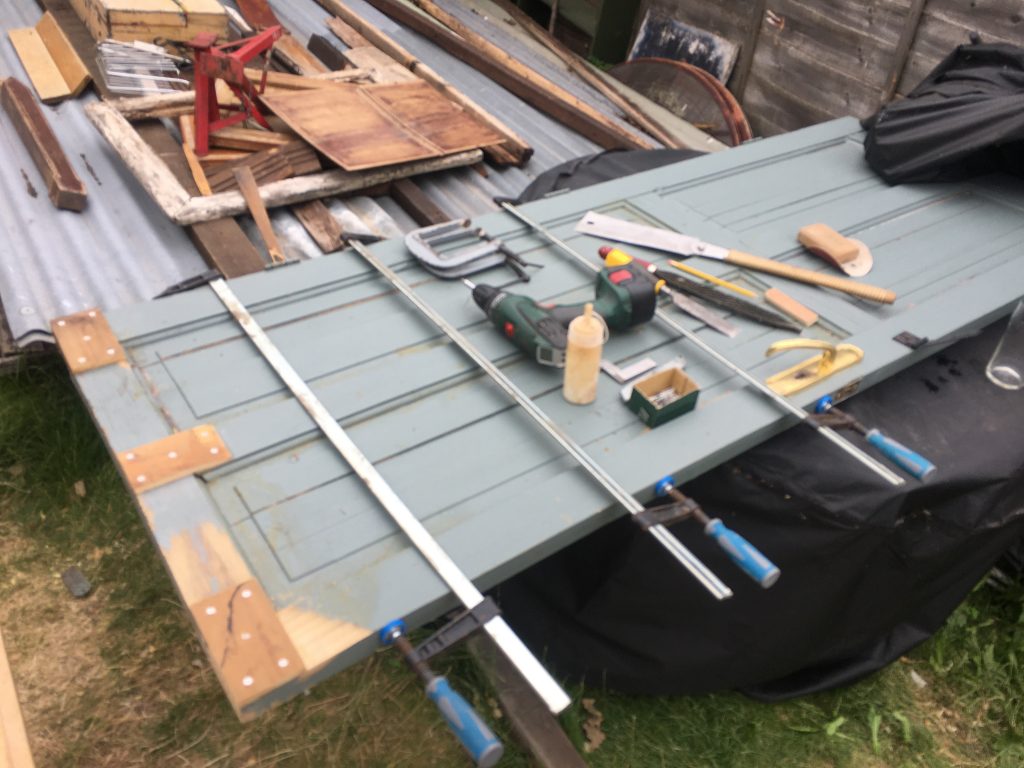
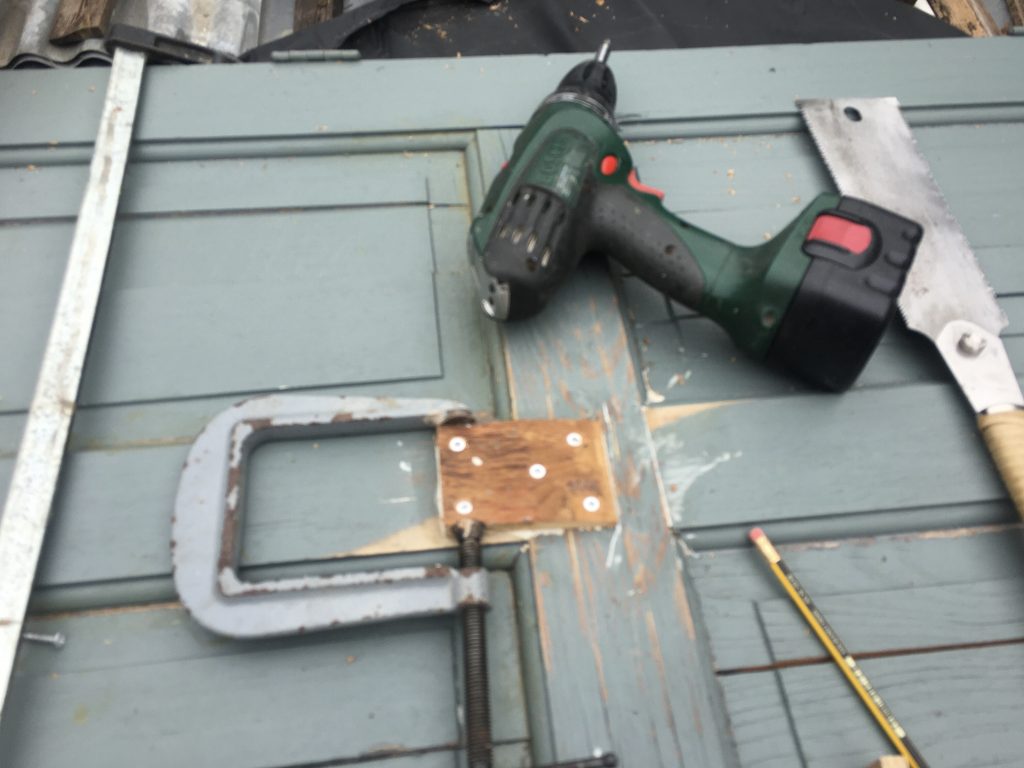
But lately it’s been falling apart for what is poss’ the third time. And this time the original joints are all snapped off. So when fixing it on this occasion, I’ve added wooden patches, glued ‘n’ screwed, for belt ‘n’ braces double-action protection!
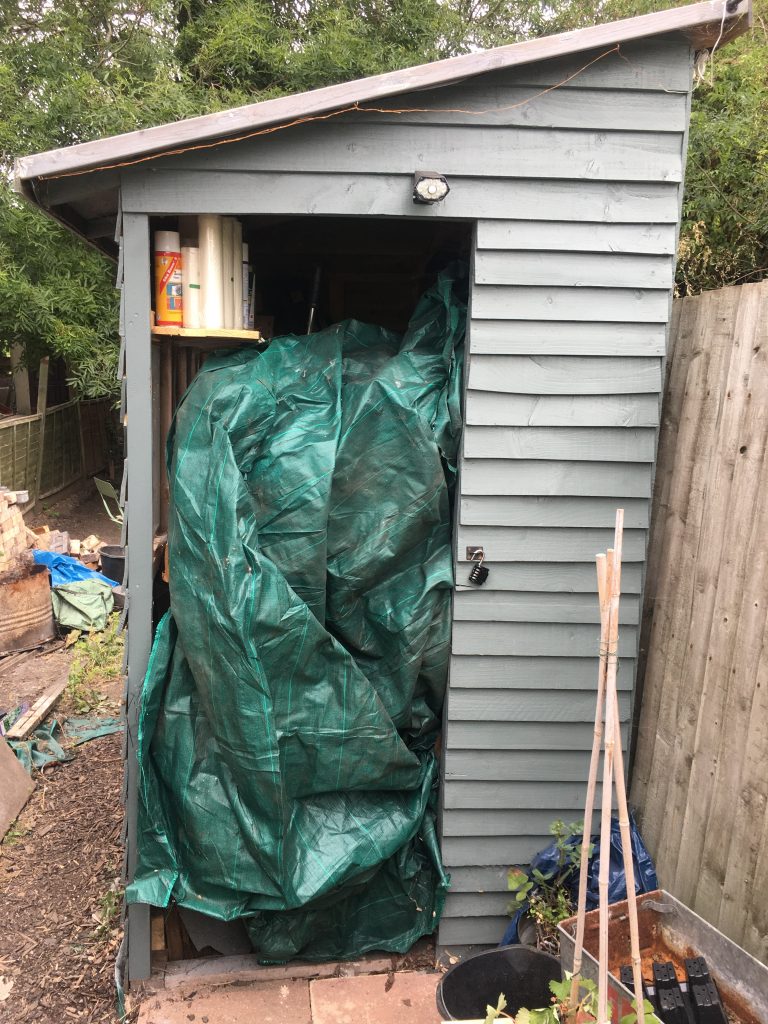
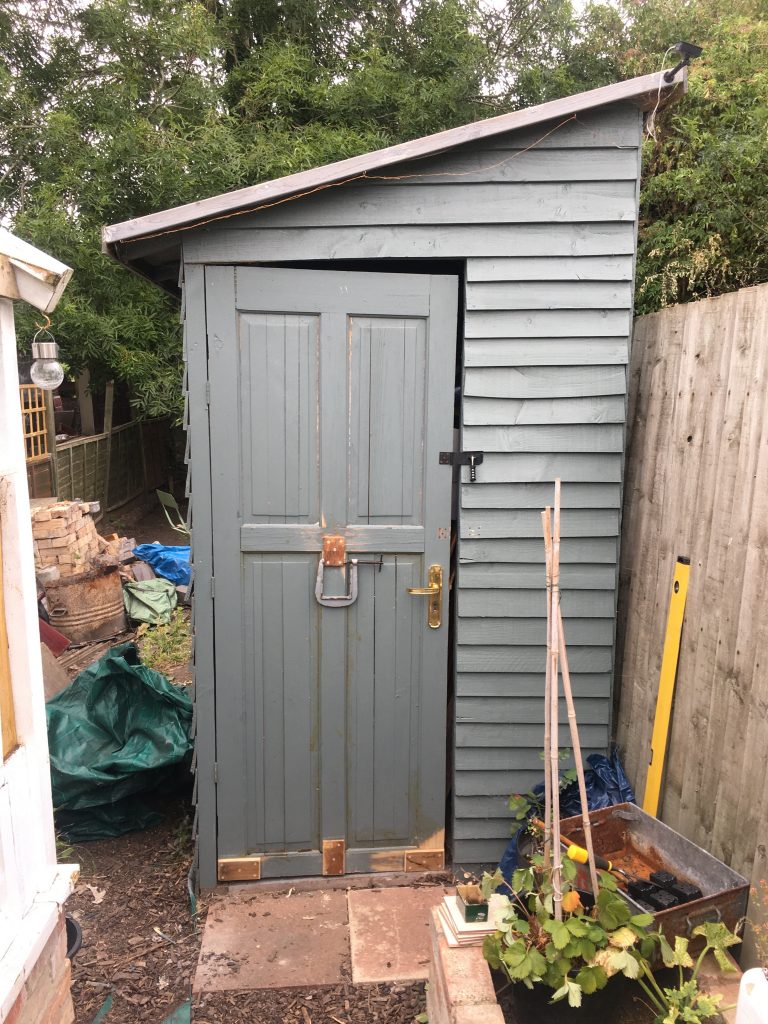
Sadly the door has gone pretty severely askew, and sagged, such that even after re-assembly and patching up, it’s not the greatest fit for the doorway of this shed. I had to both raise the hinges a wee bit, and cut into the lower door frame.
And there are still ruddy great gaps, one (triangular!), at the top, and the other, running all the way down the right side on the door frame, fairly parallel. I’ll be adding timber to address both!
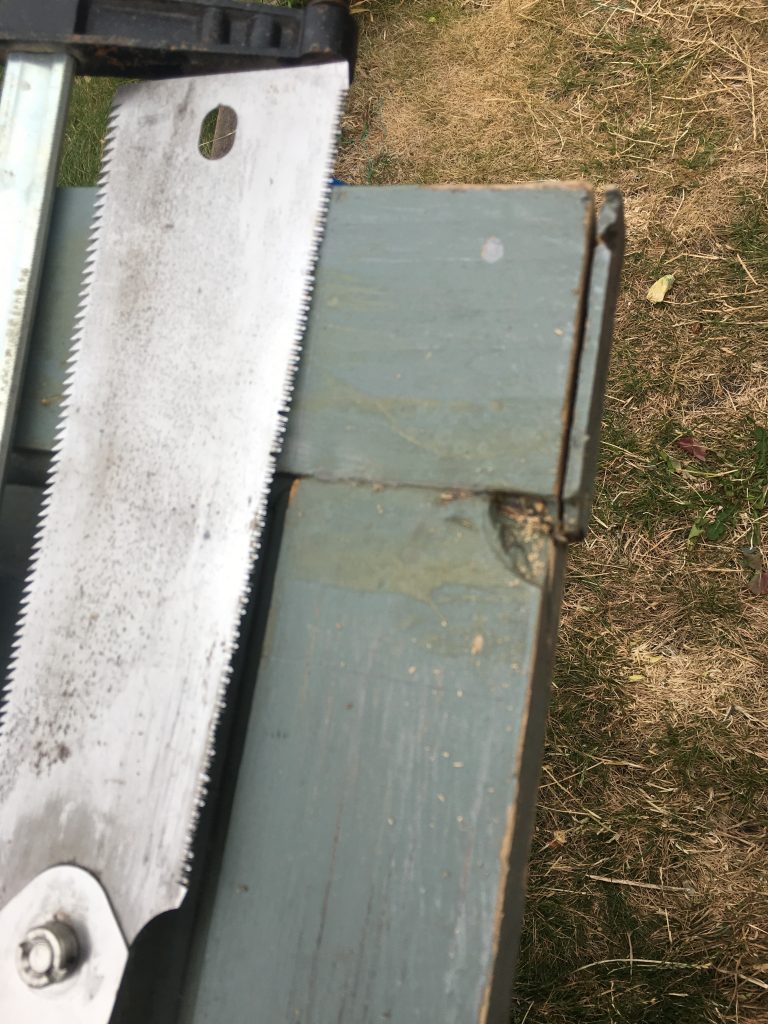
But yesterday I simply re-hung the door. Ha… simply!? I had to cut, chisel and saw away some of the basal frame, to allow the door to swing in and out! And I had to move it all up about 15mm as well, and re-drill and re-mount the hinges.
The door is so skewed it’s almost unreal! I had tried to address this when I first attempted to ‘fix’ this door, ages ago. But it seems that’s a losing battle, so I eventually just went with it as it ‘wanted’ to be.
Once re-hung, I moved the latch. I have plans to add wood to the top gap, and down the entire right side of the door frame, to finish this job. Oh, and prob a new cost of paint.
The job that occupied me most after the shed door was putting up four shelving brackets. I got these quite some time back, off the Amazon Vine program. They are black, metal, simple L-shapes, with pairs of small curled hooks at the base.
The biggest arse-ache when mounting brackets to walls is always drilling the holes and achieving decent fixtures. It seems the only really simple material would be wood. But 99% of the time one has to contend with either plasterboard (aka dry-wall) or plaster, bricks, etc.
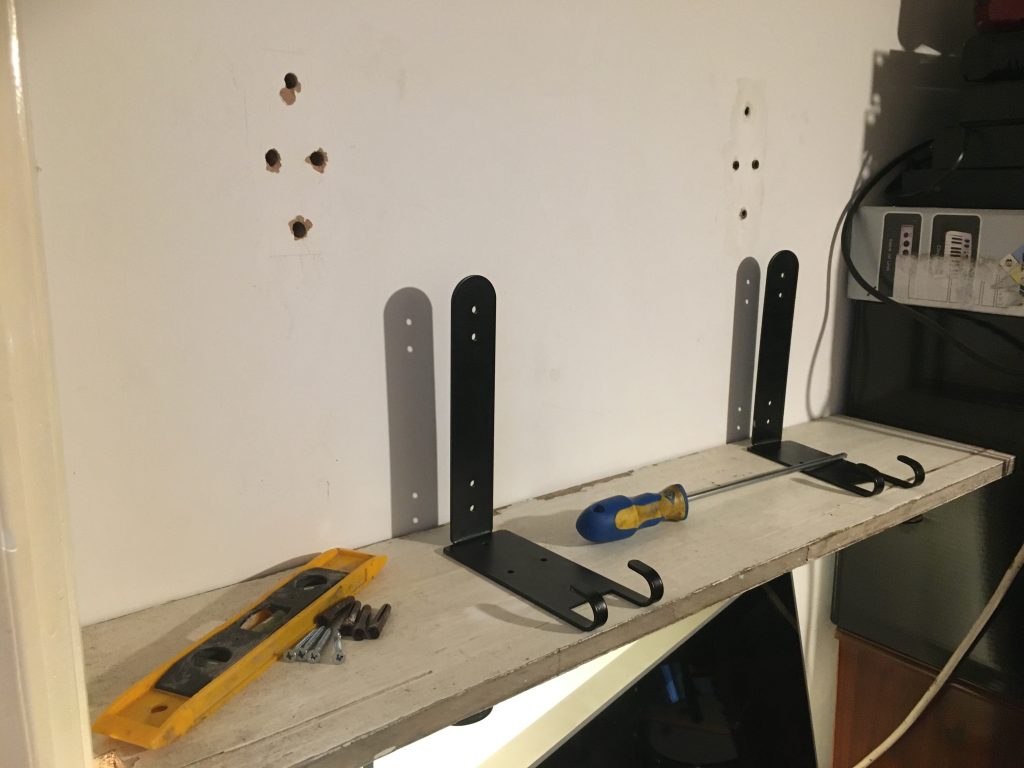
On this occasion it was the latter. Plaster over bricks. Necessitating the use of my Hitachi hammer-drill with masonry drill bits. The biggest issue with this scenario is the drill bit wandering, and/or the holes winding up too large.
I’ve taken to remedying this by filling the drilled holes with Polyfilla, pushing wall-plugs in, and letting that go off for about 24 hours. I did the drilling and filling yesterday. So today I’ll be mounting the brackets and screwing them in. I do hope this works!?
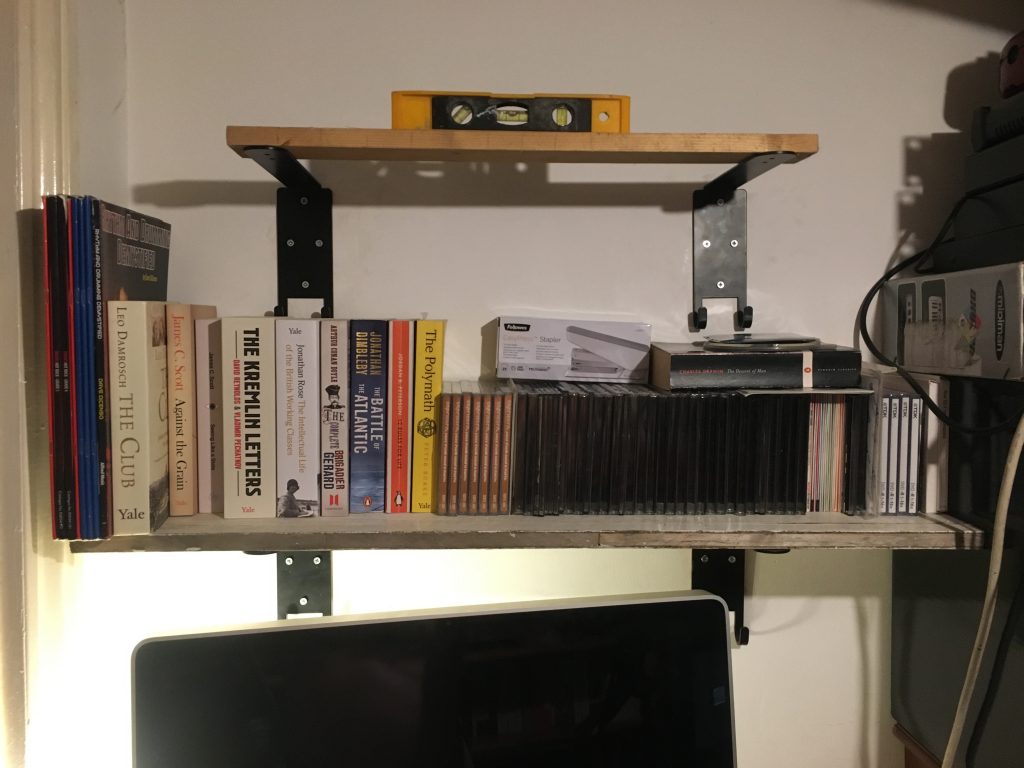
The lower of the two shelves is cut, notched, and sanded down now. And already sat in its allotted position. I used an old shelf I got via Freecycle years ago. I wish I’d have kept more of these shelves. I chopped a couple up for kindling/firewood!
I was attempting to shape some boards for the second shelf, yesterday. But the timber is so warped, cupped, twisted, etc, I’m not sure if it’s too much to remedy? Still, the work gave me a chance to use my planes, esp’ my Paul Seller’s style scrub plane. And it was a bit of a work-out. Prob’ good exercise!?