
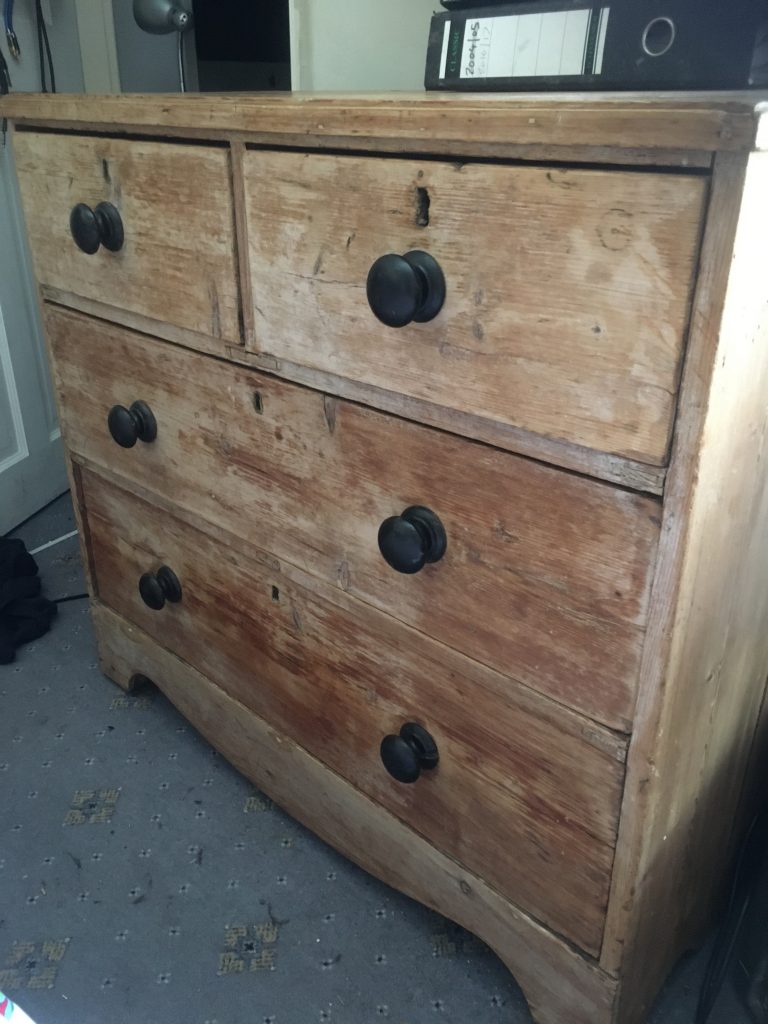
Many, many moons ago, our pal Patrick gave us an old pine chest o’drawers he wanted rid of. It was in a fairly poor state. But I thought I could salvage it.
I gave it a good clean, sanded it, and fixed one or two bits. But I left the bottom drawer as it was; it had a ruddy great ‘ole in it! Over three-quarters of the base of the drawer was missing.
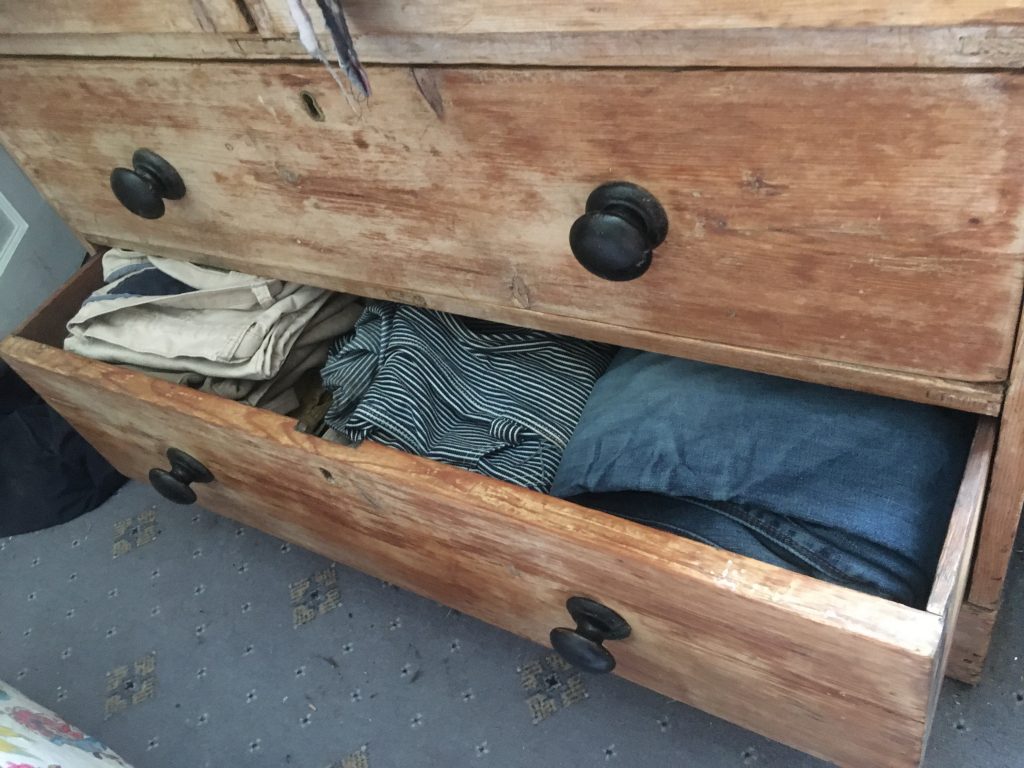
And we’ve used the chest for years, the middle and top two drawers working fine, the bottom as a kind of semi-operative stash for random crap. Not any more though!
Today I watched a YouTube self-help video about clutter. And although, in all honesty, it didn’t tell me anything I didn’t already know, it did serve as a tonic reminder of some home truths. And it galvanised me into action. So, although I normally avoid such content like the plague, I’d like to thank Nena Levone for her video. And I include the link to it (above).
My resolve to tackle our clutter (Teresa is bad that way as well!) began with simply trying to tidy our bedroom a bit.
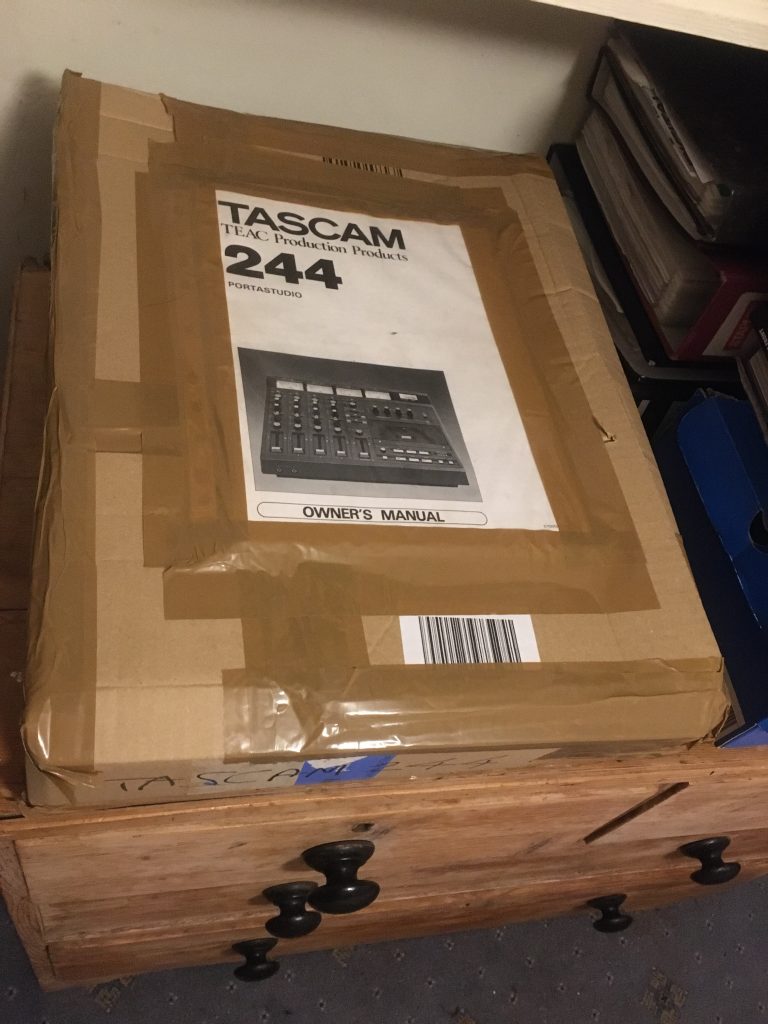
The first thing I did was box up an old Tascam 244 Portastudio. I got this from my dad, Simon, and hope to restore it to full working order one day. But for years it’s just sat around gathering dust and getting in our way.
So it’s getting boxed up and stored in our attic. I had to slightly customise a cardboard box to make it fit. I’ve added bubble-wrap to protect it. And, naturally, only when I’d fully boxed it up, did I find the manual!
Next I started moving stuff around. I do absolutely loads of this. it should probably be top of my resumé! And really I’m wasting time. Anyway, today I’ve been trying to move stuff to more appropriate locations. And once that was done, the chest of drawers – now with no mounds of stuff all over it – kind of hove into view, as an obvious next job.
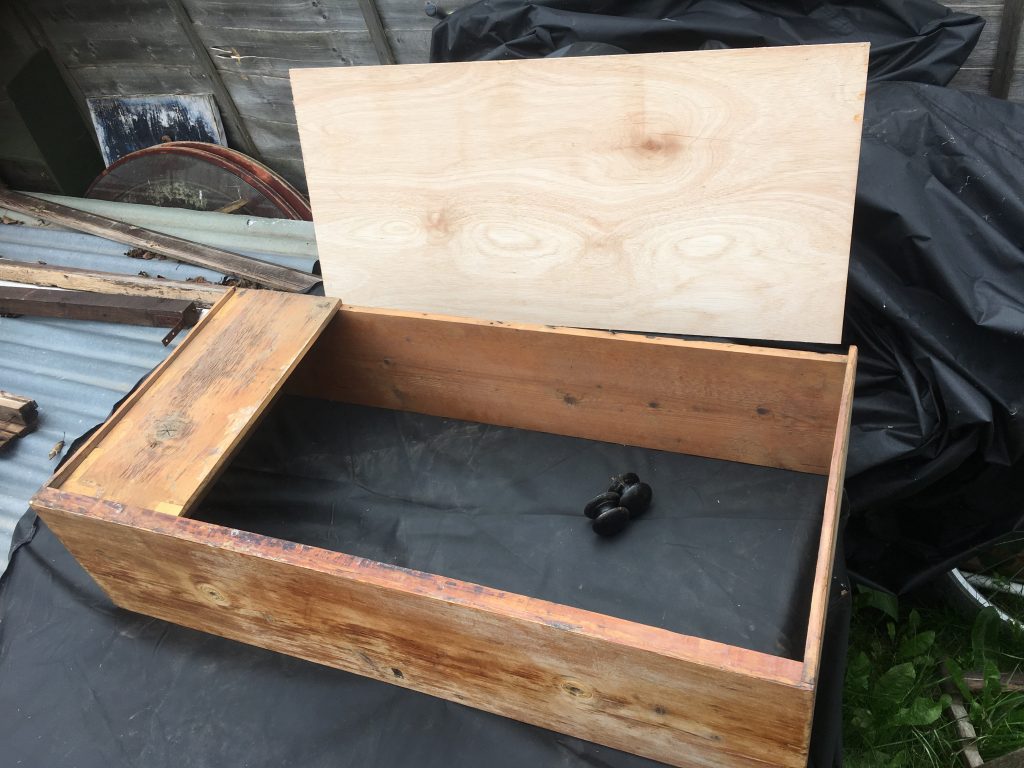
I took it – it in this instance being the bottom drawer, not the entire unit – out into the garden, and removed what was left of the former solid pine base. I’d have liked to have kept everything as solid pine, but that would be too labour intensive and expensive. So I got a piece of 9mm ply cut to exactly the size I needed, by Simon at West End DIY.
I needed to slightly bevel three of the surfaces, so they would slide into the friction fit grooves in the drawer. Only the rear face of the drawer is actually attached to the base. This allows the wood to breathe and move a bit.
I did this with one of my Stanley planes, plus a little additional sanding. With a bit of finessing it finally fitted in nicely. I then banged in some very small lost-head nails or tacks, and the drawer was looking great again.

Last but not least, I fitted the rather lovely old wooden handles. One still has an original screw. The other I had to bodge a bit, with some dowel filling the vacant ol’ hole, and a new screw. With that done, I could pop the drawer back in and load her up.
Before this repair these drawers were filled with a real mish mash of my clothing, bedding, and random rubbish. Now they’re chock-full o’ naught but my vestments. Very satisfying!
There are one or two other little jobs I’d love to get done today, one of which is to put up a mini shelf for our bedroom DVD player, either above or below our bedroomTV.
Not sure that I’ll get around to this today though? Very tired! Plus I might cook our dinner tonight as well. Saw an interesting cooked cabbage recipe on YouTube that I’d like to try!
* In it’s finished state.