
Ok, so the project at hand right now… so sayeth Andrew Camarata, prolific YouTuber and handyman extraordinaire, at the commencement of many of his strangely compelling videos. But more about him elsewhere and later!
One of my latest projects, which has been pending for ages now, got done rather quickly recently. Partly spurred into action, alas, by a small local crime-wave.
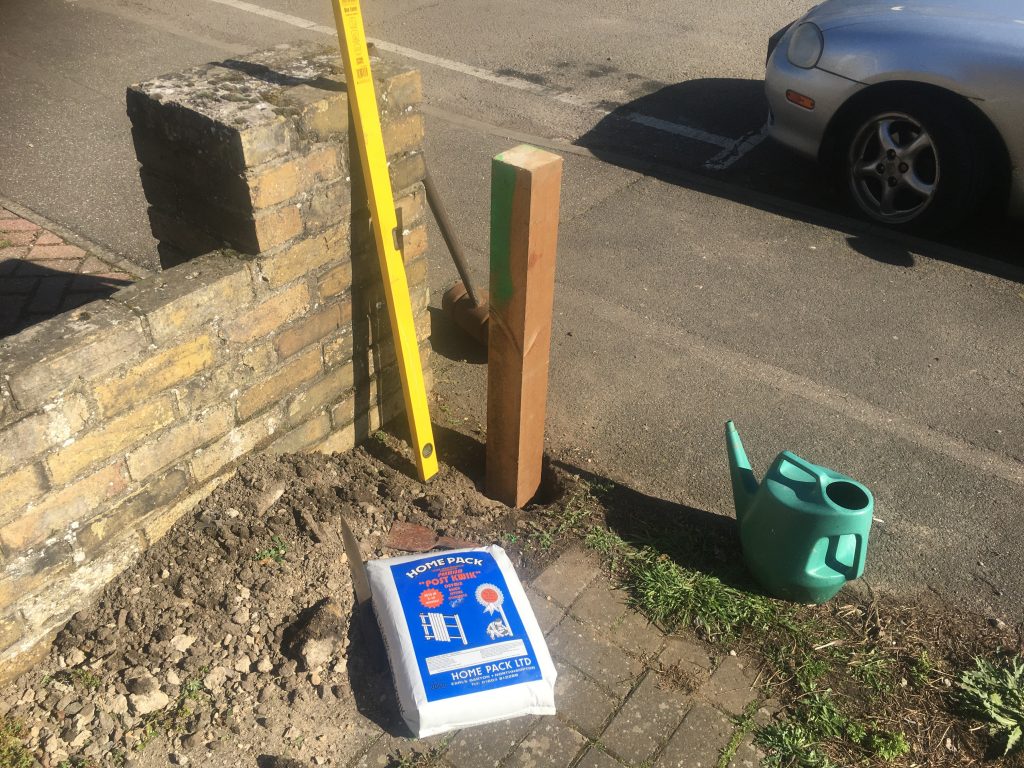
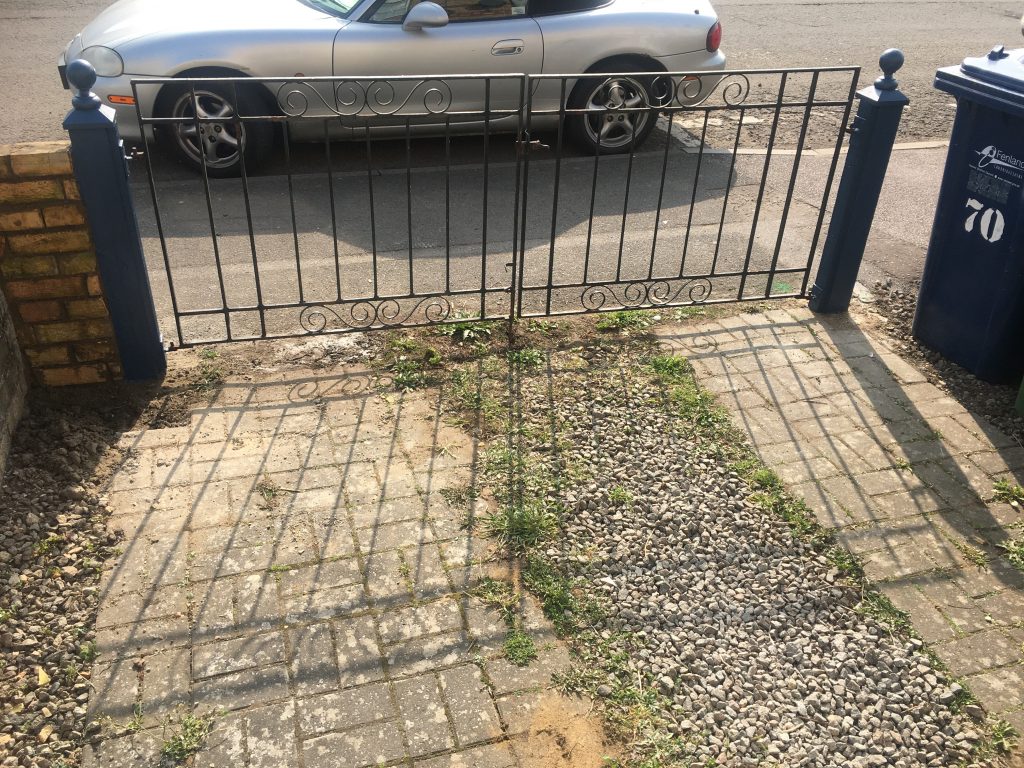
Last week I dug down about 40cm in two spots, measured and marked up, for two 4” x 4” fence posts. These were 120cm tall. so I was burying and fixing one third of their length in the ground. And these posts are pretty hefty. They need to be strong, as I’m hanging iron gates from them.
One of these holes was very hard work, as I was removing lots of concrete and aggregate. My Hitachi hammer-drill, with a large-ish hammer attachment, was essential to this work. The other hole was much easier, being mostly earth (or, as Yanks like Camarata call it, dirt).
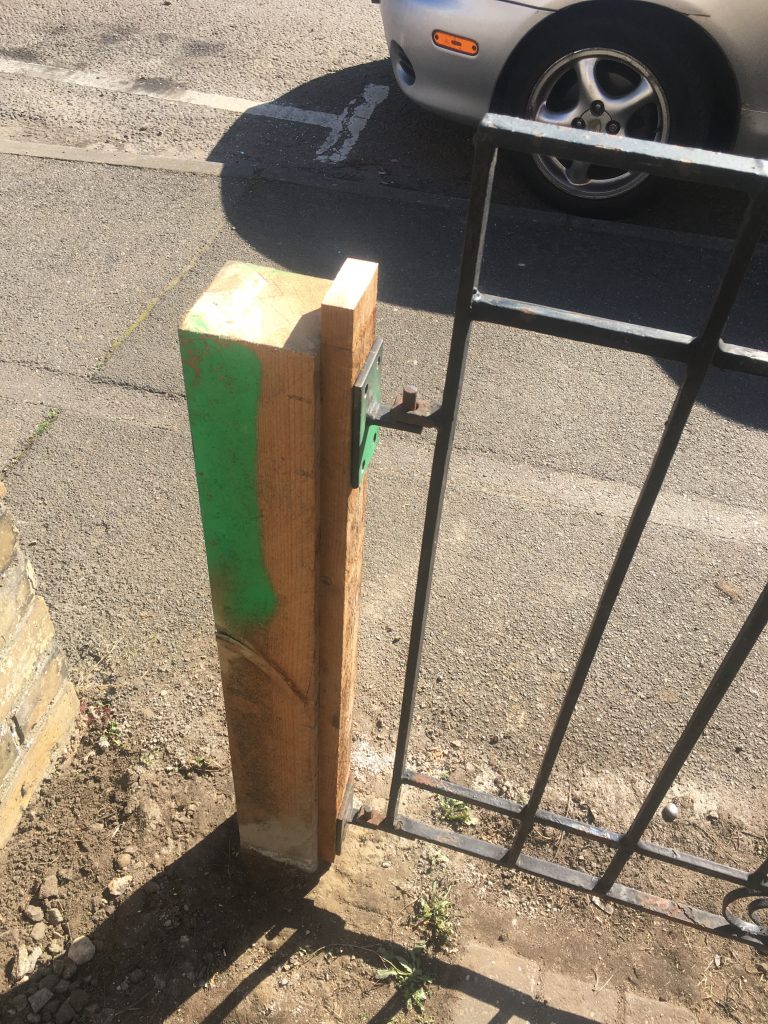
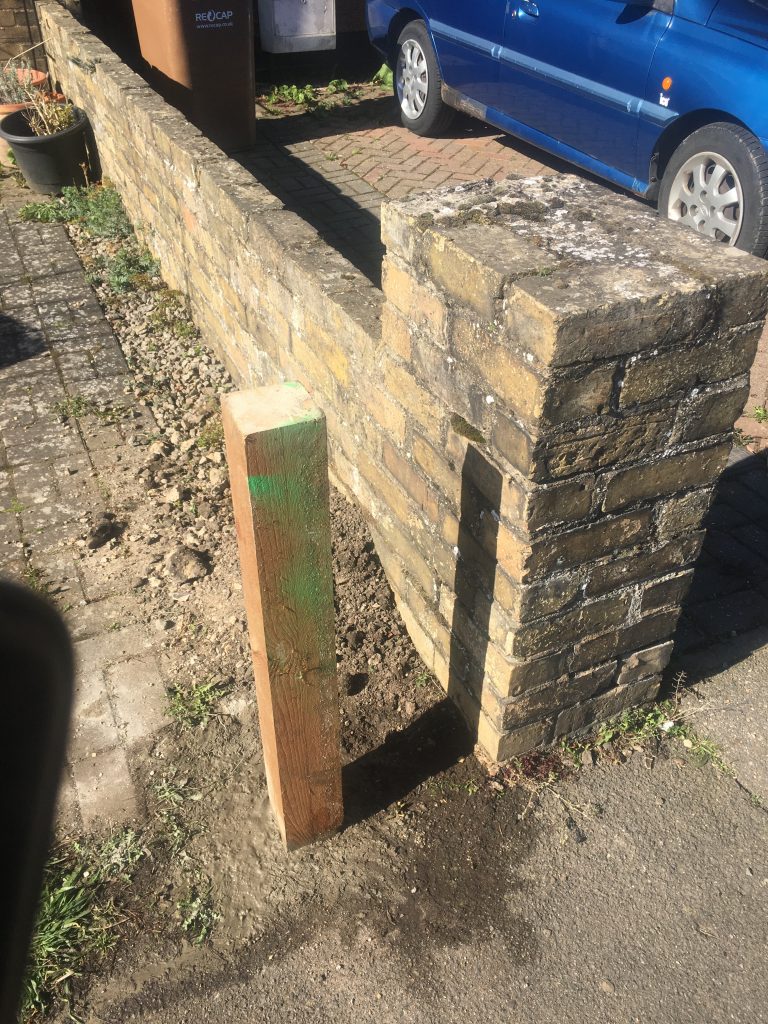
Despite all my measuring and marking efforts, once rooted firmly in place, the two posts were about two inches too far apart. So I had to add two strips of timber, one for each side/post. None of the timber I had was appropriately dimensioned for this. So I had to cut down something suitable for this task.
It also transpired that the whole driveway slopes a little, so I had to add a bit of height to the lower of the two posts. Once all this lot was cut and installed, I could hang the gates. This was both fun and pretty easy. It was very gratifying seeing it all come together, and lining up pretty nicely.
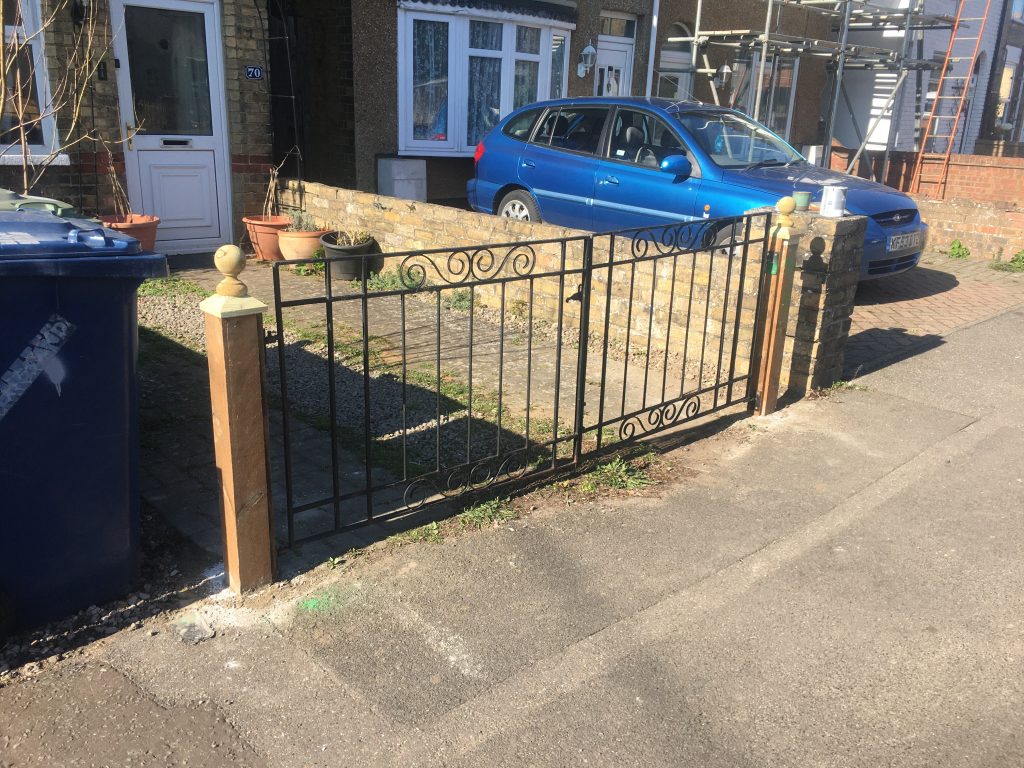
My 2.4m 4” x 4” post yielded two 1.2m posts. And with 40cm buried, only 80cm remained above ground. The tops of these posts were thus well below the tops of the gates. I was constrained in this by my available lumber. But such constraints are sometimes fine. We bought end-caps and ball style finials, to top the posts off, weatherproof them, and give them the necessary height, and a bit of pizazz!
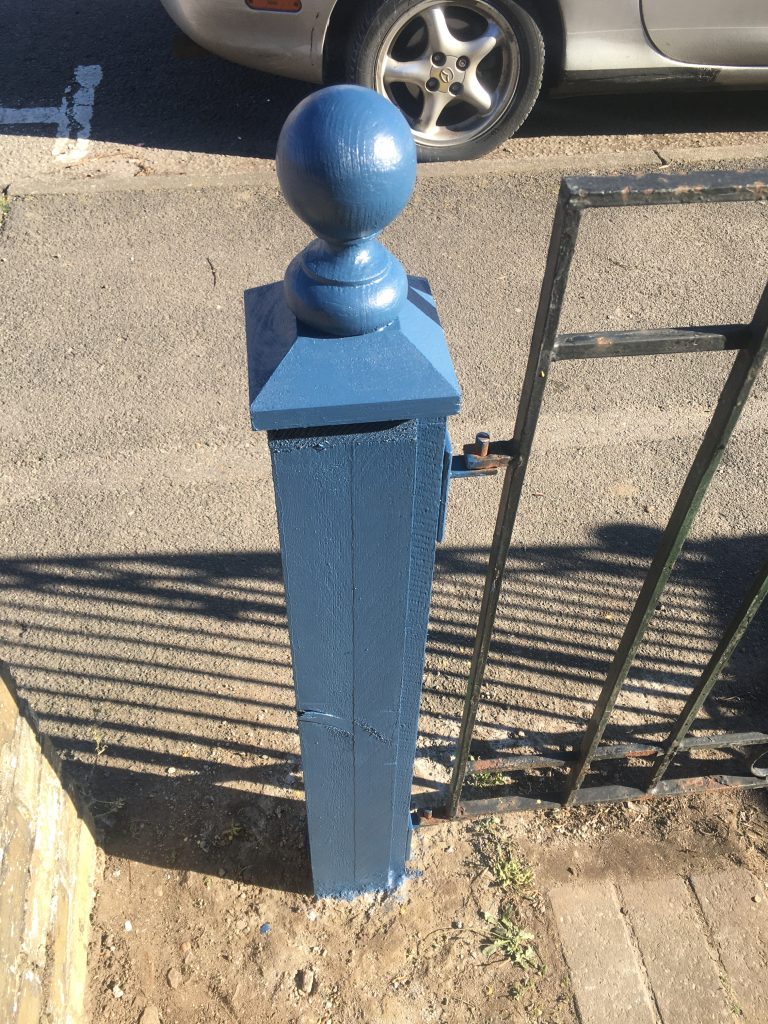
With the gates in pace, and the posts fully assembled, it was time to paint them. Teresa wanted a dark blue. I was less sure about this, favouring a pale sagey green. But in the end we found a dark-ish blue we could agree upon. And I think it’s turned oot reet grand!
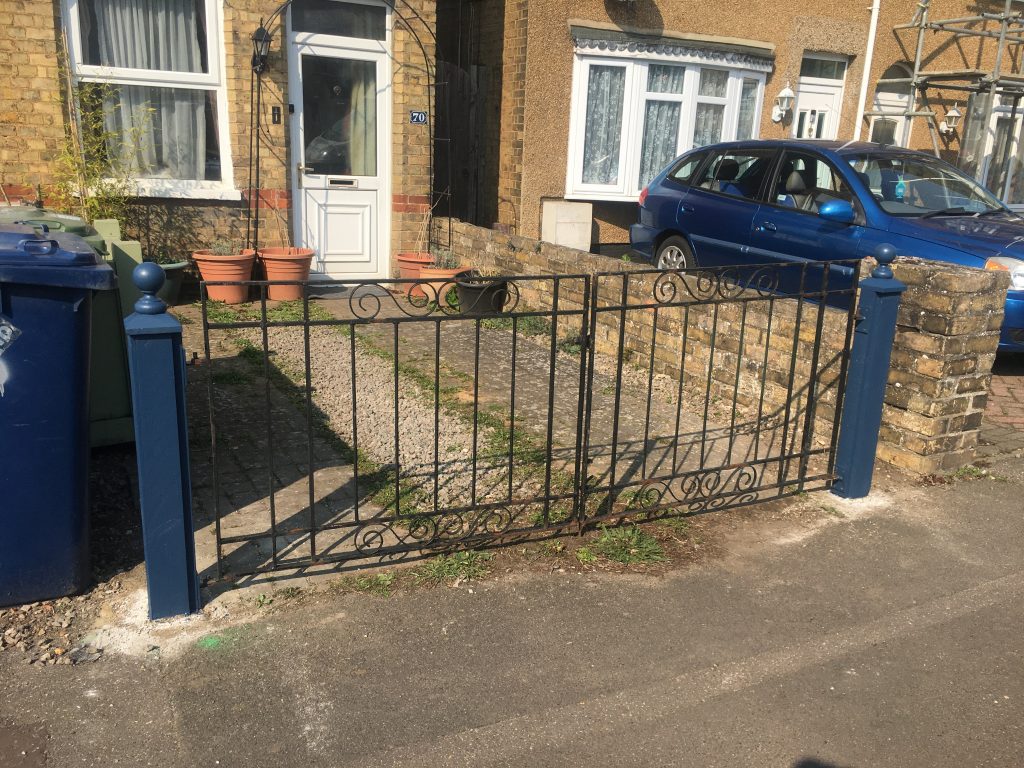
Once the posts, the gates, and the decorative caps were all done, and painted, it was time to decide how to address the spaces on either side. The one at right – as you face our house (the left if looking out from the front door) – we decided should get a little brick wall. The larger one on the opposite side will get a bespoke little wooden gate.
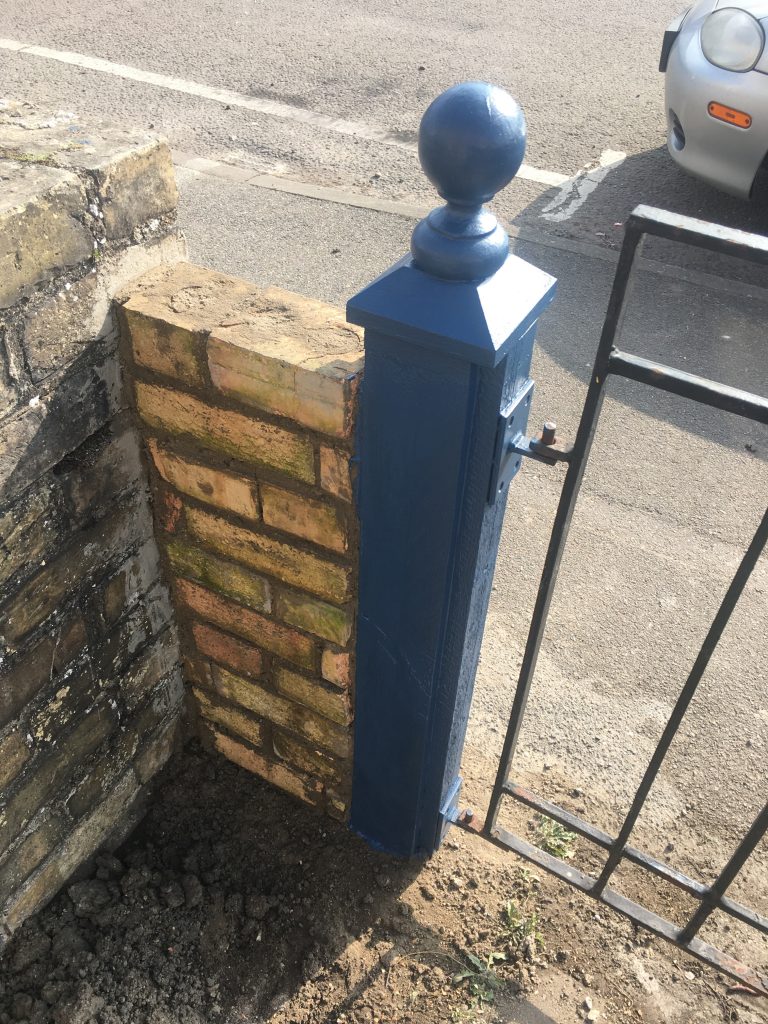
Dimensioning the bricks for the wee wall was tricky. With a cold chisel and various hammers I eventually got the shapes and sizes I needed. But not without a fair amount of crumblage and wastage.
I used the remaining postcrete, with sand and water, as mortar. This seems to have worked ok.