
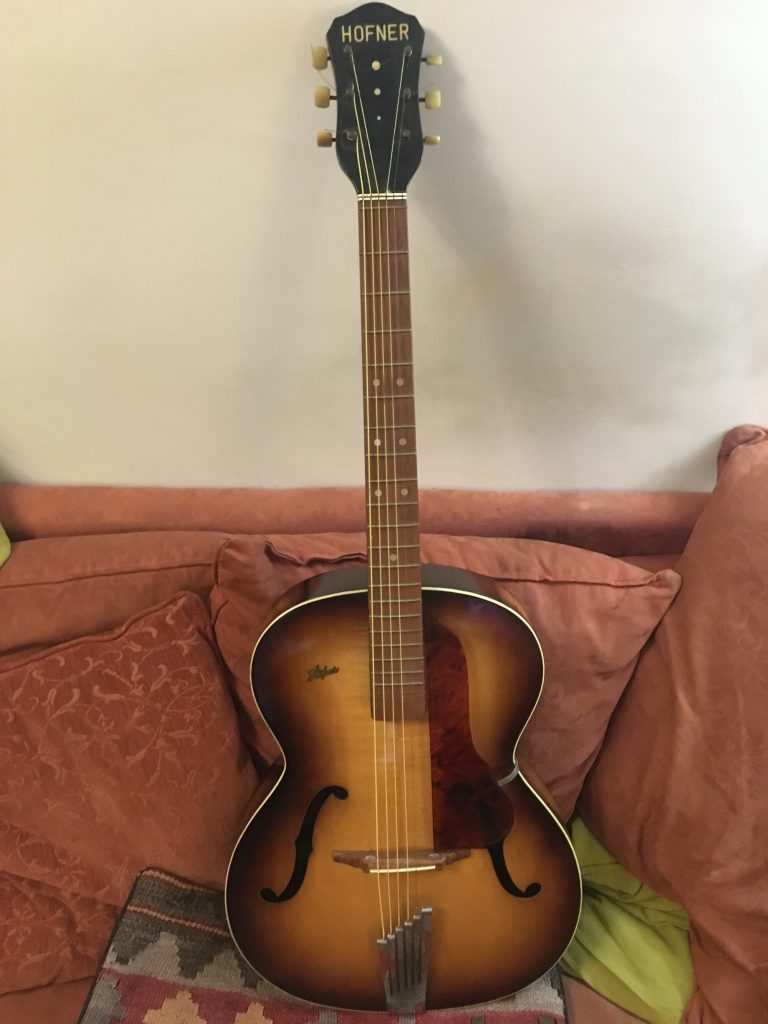
One of the scariest things on a project like my Hofner Congress is simply getting started. As long as I put it off, I have a nice looking if purely ornamental instrument. But for some reason I’ve been feeling compelled to dive in. And today I finally took the plunge.
I’d already removed the strings, the day I got it back home. But with plans to put a dual-action truss-Ros in the neck, and evidence of previous neck reset attempts, I figured I had to get started sooner or later. I decided sooner would be now.
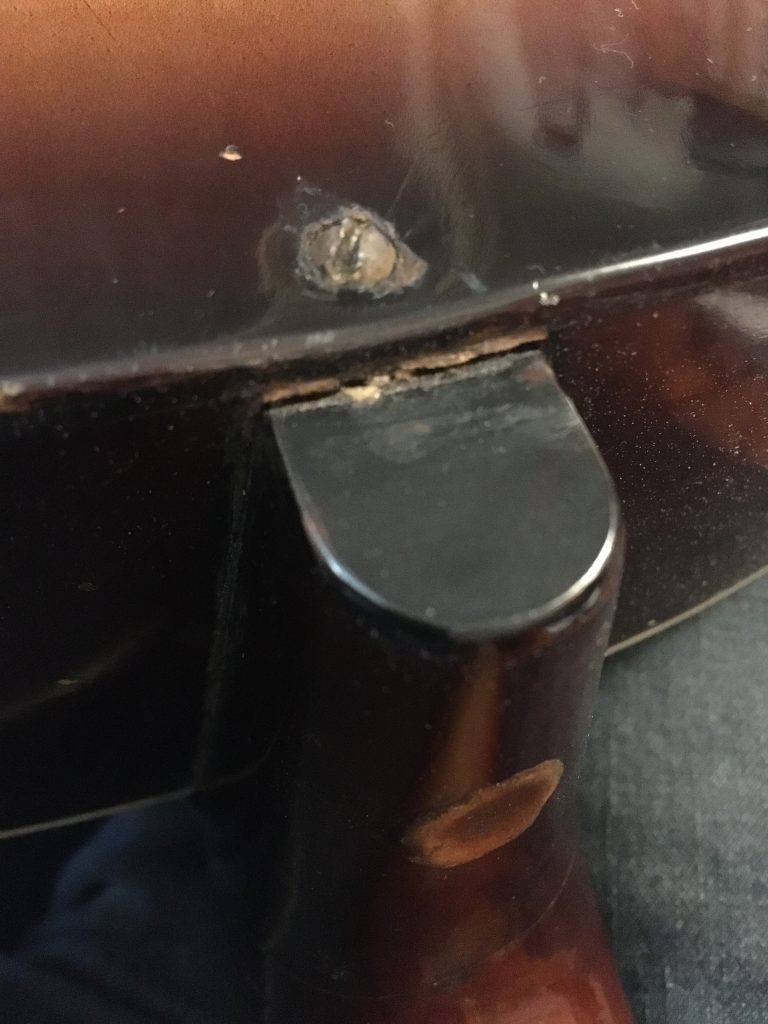
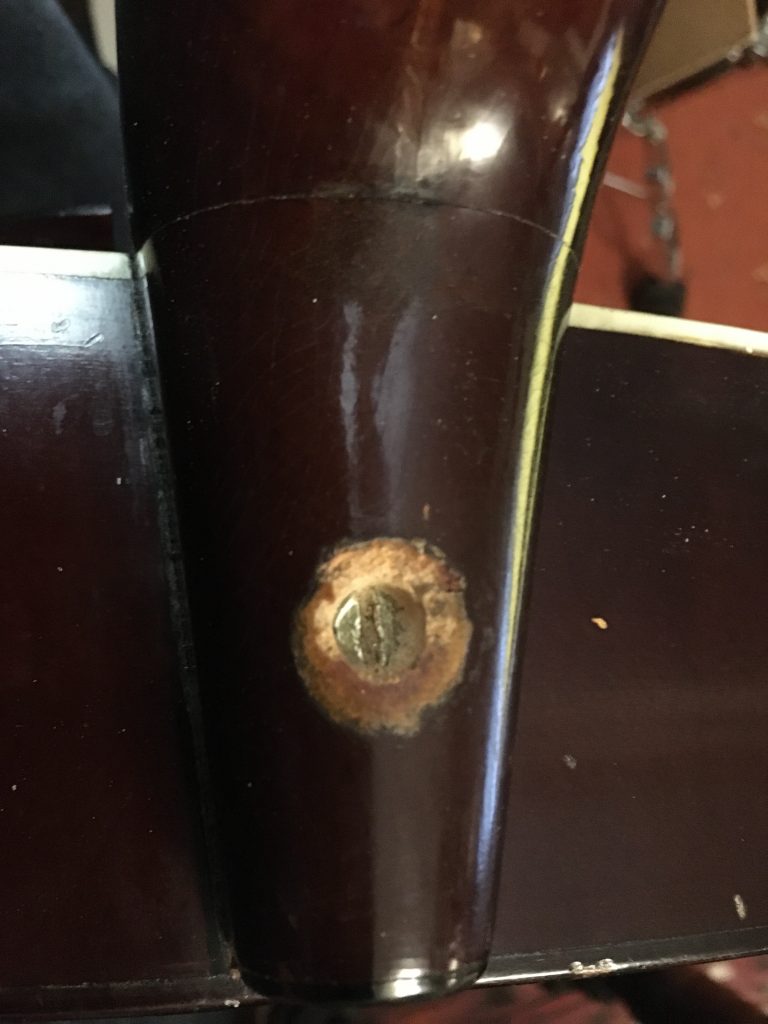
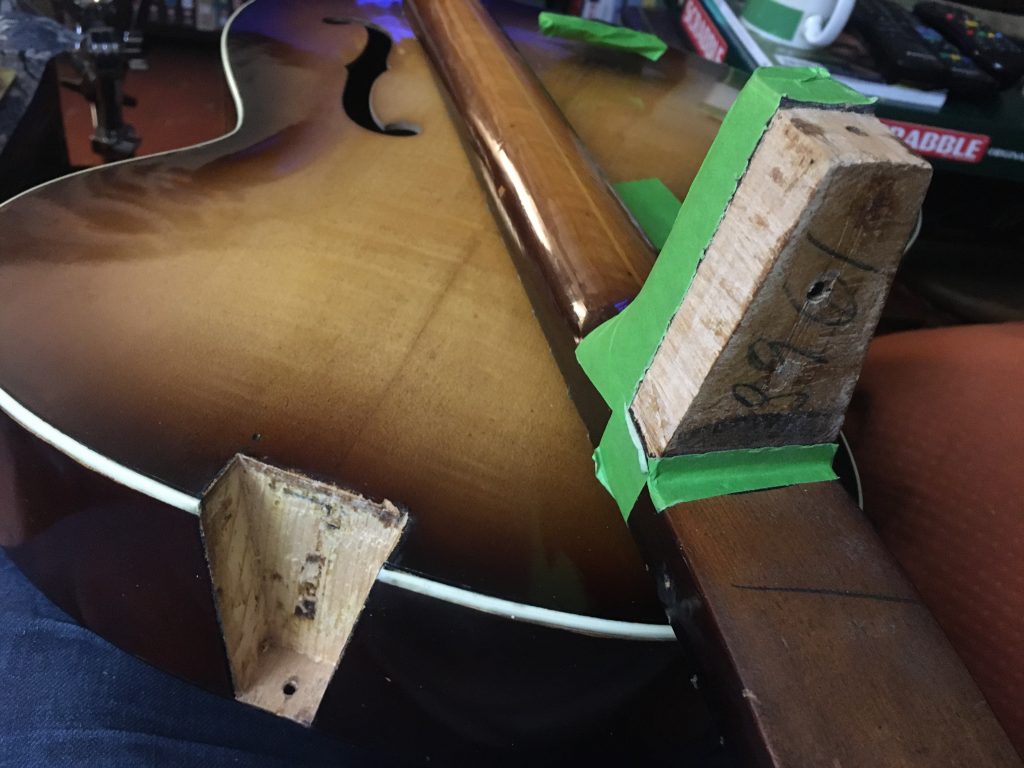
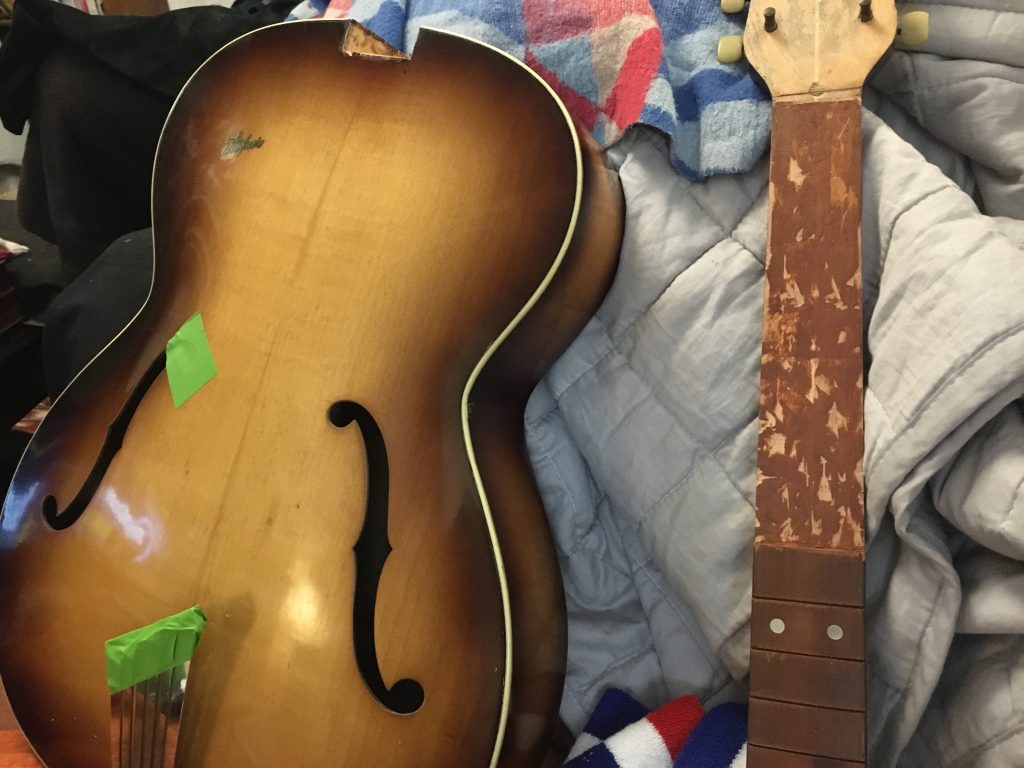
Rather amazingly, after removing the pick guard plate, and taking off a small screw on the back, or to be more precise the very ‘base’ of the heel, and another much larger one going through the heel into a neck support block in the body (I had to gouge out a load of filler), the neck itself came off surprisingly easily.

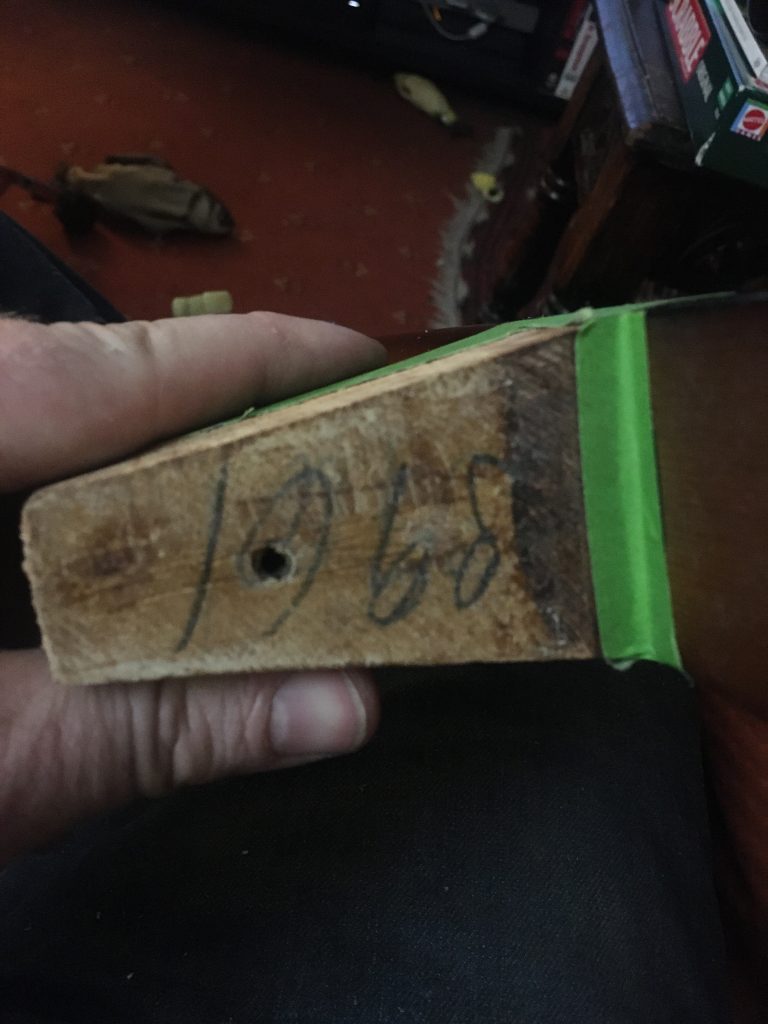
This suggests to me that a neck reset was very definitely needed. I masked off and cleaned up all the surfaces inside the joint. I also discovered a year, 1968 (the year Teresa was born), written in pencil on the heel of the neck.
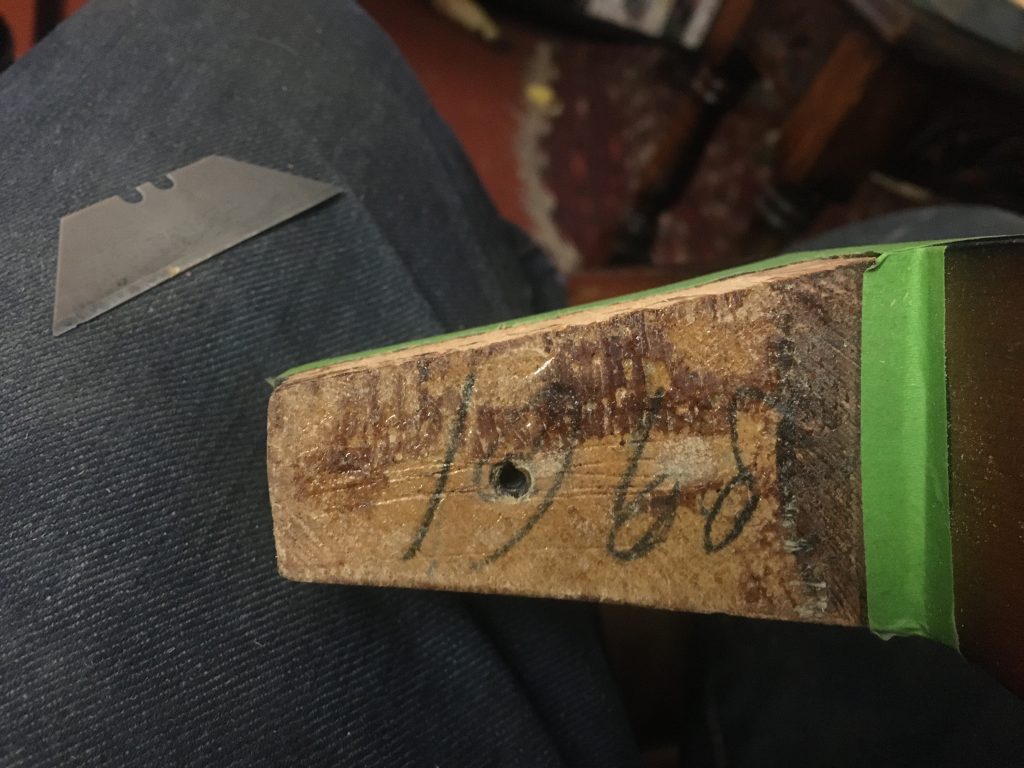
This is very intriguing, as the guitar’s serial number, and the personal testimony of its previous owner, who bought it new ‘over sixty years ago’, date the guitar itself to 1958. That’s a full decade earlier. It could be that what I read a a ‘6’ is actually a 5. But it sure look more likes 6 than a five to my eyes.
Does this possibly mean this instrument got a neck reset or replacement when it was just ten years old? I’ll have to see if I’ve still got the previous owner’s contact details, and ask him.
There is further evidence, in addition to the pencilled 1968, such as the fact that the heel of the neck seemed to be about a millimetre or so shy of actually sitting flush, as can be seen in the pic about five images above. And on the back of the guitar, in the corresponding location, was a thick layer of dried goop. Glue, intended to fill the void?
I intend to fine tune this joint, and re-assemble and re-set it properly flush. This previous bodge will have added, along with the concave neck bend, to action issues.
Anyway, I felt the neck removal went surprisingly well. Much better and quicker and easier than I’d expected. I then removed nut, and decided I’d try and get the fretboard off as well. I kind of wish I hadn’t attempted the latter. This phase really didn’t go well. At all.
I’d seen numerous YouTubers using an iron, running it over the frets to soften the glue that holds the fretboard in place. I then tried to get a painter’s palette knife into the seam between neck and fretboard. However, there was no gap in this joint, anywhere.
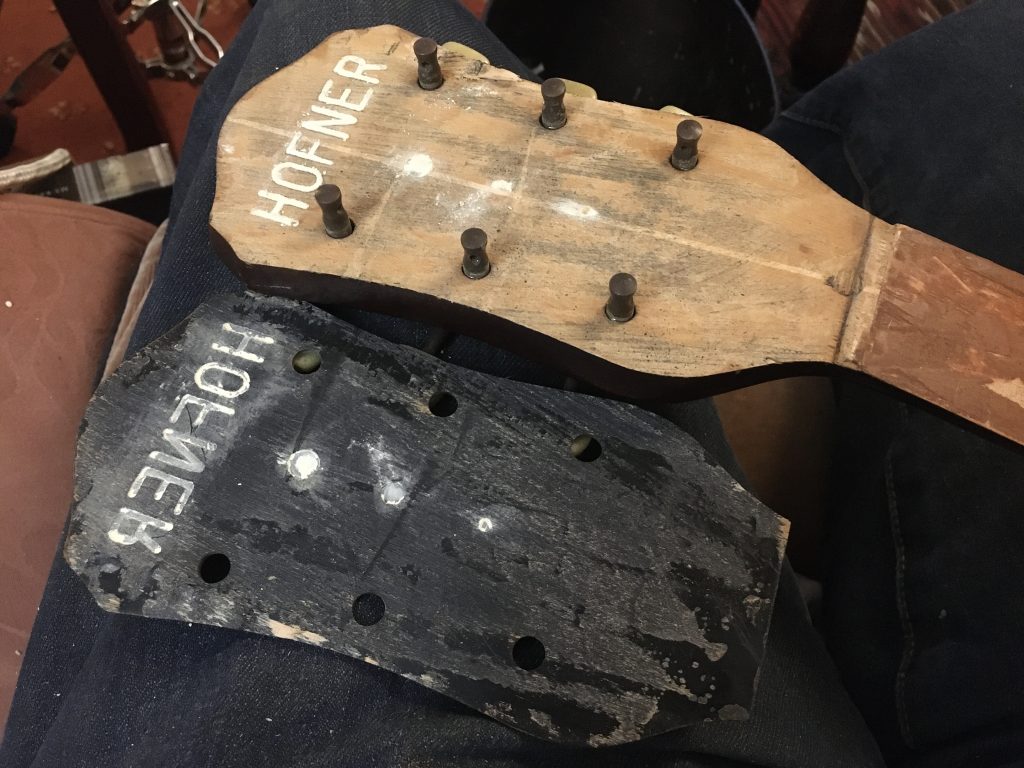
* The Hofner logo and three dots are formed by off white material that filled indentations on the back of the plastic headstock veneer. These remained attached to the headstock, whilst the plastic itself came off relatively easily.
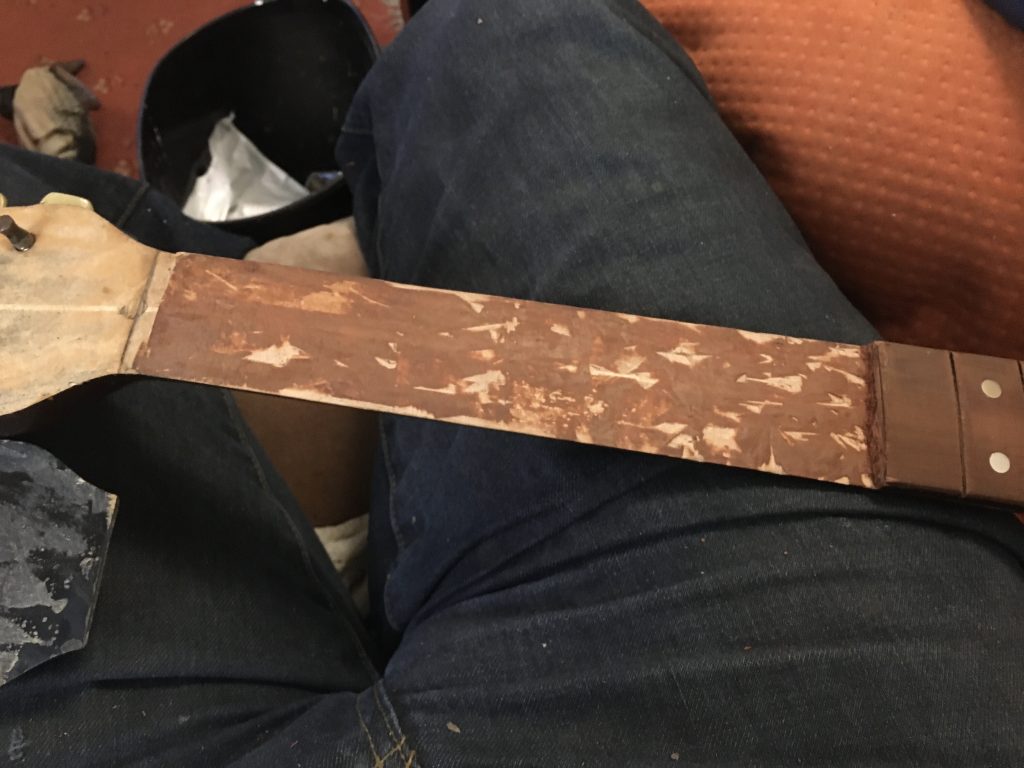
But, like an idiot, I waded in to the fretboard removal anyway. And for my pains the finger-board began to separate from the neck, splitting in numerous places as it did so. Nor were things opening up neatly along the seam of the glue joint. Aaargh!
In the end I wound up using a sharp chisel, to simply hack away. I had hoped, as many YouTubers seem to manage, to pry the fretboard off intact, in one nice clean go. So I could reinstall it later. But I sir-ee, that simply wasn’t happening!
I finally stopped for the night, before going too far, and trashing the neck irretrievably. I’ll hopefully remove the rest of the fretboard tomorrow or Tuesday.
The wood on the fretboard looks and feels a bit like some timber I’ve got from old tables and chairs, which I was told is rosewood. It’s hard, fine grained, and brittle. It isn’t coming away along the junction with the neck. So however it was shaped and glued, it was shaped very well and glued down too good to allow easy removal!
Perhaps I needed to apply more heat, via the iron, or more steam? But I didn’t want to affect the overall neck and/or fretboard integrity with too much moisture. After a period of repeatedly using the iron on the frets, and a few of the latter simply falling out, I removed them all.
Fret removal, and abandoning any attempt to save the fretboard intact, made removing the neck – using the chisel – a lot easier. I only wish, quite apart from wishing it had come away easily and intact, that I’d taken measurements of fret positions before embarking on such a destructive course. But as I hadn’t intended to destroy the fretboard, I hadn’t deemed that necessary.
Look at the mess I’m making! And sadly there’s lots of little bits, chips and scratches, getting caused to both neck and, alas, even the body, as I work. I’ve forced myself into the situation of having to either buy or fabricate my own fretboard now.
But given how easily the fret wire came out – I could literally remove it with my fingernails! – and the neck itself came away from the body, the neck itself and the joint were in bad shape anyway. And let’s not forget the major underlying reason for all this fiddling; the concave bowing of the neck, as it was when I bought the guitar.
The neck as it was also had a zero fret, which, for some reason, I really dislike. So I may modify this guitar such that when I’m done, it not only has an adjustable truss-rod installed, but it also doesn’t have the zero-fret.
So I need to order a truss-rod, and either ditto for a new fretboard, or make my own from scratch. I’d rather buy one for now. So that fret spacing (and perhaps even fitting?) are already done.
I looked at that and instead of 1968 am seeing 8961 as the 9 doesn’t look right if it is 1968??? Some kind of factory numbering?
Aha, Steve… you may well be right. It does work better as 8961! It’s also pencilled elsewhere, on another part of the neck. I’ll have a look there/take a pic and share it. I assumed it was a year dating of an official ‘factory reset’ type repair to the neck; bought ‘58, neck repair or replacement in ‘68. But perhaps not? In truth… who knows? But it’s fun to speculate.