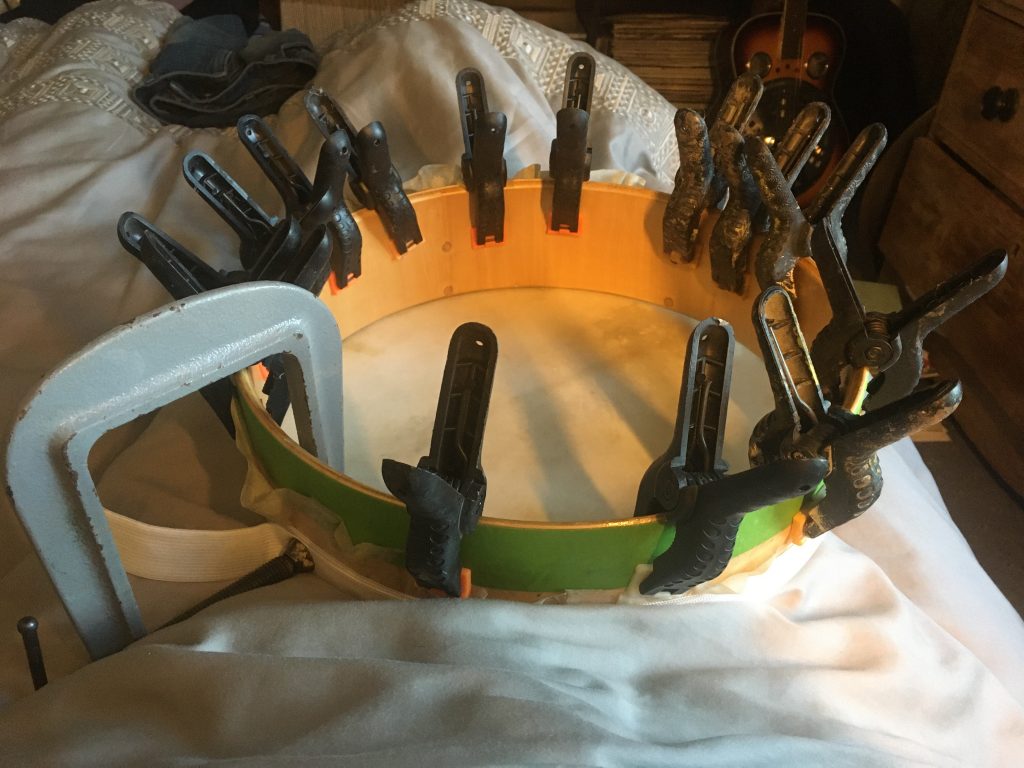
Well, turns out I needn’t have stressed over this drum not tightening up. It’s tightened up a treat. Very much like the first one. And this despite the cat-damaged goatskin being a ways off-centre (as can be seen in some of the accompanying pics).
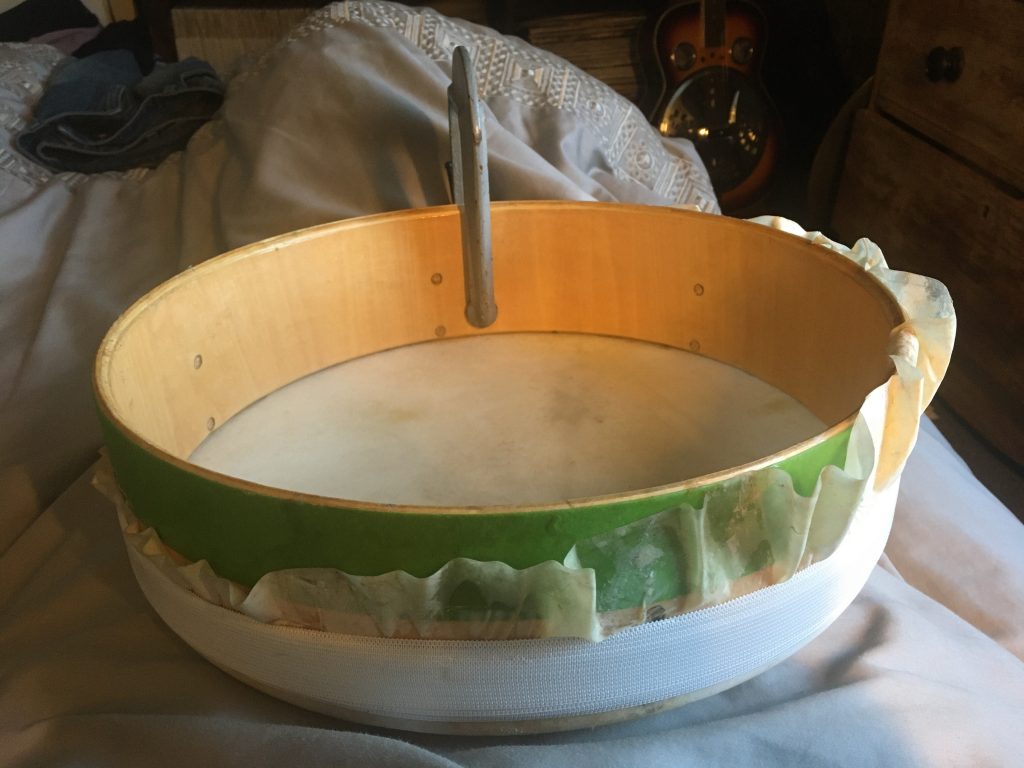
Next I need to remove the excess goatskin, and then wrap tape and a textile wrap around the drum, before finally securing them all with shortened tacks. I’ll aim to get all that done today. So I should have the drum finished in just a few hours. What fun!
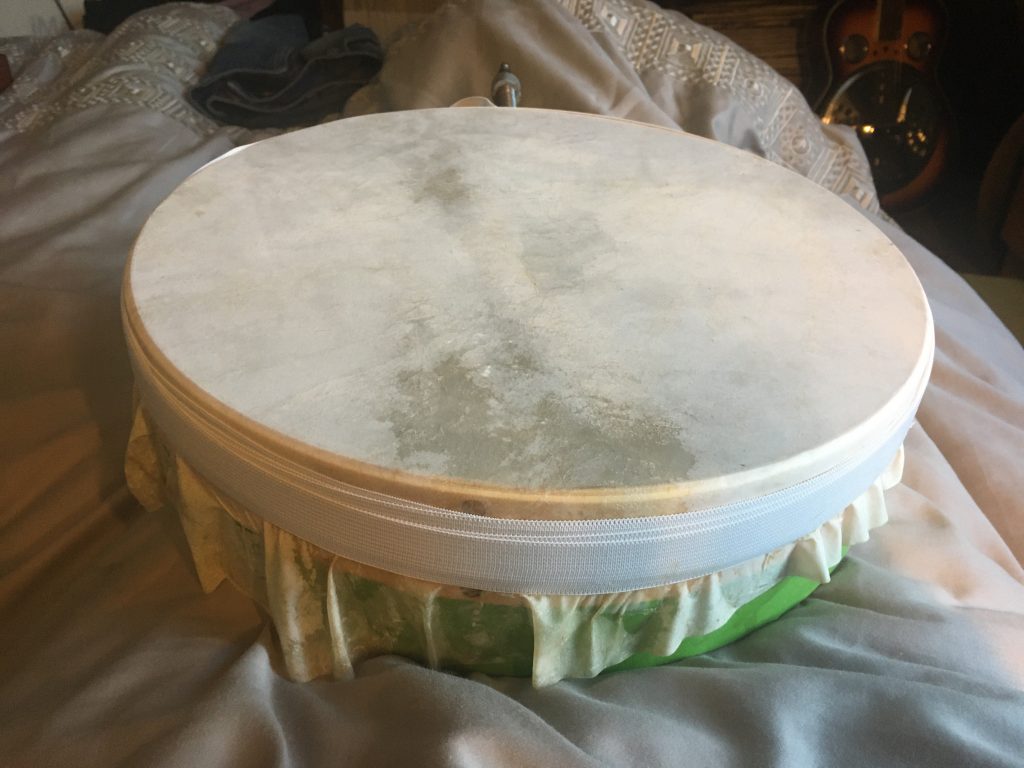
Here, in the above image, one can see how off-centre I had to make the skin, to avoid the kitty-damaged areas winding up on the playing surface. Chester has left his moggy-mark on this one!
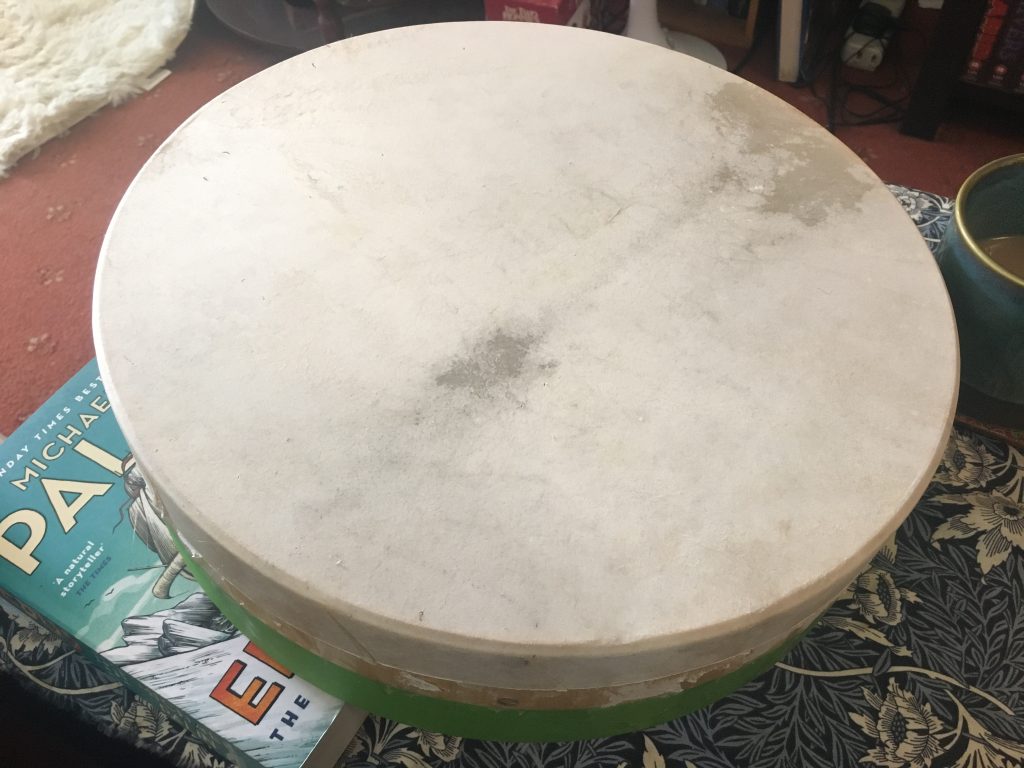
After a day that quickly filled up with other activities, I finally got back to the drum. Having taken off the last bit of skin tensioning, the elastic, I had to remove the excess goatskin. This left a much messier residue than last time.
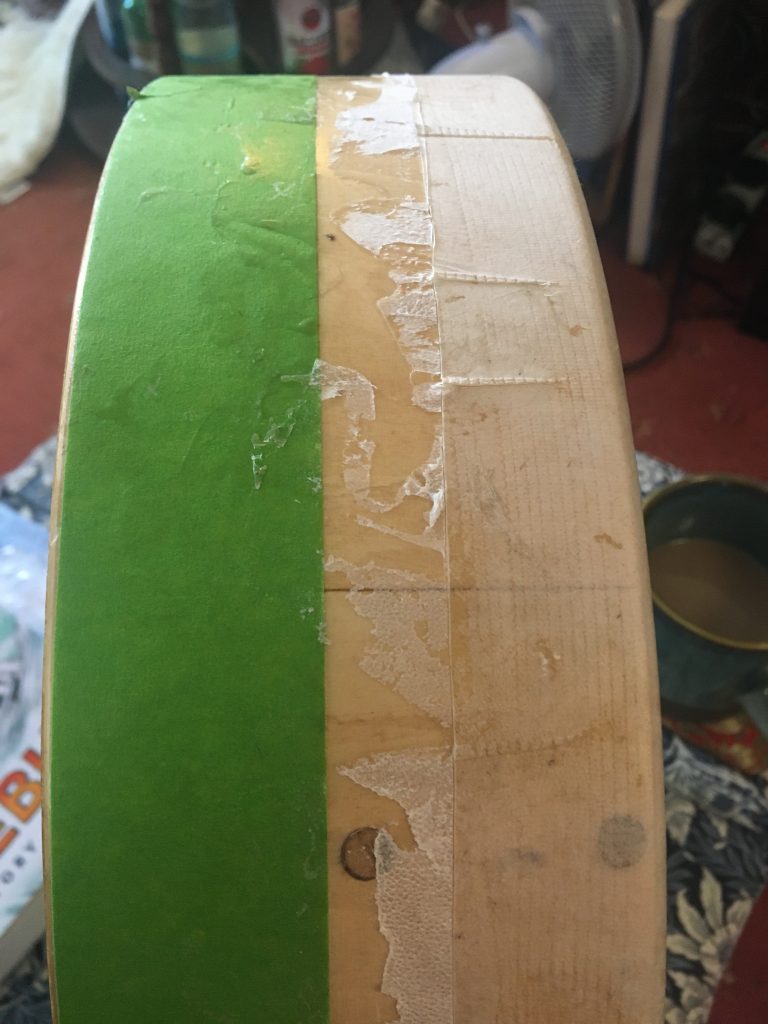
I left the protective ‘frog tape’ masking in place, so I could clean up the messy residue of goatskin and glue. Using a knife, then a chisel, and finally some sandpaper, I cleaned up the mess as best asI could.
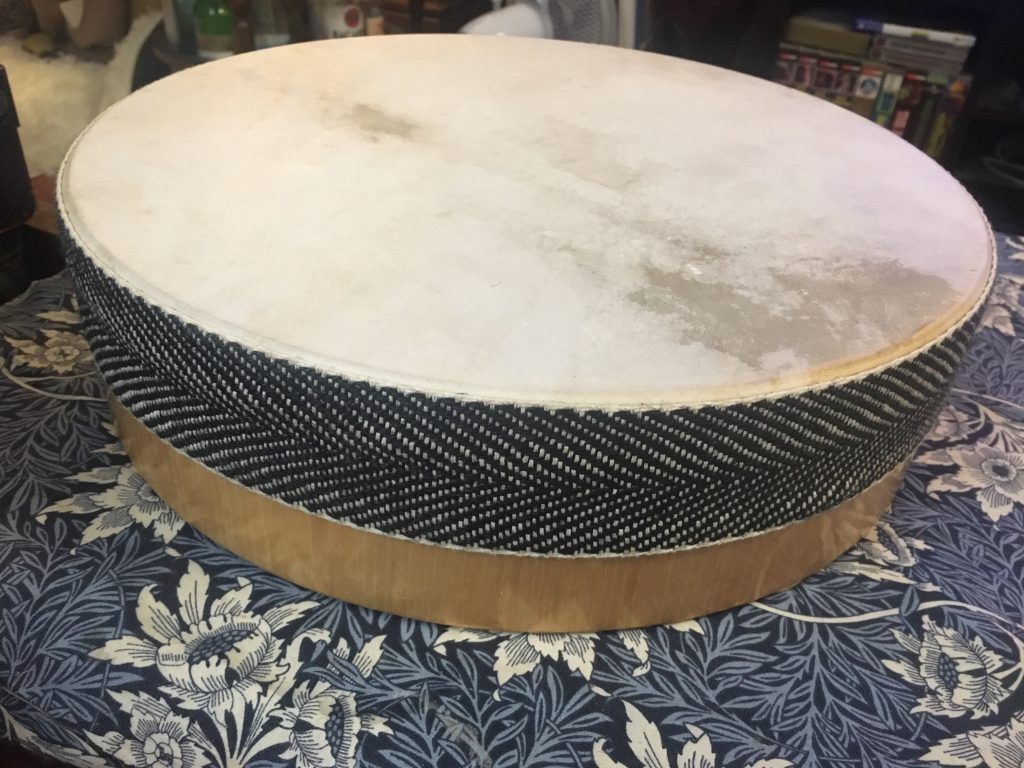
Then I took the protective masking tape off, and put a band of very high-tack carpet tape on, followed by the fabric tape. So, this new drum is pretty much done now. I decided to join the fabric tape edge to edge, rather than as previously, with a fold-over.
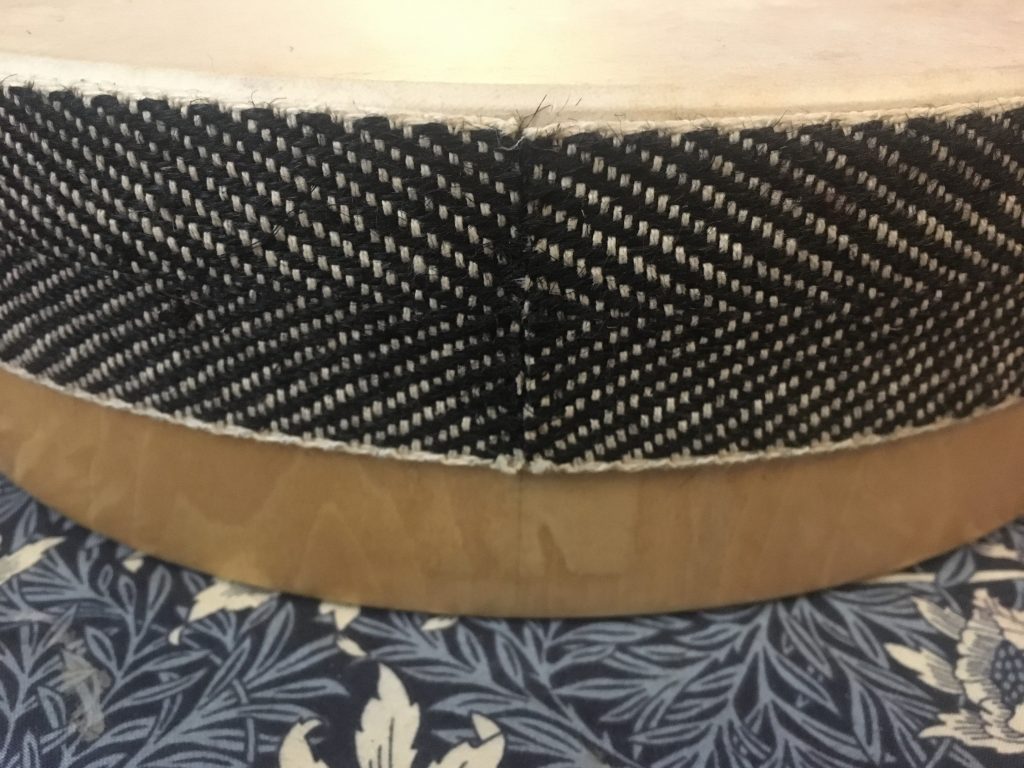
The end to end join is nicer looking than the bulkier fold-over. At least I think so! Not sure if I’ll use the tacks this time or not? I’m leaving them off for now. I can always add some late if I feel the need.
Next step is to start playing it, and get a video of that up. So folk can hear how it sounds. I’ll be making a few more. I really want one with a much deeper bass note. So I either need less tension, and/or a bigger drum shell.
