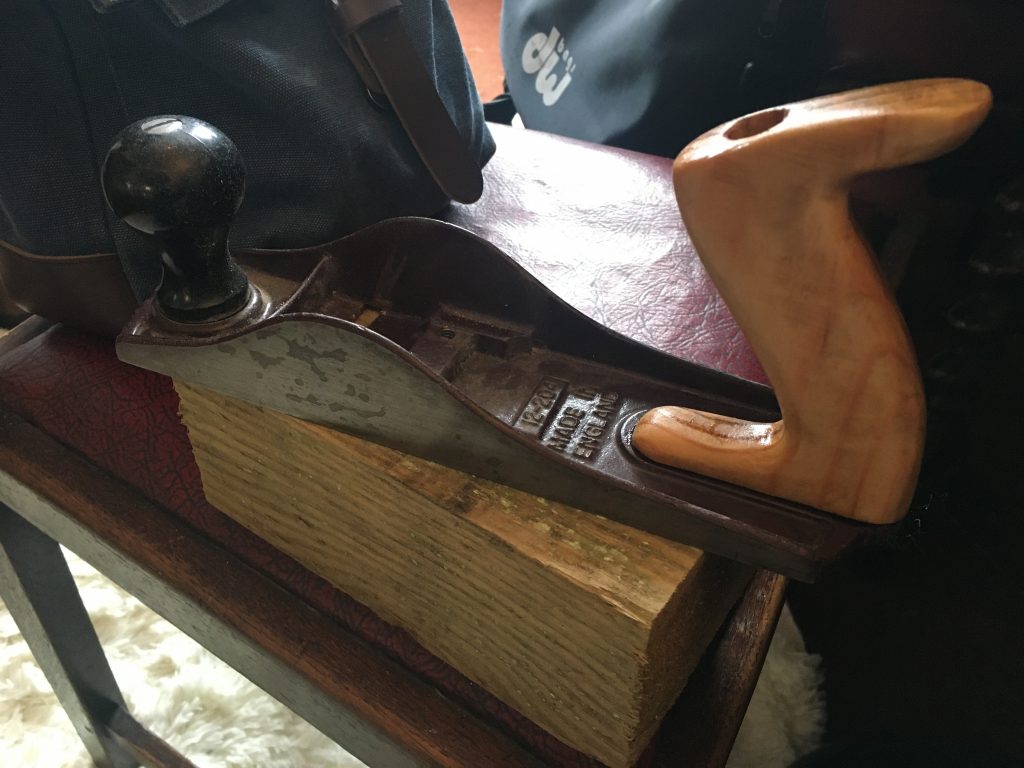
I made a wooden handle for one of my Stanley Handyman planes some few years back. Don’t recall now if that was ‘cause the plastic one broke, or simply because I just prefer the aesthetics of wood.
Anyway, I made the original replacement from some very, very hard wood. Very hard, but also very dry and brittle. So, not like oak. Don’t know what type of wood that previous handle was. It lasted longer than I expected, but finally broke, just a day or two ago.
My planes all need cleaning, setting up and sharpening. And I really ought to sell a few. As I have more than I need. I’d like all the planes I keep/use sporting wooden handles and knobs.
Making the handles is relatively easy, with gear I already own. And it’s really pleasurable, shaping all the curves. But the near spherical knobs would be a lot easier to do on a lathe, a tool I don’t as yet have.
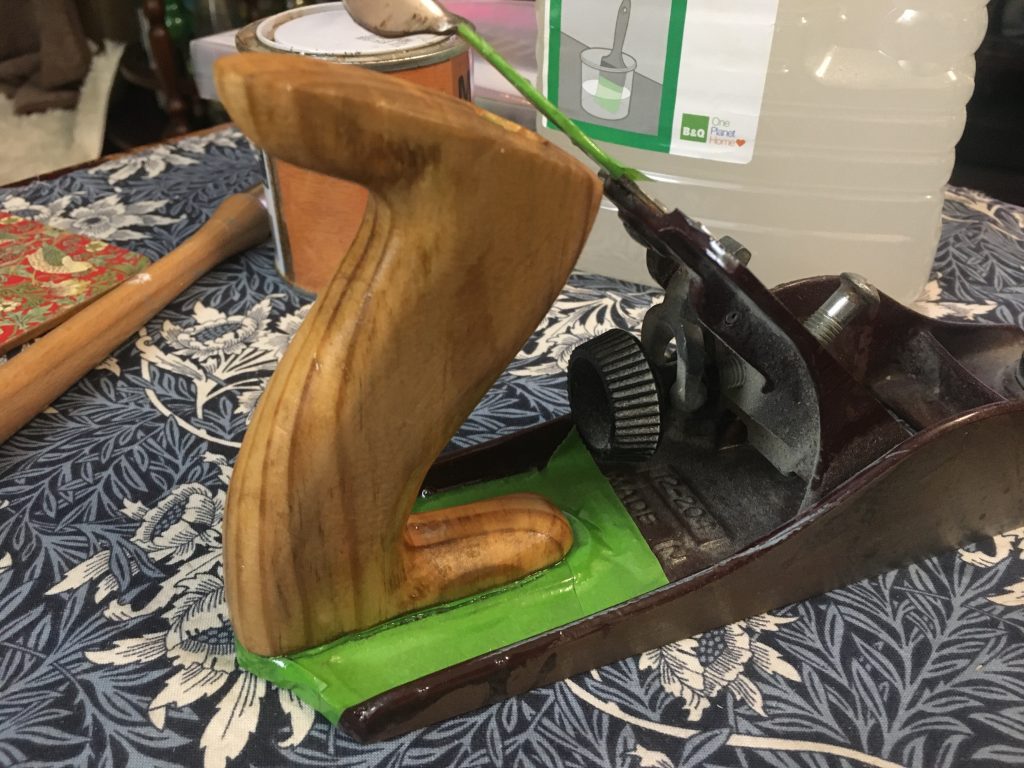
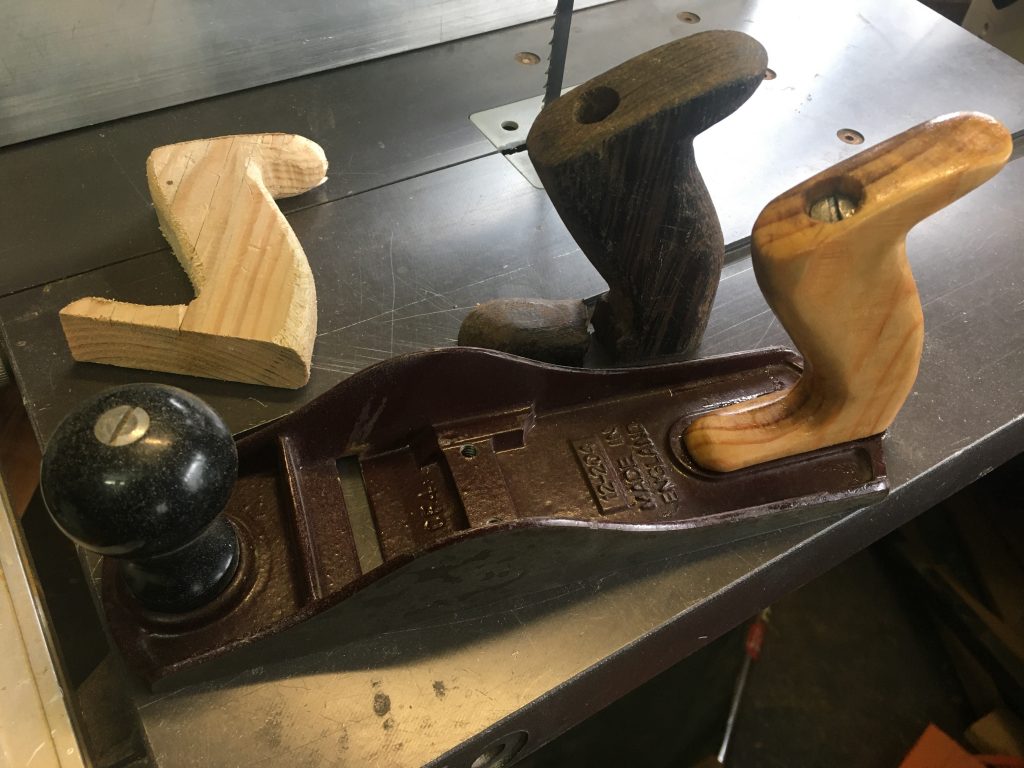
I tried to make two handles today, using soft construction pine. So, if they fail – and the first attempt did split on the thin forward ‘foot’ of the base – it’s all good practice for when I finally get around to making some in a more durable (perhaps prettier?) wood. Not sure what might be best: oak, cherry, yew? I really don’t know! Something to look into.
And… whaddya know!? As I’m sitting working on this, Steve Ramsey gives way to Paul Seller’s on YouTube, and – with no input from me – after videos on saw horses and other stuff, up pops his plane handle tutorial! Serendiplodocus or what!? It turns out he uses yew. So I’ll try and get me some o’that.
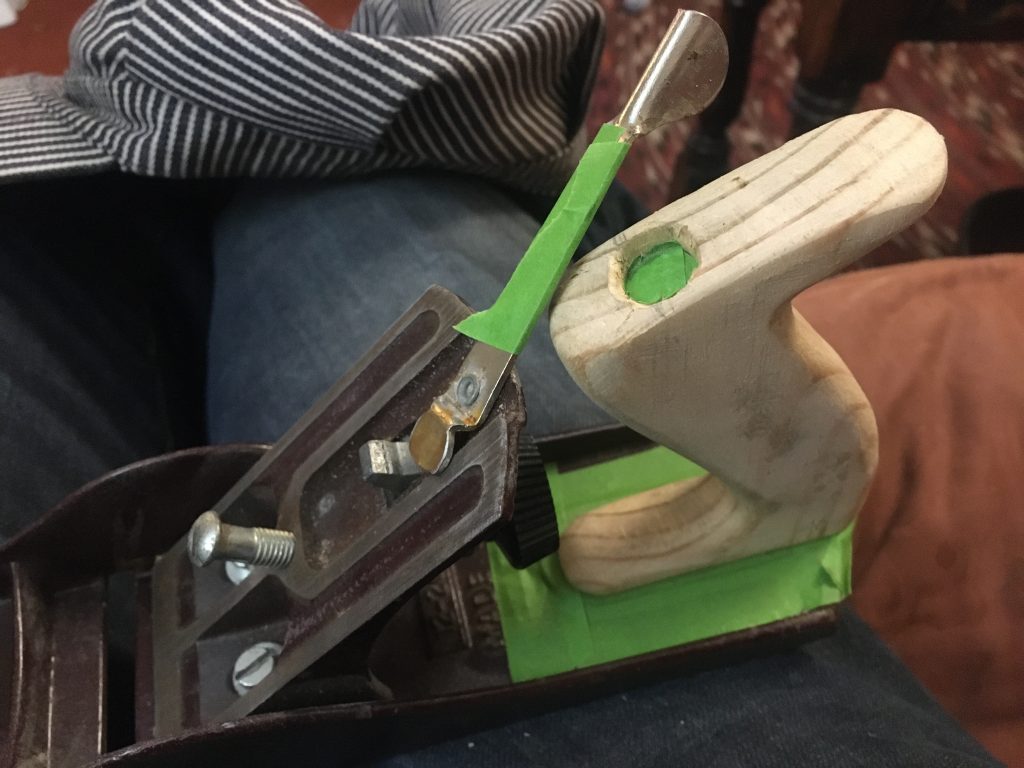
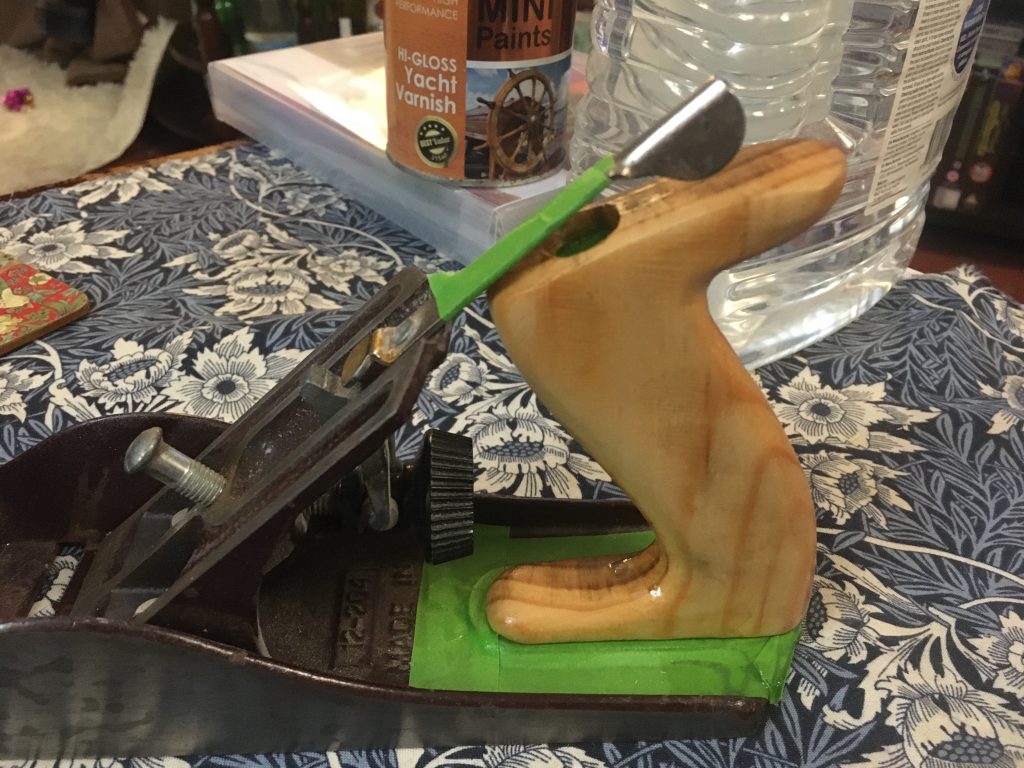
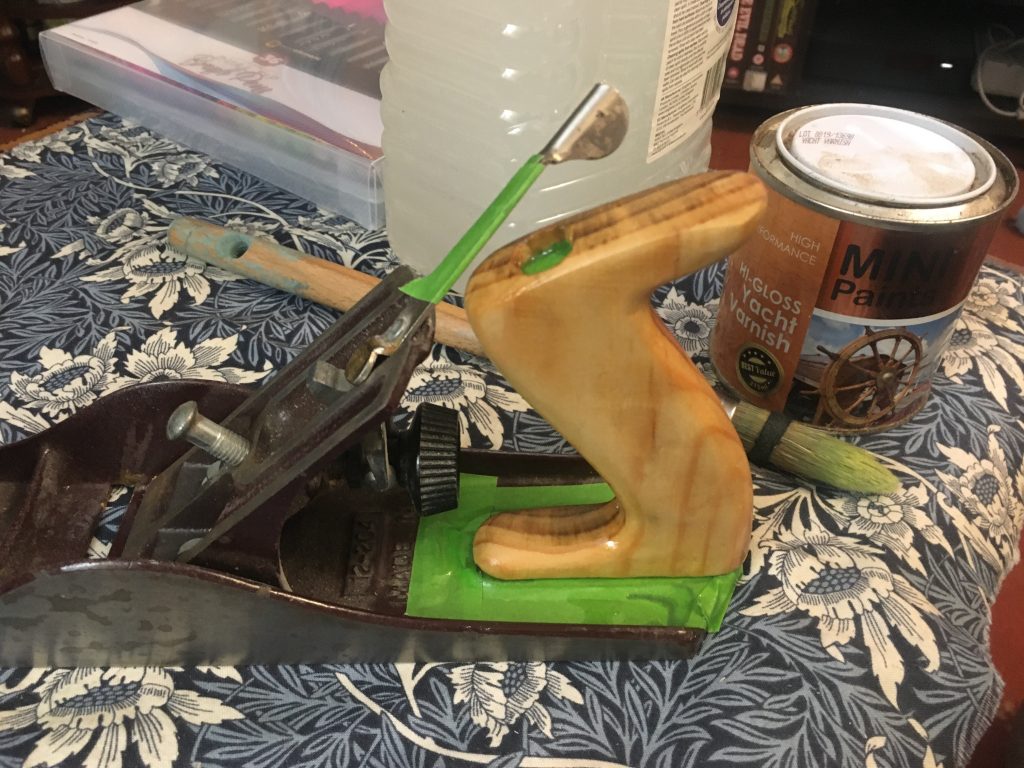
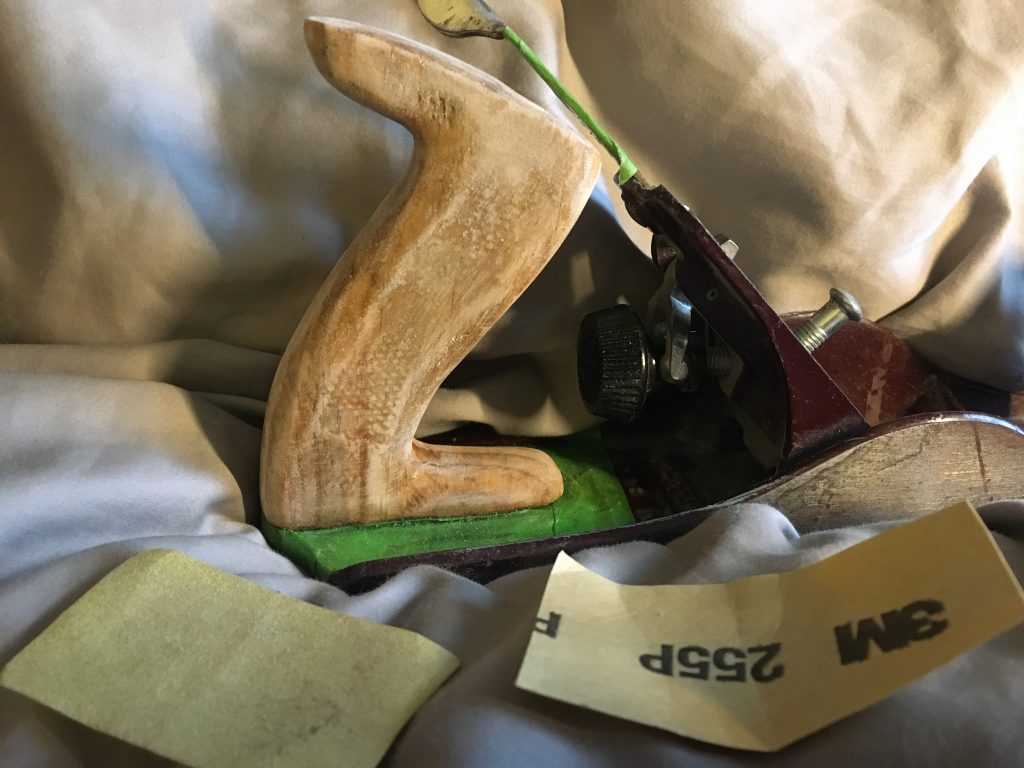
And now, the following day, a sand with 255 grit, and a sixth (and I hope final?) coat of varnish. I’ll give it an hour or so to dry. And if it’s still tacky – the previous coats were still a bit sticky after 24 hours! – I might speed things up with a hair dryer.

Then I’ll remove the masking tape, clean and polish the rest of the rest of the plane, and sharpen the blade, reassemble, etc.
Hmmm!? Can’t stop fettling it! Wasn’t quite happy with the previous ‘final’ gloss varnish coat. There were some odd full spots. So I’ve sanded with 255 grit again, and will do one last ‘final’ coat later today. And that really will be the last, however it comes out. As I need to move on to the front end k-nob!
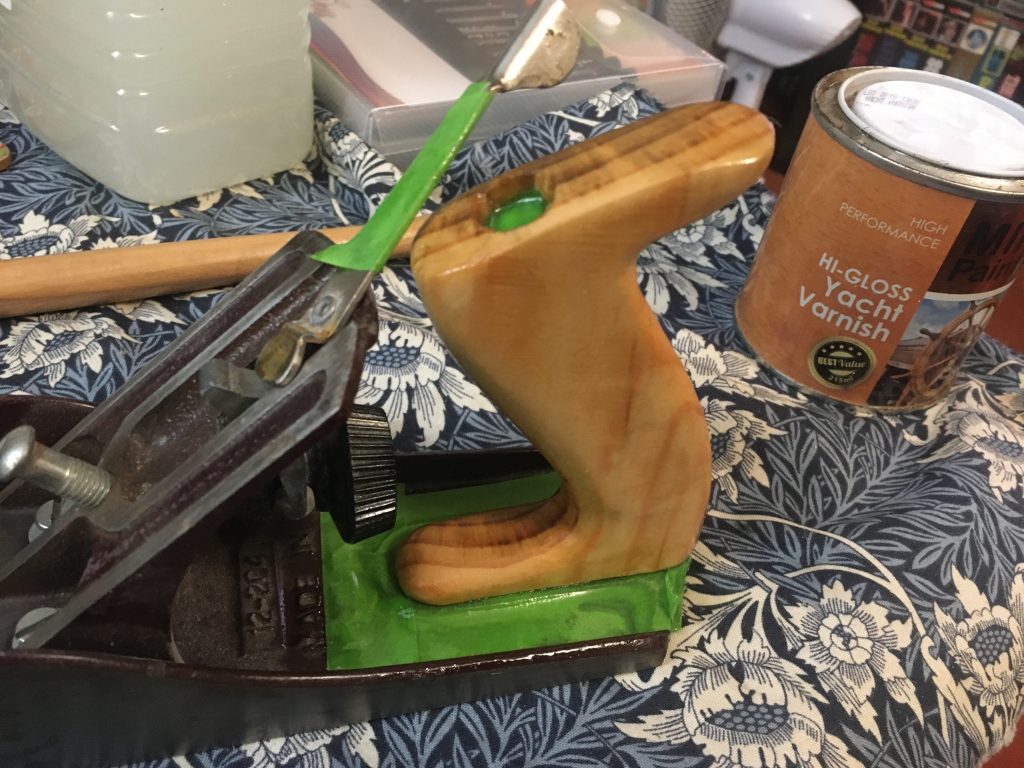
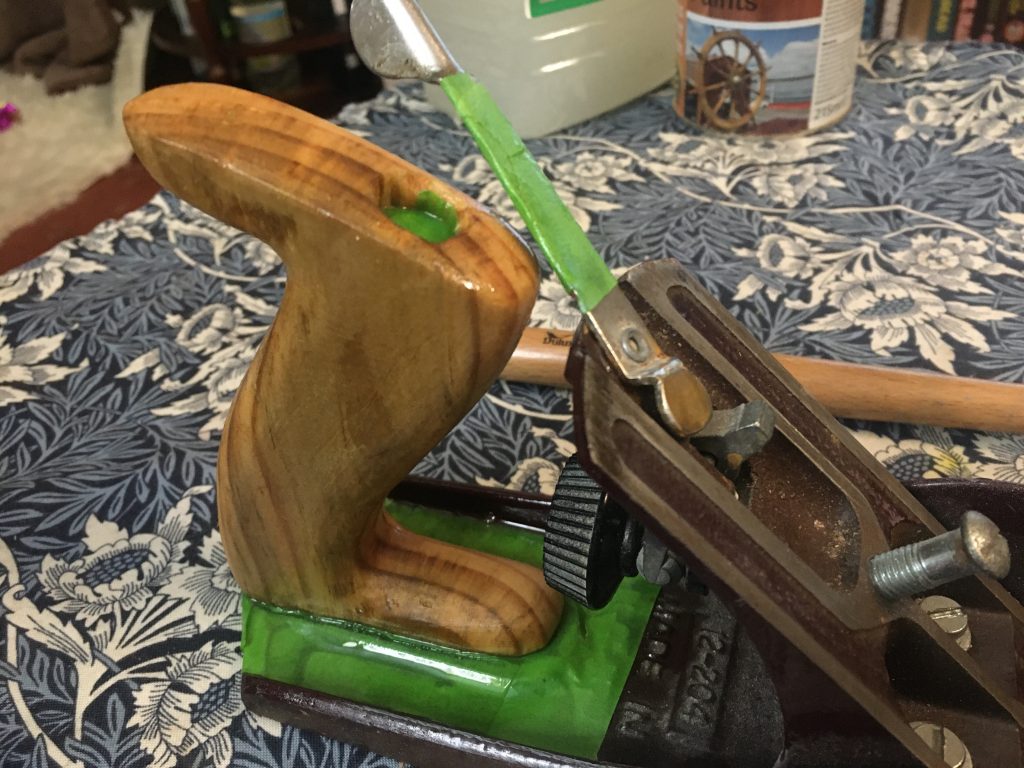
Well, I think that’s seven coats of gloss varnish in total? And three or four bouts of light sanding. I finally threw in the towel, finish wise. It’s far from perfect – but then the handle is pretty rough ‘n’ rustic anyway – but one has to stop fiddling and move on at some point!
The block of timber beneath the de-frogged plane, as pictured below, is going to furnish me with a number of knobs, I hope. How long will such softwood replacements last, I wonder? What I need is to find some yew.