
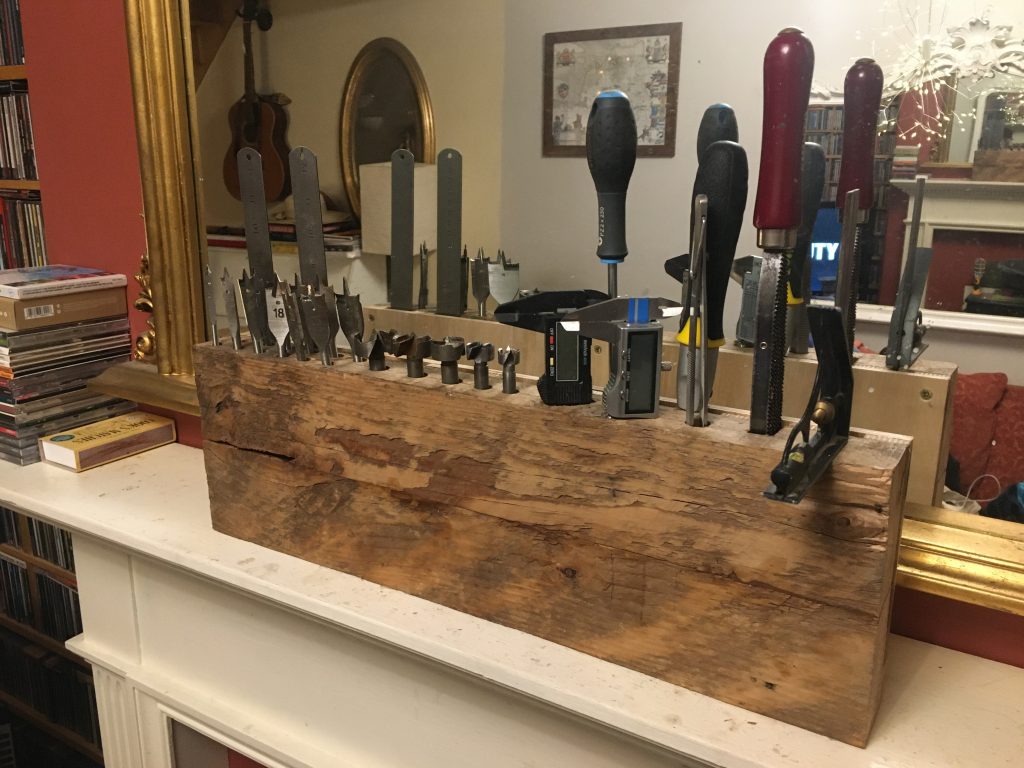
I followed up phase one of my tool caddy build, with the second step: adding a back panel/spacer strips, for taller and thinner stuff.
Much to my surprise and delight, since my most recent major tidy up and reshuffle, whilst things are far from complete or ideal, I can at least work in the shed workshop space now.
This ‘instant access’ tool caddy should help increase efficiency.
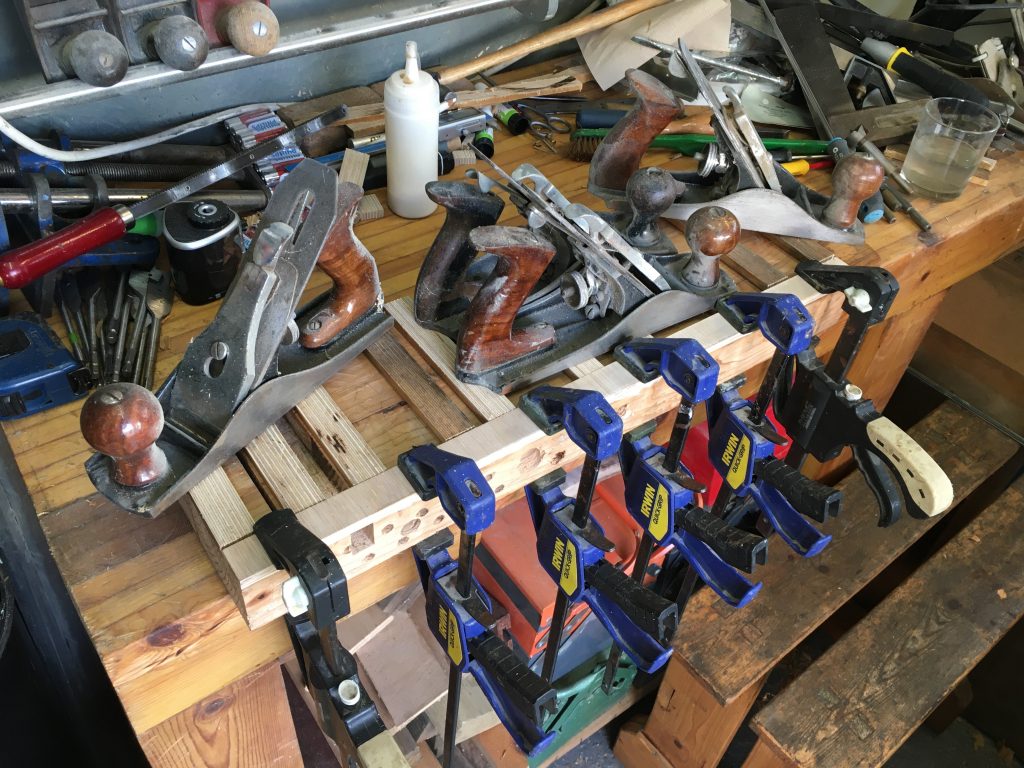
I used marine ply for the spacers, busking the dimensions completely. It would later transpire, rather miraculously, that these spacers turned out to be near enough the exact same thickness as a piece of random ply I bought from West End DIY. How unlikely must that be!?
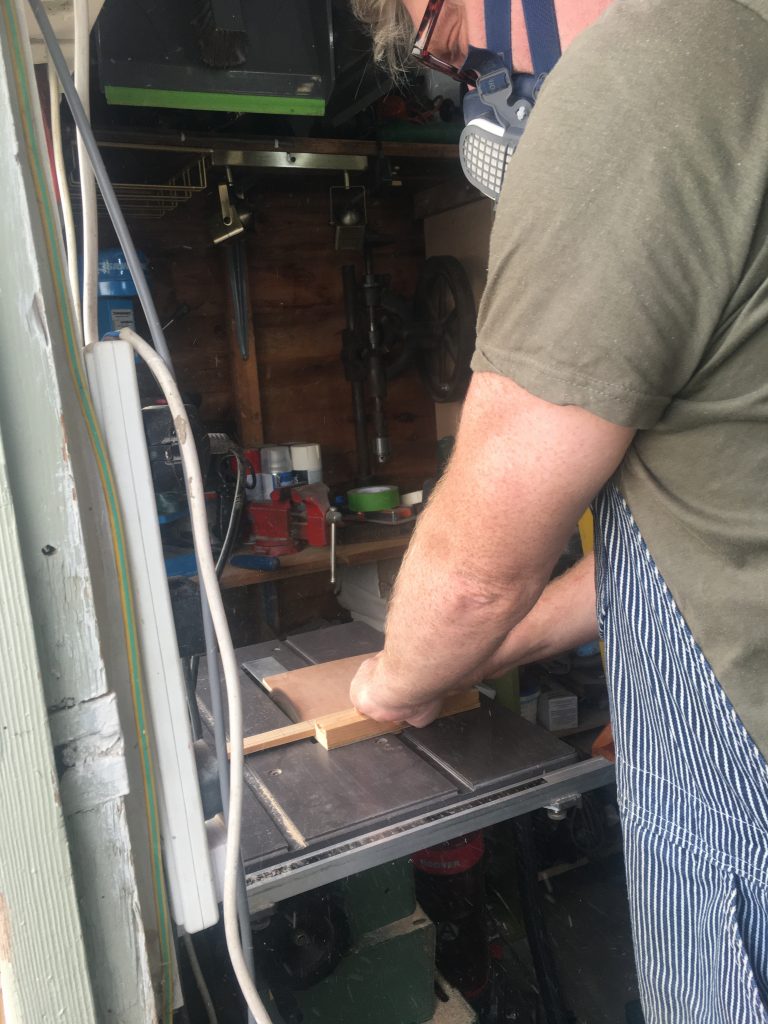
Cutting stuff on the Kity is going well at present. Although I think the blade – the same one that was in the machine when I bought it – needs either sharpening or replacing. And the very basic cross cut sled I made/adapted is doing sterling service.
The strip that runs along the bottom at rear is there to stop certain things, such as rulers, dropping straight through. I chiselled a few little bits away here and there; not all the way through. Just sufficiently to add more depth for some of the tallest ‘tall boys’.
After gluing the back panel in place I also screwed it in position. After which I planed some of the faces a little, to smooth and square things up a bit. Like Patrick Sullivan’s version of this idea, which is my inspiration for this project, mine will have two more sections, or tiers.
The single most satisfying part of todays work on this project arose out of a real pain in the ass: when I went to glue my spacer strips to the rear of the tall segment, I discovered there was a hump down the central axis of the chopped/glued board.
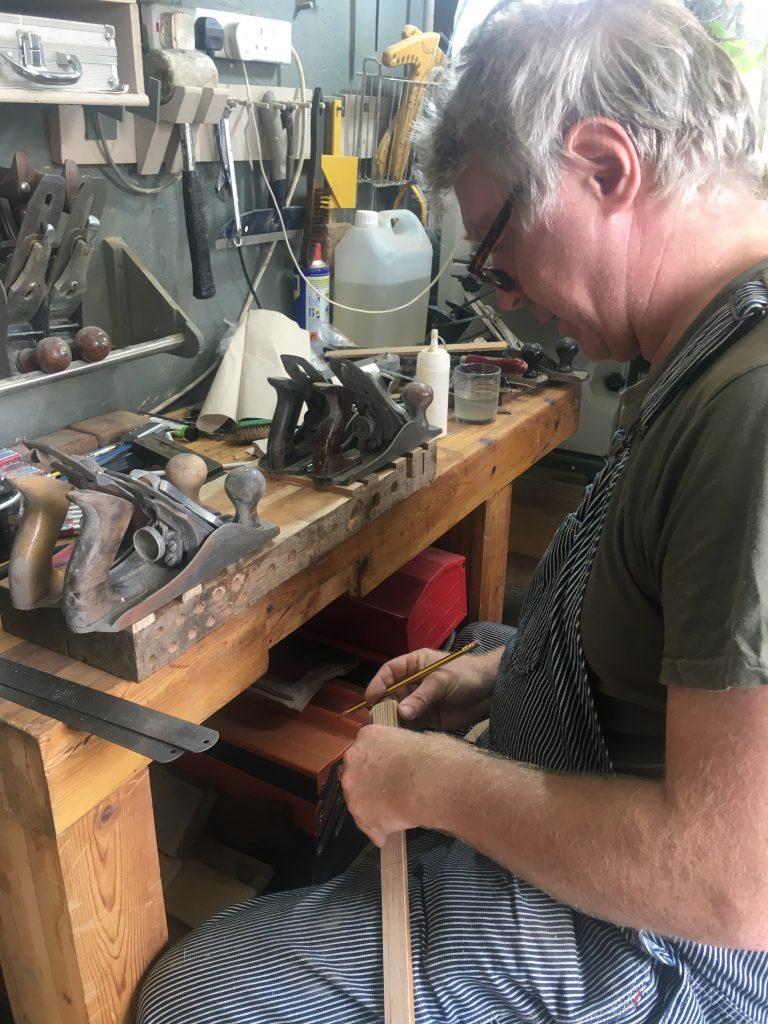
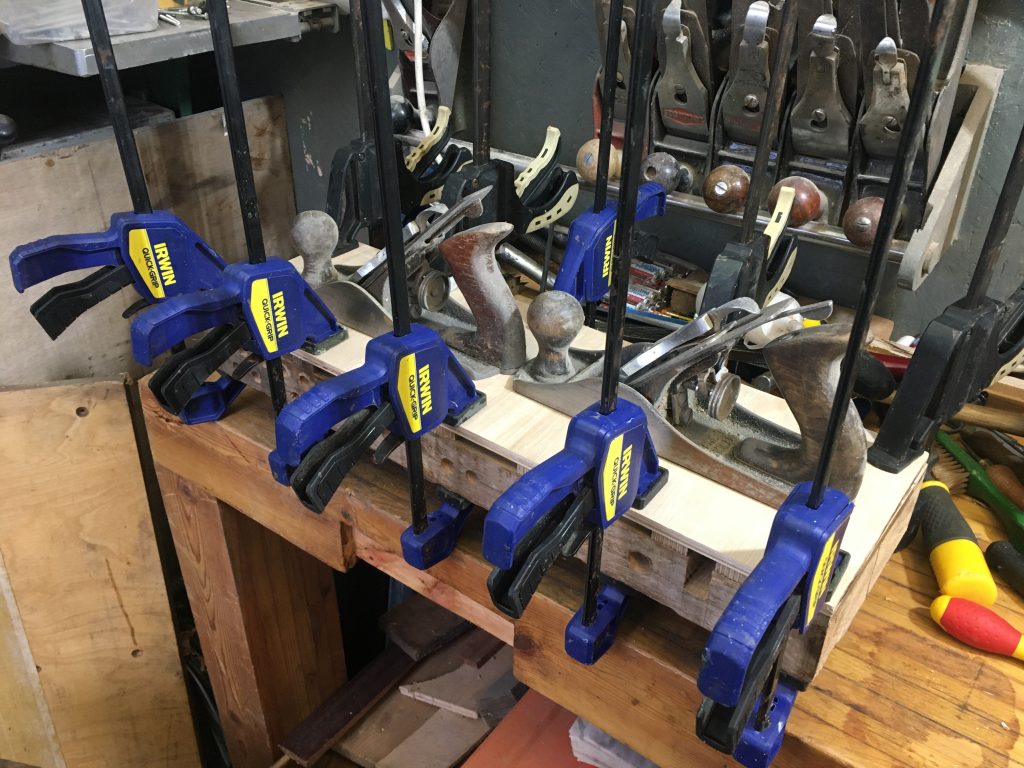
I have a planer-thicknesser for exactly this job, but I’ve still not got it hooked up to a motor, and running. I must attend to this ASAP! So I had to go old school, and simply plane the mother flat. That entailed sharpening my smoothing plane.
Time was, not that long ago, when I hated doing this, as I’d spend ages getting nowhere. But I now have the right tools – a plane-iron guide, a whole range of abrasives, etc. – and a few planes in basically good shape, that just need fine-tuning type maintenance. So it was pretty quick and easy restoring a keen edge. And once done, planing the rear face of this block proved easy as pie!