
After watching someone in America build a popsicle-stick house, on YouTube (below), I decided I’d like to make an architectural model myself. Of what? Well, why not try and built our art studio? And why not do so as a complete re-build?
I’ve been contemplating continuing with the bodged repairs to what we inherited for quite some time. But I’ve been lacking any energy or motivation to do so (never mind funds or materials).
All of a sudden I’ve felt the urge to do something creative. So, why not make a model of a totally new art-studio build? Thereby attaining the freedom to try out a completely new design.
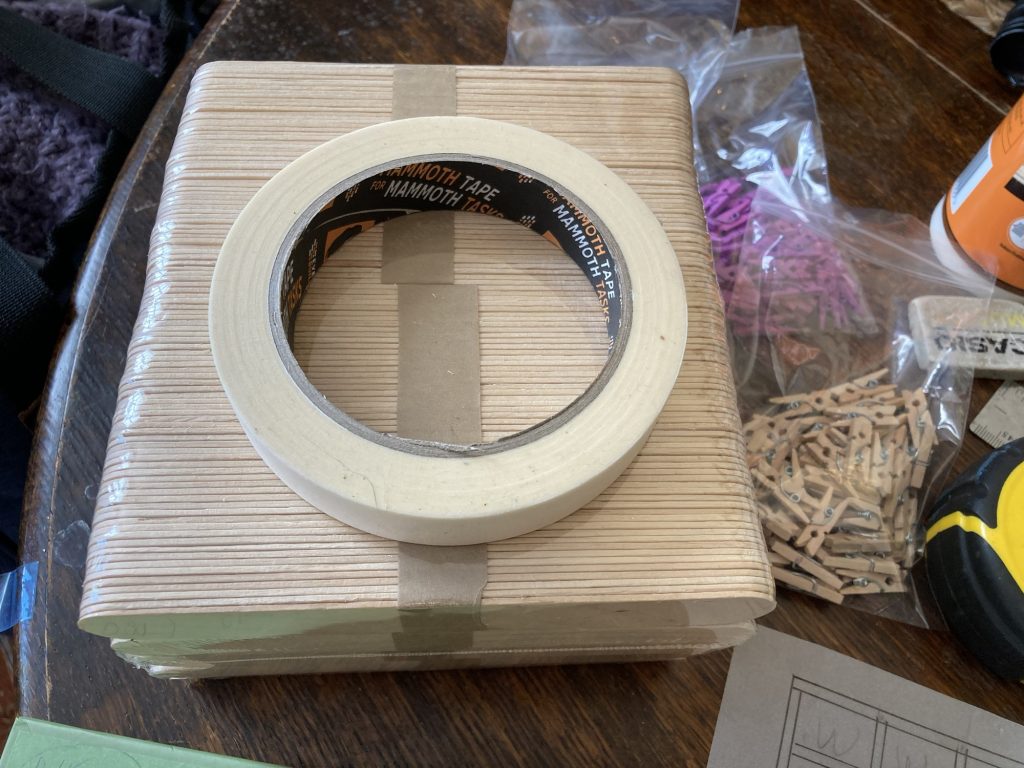
I arrived at 1:20 scale partly due to it making a small enough model that it won’t be a problem storing it. And partly ‘cause the lollipop sticks I bought will work best, for me, at that scale.
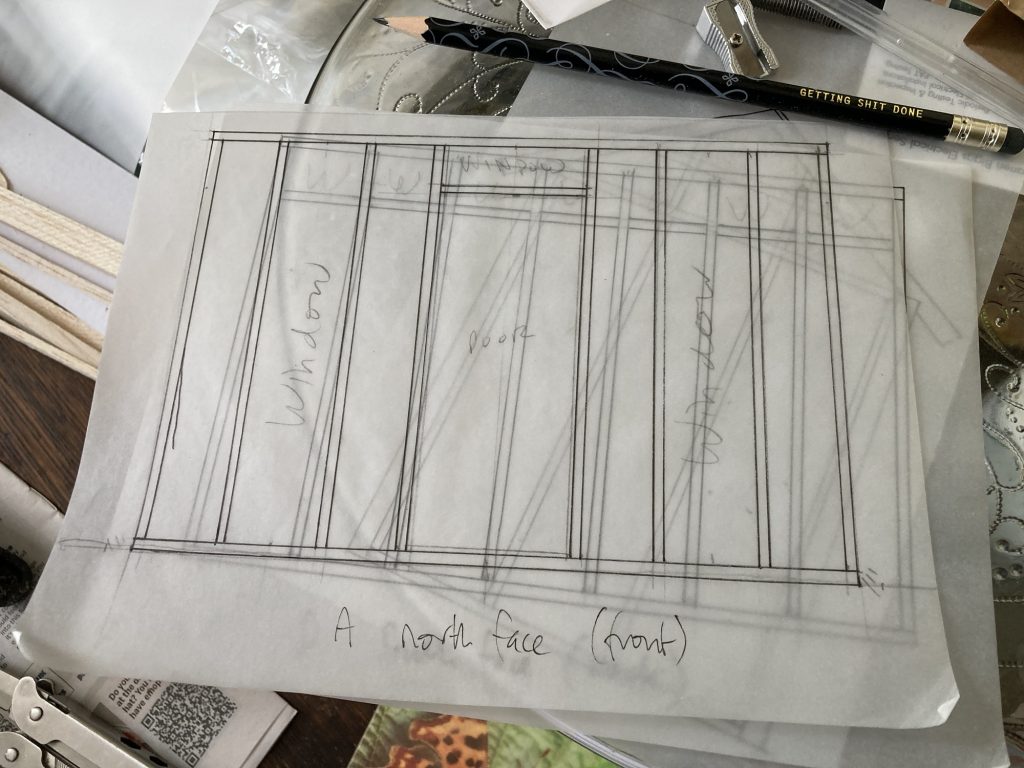
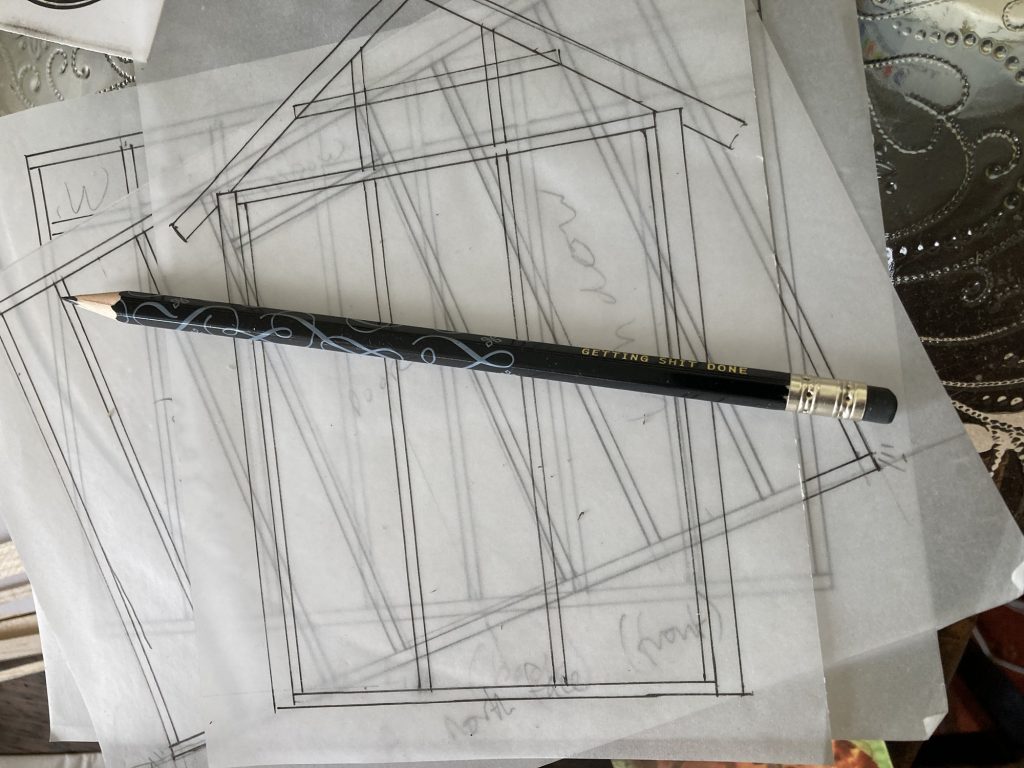
So far I’ve just drawn up some rough scale drawings of the various carcassing panels for each of the four walls. I’ve labelled them A through D: A is the North-facing ‘front’; B & C are the East- and West facing sides; D is the South-facing ‘back’.
My new design incorporates several doors I’ve collected, via Freecycle (or just general scavenging!), all of which let in more light, via numerous glass panes, than is currently available. And I’ll add lots more natural light via numerous windows. Some of the latter could be floor to ceiling.
*Not according to what’s physically viable. But due to current building regulations.
I’ve also gone for a new dual-pitch roof, to maximise height and indoor space.
It’s interesting how doing this – sketching out a design, building a model, etc. – can help one refine one’s ideas. For example, my first drafts of the carcassing panels immediately needed amending, or just plain re-drawing.
First of all I’d forgotten to allow for four 4”x4” corner posts, and second, I initially used dimensions taken from the current shed. I’m staying with the footprint, size wise. But I’m making the new design significantly taller. Both in terms of wall heights, and the height of the new pitched roof.
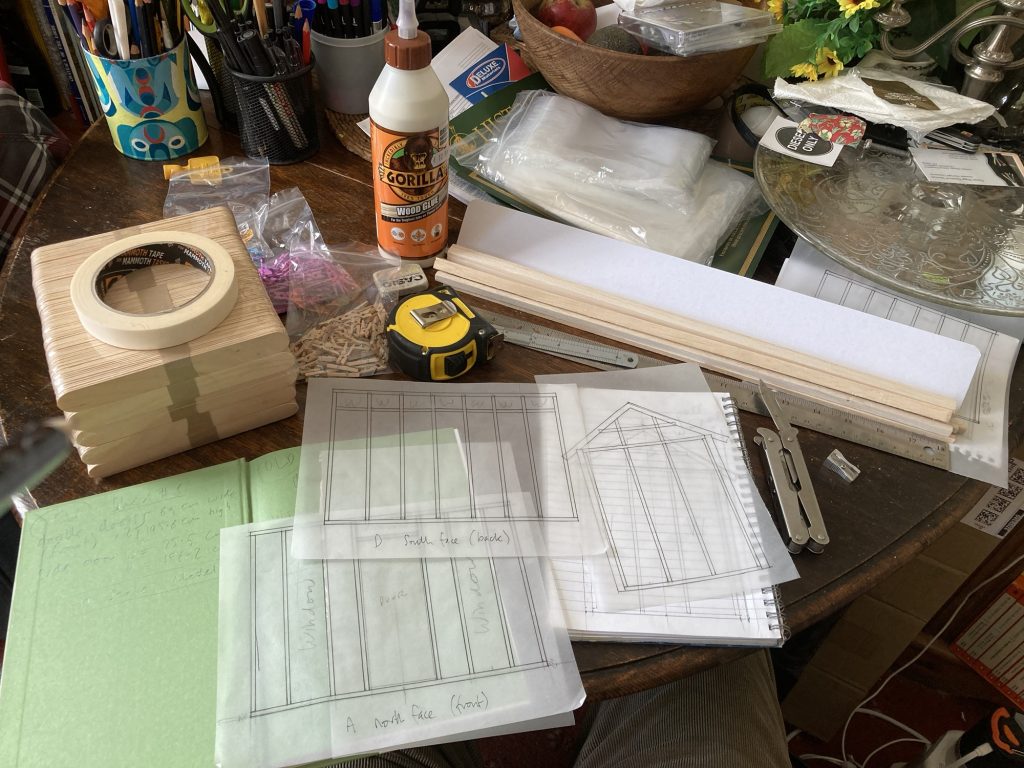
Yesterday I bought raw materials for the model, and started on the scale design drawings. Today I intend to finish those drawings, and make a start on the model itself.
The latter will entail prepping the (jumbo) lolly-sticks; cutting off rounded ends, and gluing/laminating some of the sticks to create scaled down 2”x4” carcassing timber. I have some balsa that’s the right size for the 4”x4” corner posts.
I’ll need a stable and secure base for the model. And I might also need to create a jig or two for prepping all the ‘timber’. Hmmm…
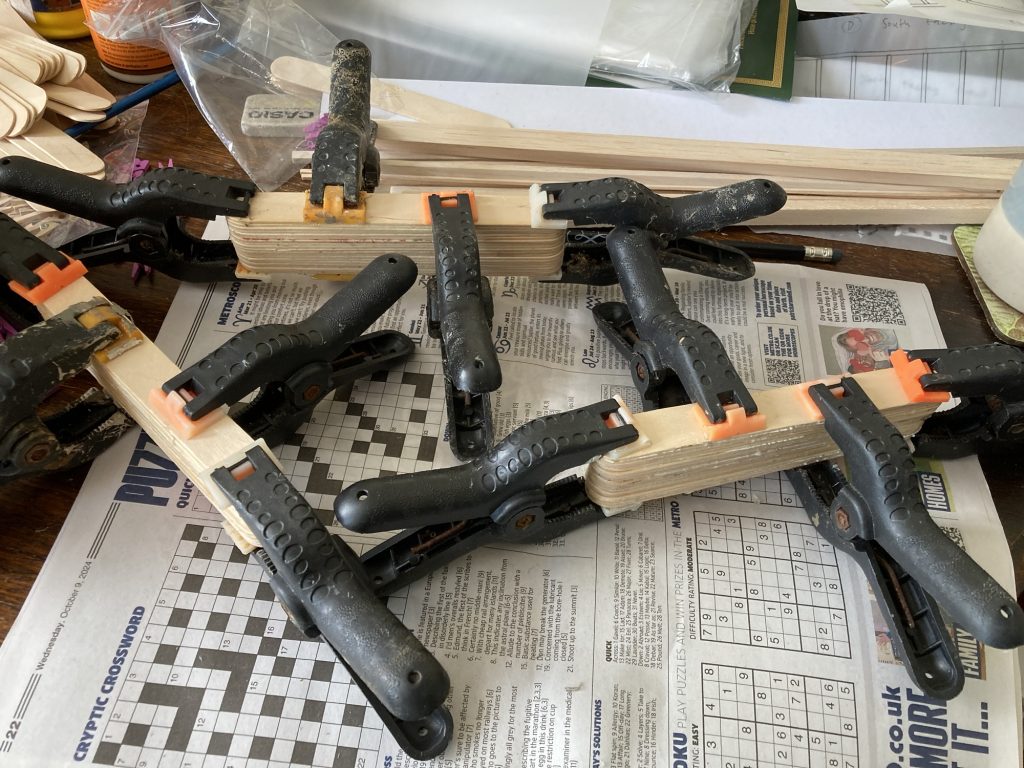
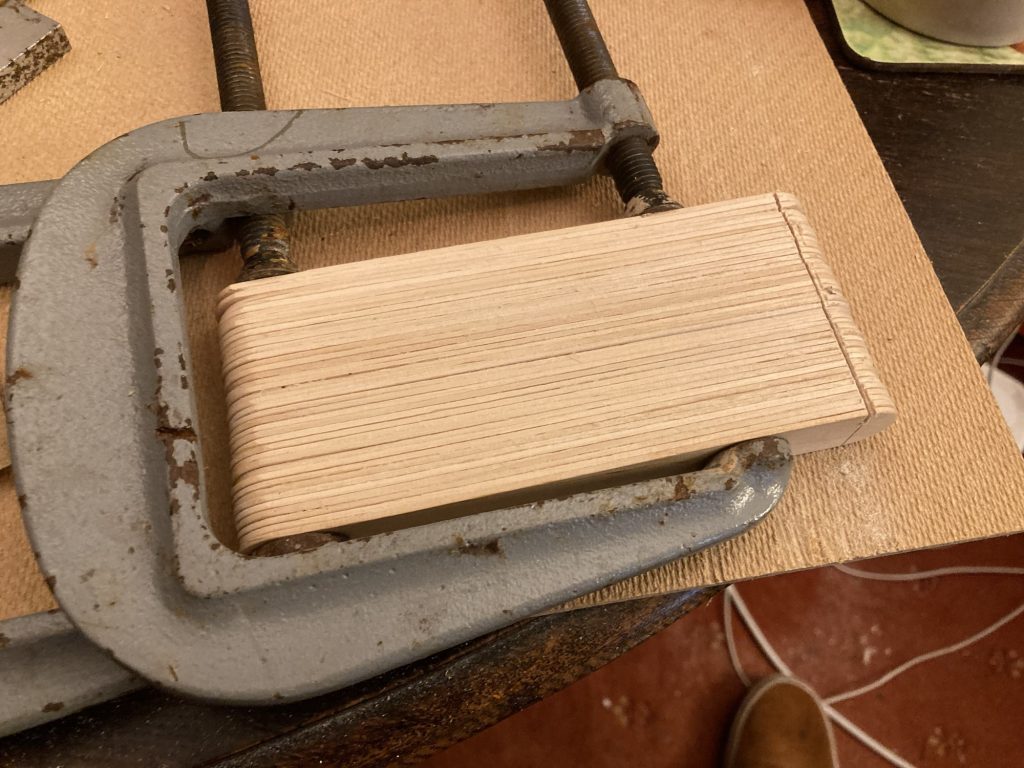
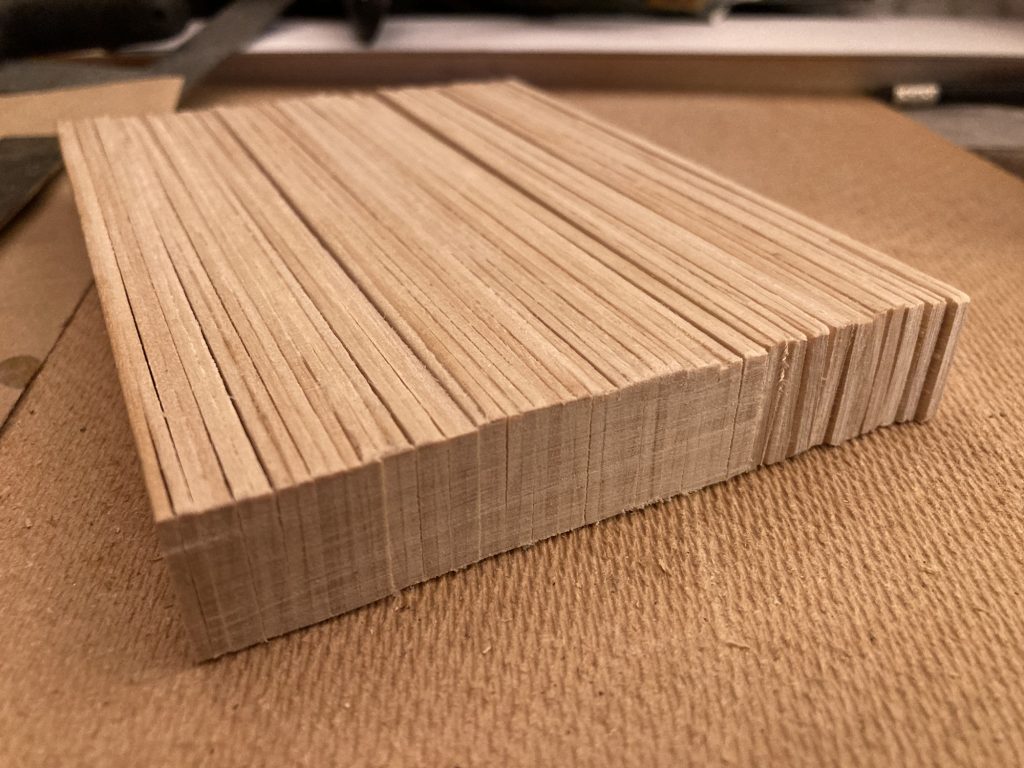
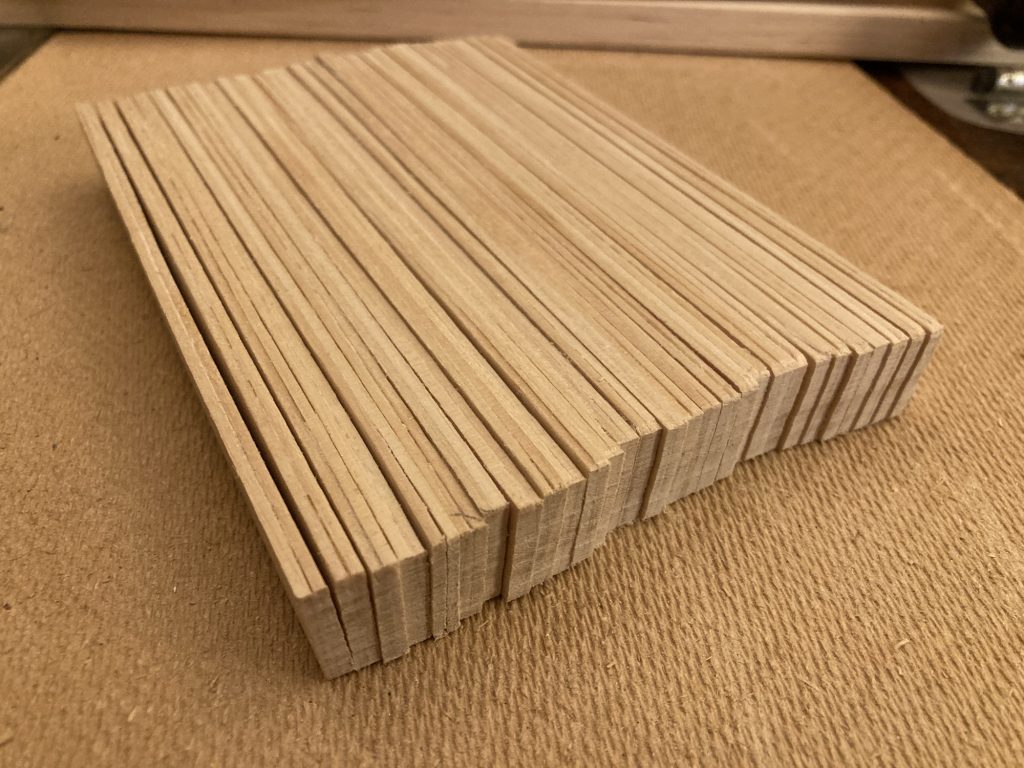
It seems the glue-up I did, gluing pairs of sticks together, so I can get proper 1:20 2”x4” ‘timber’ worked. I tried three different ways, of gluing. They all appear to have glued fine.
I also tried two ways of cutting off the ends. Individually, and en-masse. The en-masse method worked surprisingly well. You can see the contrast in the images below.
I also sanded all faces. To try and get everything ‘regular’. It’s a lot of little repetitive steps. But it’s fun.
One end squared off.

My final work on this tonight is to square off the other end.
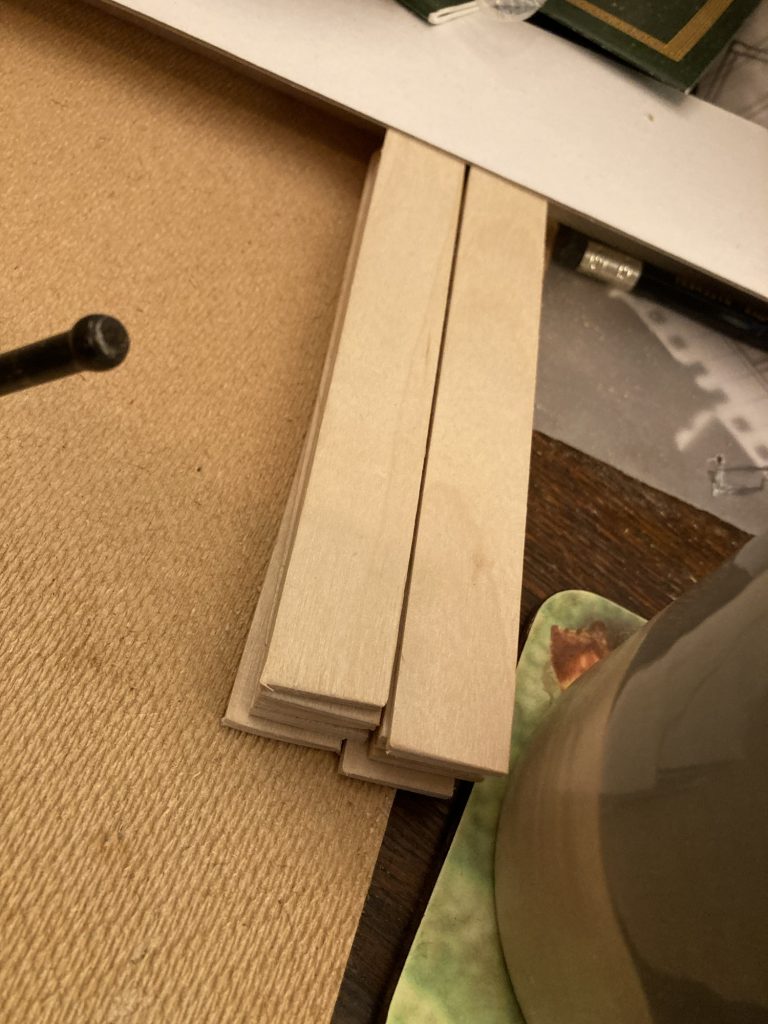
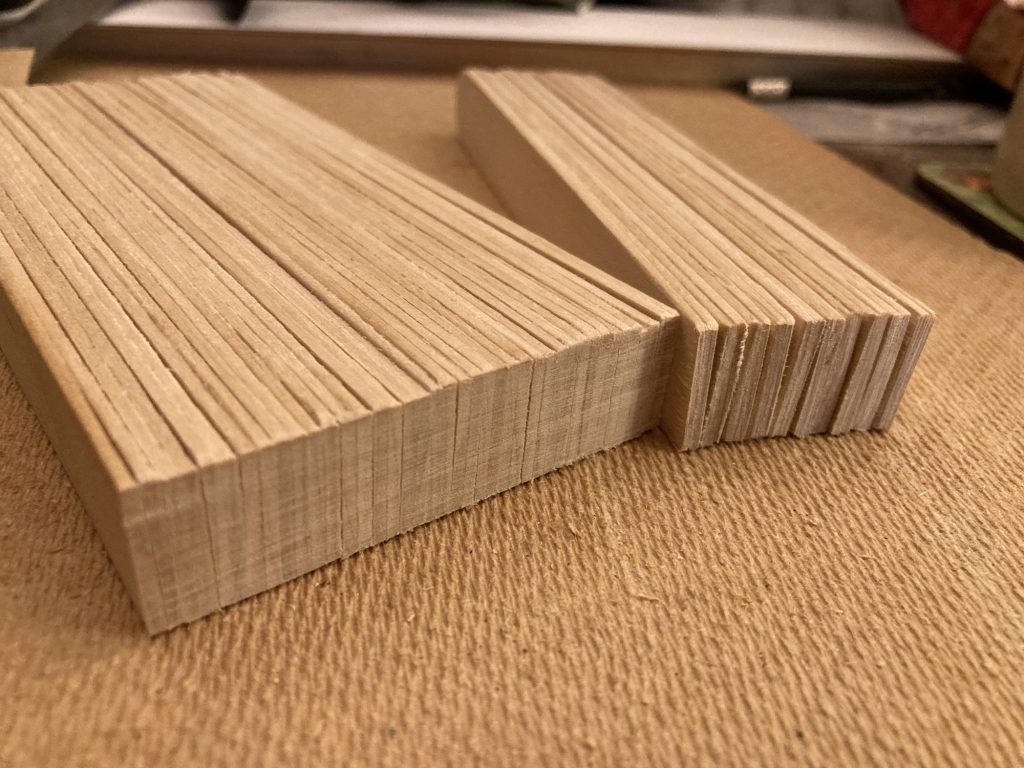
The next step is to cut the lolly sticks length-wise. I wonder, will I be getting two or three beams per stick? I should be able to get three per stick. But we shall see.