
 Broken ukulele…
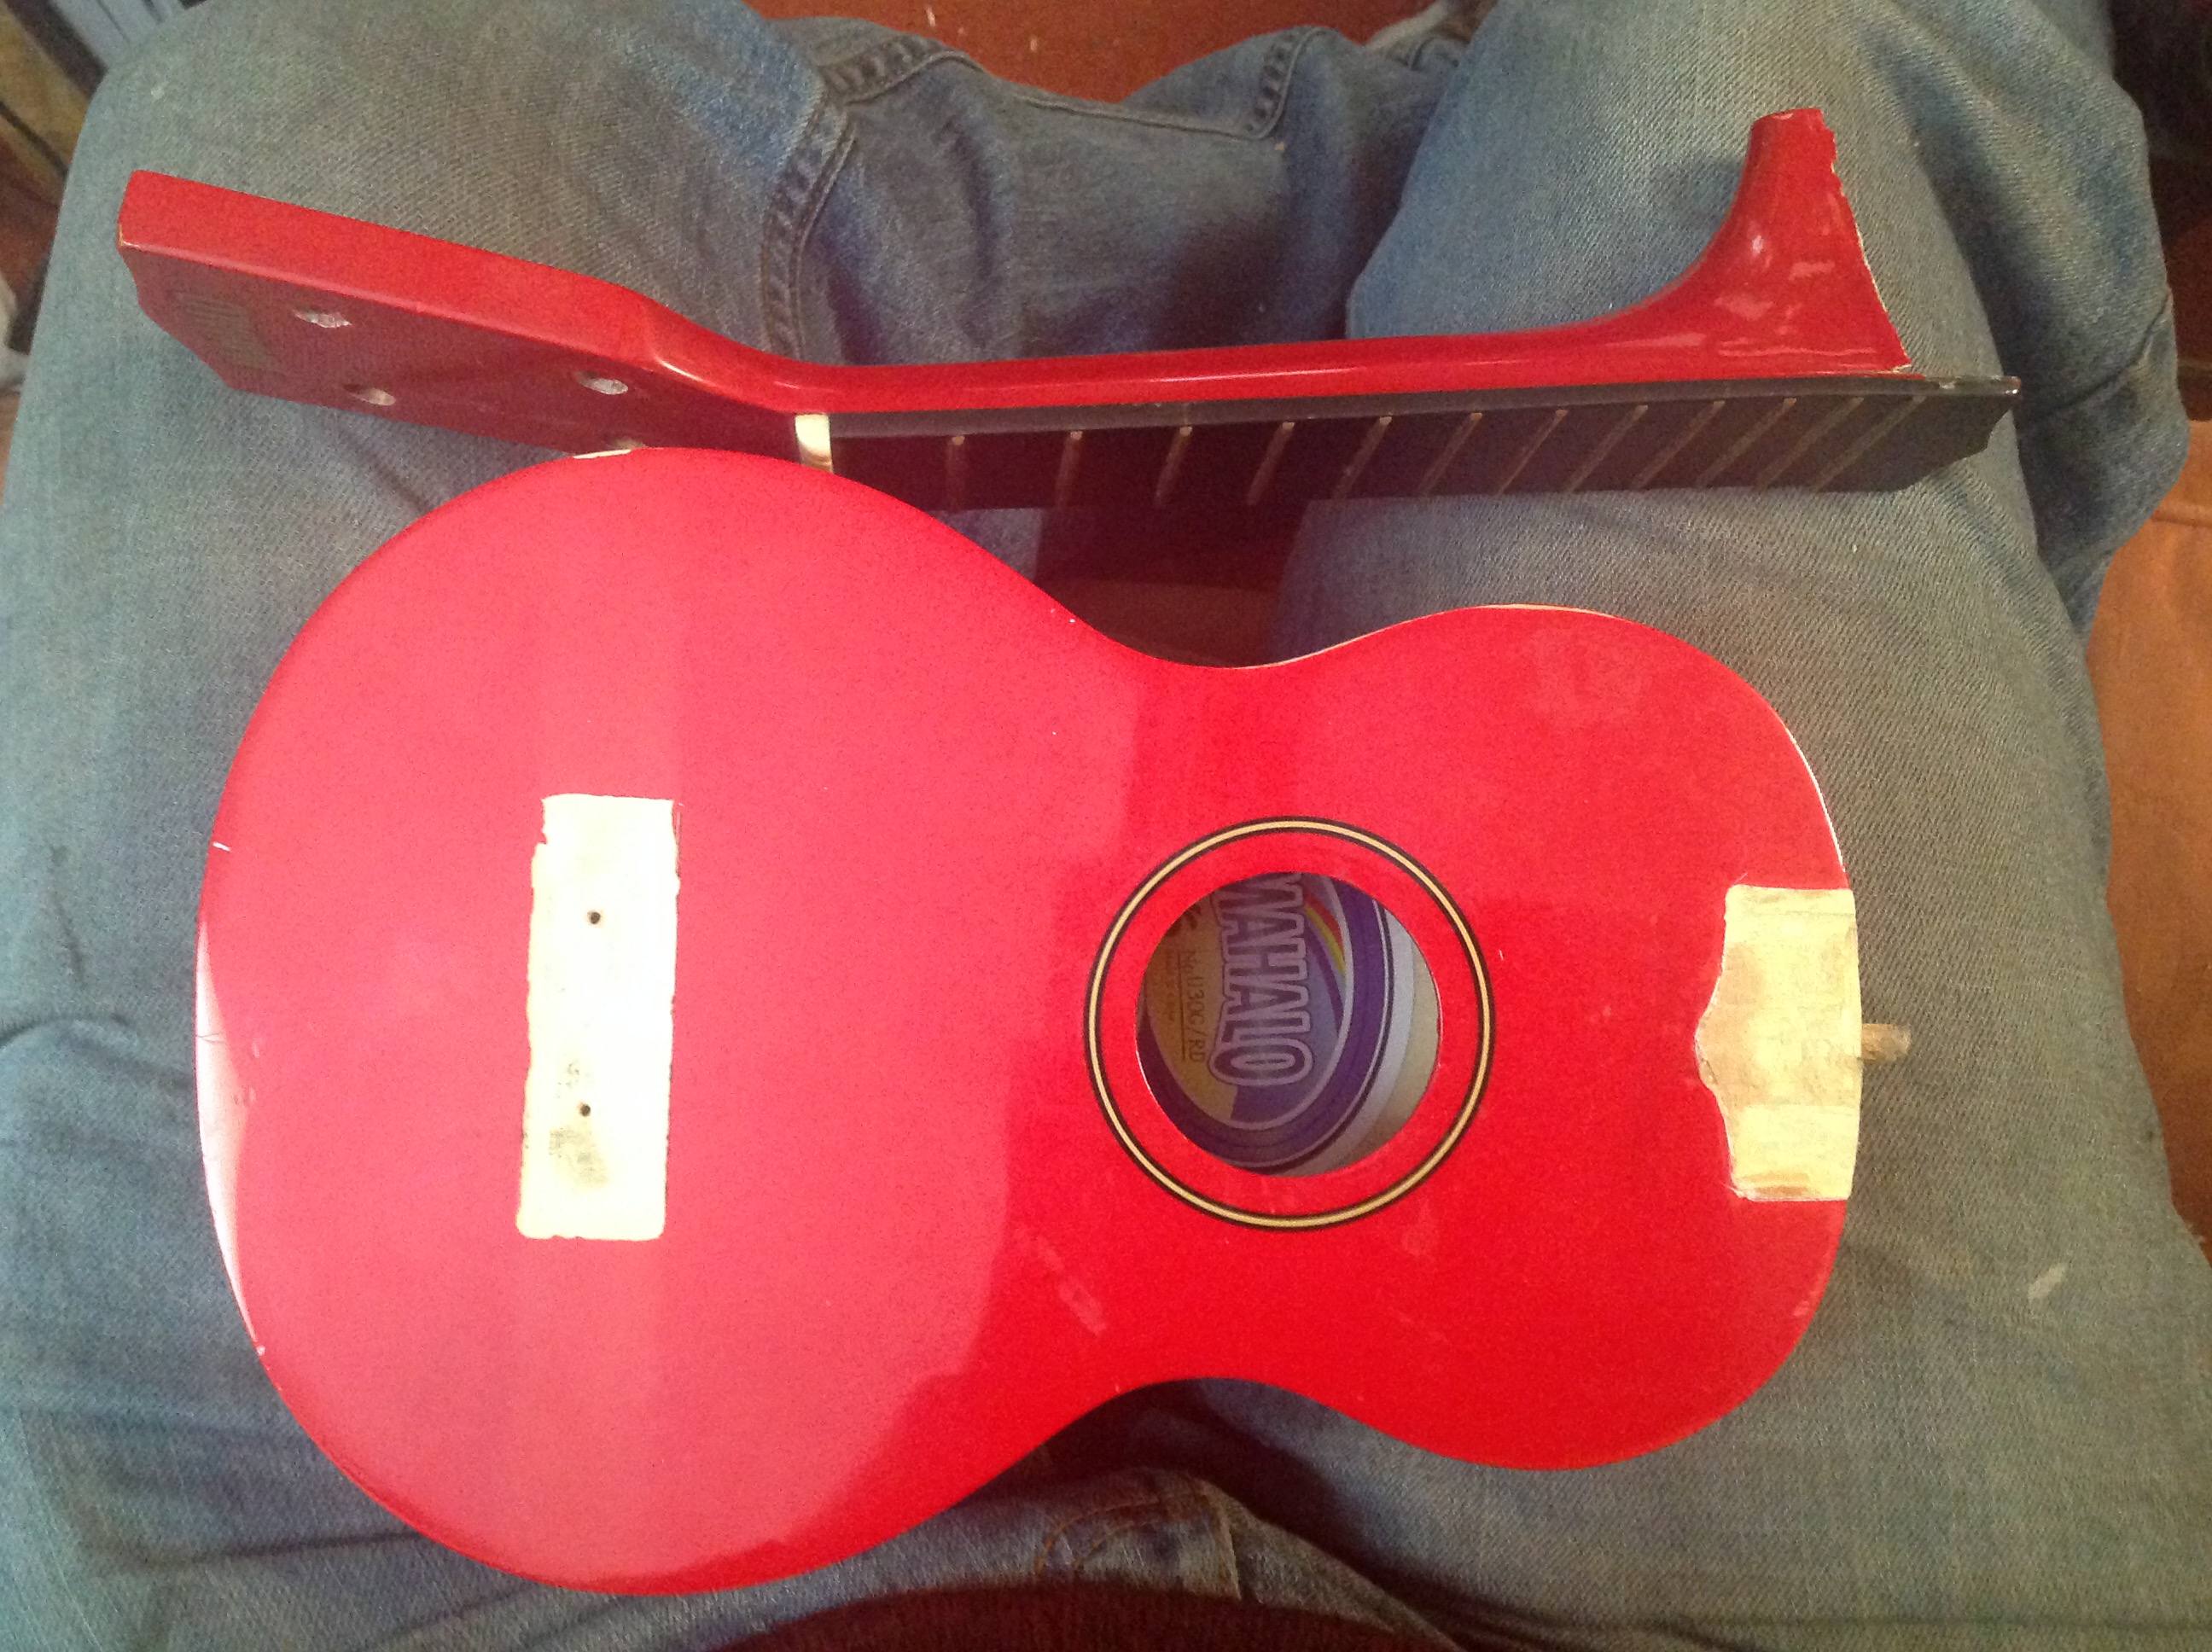
I finally got me a uke’ – long after the fad has peaked, I might add – off of Freecycle. The neck was coming away from the body. Rather than just trying to glue it back in place, I decided to take it off altogether, and totally renovate and restore the instrument, making it much more personal in the process.
 Uke’ stripped
Getting the neck off was far from easy. Indeed, I did a wee bit of damage to the portion of the neck that overhangs the body. But naught that can’t be fixed. I stripped off the glossy red lacquer finish, right down to bare wood. My plan was to use some veneers I’ve had kicking around for years on the top and the headstock.
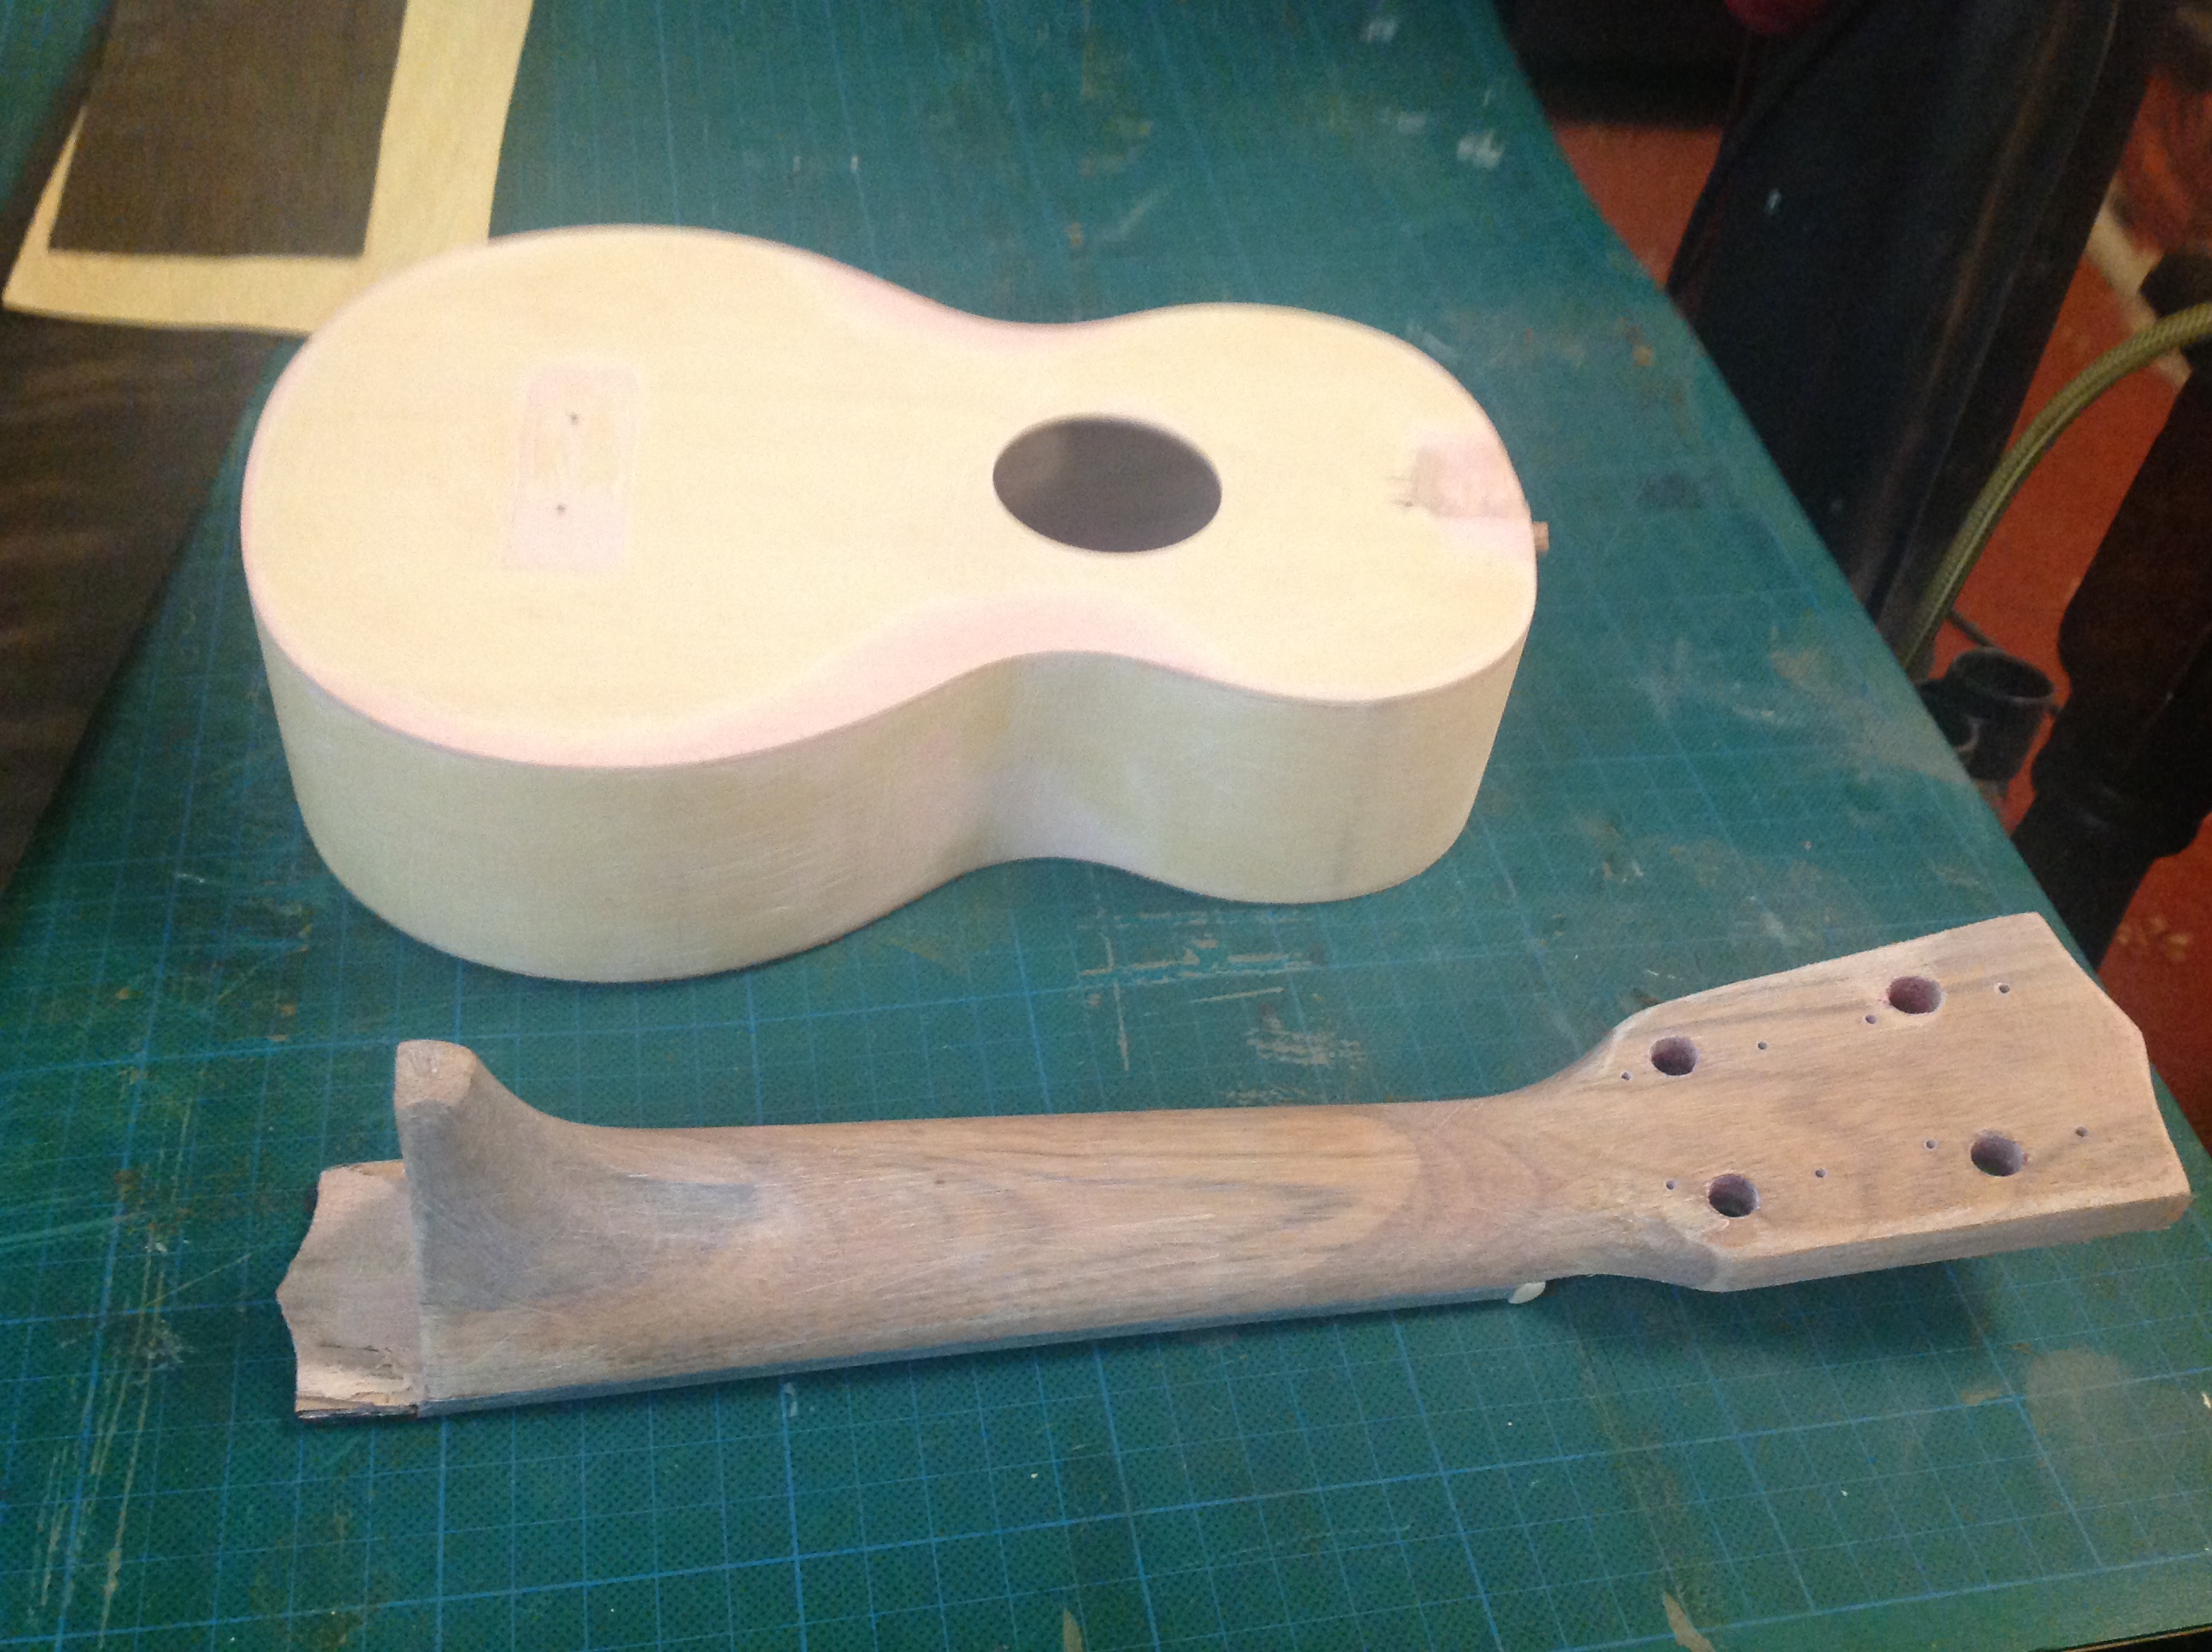
 & the neck…
Sanding the wood took ages. And I didn’t do that terrific a job of it. Being a bit impatient. But this is just a cheap instrument in the first place, that I got for nowt. So I see it as a nice opportunity to practice some of the methods and techniques I might need when I finally get around to building complete instruments.
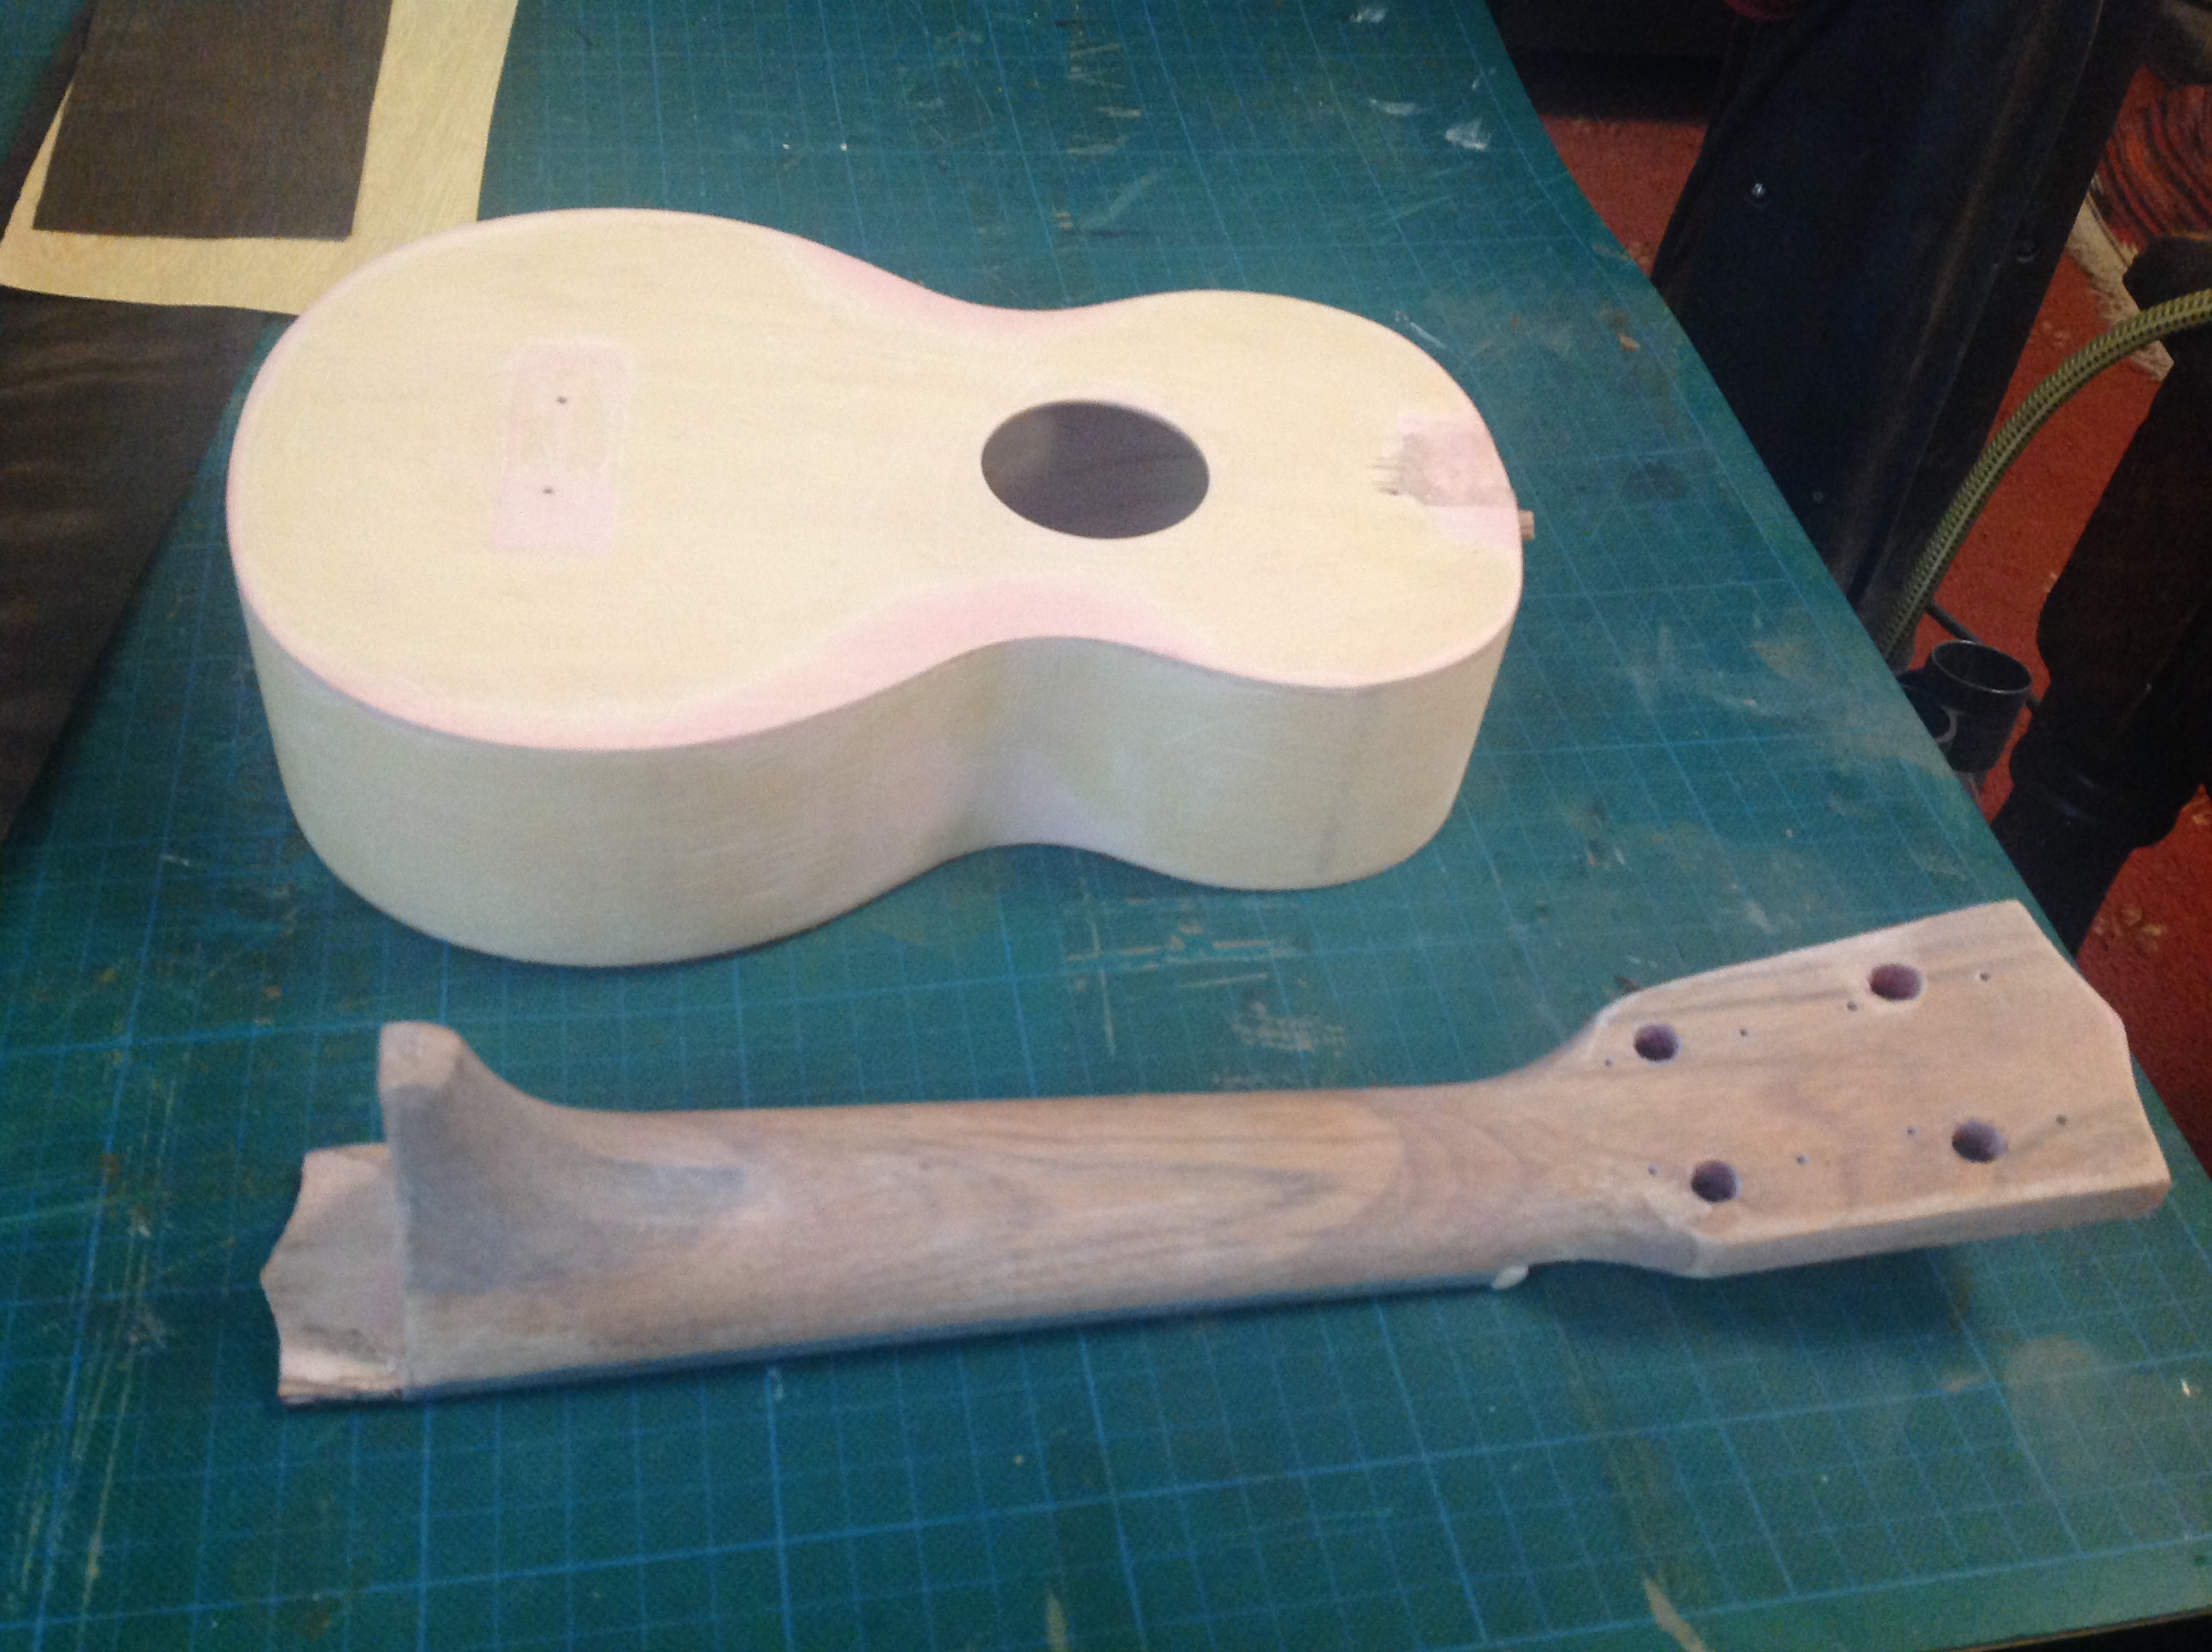
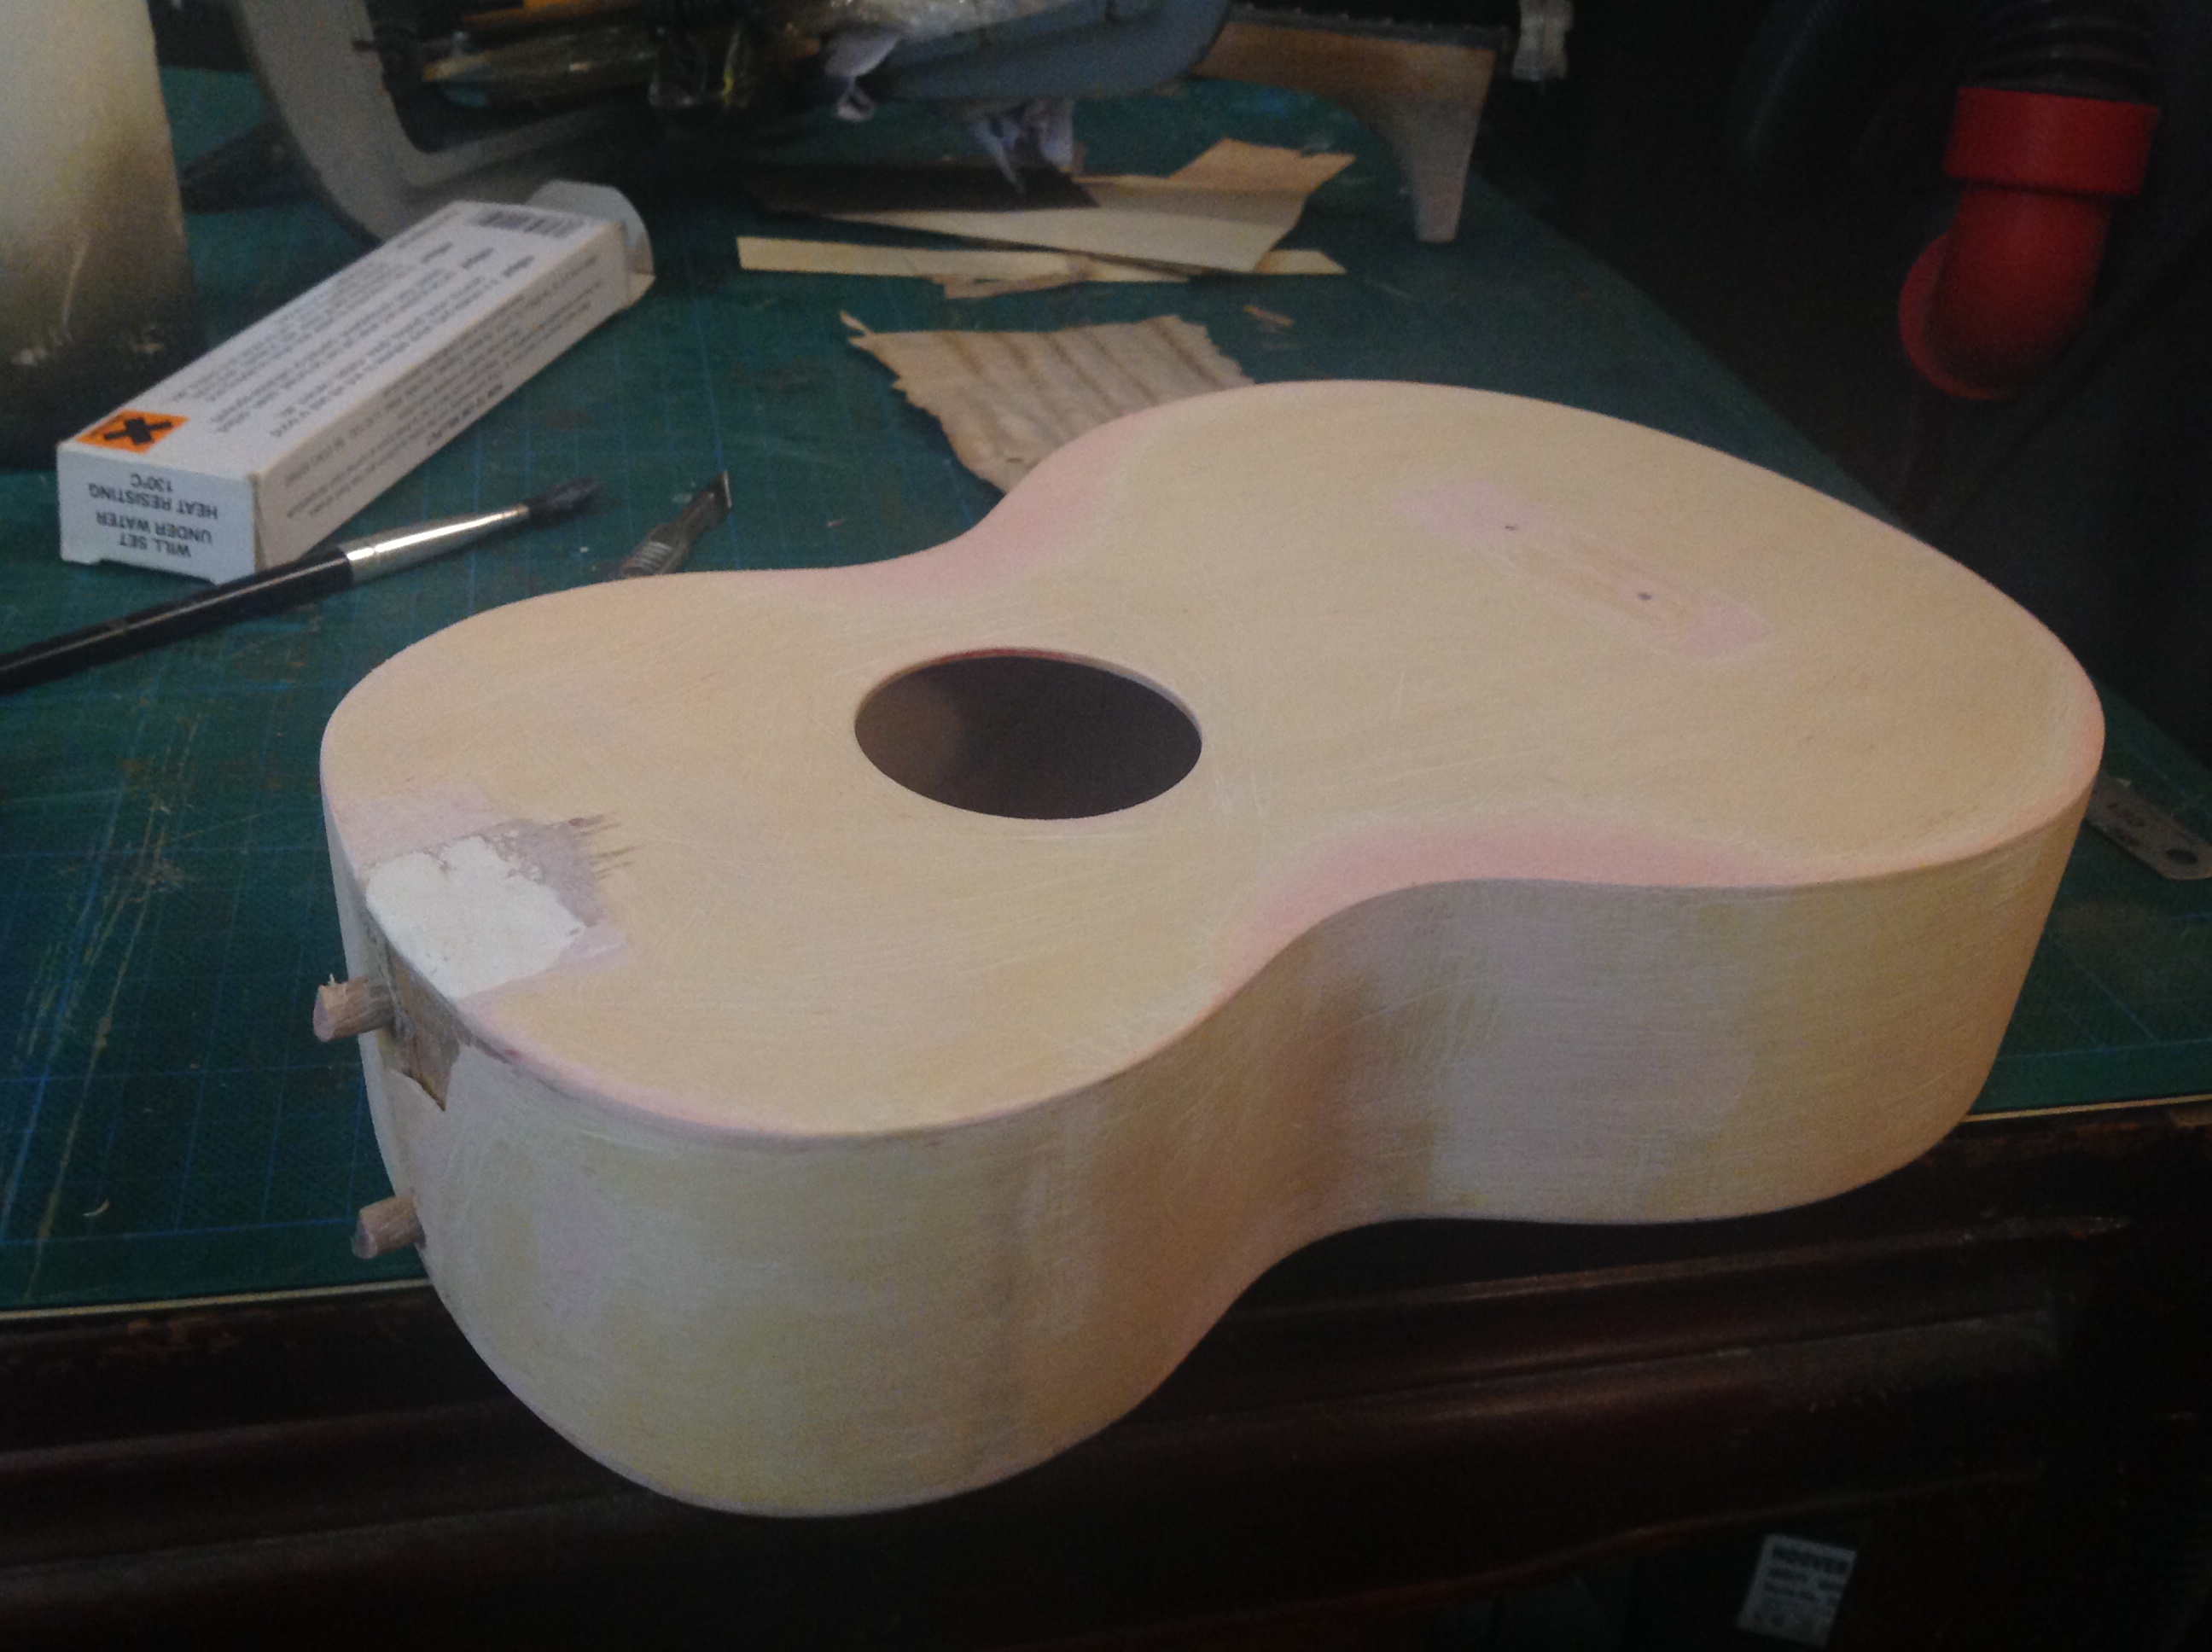 Body
BodyI figured that with the veneer on the top, and the back and sides stained with an antique pine finish I have a surplus of, it’d look a lot nicer. Having removed the bridge and headstock hardware and neck, stripped back to the bare wood, and sanded it, it was time to apply the figured wood veneer. Sadly I have no idea what wood type it is! I’ll have to send a photo to the company I got the veneers from, and find out.
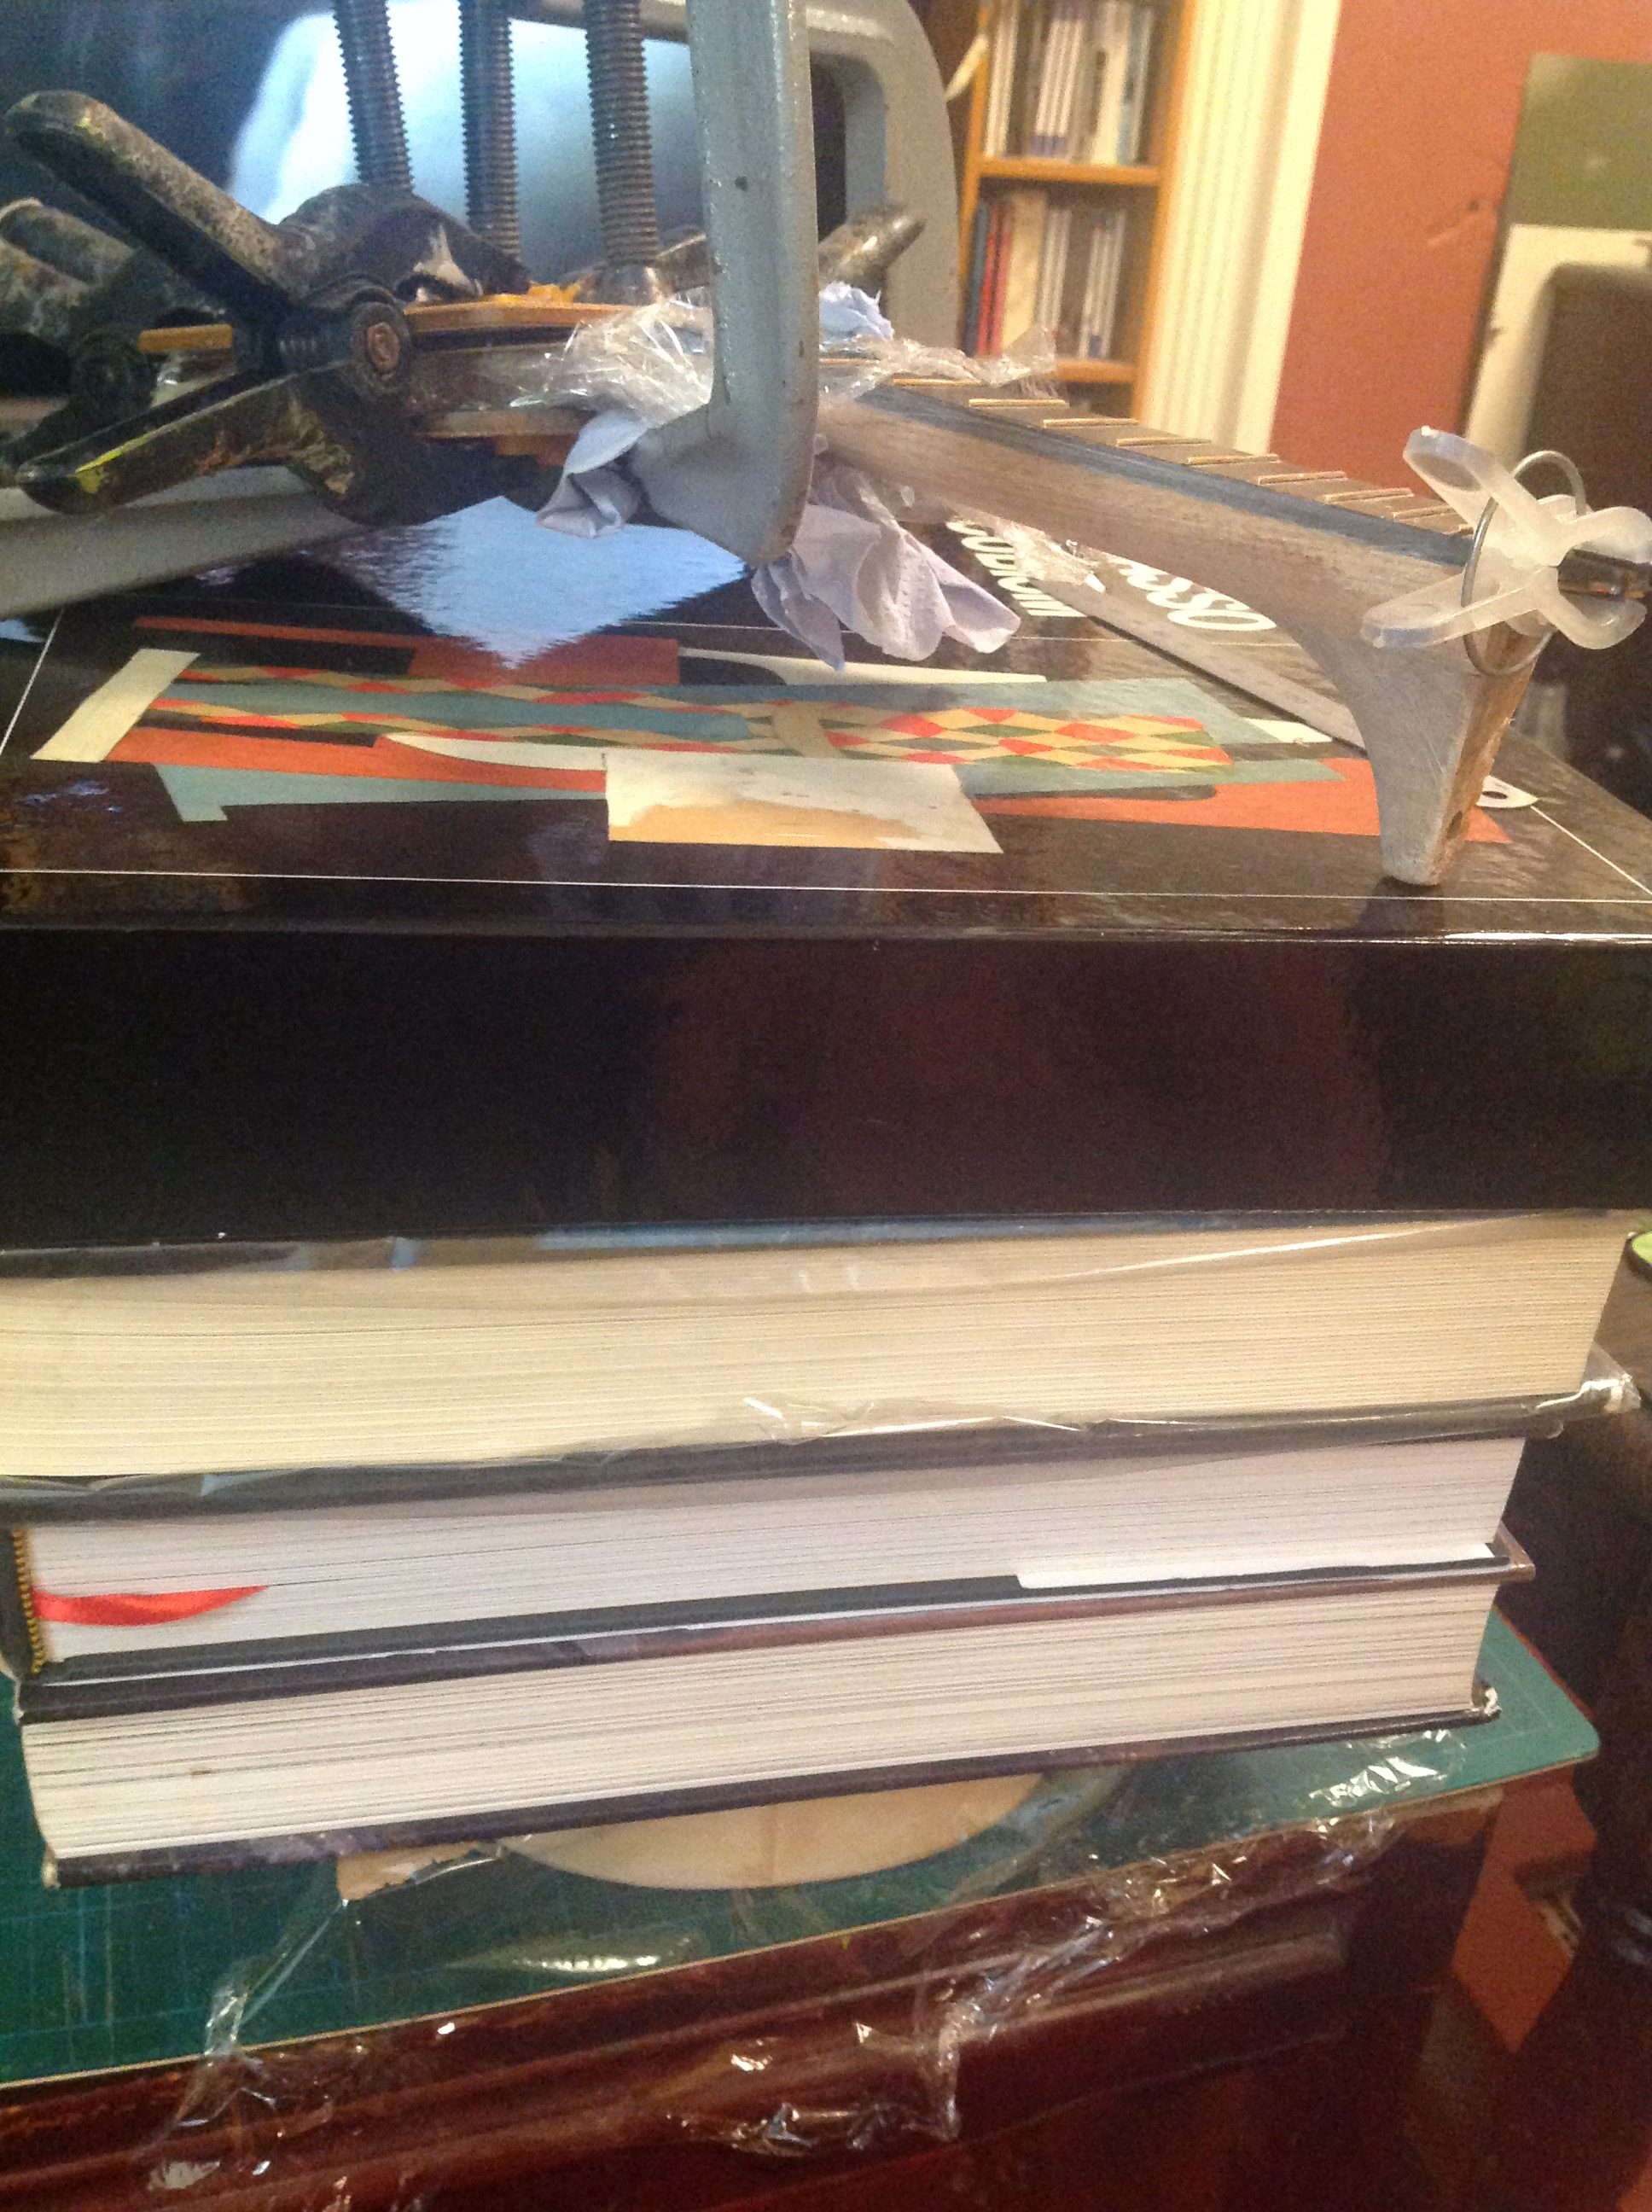 Gluing the veneer in place, with heavy art books!
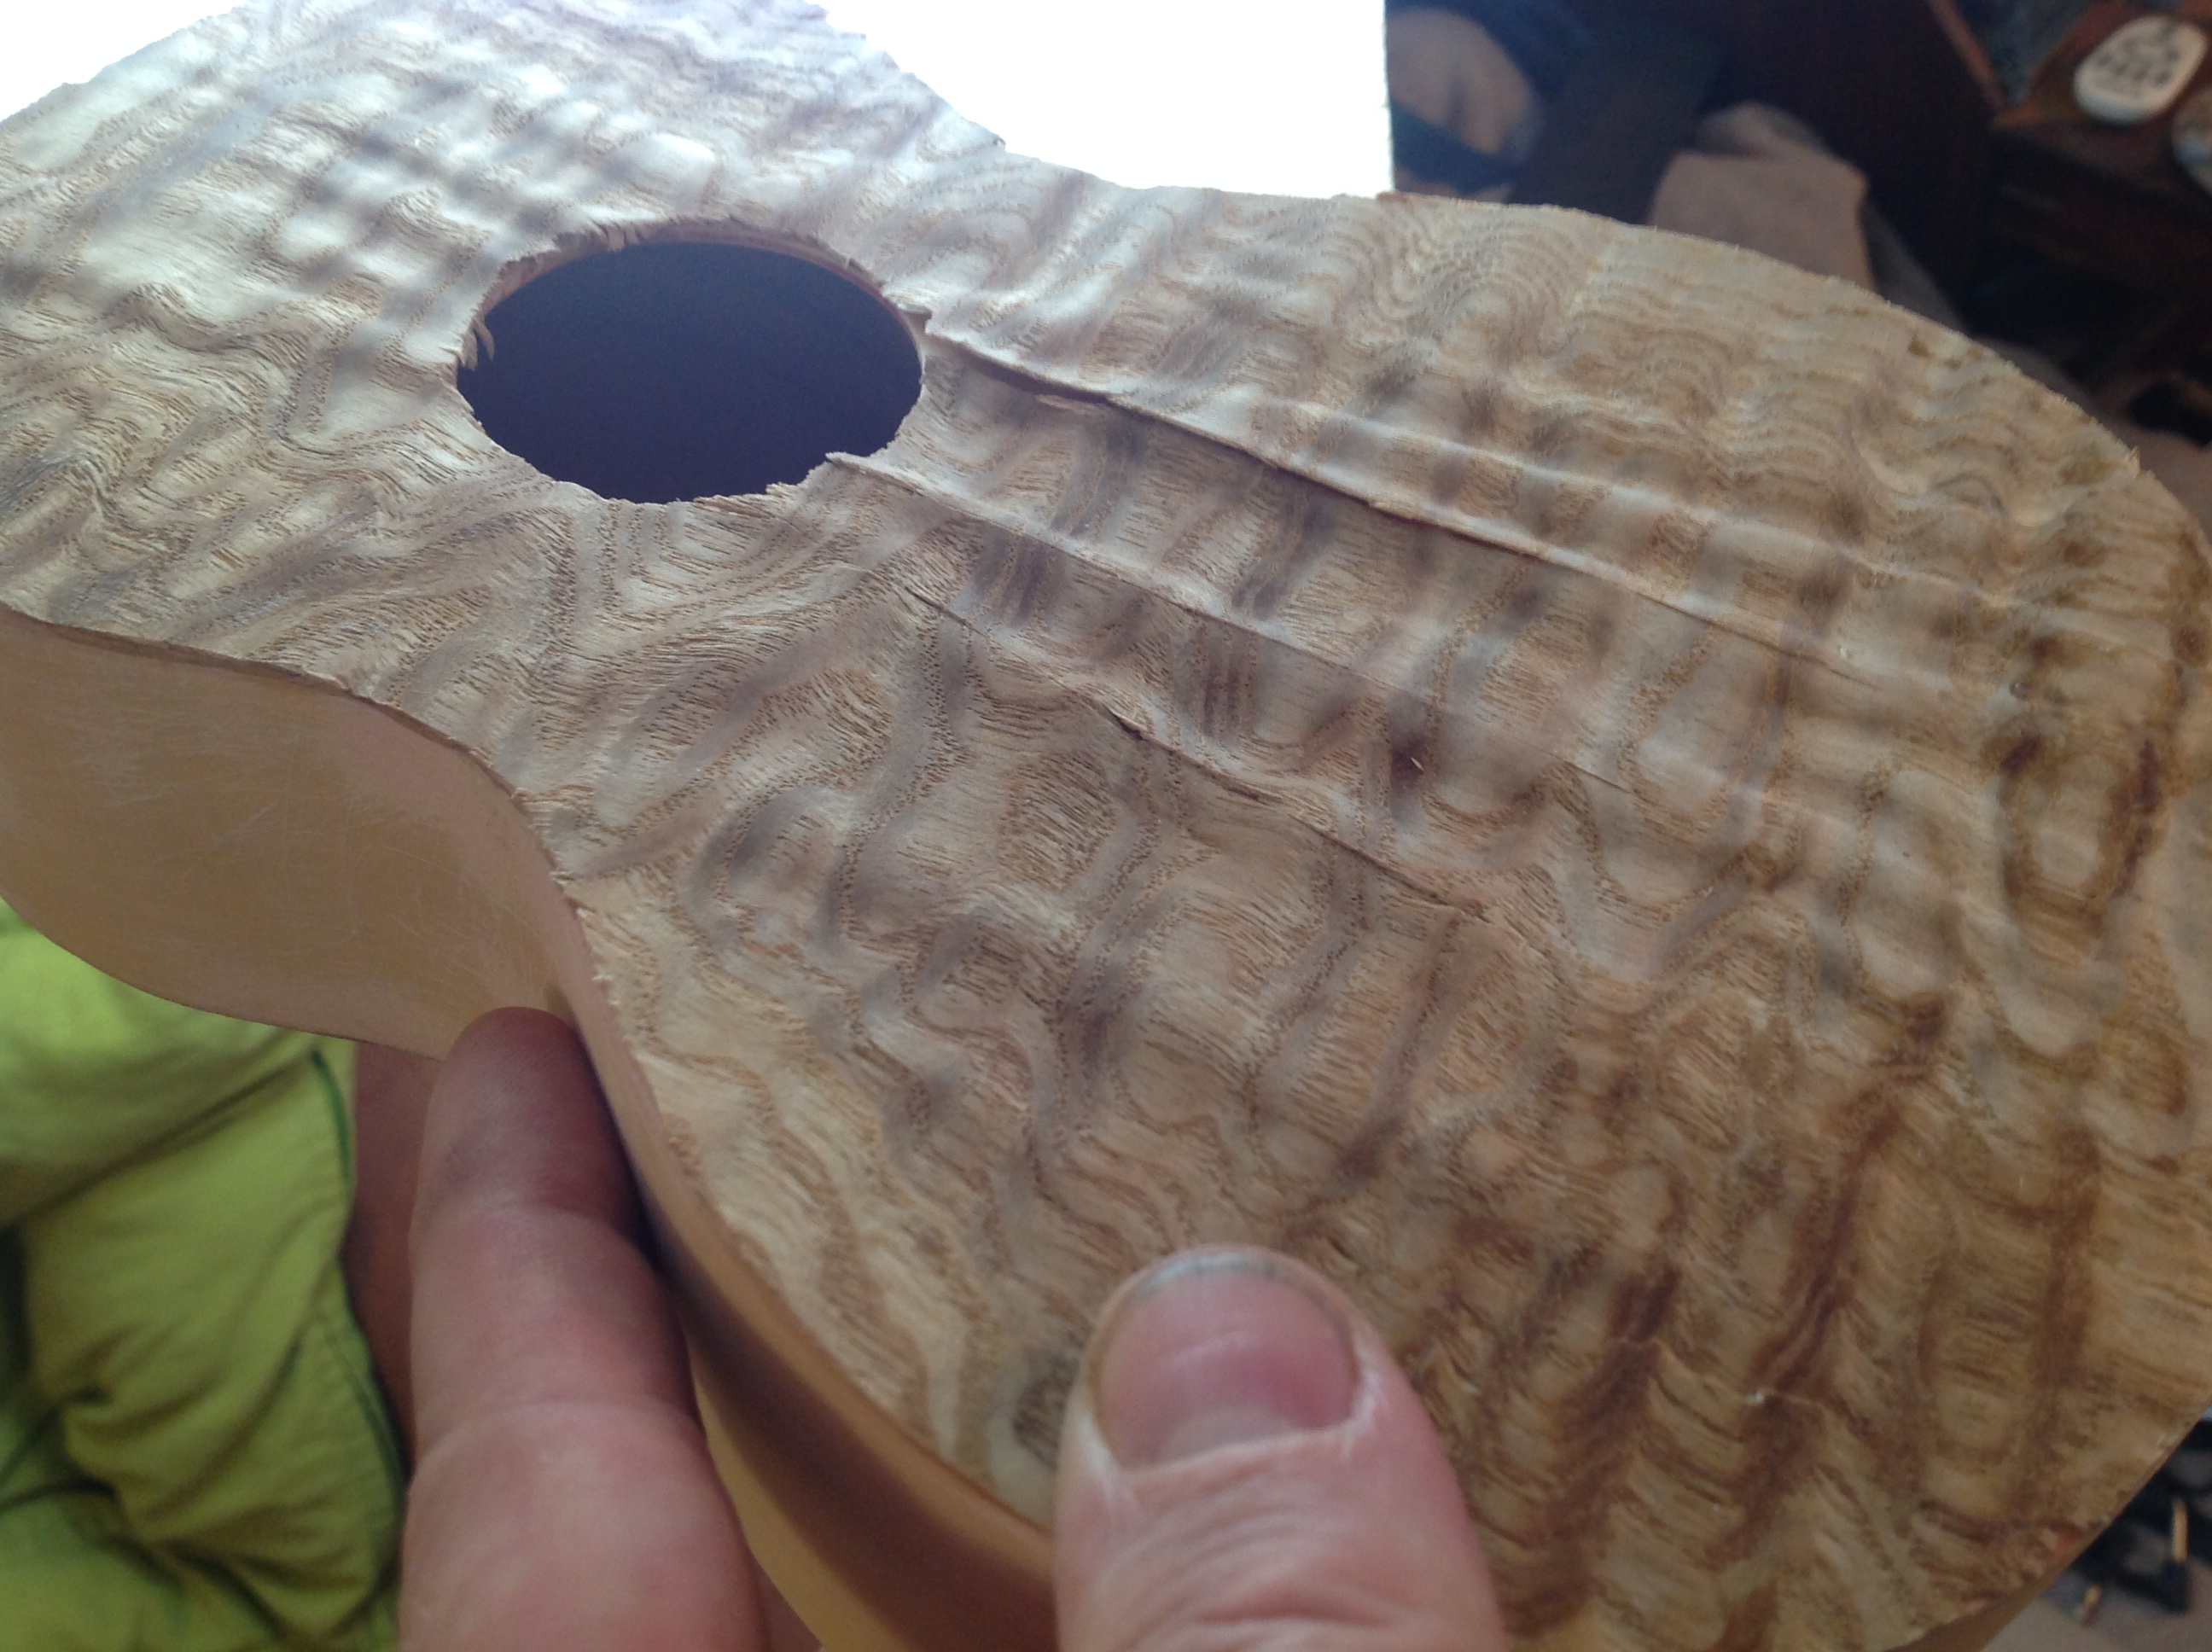 Damn… turned out shite!
Uh-oh… I really screwed that up! The veneer would normally be applied to the top of a guitar before the sides and back were added. I had to add it to a fully constructed body. Obviously the top can give somewhat. And I think that is partly why the veneer is so buckled. Oh, and of course, veneers tend to change shape and move during gluing, as they absorb moisture. Maybe there are better glues for this sort of job!?
 Headstock..
For the headstock I glued three layers; light, dark, light, to give a nice banding type look to the edges. And I used the same golden coloured figured veneer for the top layers as I’m using on the body. It was a lot easier to keep these layers flat, given they’re much smaller, and I could clamp around a solid block rather than a hollow box.
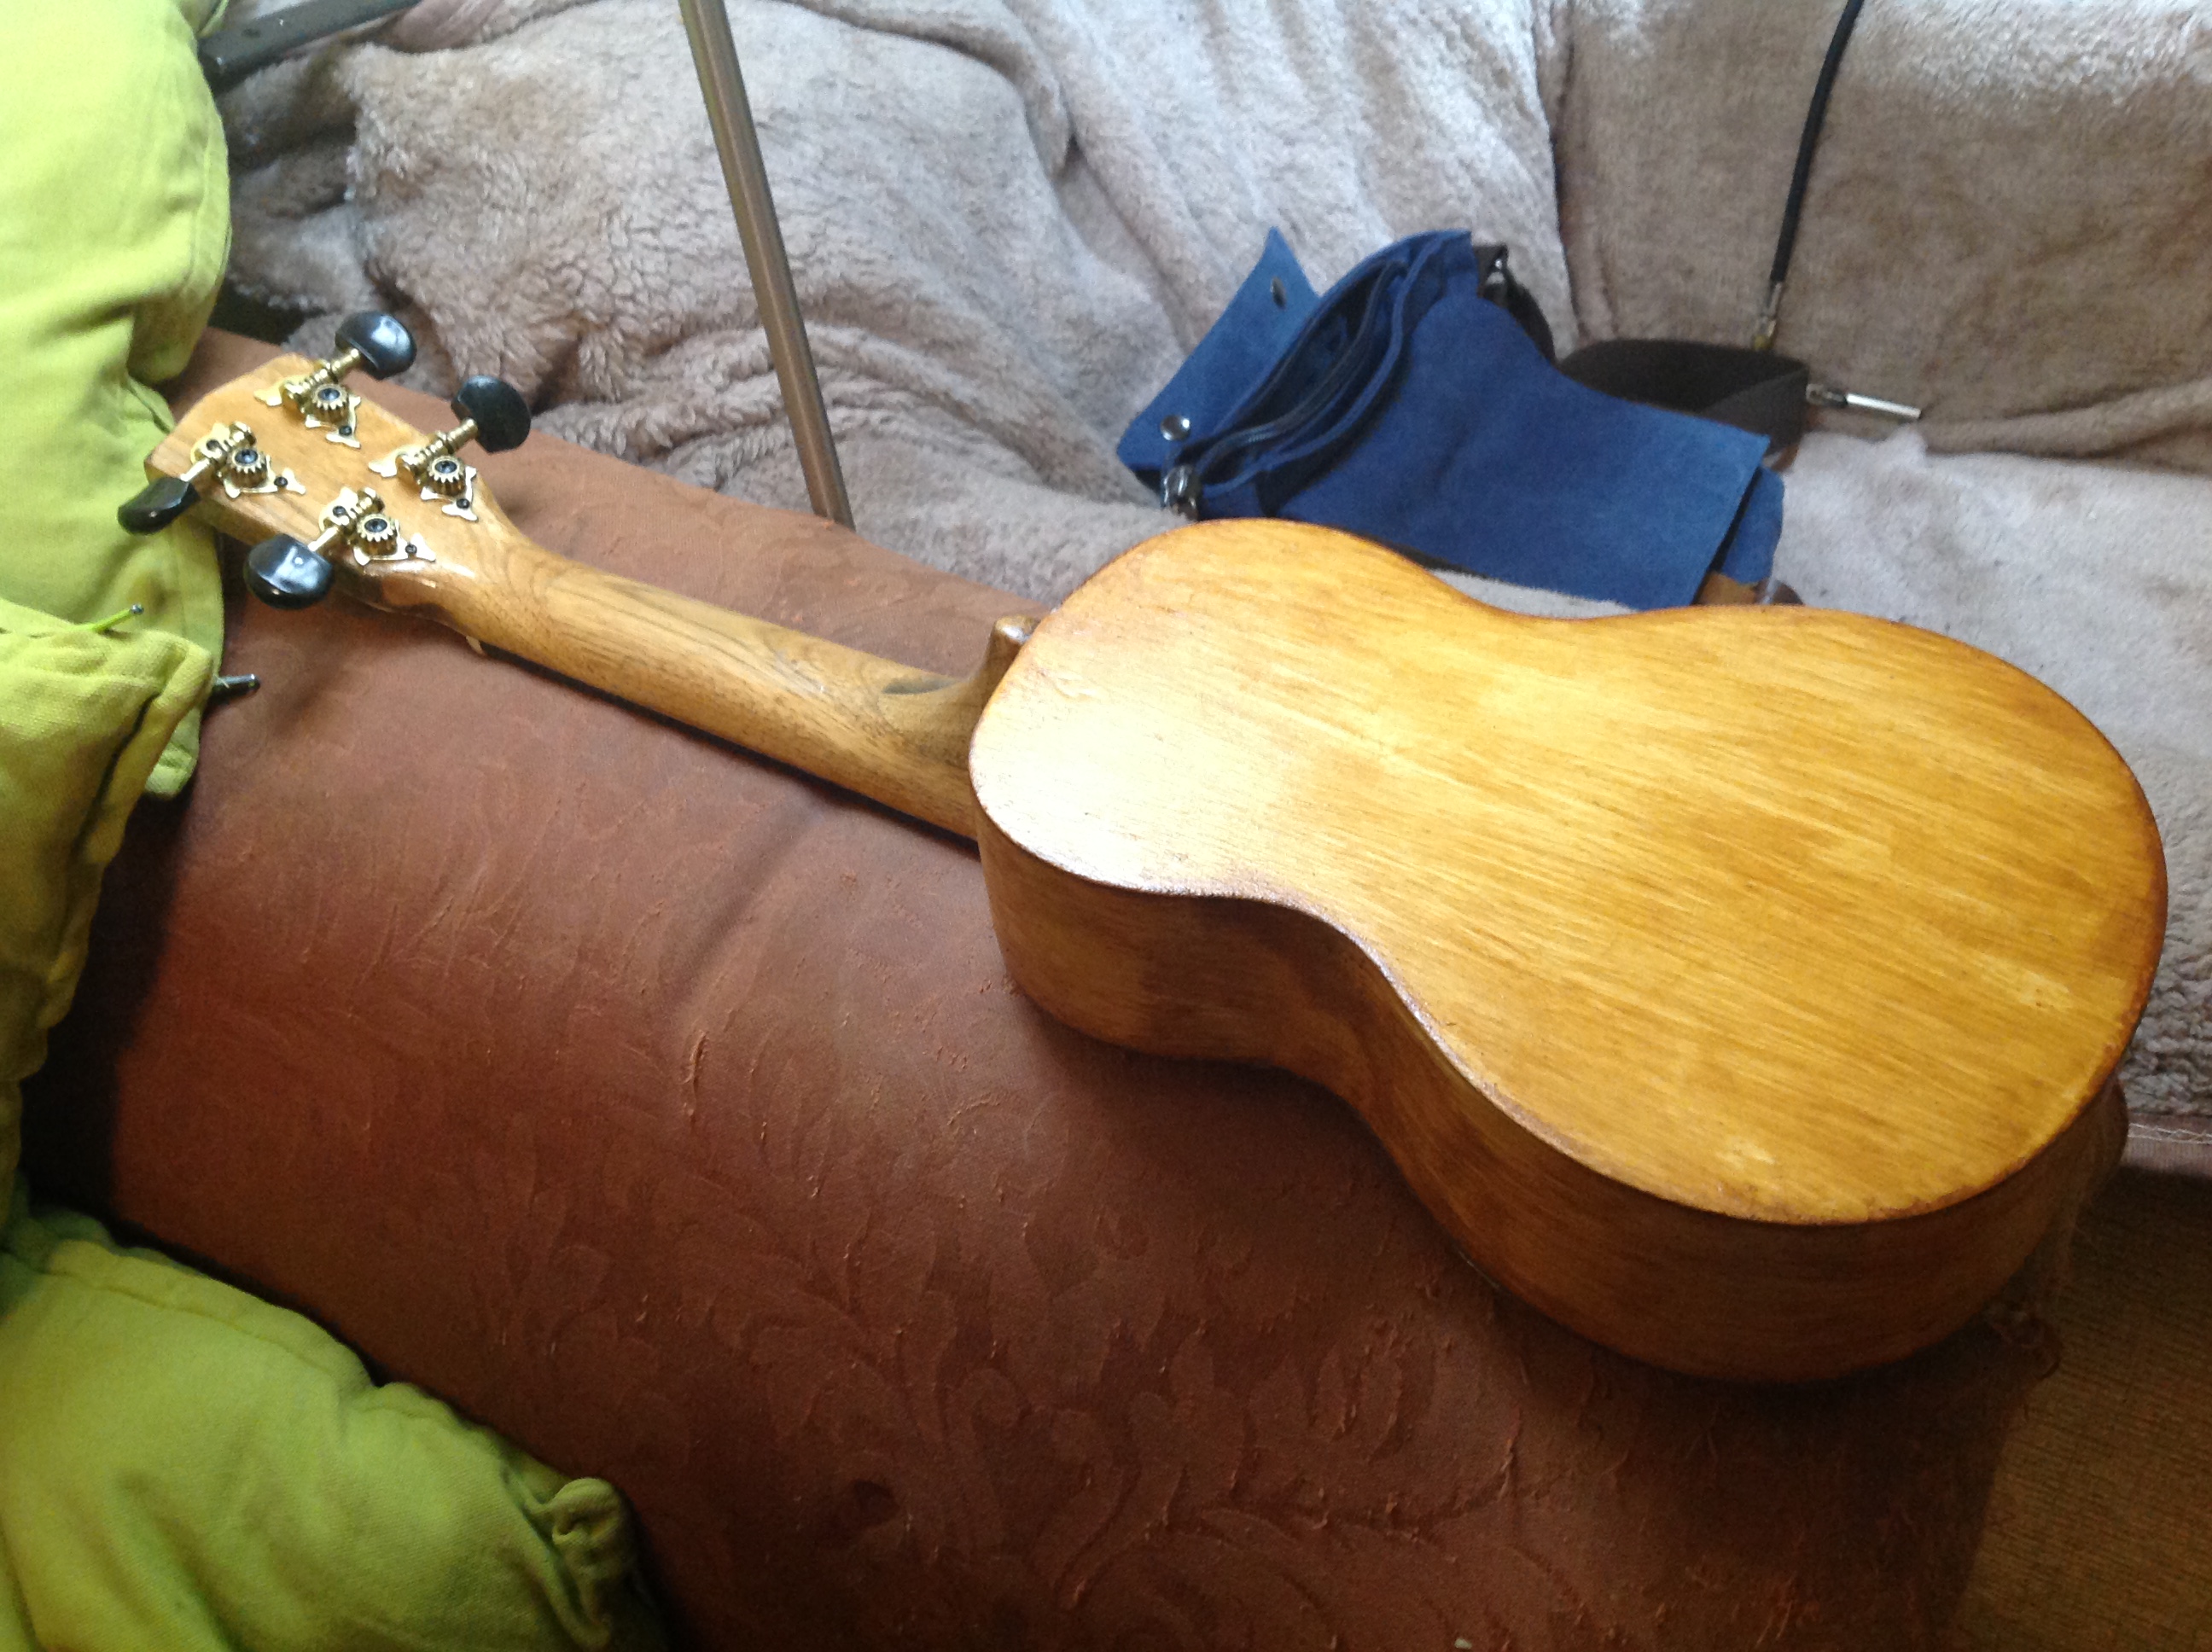
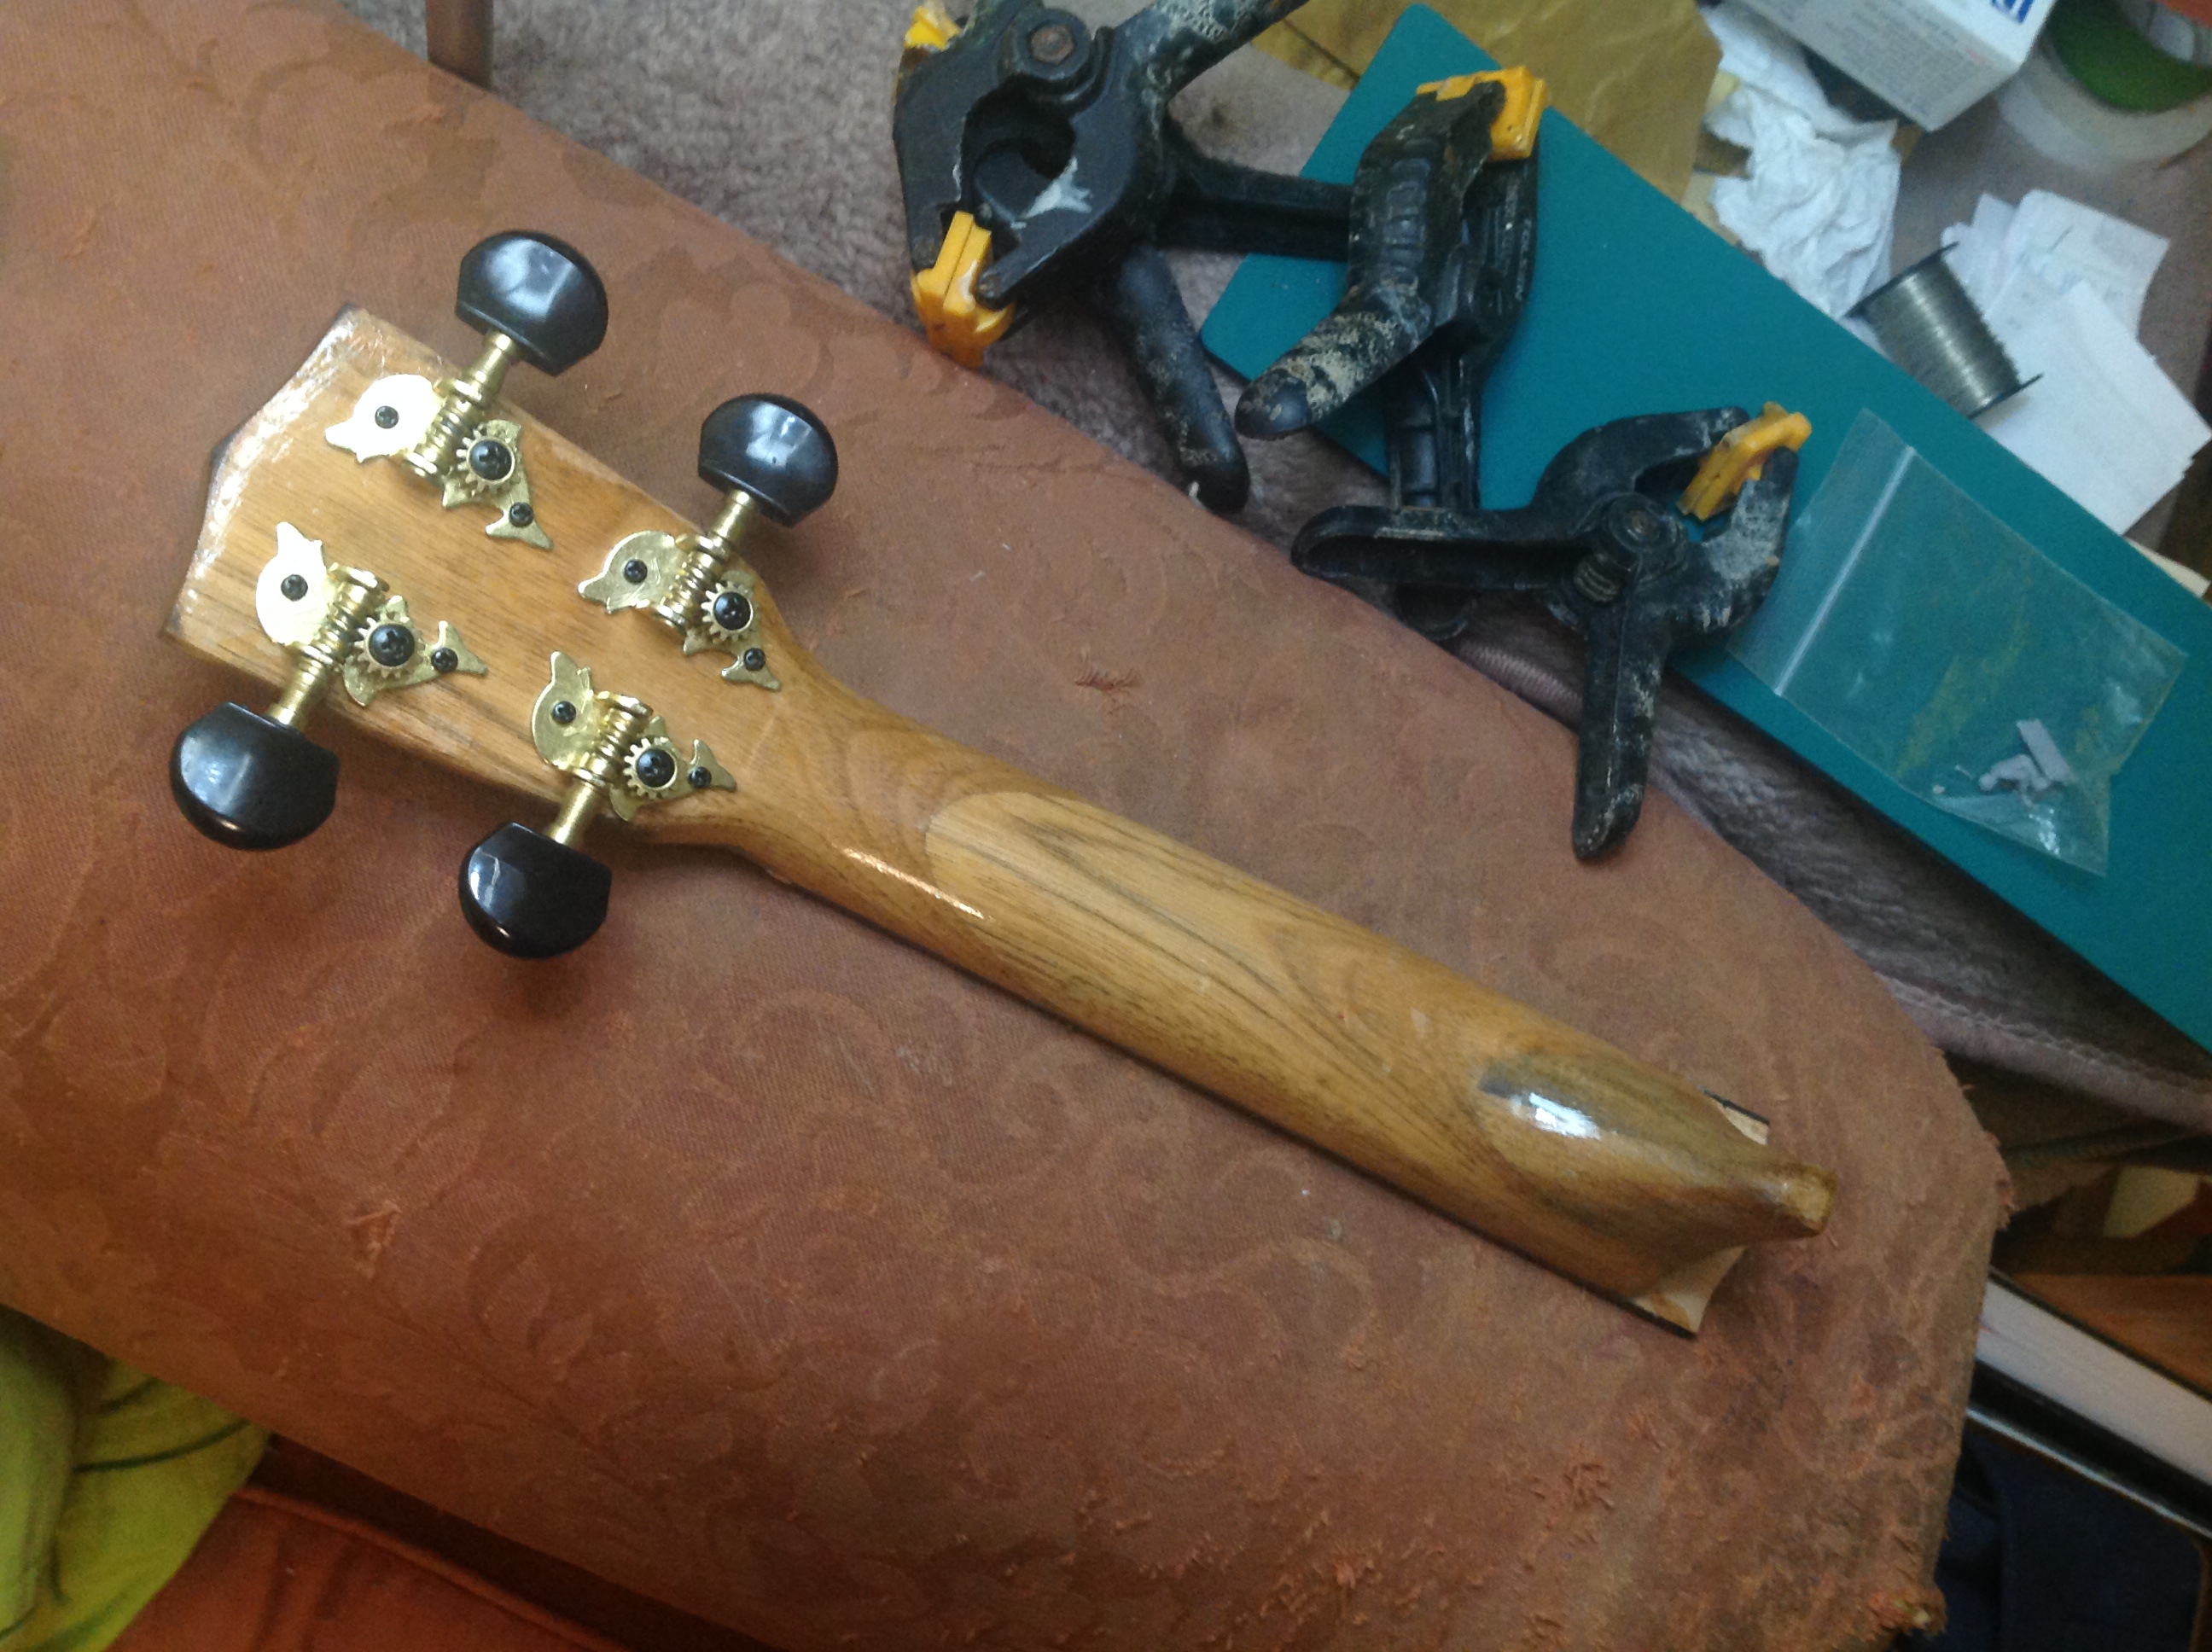 Back o’ the neck.
Before replacing the headstock fixtures I gave the whole lot, excepting the fretboard, several coats of clear gloss varnish. These have been painted on, and only very lightly sanded. So my protective coat is very rustic looking, compared with the sprayed finish the shop-sold instrument had. I am hoping that eventually I’ll be able to build up a more ‘piano’ sheen type finish.
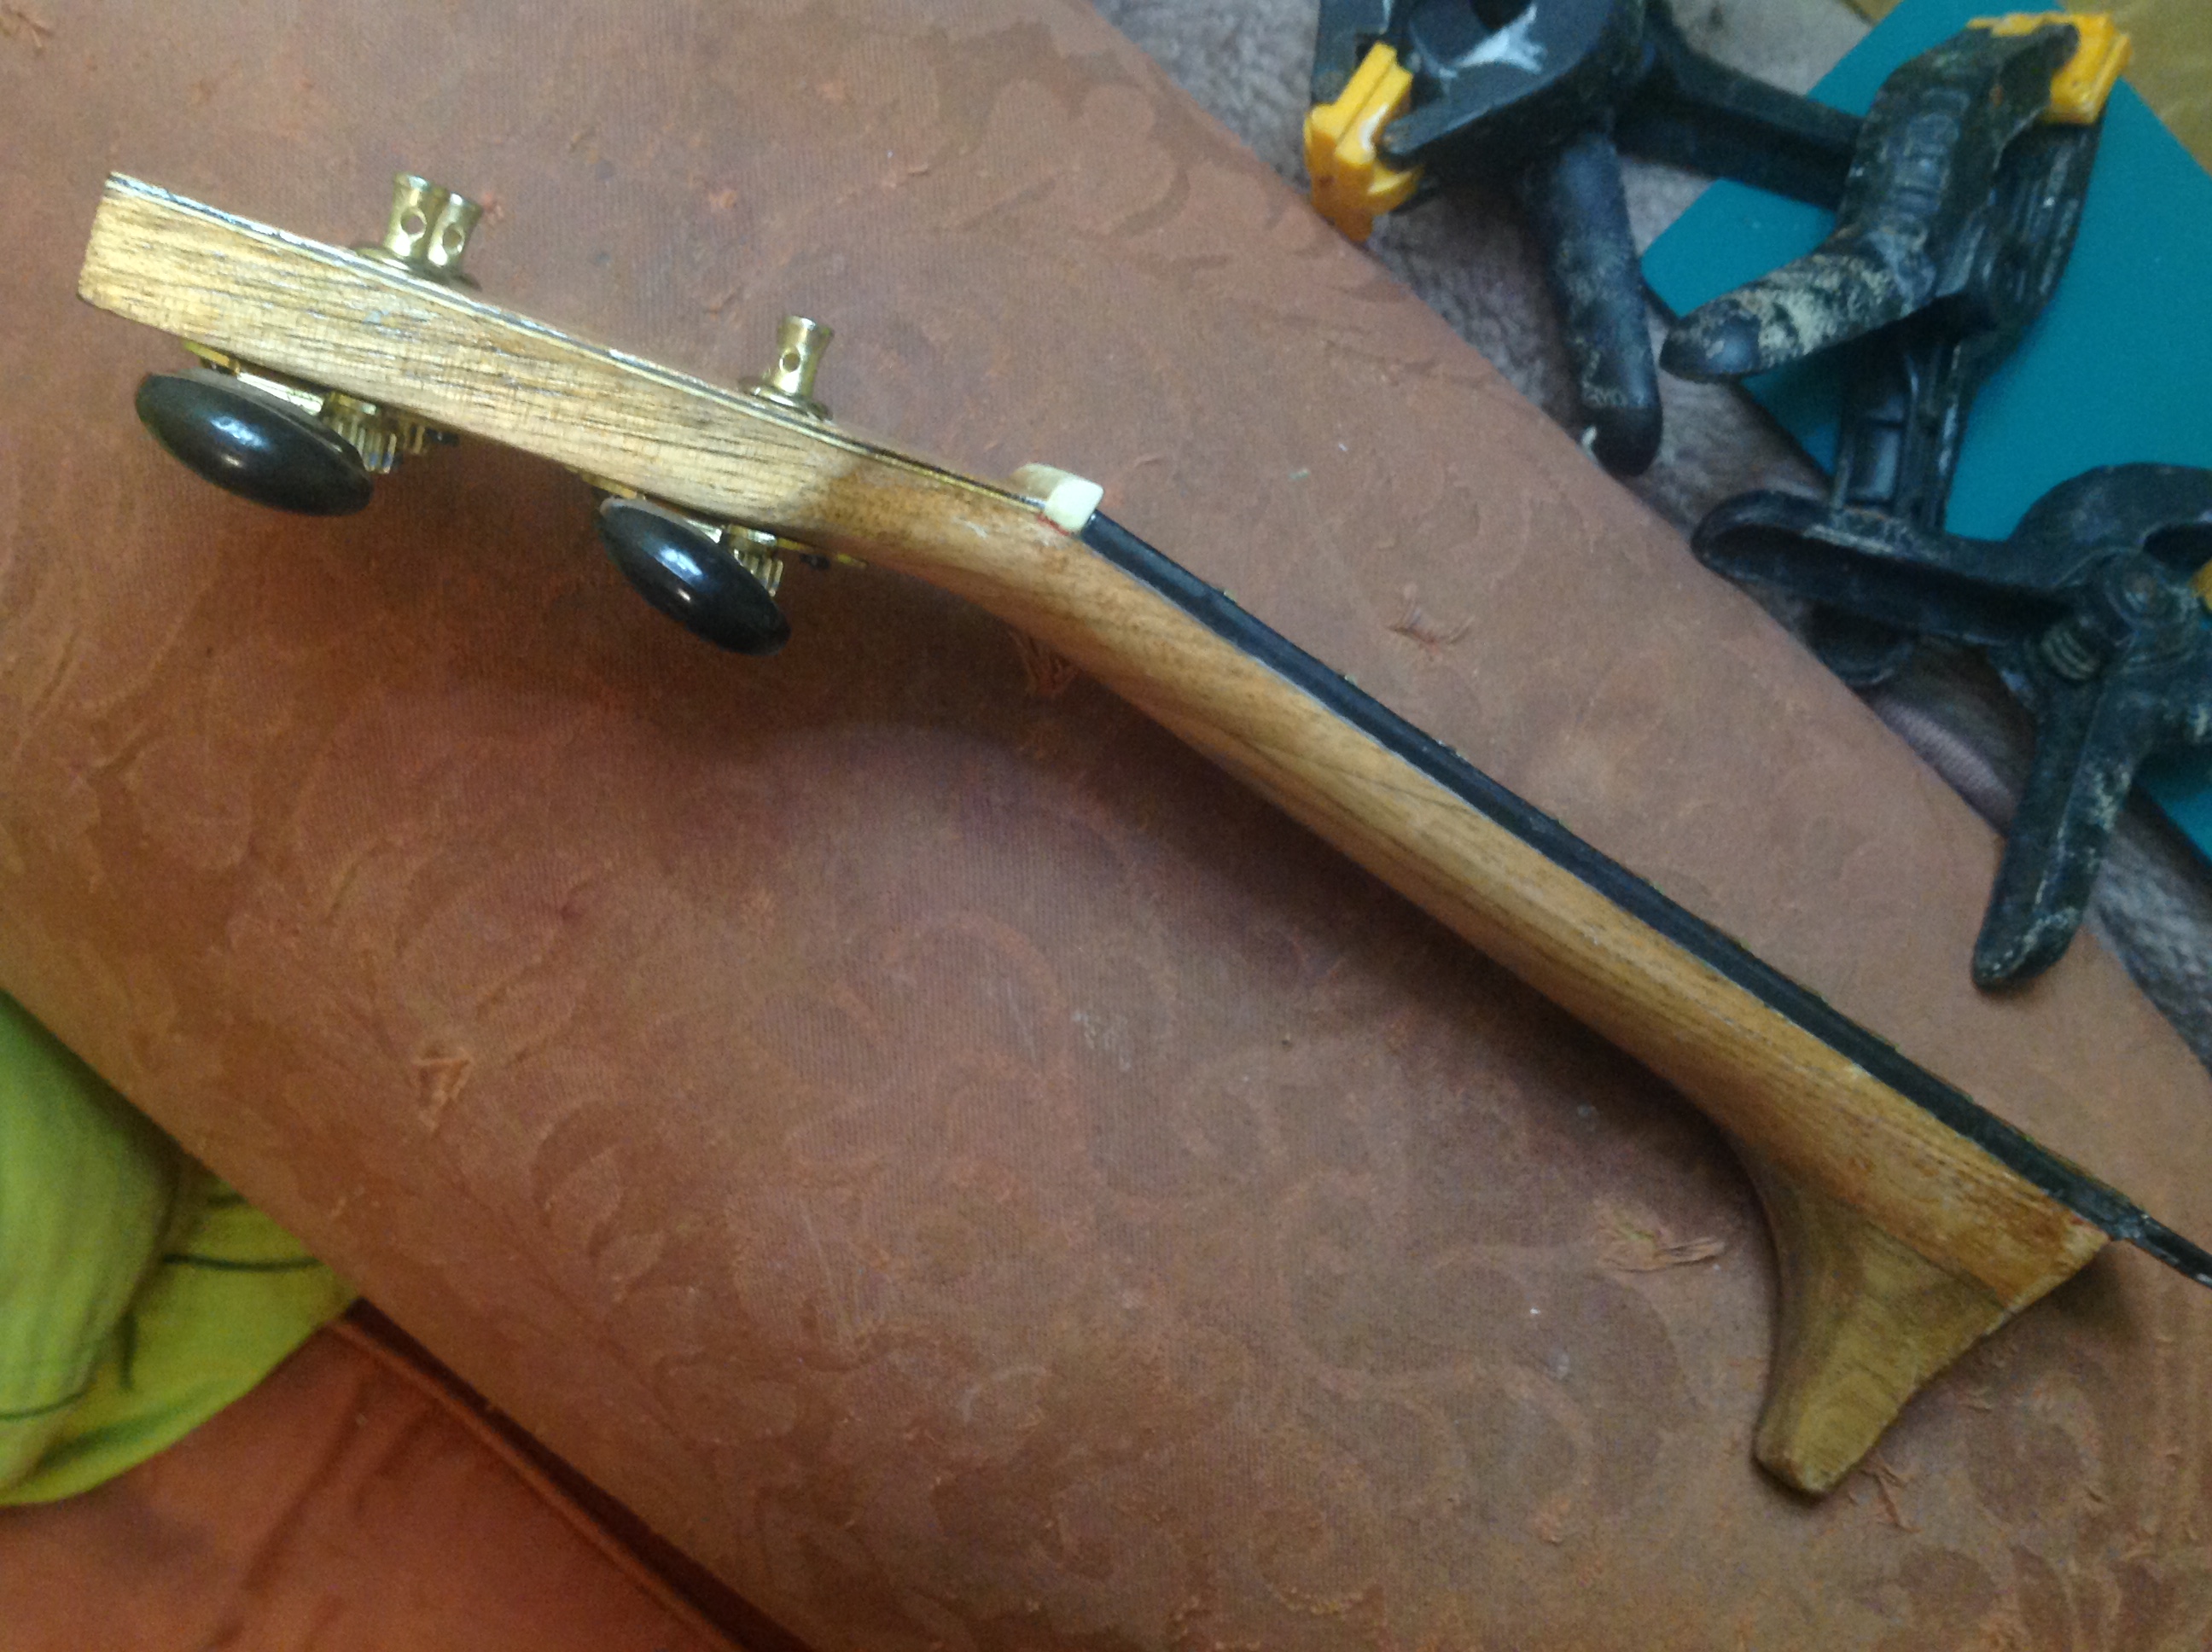 Side neck
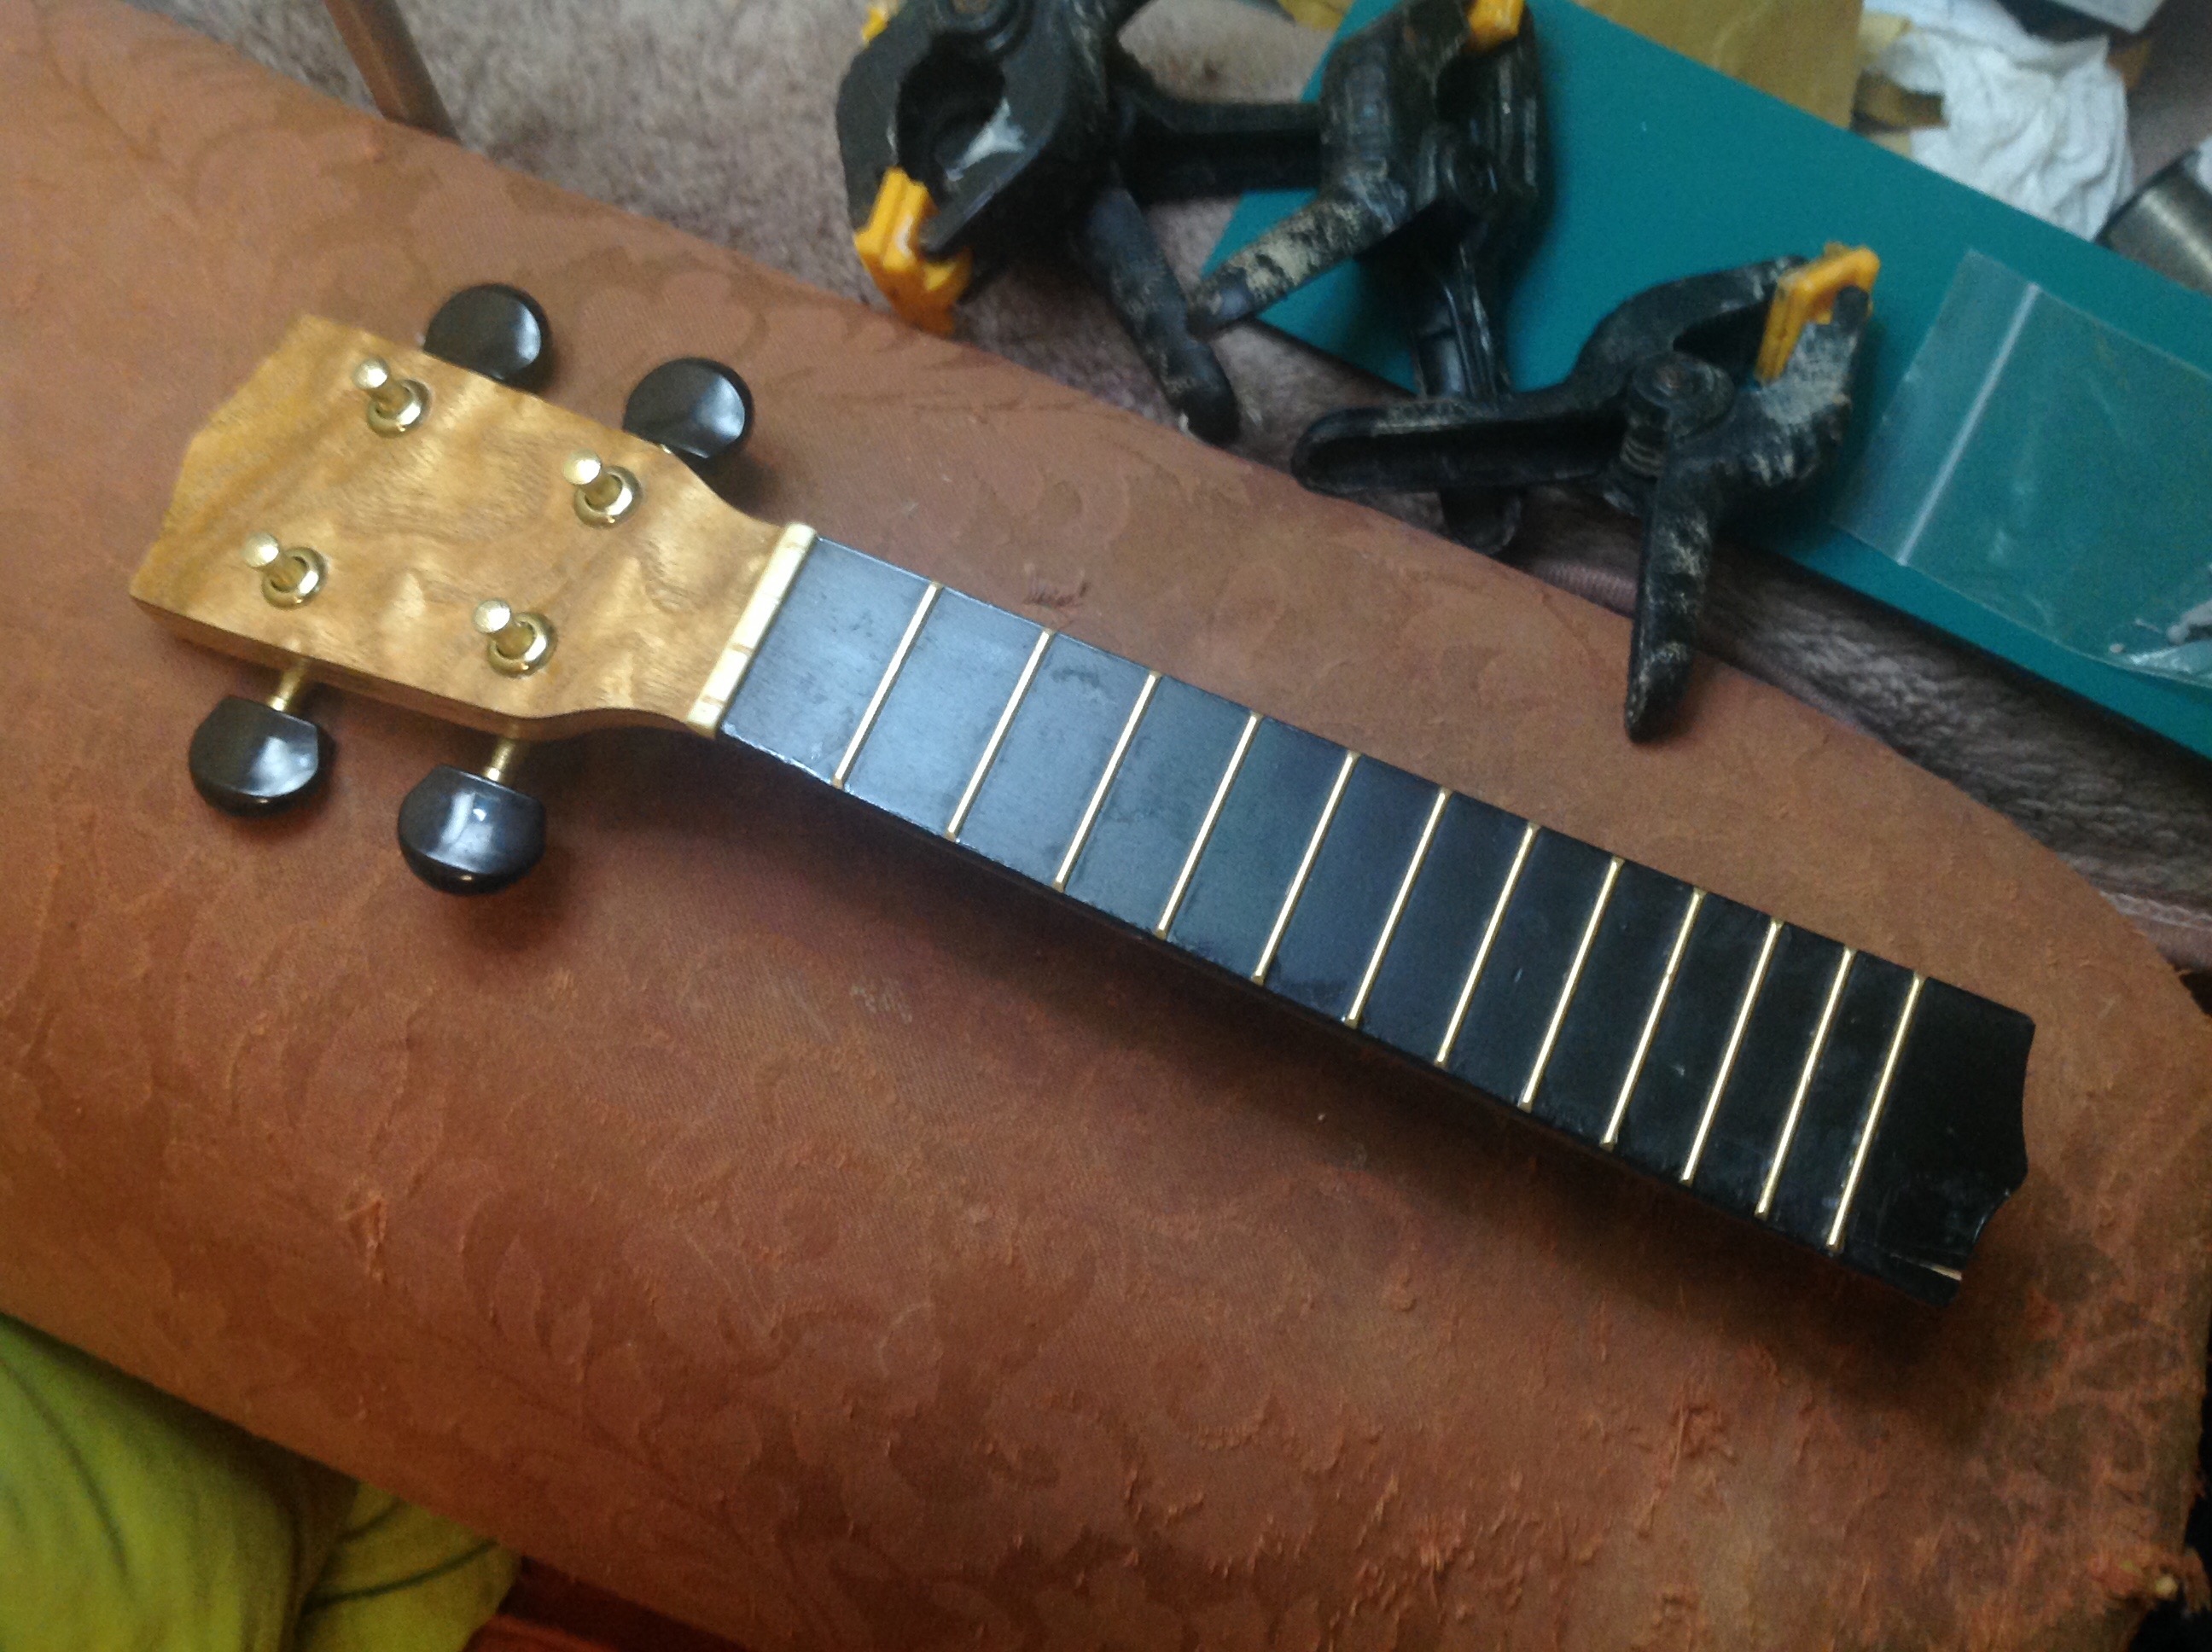
If you enlarge this image, you can hopefully see the striped edge-banding effect of the layered veneers on the headstock. Sanding has removed the fifth and seventh fret dots. I’ve been wondering about making Hofner style full-width markers for the front of the fretboard.
My solution for the wrinkled top veneer was to cut out a strip about as wide as the sound hole, running from the heel of the neck to the butt end of the instrument. This serves a double purpose: allowing me to – hopefully? – flatten the buckled veneer, and thereby avoid having to remove or replace it. And then allowing me to fill the resulting gap with a darker veneer, that will look like a continuation of the neck. Which, I’m hoping, might look pretty funky. We shall see!
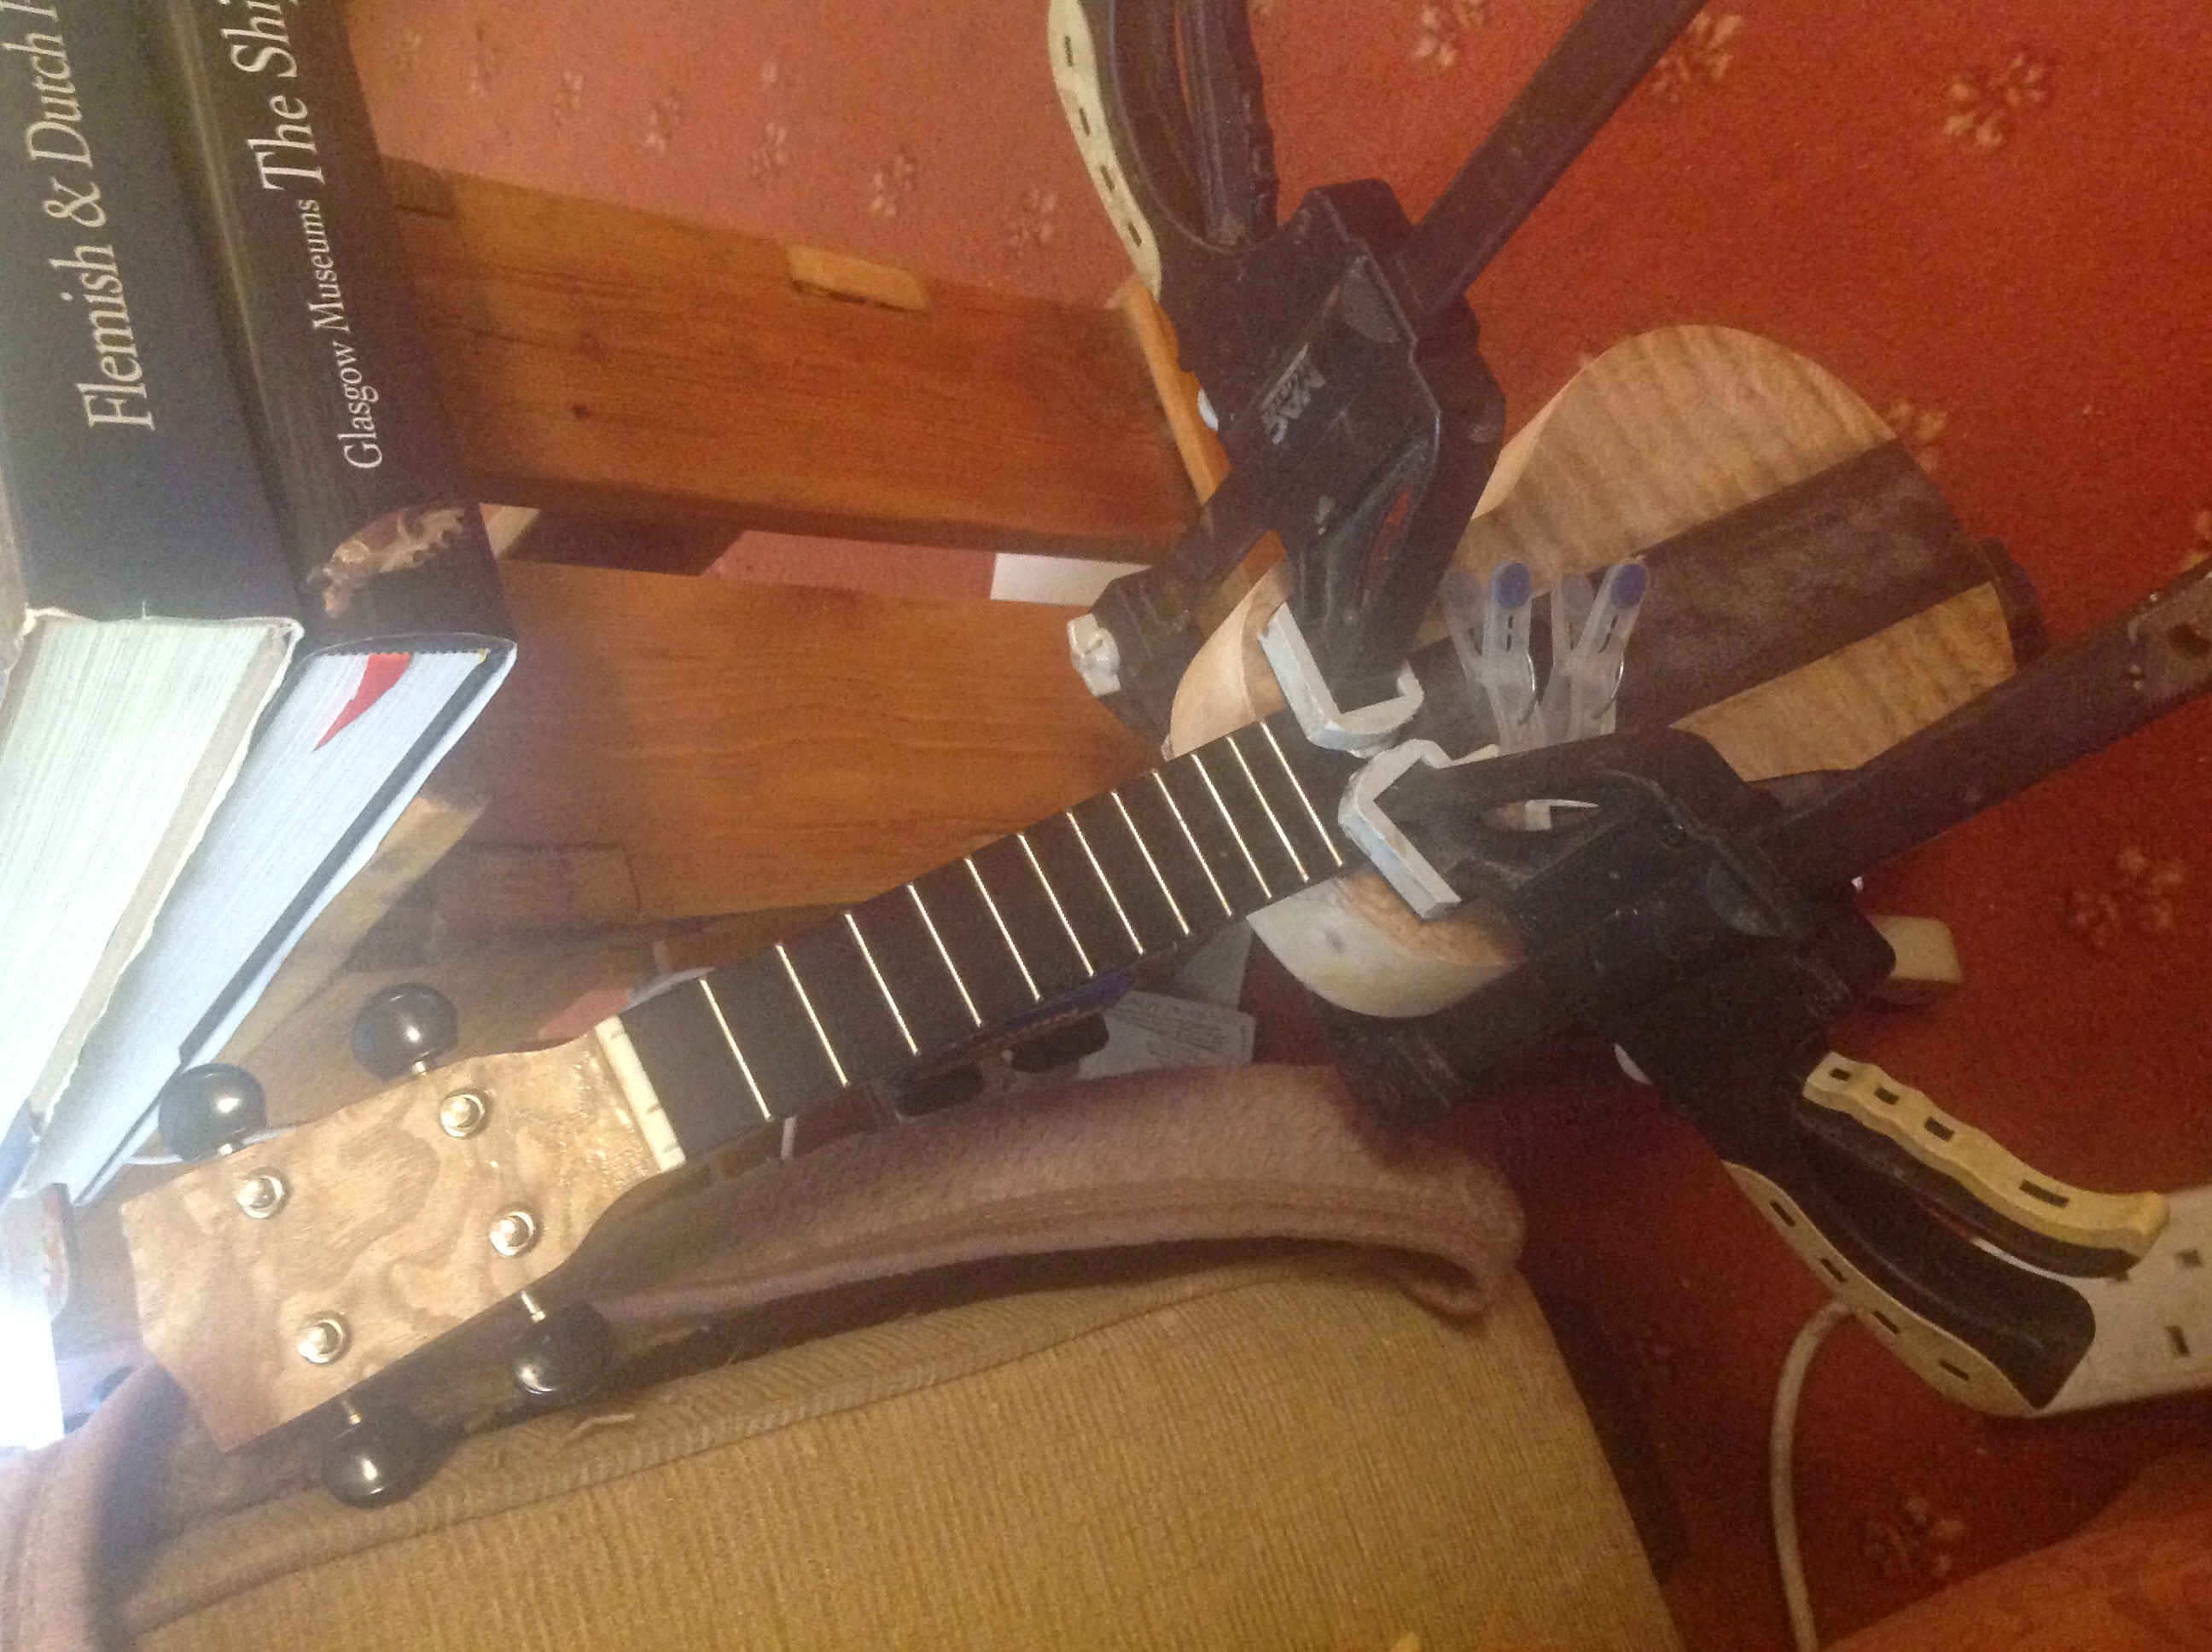
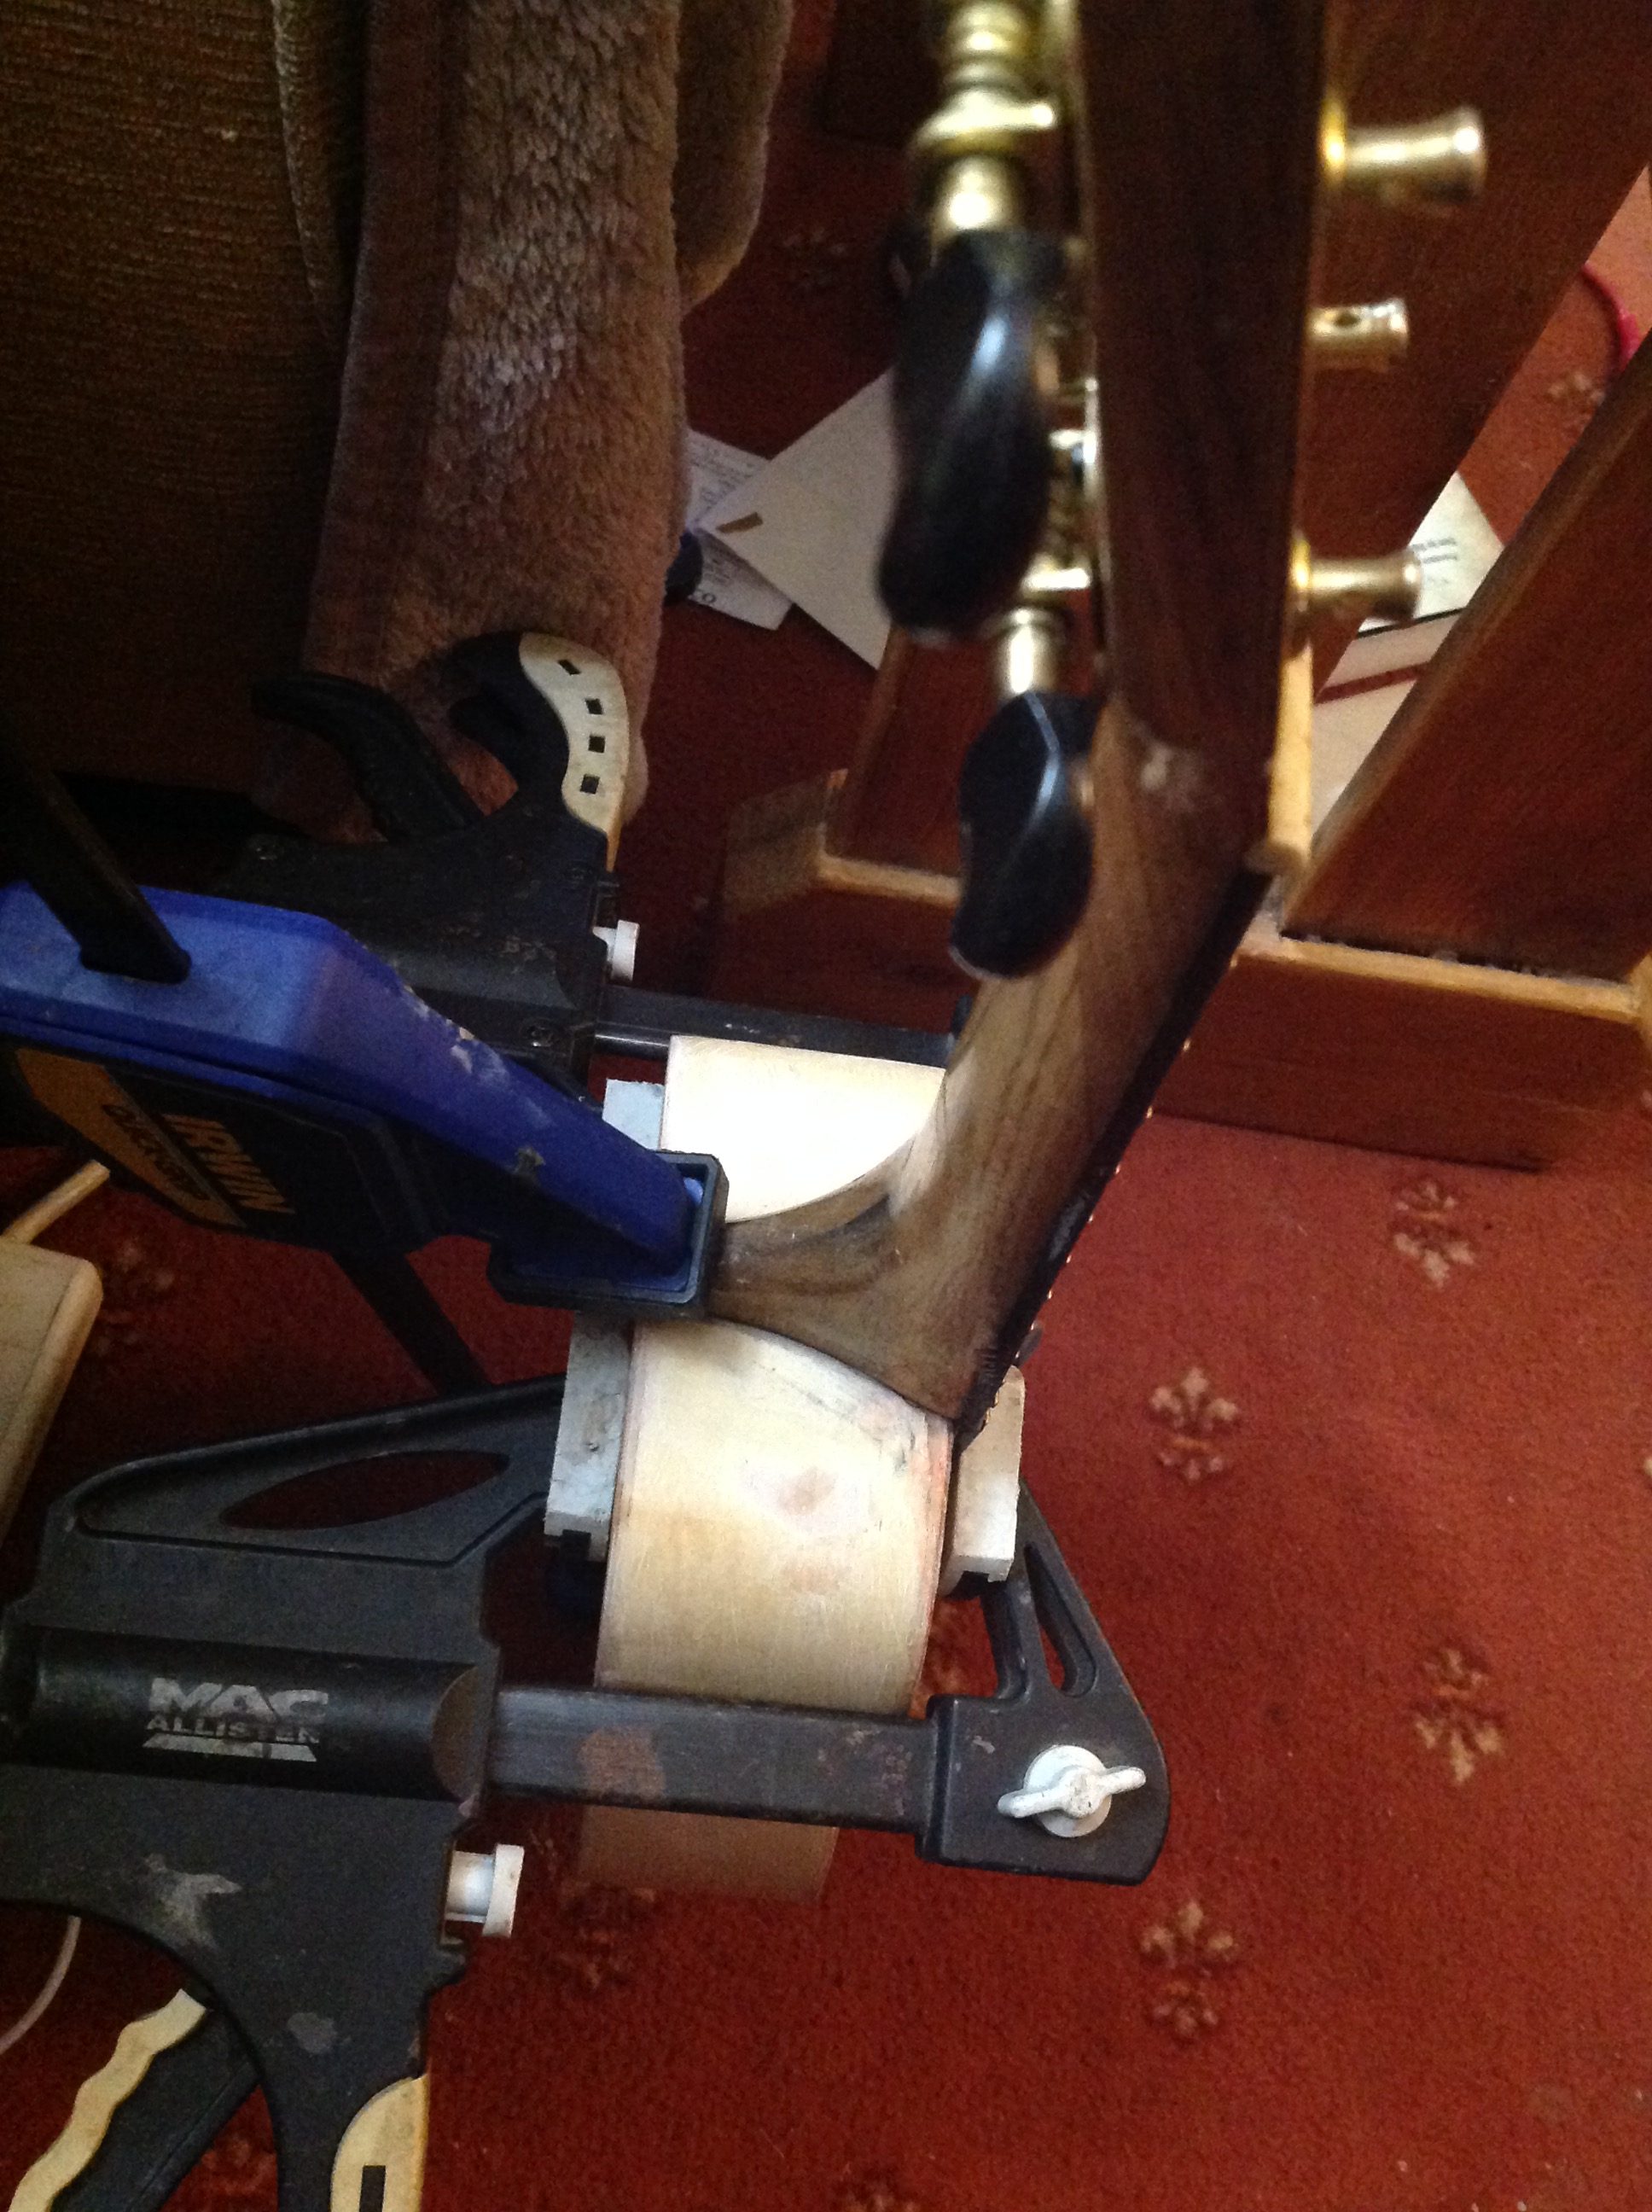 Clamping the neck.
It certainly looked like gluing the neck, where the factory assembled joint had failed, was never going to be easy, especially given the shape of the heel, at the end of the neck. As it turned out, I was able to clamp it all up relatively straightforwardly. But will the resulting joint be strong enough to hold under string tension and playing conditions? Again, we shall see
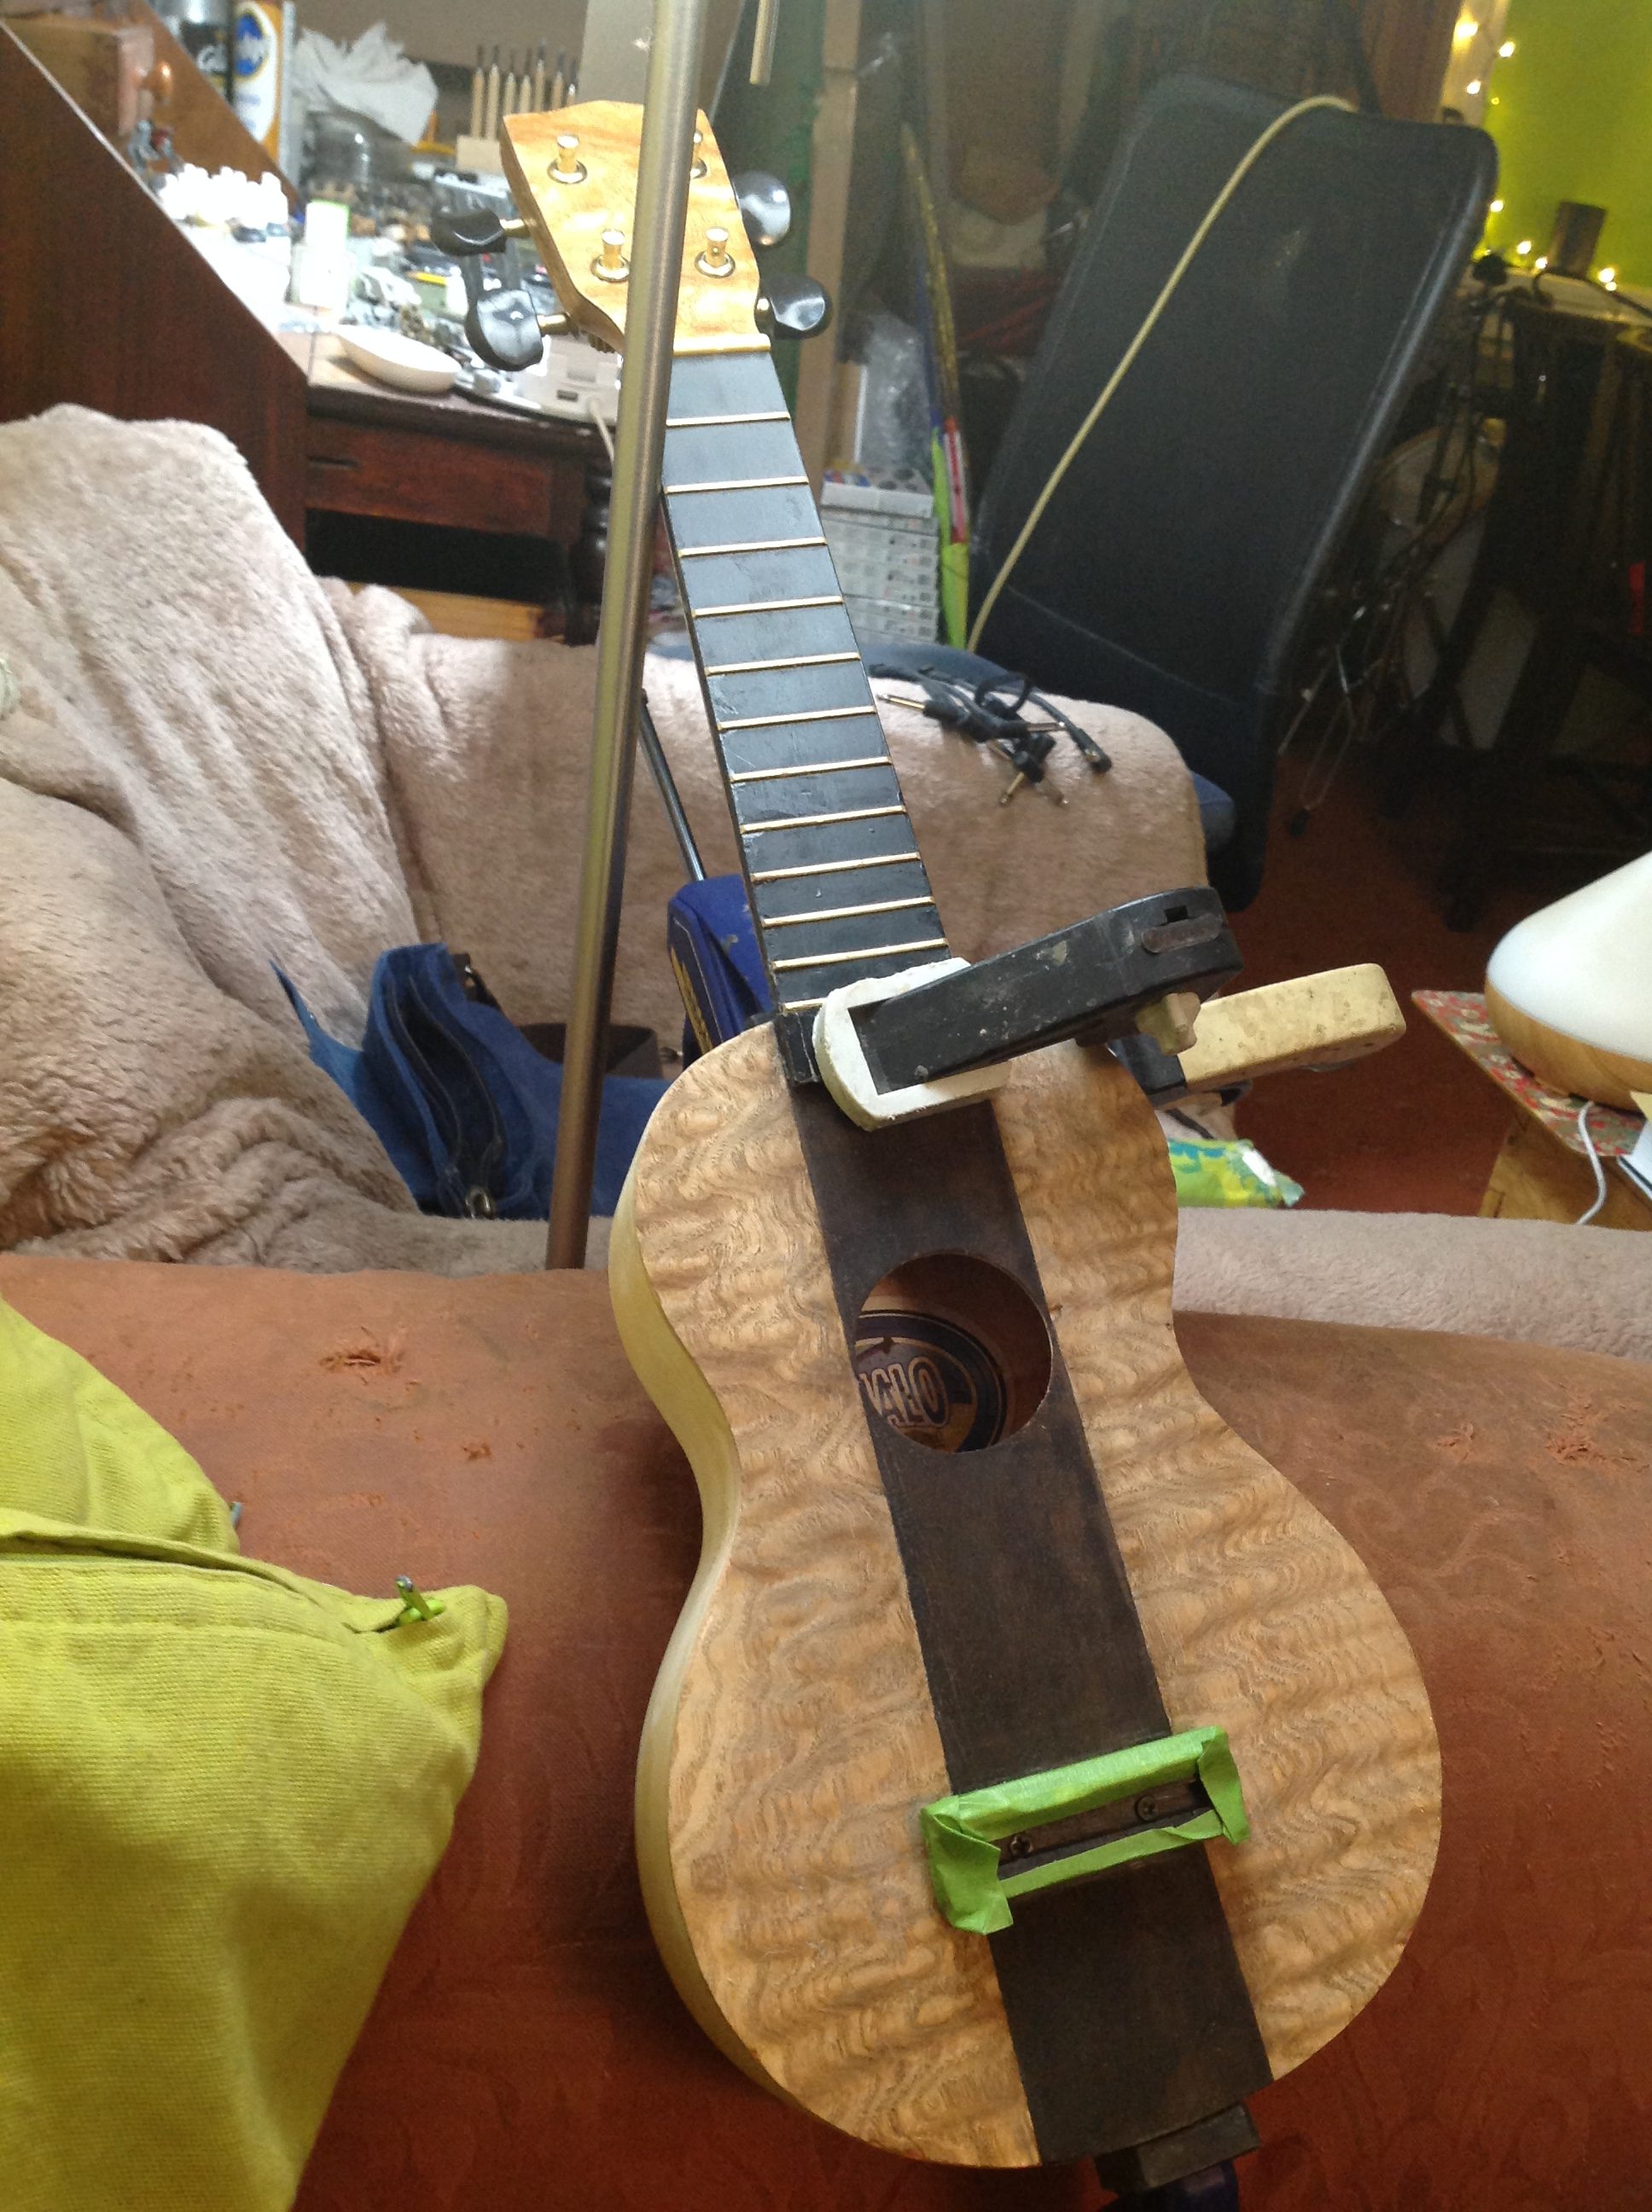 Bridge back in place.
With the neck still gluing, I decided to hazard re-attaching the bridge. I’d been dumb enough not to mark its original position in any way. But in the end I was able work up a template from photos of the body as it was before, and that seems to have worked out fine.
 Staining the body.
After several layers of hand painted gloss lacquer, I sprayed something like 15-20 layers of aerosol lacquer. I didn’t sandbetween every coat, but about every fourth or fifth coat. And then at the end it got a multiple stage sanding and polishing. Sadly, however, I’m far from attaining the piano gloss I’d hoped for. Instead I’ve got a silky sheen. Hey-ho. You live ‘n’ learn!
And, finally, the finished uke’, up on the wall on its own cute little mini wall mount.
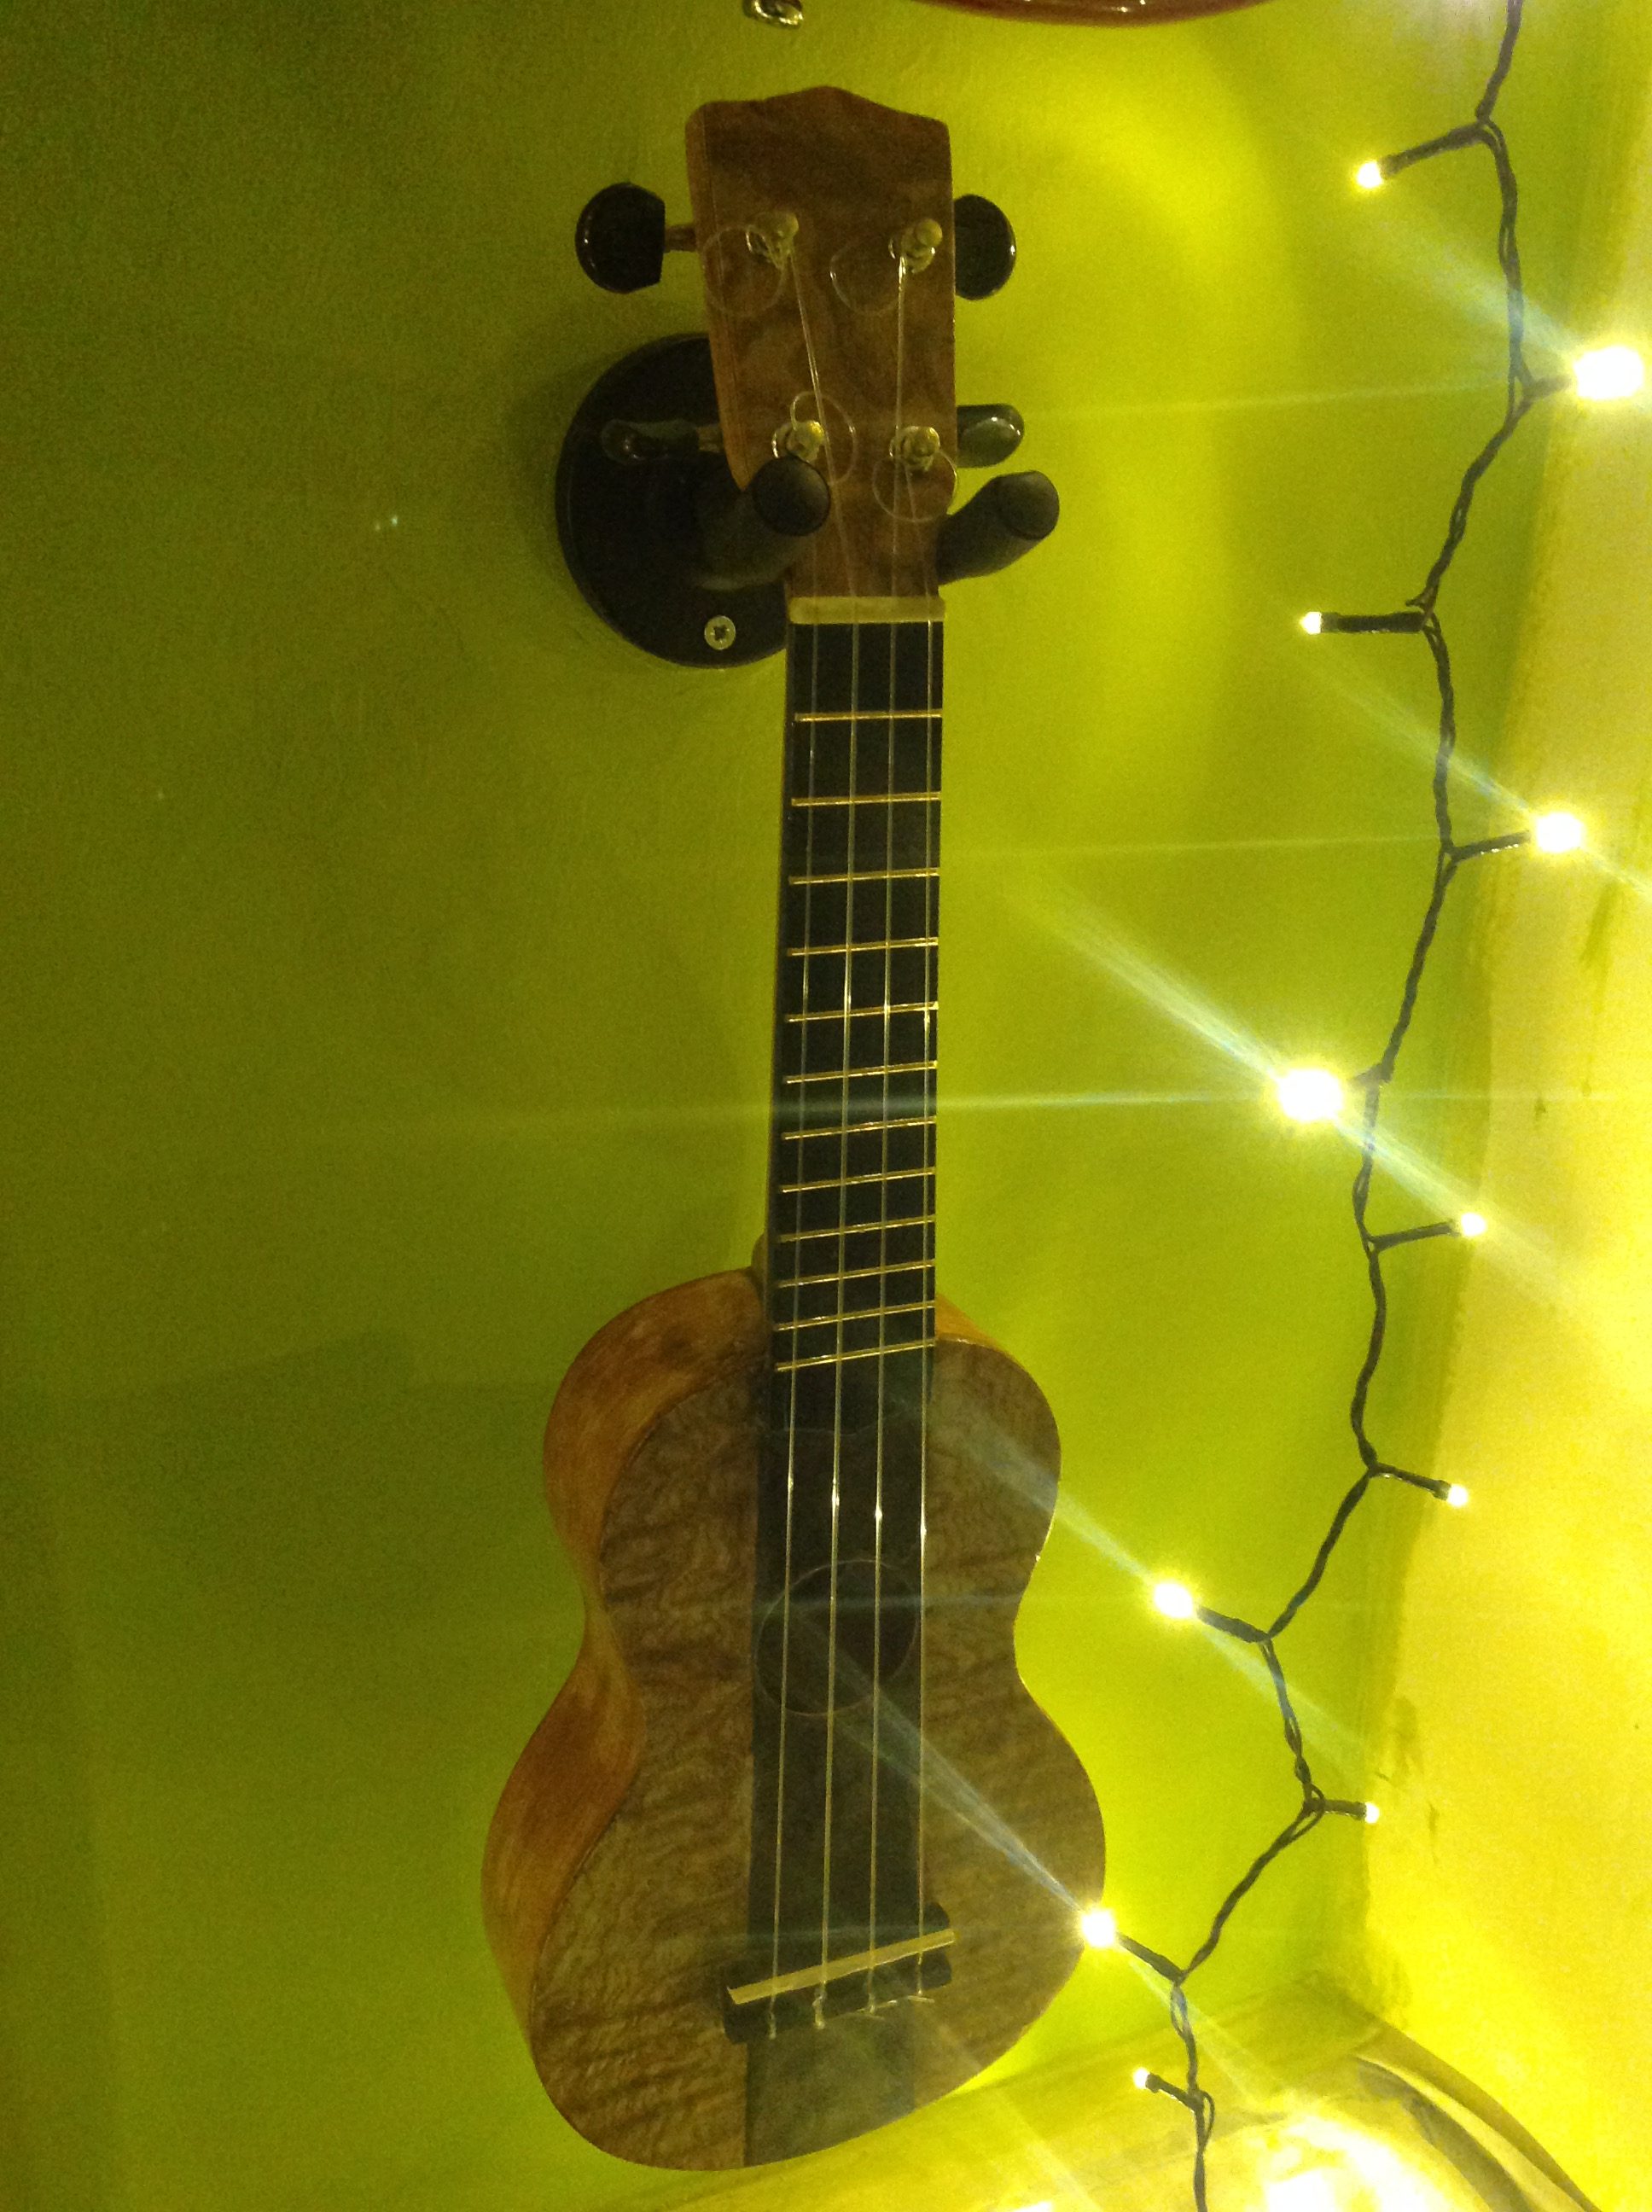 Ta-dah… the finished new look mended/refurbished uke’.