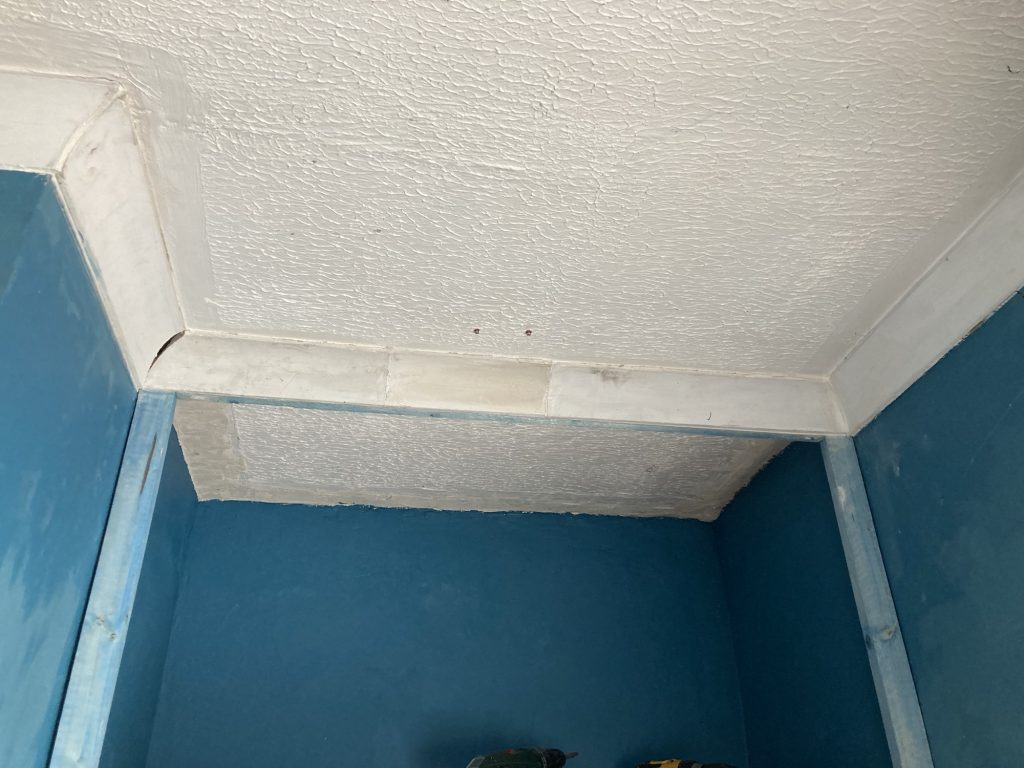
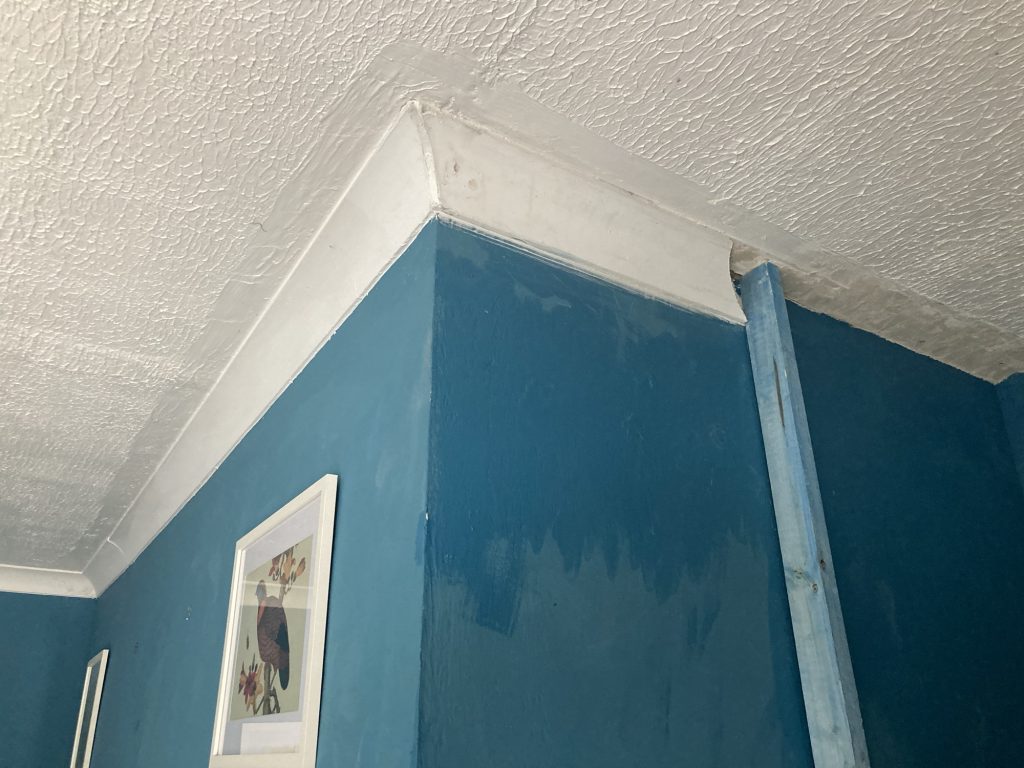
This morning I reinstalled the coving, forward of its old position.
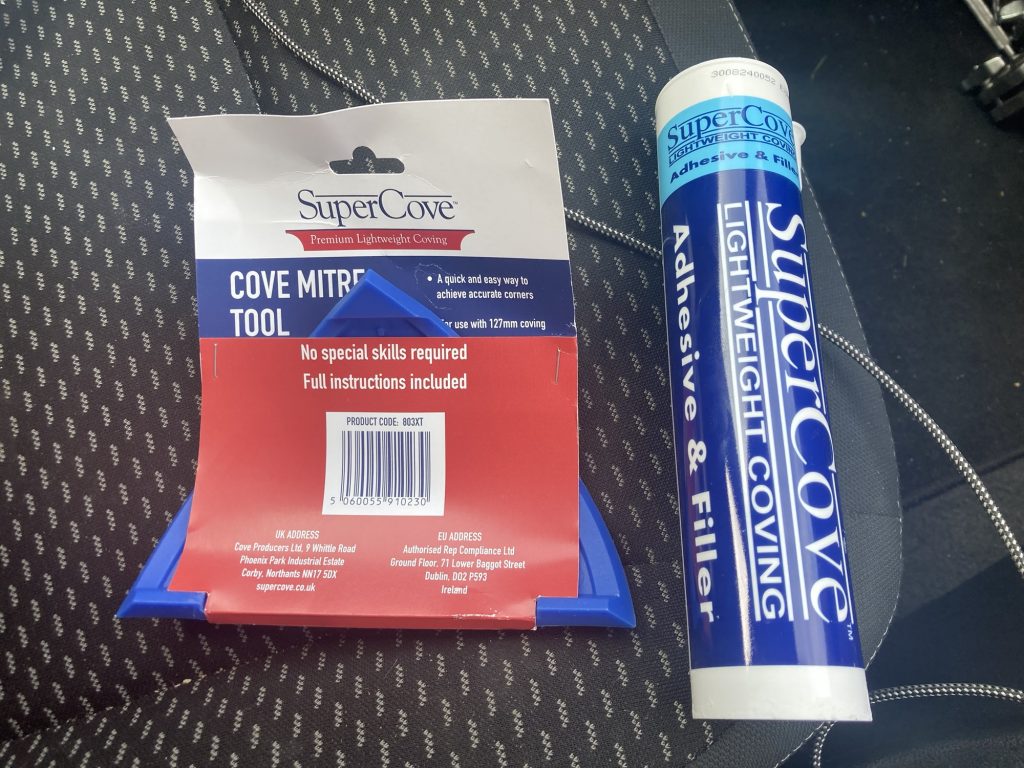
I purchased the above, from Screwfix. I have to confess that the plastic mitre guide didn’t really work as well as I’d hoped. It did get me most of the way there. But I had to finesse it (hardly the right word for my amateurish bodging!).
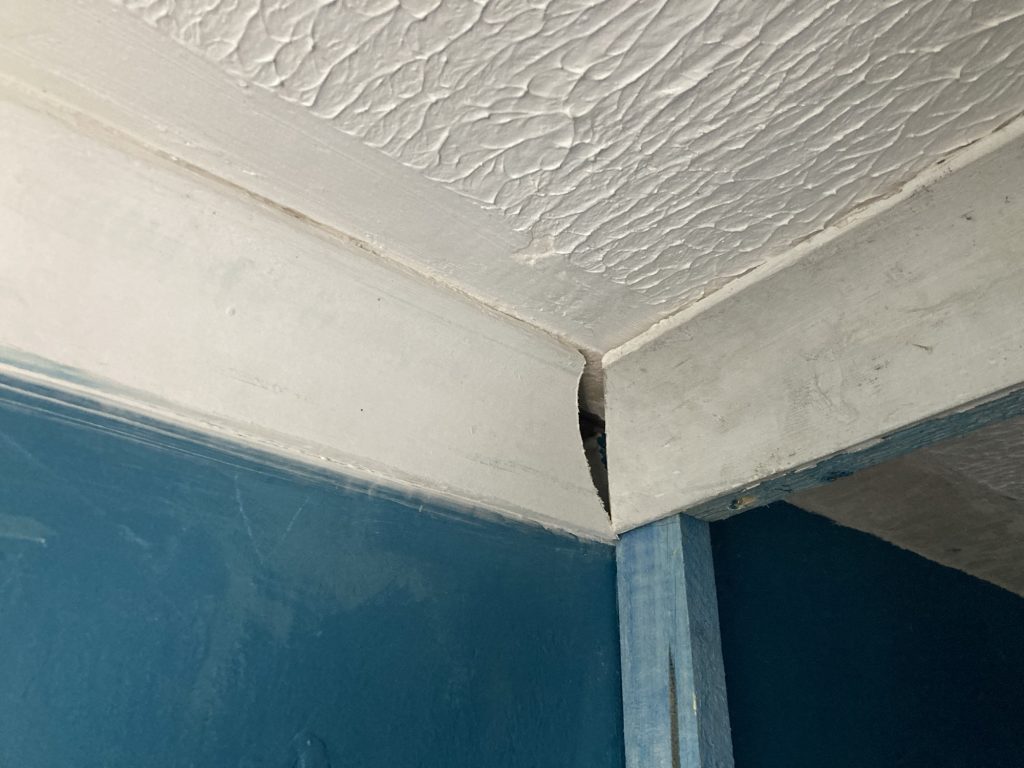
The pic atop this post is how it looks now. I just need to fill in this annoying gap (above). The following images show how I got there.
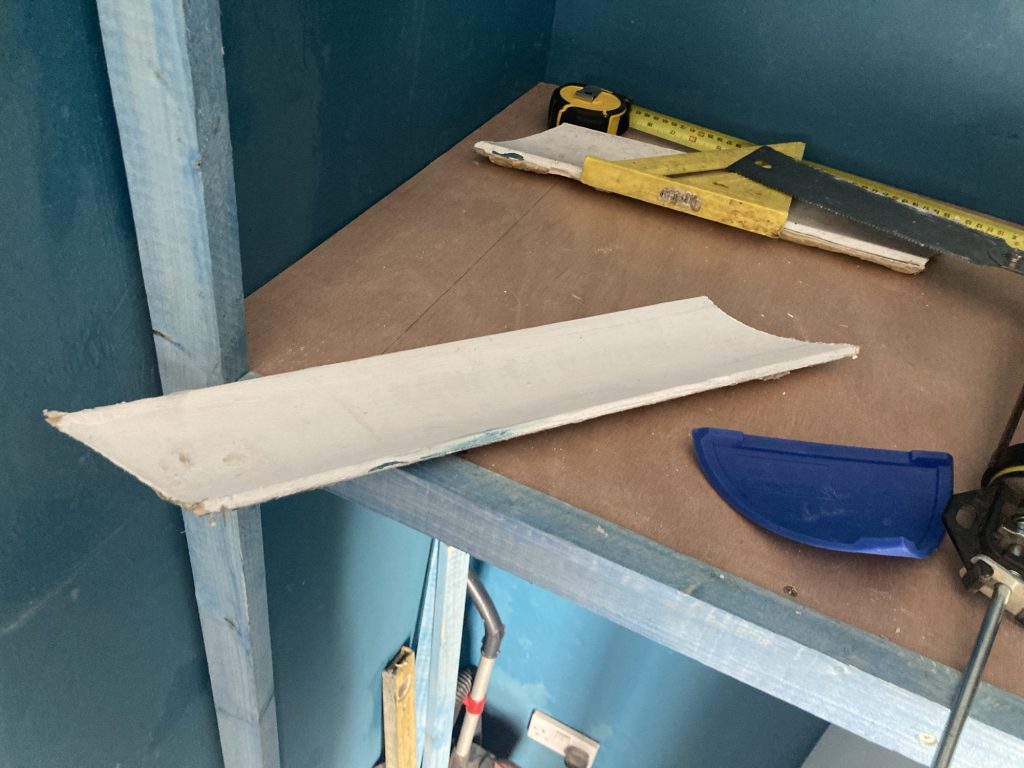
I just used the mitre guide, without thinking too hard, to make the first cut – above – and thought ‘fab, that was easy!’ But I soon discovered all was not as intended.
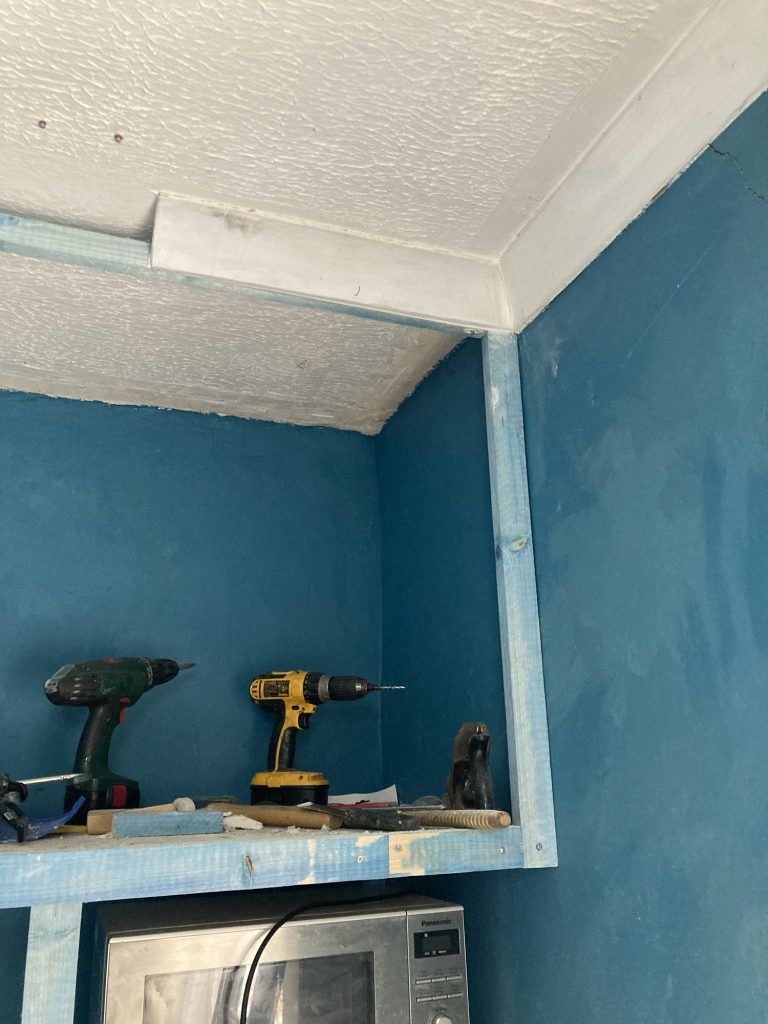
I managed the join a little better on the second go.
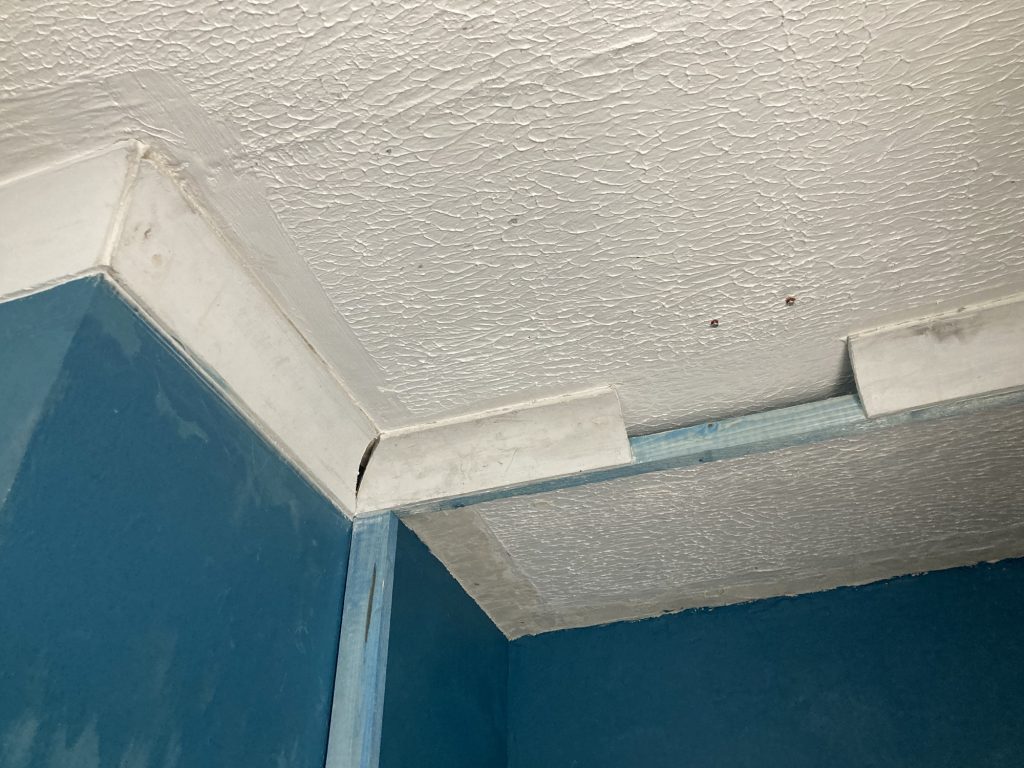
This pic reveals the shortcomings of the first cut. Still, never mind. Live and learn, etc.
Rather than buy new coving, as I’m poorer than the proverbial church mouse, I’m re-using what I took down. That broke into shorter sections, during removal. So this final span required three pieces.
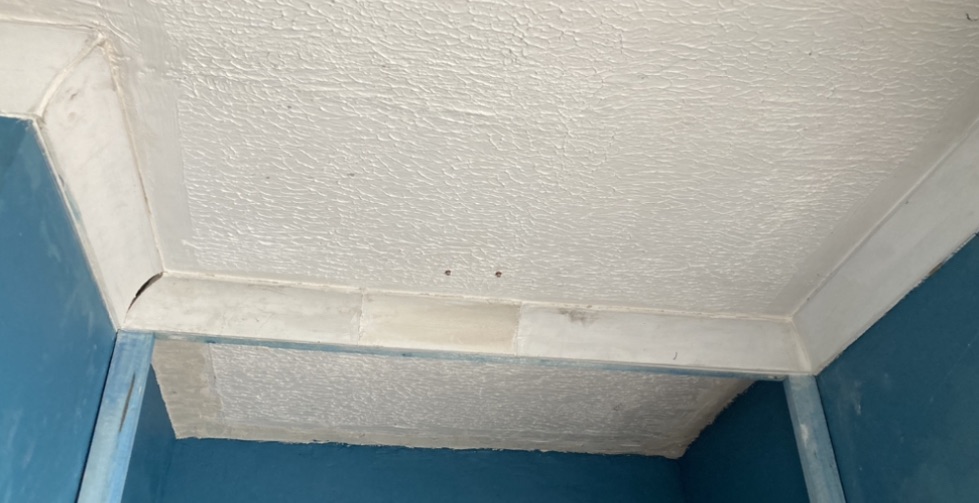
I’m takin a short rest break. After which I’ll may try and fill in the aforementioned irritating gap. It’ll need a lick of paint, to refresh it. Not sure if we have any ‘flat white’?
Another perhaps more pressing step is to measure up for the vertical dividing panel. I was going to get that at West End DIY, this art’noon. But Simon, the only one there who can cut stuff to order, was’nae in.
So I bought the ply at Ridgeons, now known as Huws Gray.
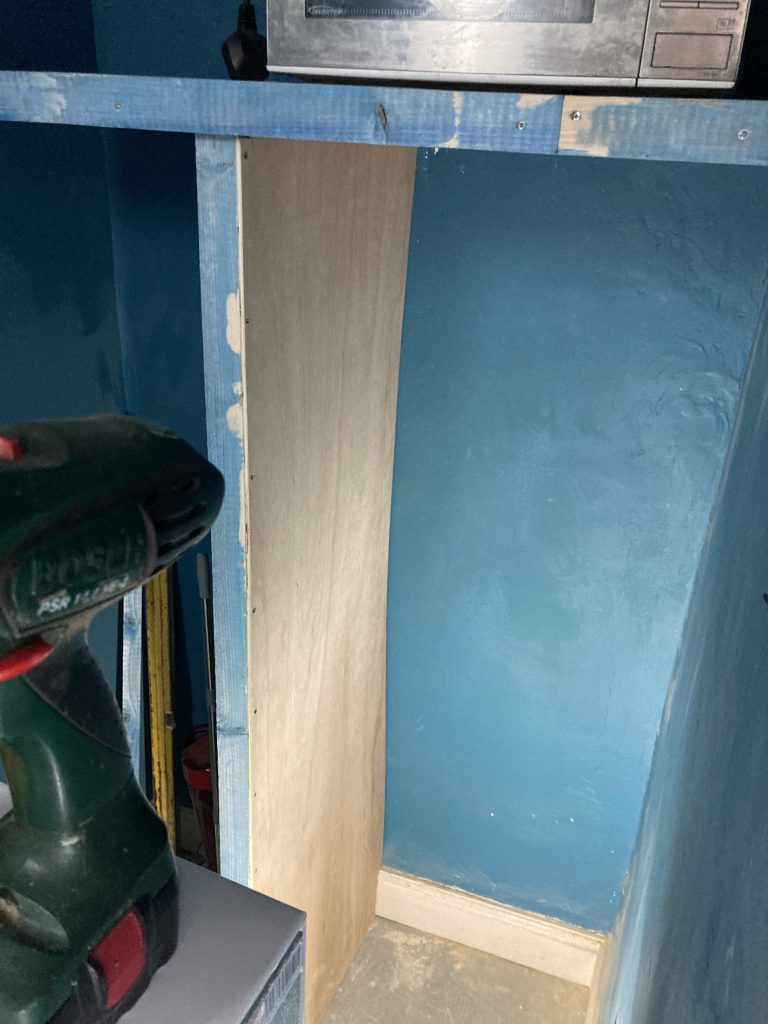
I did get some white paint at West End DIY, for undercoating this unit, and tarting up certain other areas, such as the coving that I shifted forward.
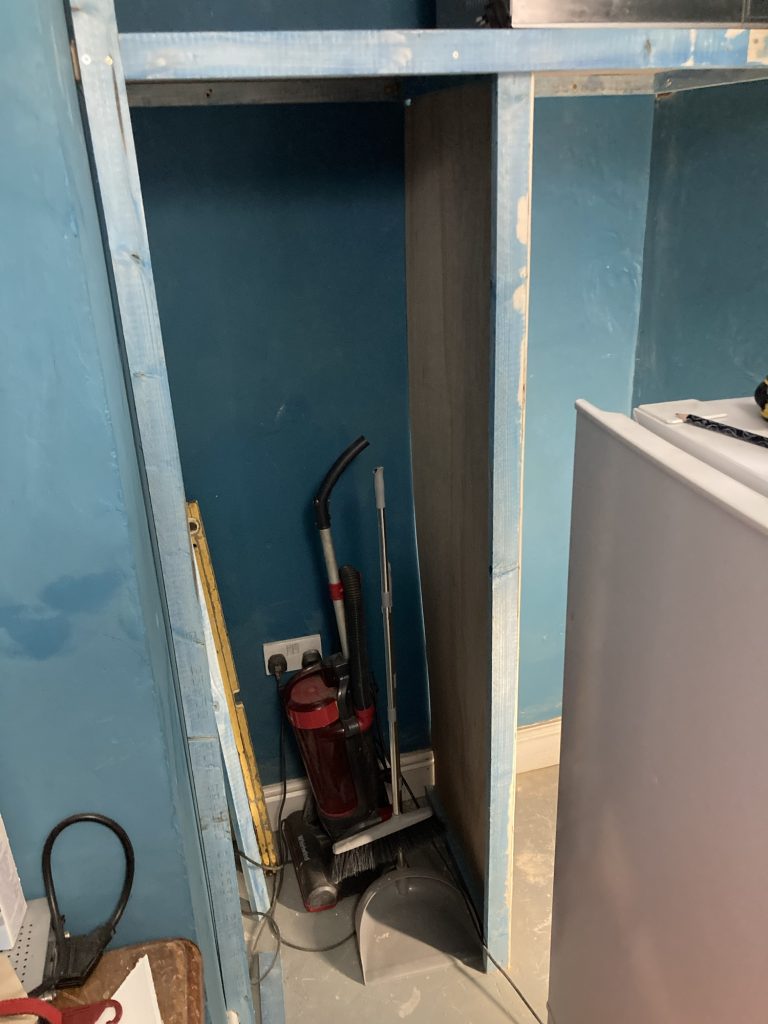
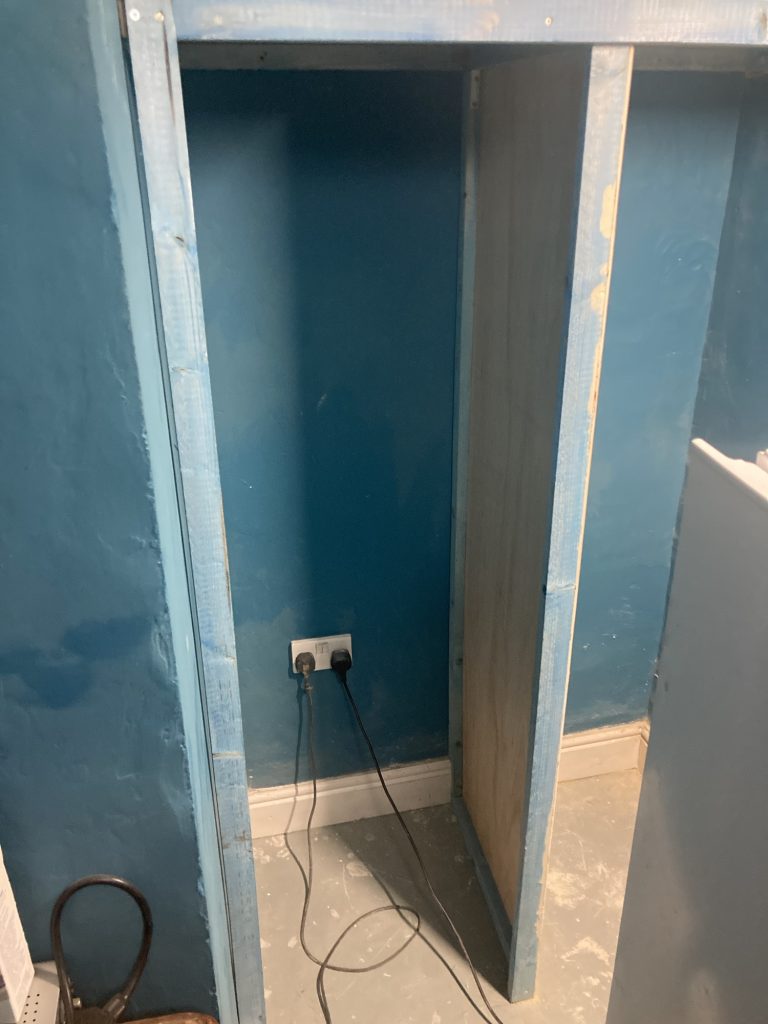
This still needs another vertical at the back, to secure the dividing panel along all edges.
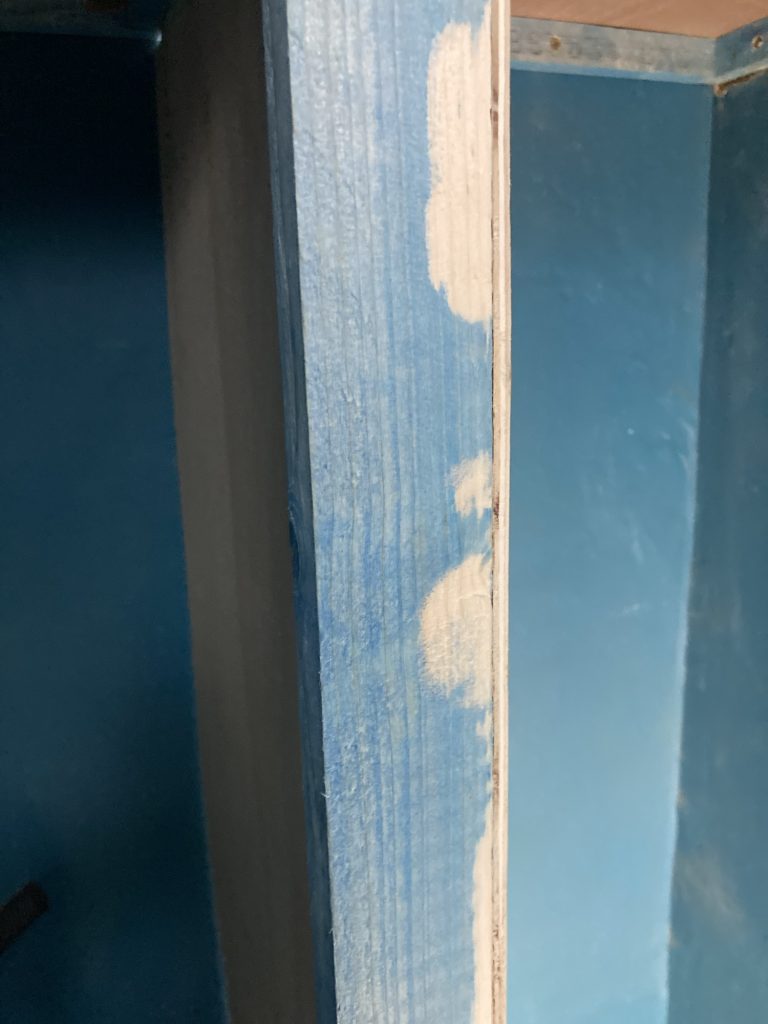
I might pop out to Wickes this evening? To get the last bit(s) of timber, and – more or less (structurally, at any rate) – finish this project off. Then it’ll be time to start filling, sanding, and painting.
Final phase for today…
I did pop to Wickes. And bought two more roof battens. They’re ideal for this job. I added a length to the rear of the vertical partition. So that’s now secured on all four edges. The whole thing feels incredibly solid.
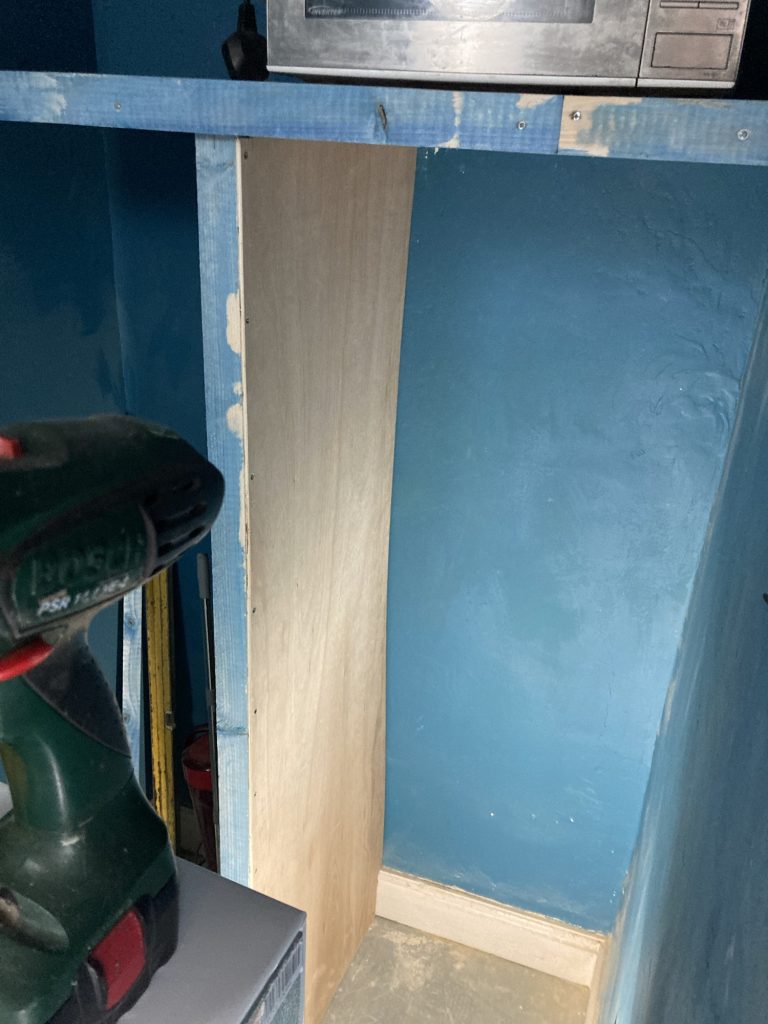
Certain steps were quite fiddly. Like cutting the skirting profile into the bottom of this final upright. But patience and persistence got me there in the end.
Antonio and Sofi visited this afternoon, dropping off some of Antonio’s stuff. He’s going back to Spain (again!), for a brief work do, over the weekend. He moves in on Monday… Crikey!
