The day after yesterday, aka today… Just back from a long early morning delivery shift. Pooped!
Prob’ do some more work on this project today. But before that, some chill time. Meanwhile a couple of pics:
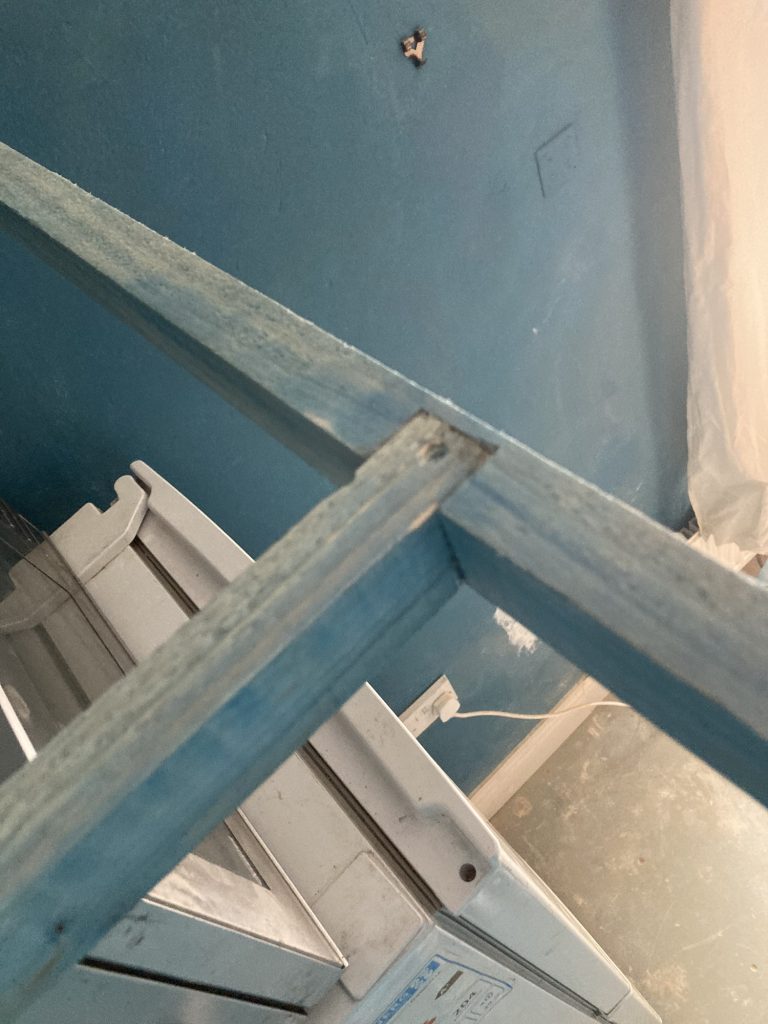
And the new socket box. I need to install a grommet. And sand and paint the surround. Then I’ll probably temporarily cap it off with the face, for now.
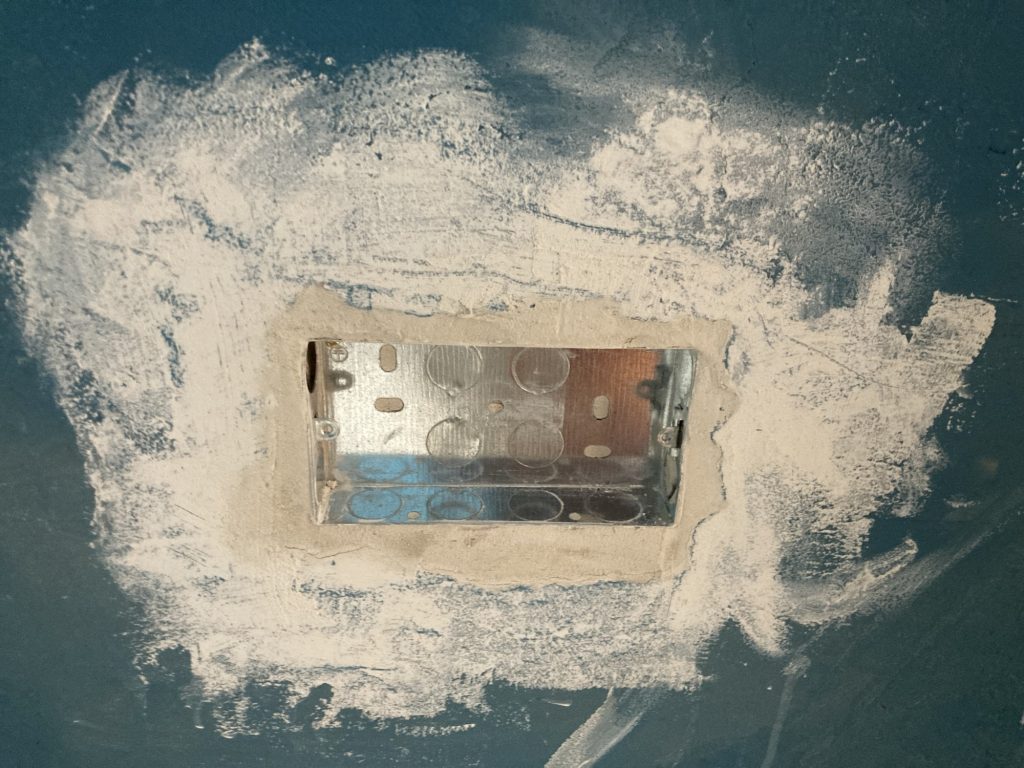
Some time later…
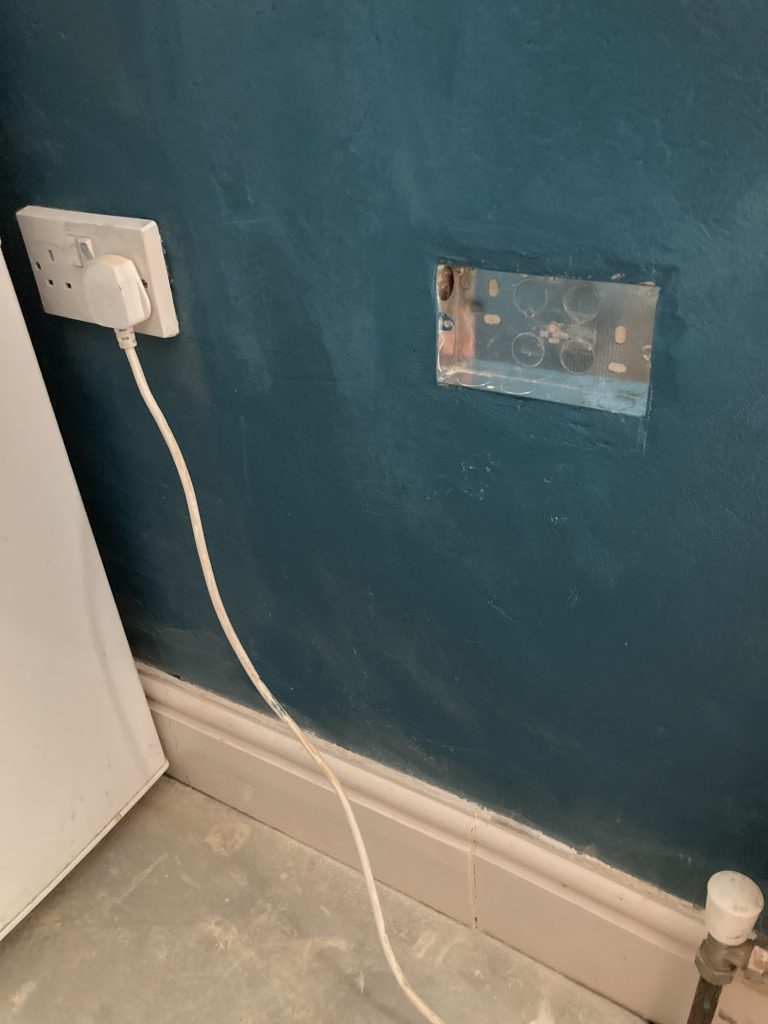
So… sanded and painted the new socket surround. I’ll mount the plastic face-plate (soon as I find it!).
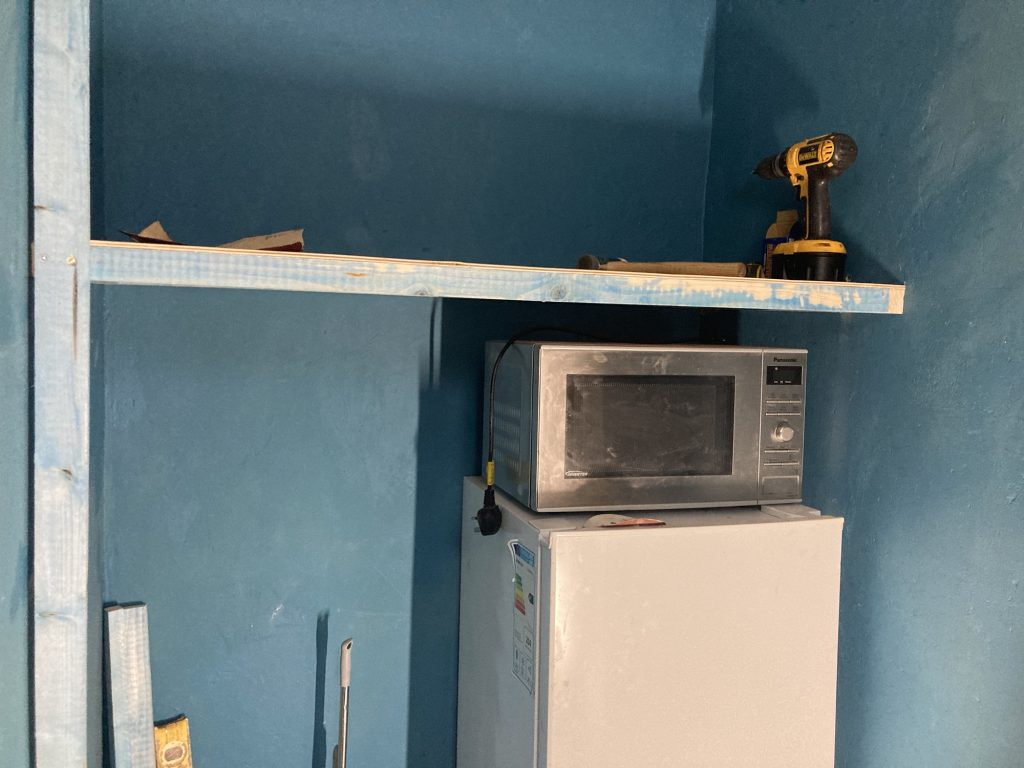
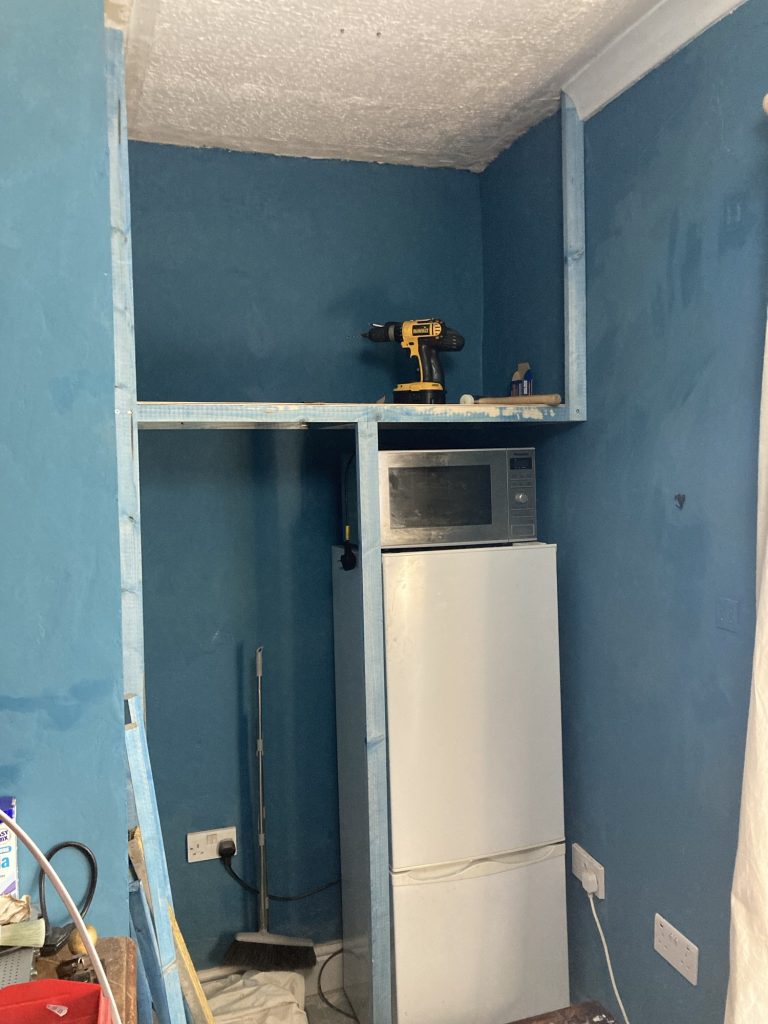
Meanwhile, I bought a sheet of 3-ply, and I’ve been trimming it to the irregular size and shape of the shelf-frame. Nearly there:
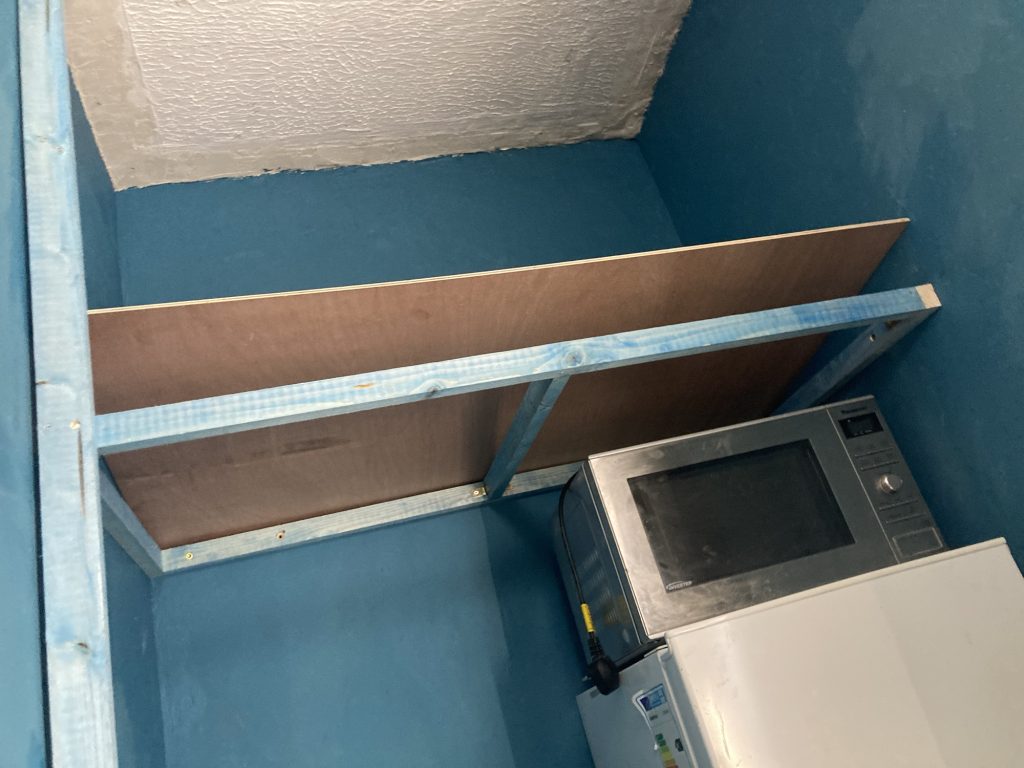
Having another little workman’s tea break, now. Once this shelving part is done, I’ll return to vertical elements, including the space-dividing wall, and clothes-hanging poles/rails.
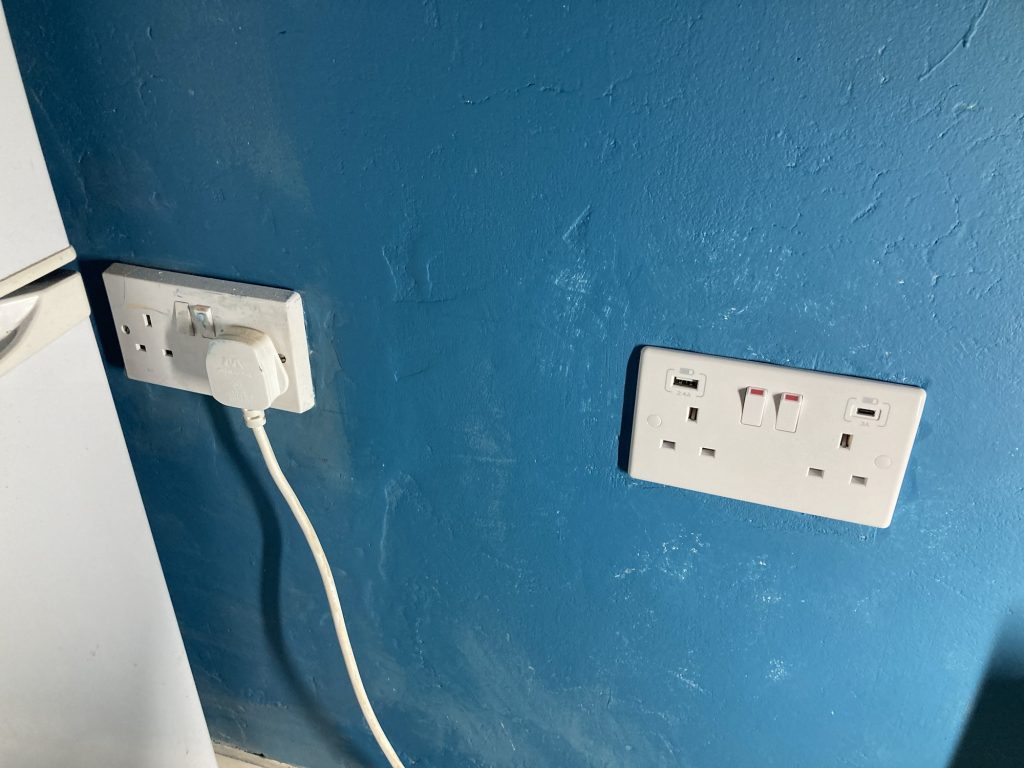
Found the face-plate, and got that on. It’s not wired in yet. That’s partly ‘cause I’m not sure if I ought to come off the plug at left, or – if poss’? – directly off the ring main.
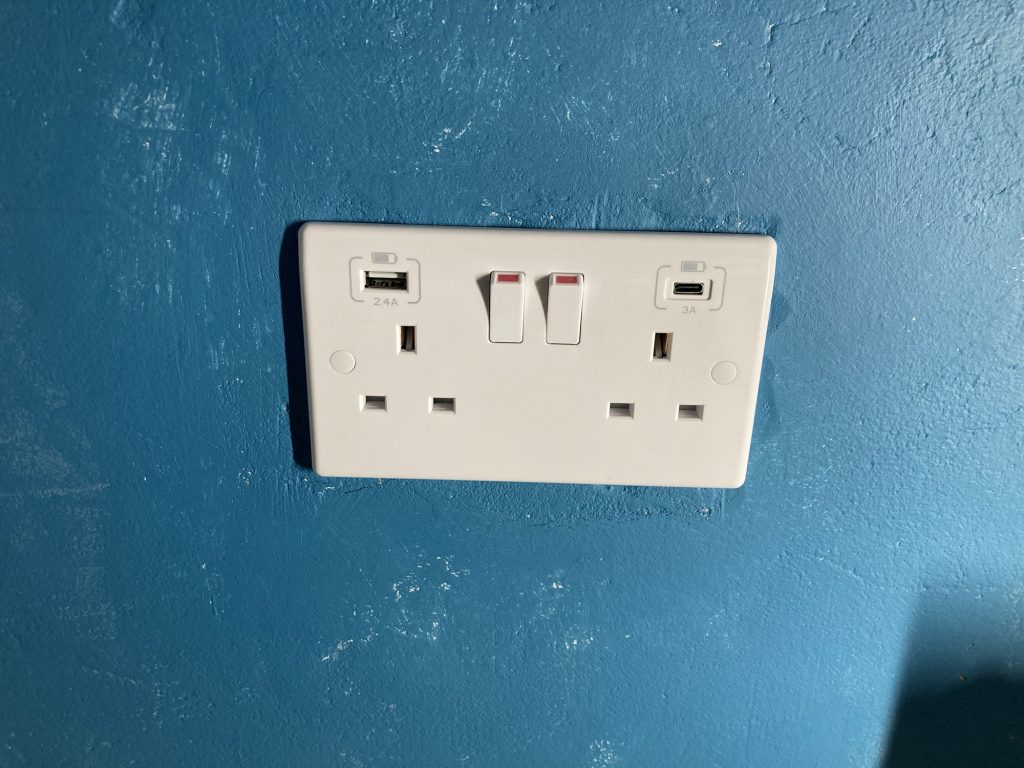
This’ll be handy when it is wired in: it’s lower profile that the older ones. Plus it has two USB ports.
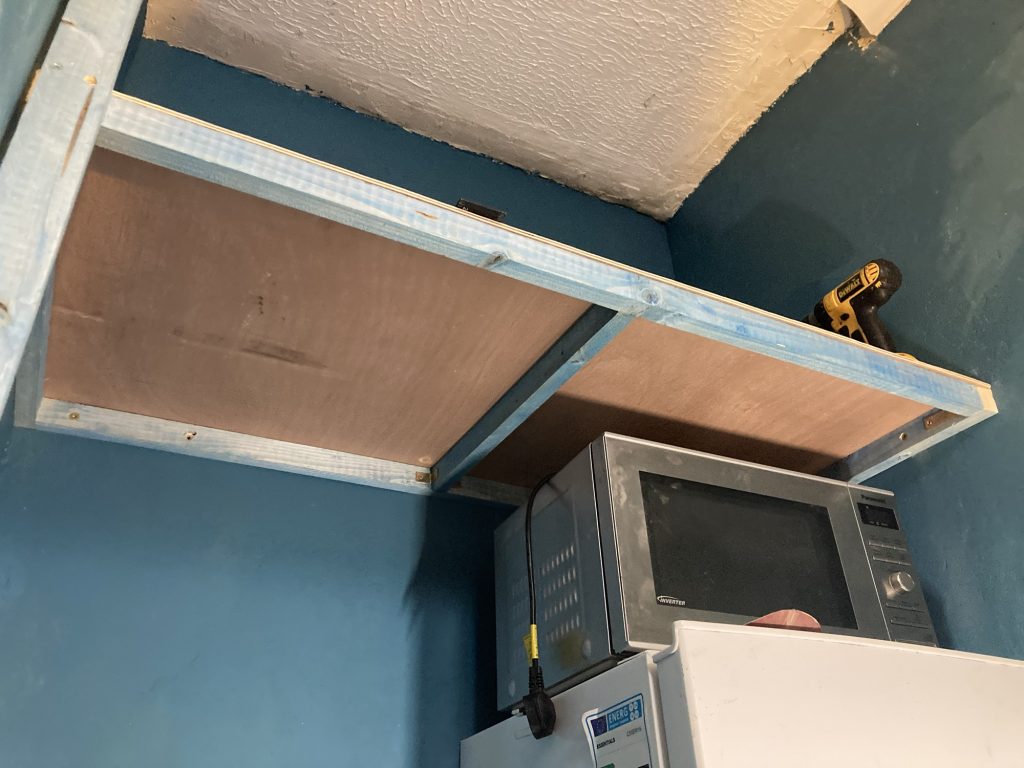
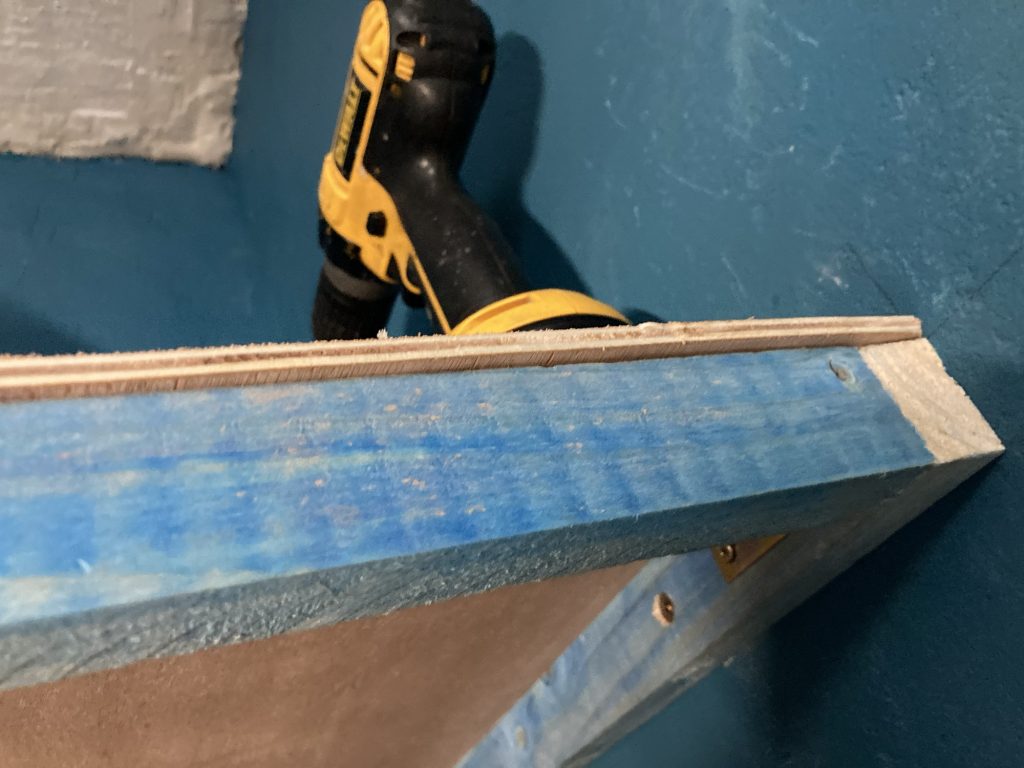
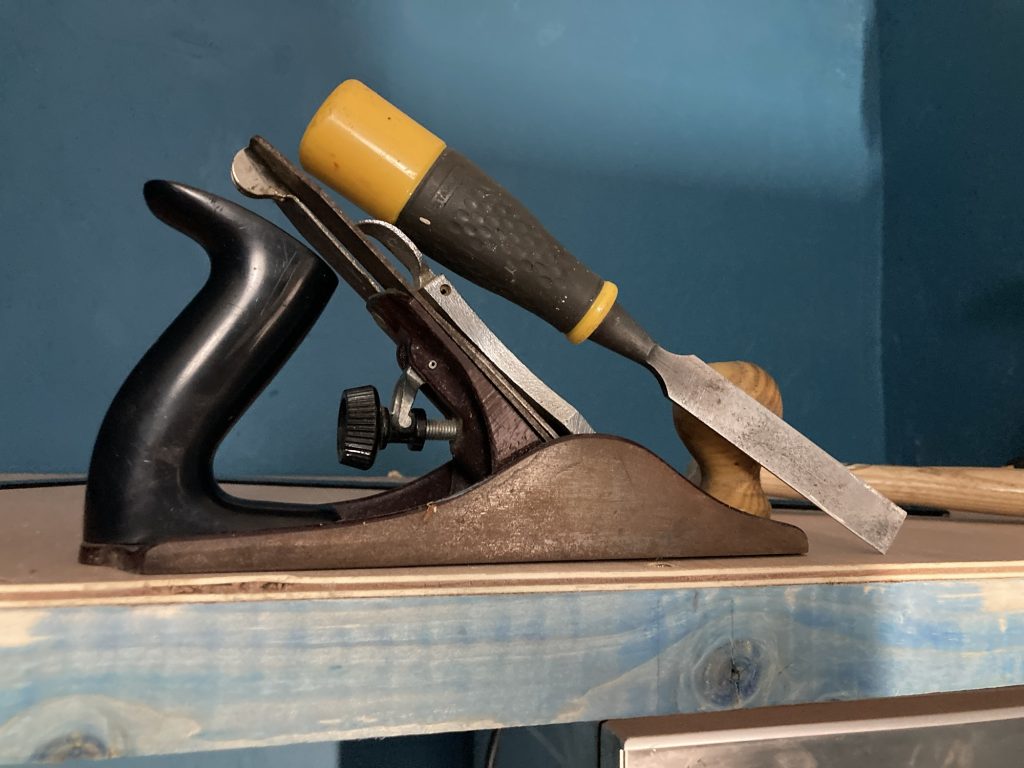
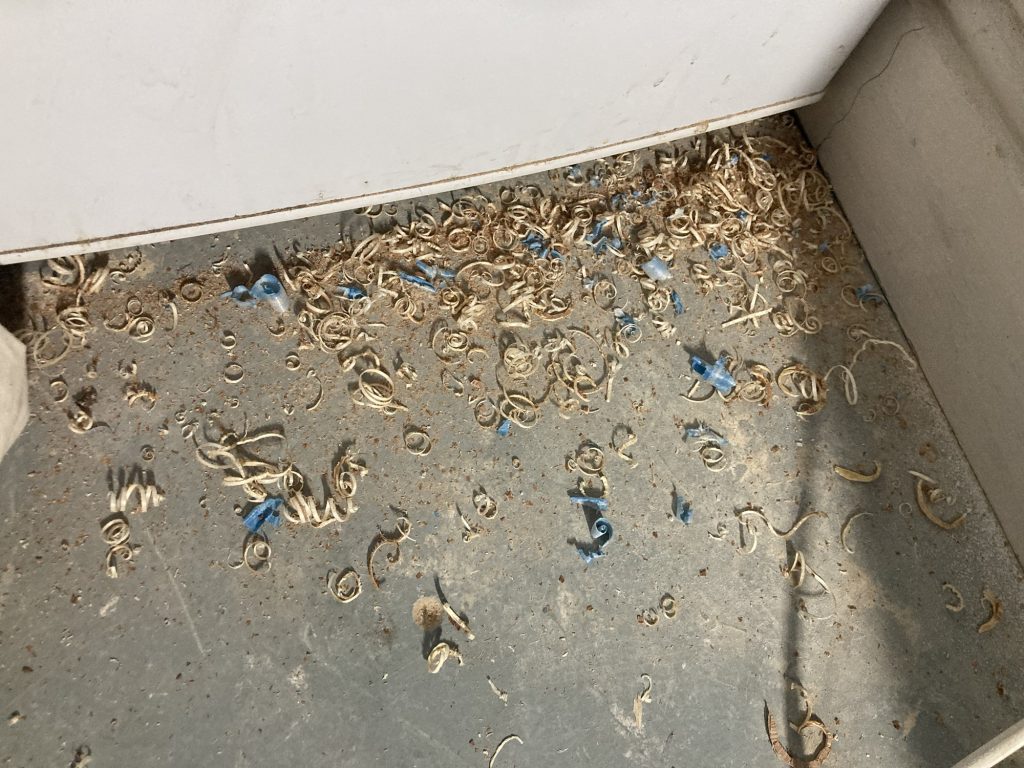
After some fiddling, I got the plywood shelf to more or less fit. As can be seen below, it needed planing and chiselling a bit to get it flush along the front edge. I went old school, with hand tools, for that part. Fun!
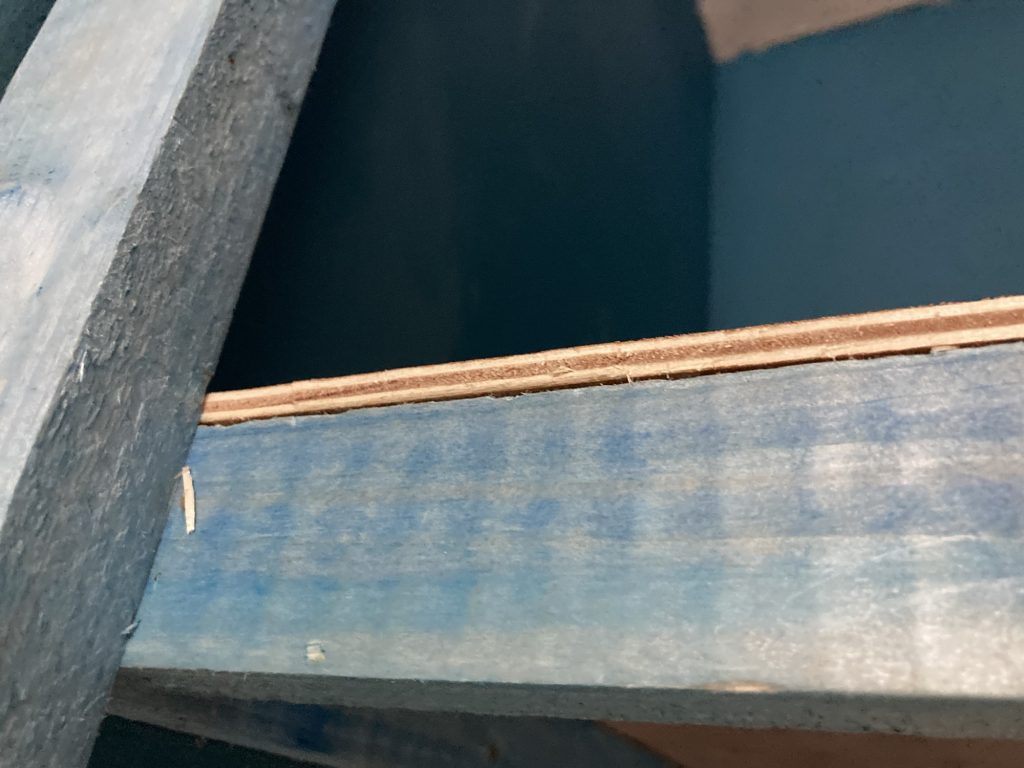
This will probably be hidden anyway, with a cross-member.
I’m hoping – and I firmly believe – that this will support the weight of any stuff guests or tenants need to store.
Time to stop for dinner.
And lastly… after dinner I did a little bit more: I fixed a bar from the back wall across the floor, to secure the middle vertical, which divides the fridge area from where clothes can be hung.
There will also be another ply panel, this time vertically aligned, dividing these areas as well. As I need both left and right planes on which to fix whatever will support any clothes rails or poles.
I also put a second and wider beam across the lower front of the shelf. This hides the Joni between supporting structure and plywood, adds a little lip to the shelf – to stop stuff rolling or falling out – strengthens the overall structure, and brings that horizontal flush with all the front verticals.
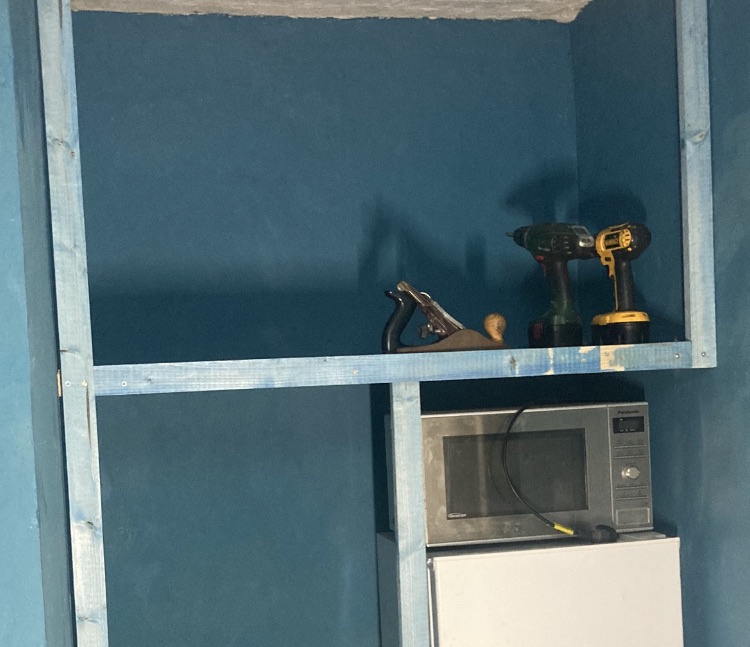
I had to do it with two pieces, as I didn’t have any leftovers that’d bridge that particular span in one go. But once planed, sanded, and with filler and paint added, I reckon it’ll look fine.
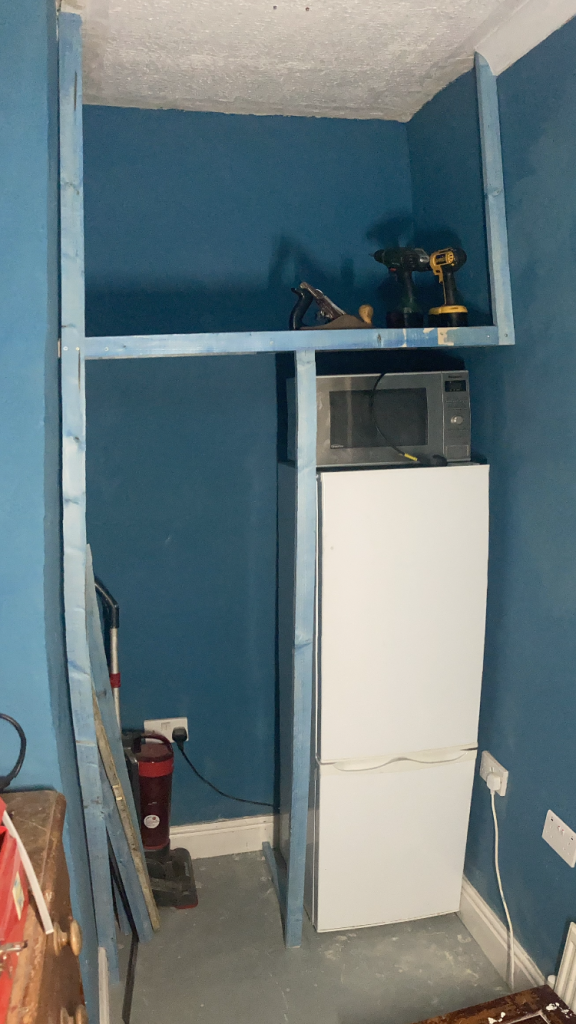
One little conundrum: how am I going to deal with that little void, due to the concave bowing of the wall, at left? I have several ideas. But I’ll save that till towards the end of this project.
Another issue, that kind of sorted itself out, was the right hand side vertical. Rather than doing it floor to ceiling, as I had on the left, I just did it from the shelf to the ceiling. This obviates the difficulties posed by the position of the power sockets.
