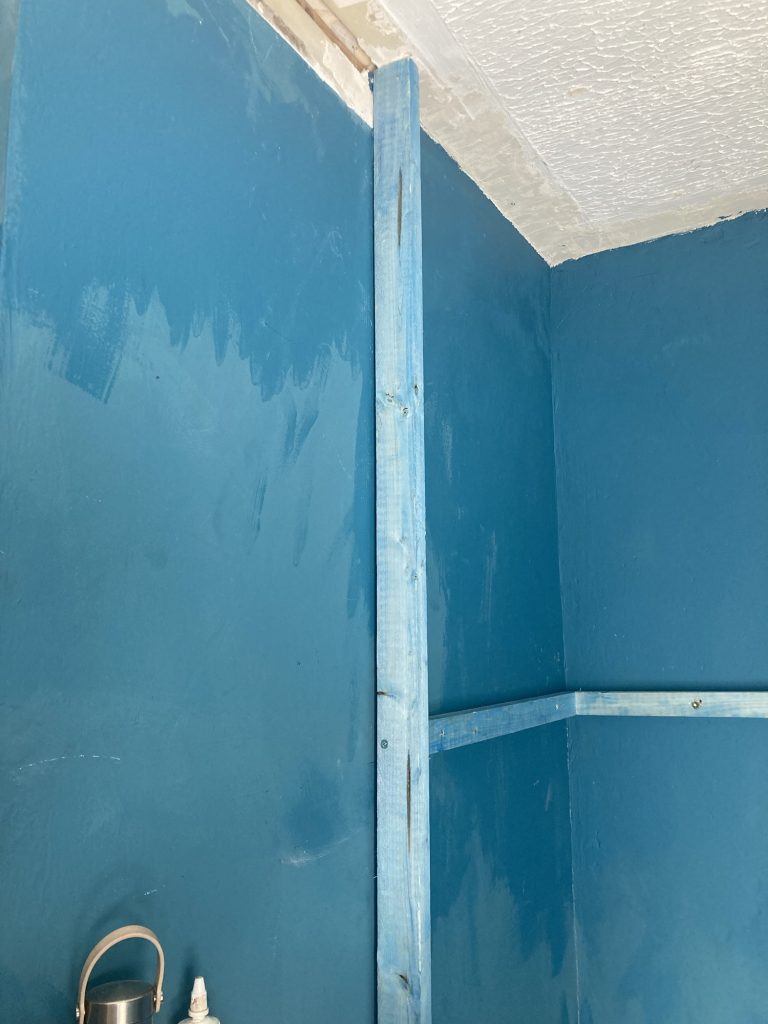
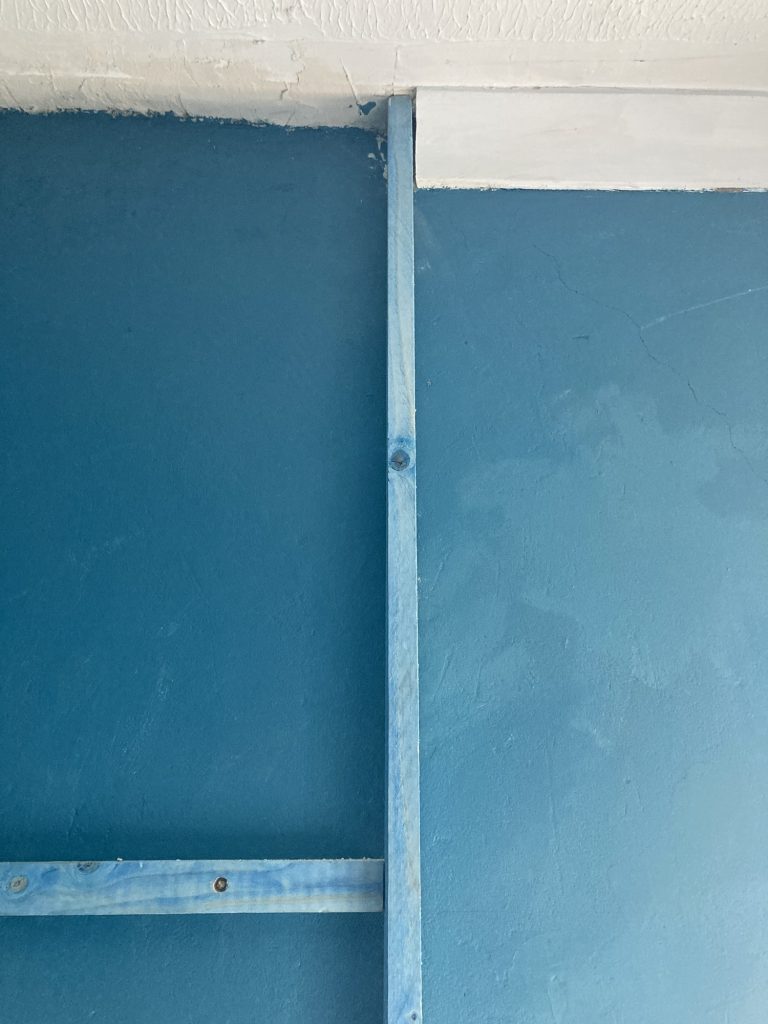
The wall at left, a plasterboard thing put up when the stairs were moved (the stairs originally bisected the property at a 90° angle, midway between front and back, oriented the same as what’s now the upstairs hallway) is a bit concave. It bows outwards. Which can be see above.
I’ll probably just run a bead of caulk or sealant or whatever, down the entire length. We shall see. the upright is pleasingly vertical, according to the spirit level.
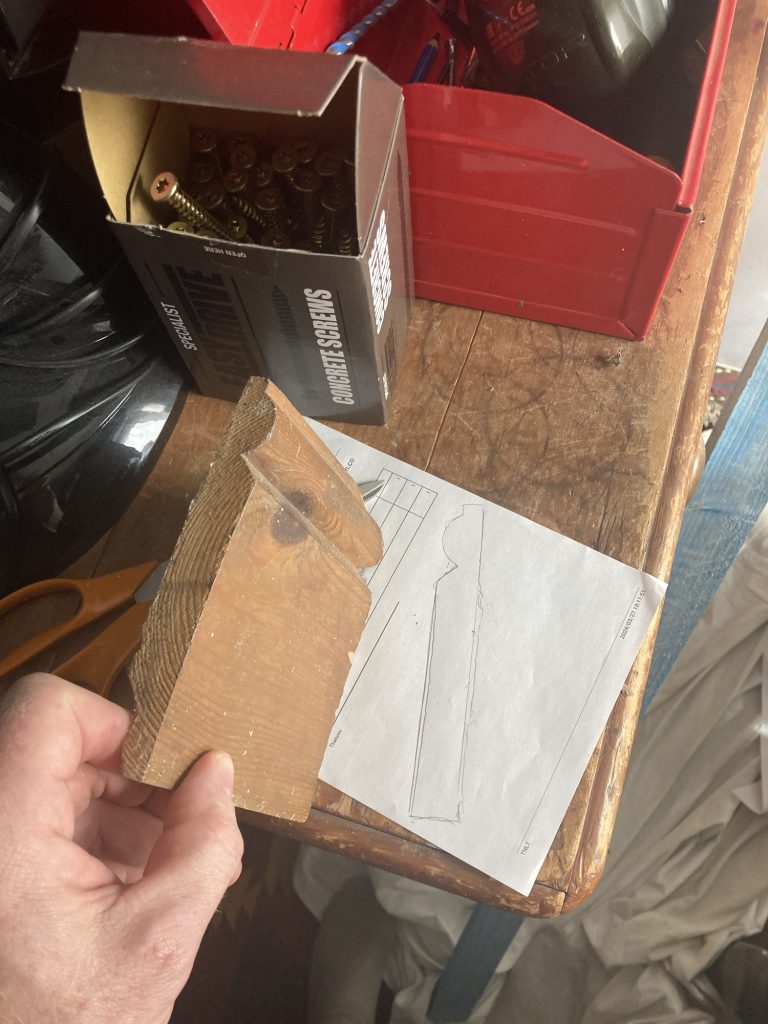
But let’s go back a bit… before this vertical piece went up, I had to cut out the recessed areas so it would fit snugly up against the skirting board.
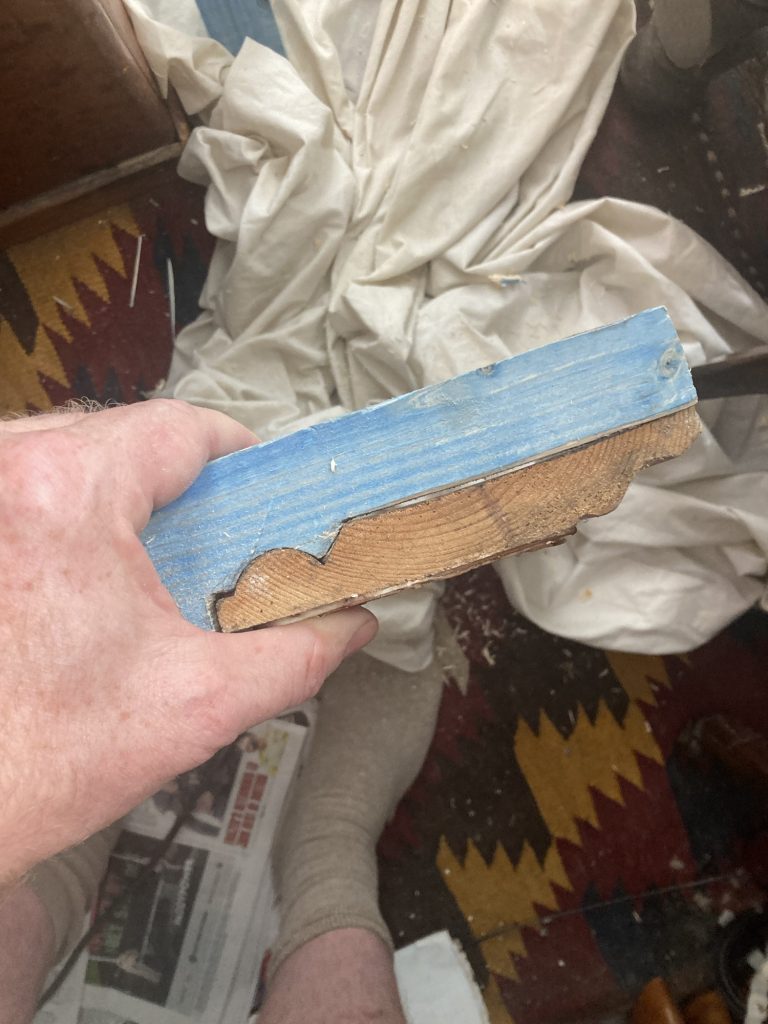
This was rather awkward work to do, in the cramped confines of the room itself. But patience, persistence, and having decent tools, got me there.
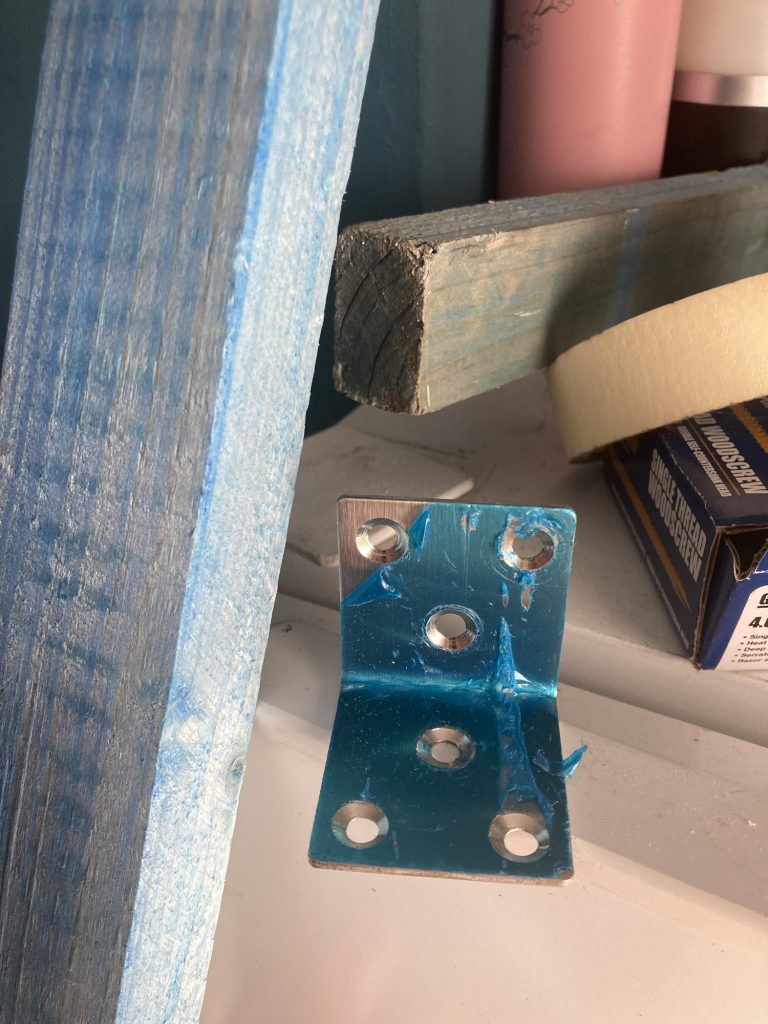
I love that the blue theme of the room is echoed, quite coincidentally, by the blue timber I’m using, and even the blue film on these fixtures.
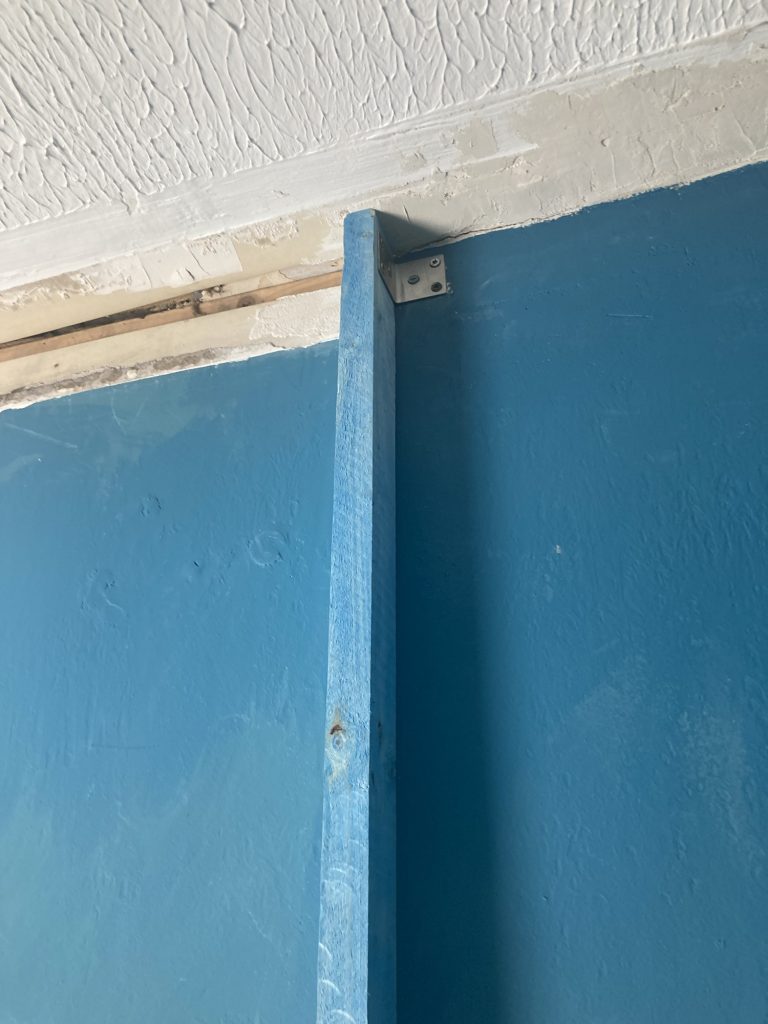
The film comes off, and then I’m using one or two of these here and there, to hold the timber in place. There’s not room for one at the bottom. And this top one will be more or less out of sight, ultimately.
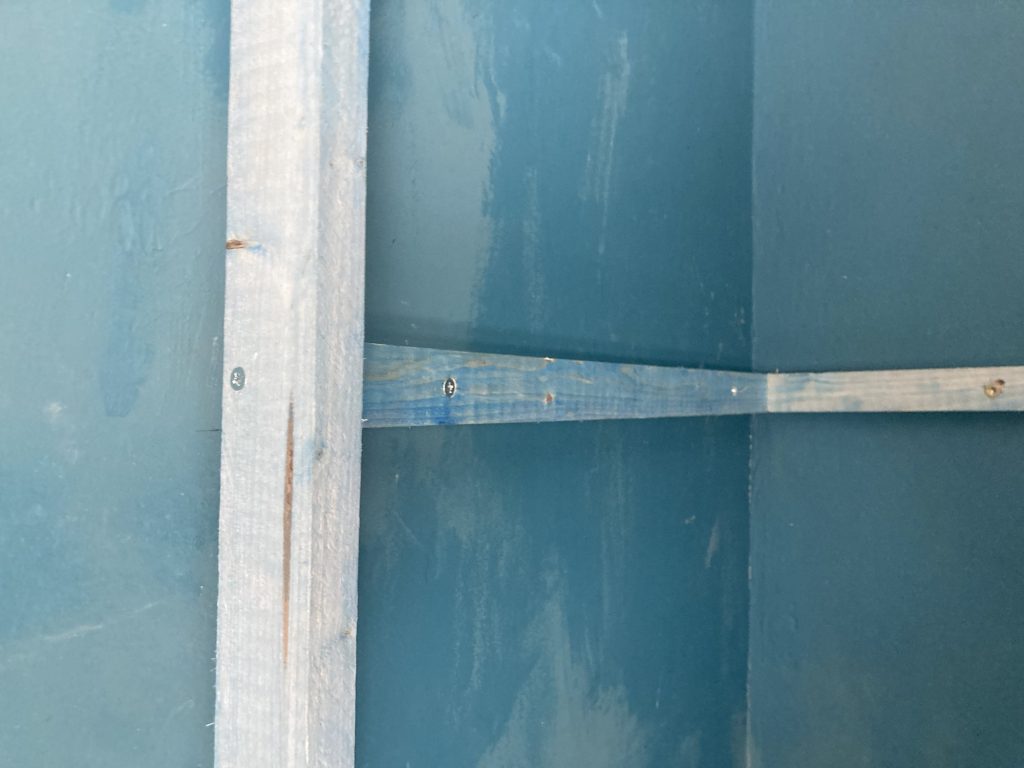
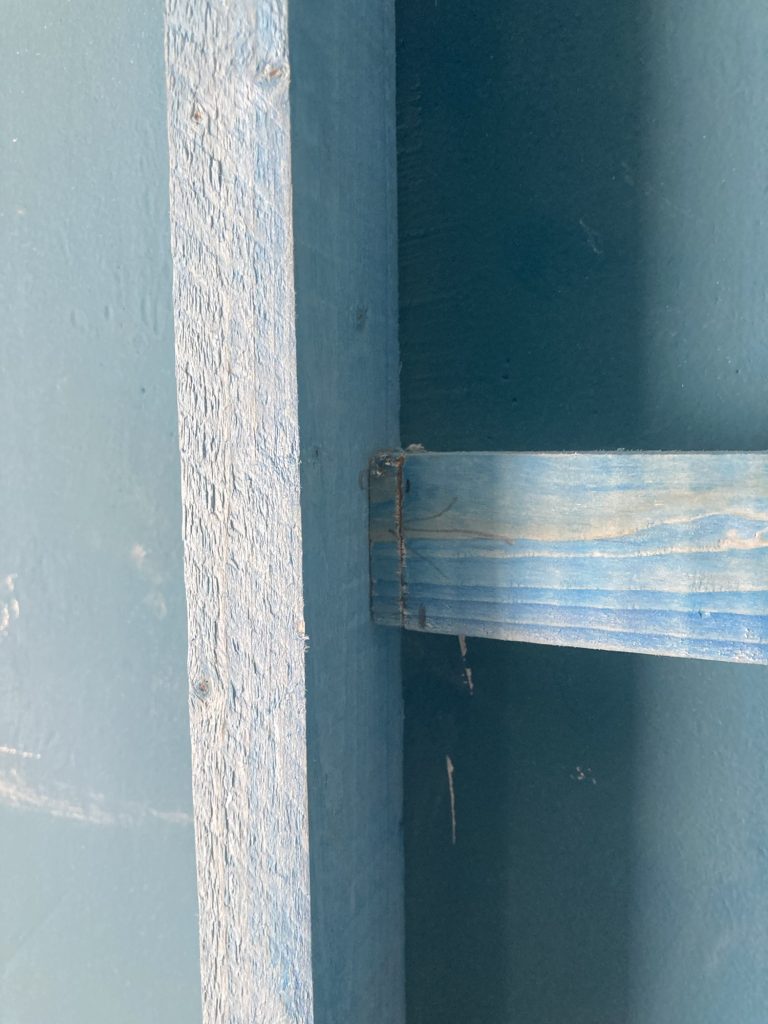
I think the middle horizontal must be set back a bit. Probably the rear wall also bows outwards a bit, inside this part of the room. All the horizontal measurements are 60cm. But I had to put a little extra bit in here (just visible, if you look carefully).
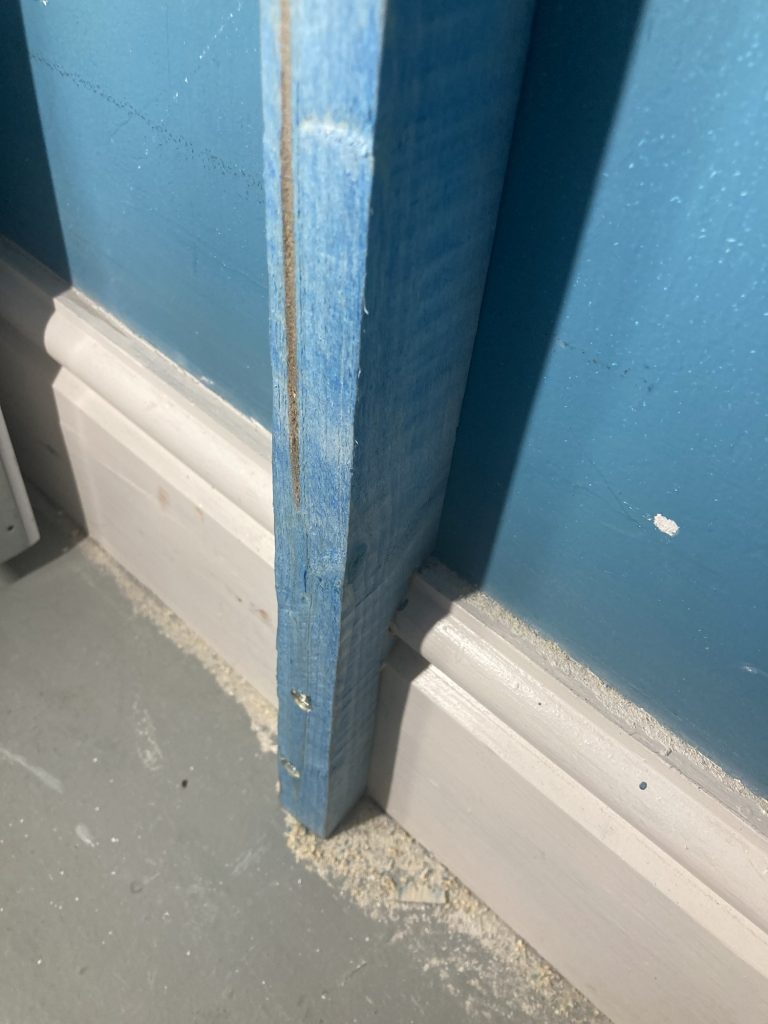
There’s a bit of twist in this timber. But not so much as to greatly trouble me. And fixing it in place has to some degree ameliorated that.
I’m stopping for a wee rest, and a little light lunch. And then it’ll be all systems go; full steam ahead!

* From the ‘Partridge Over Britain’ segment of Knowing Me Knowing You.
Now I’m working on a bit more of the structure.
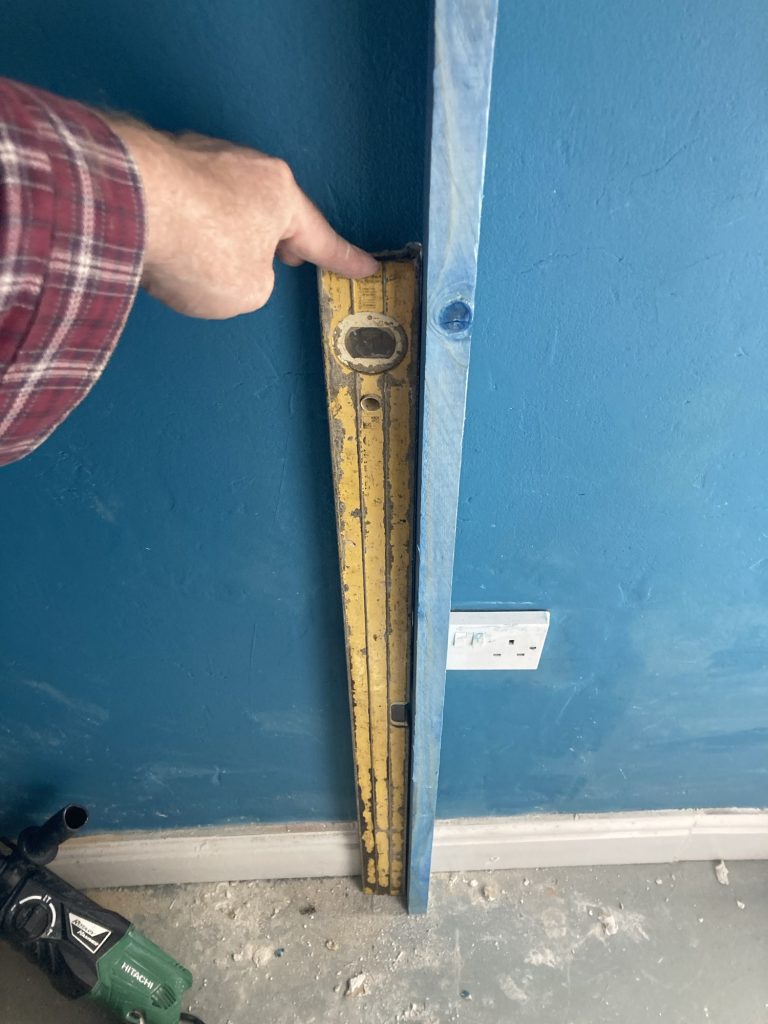
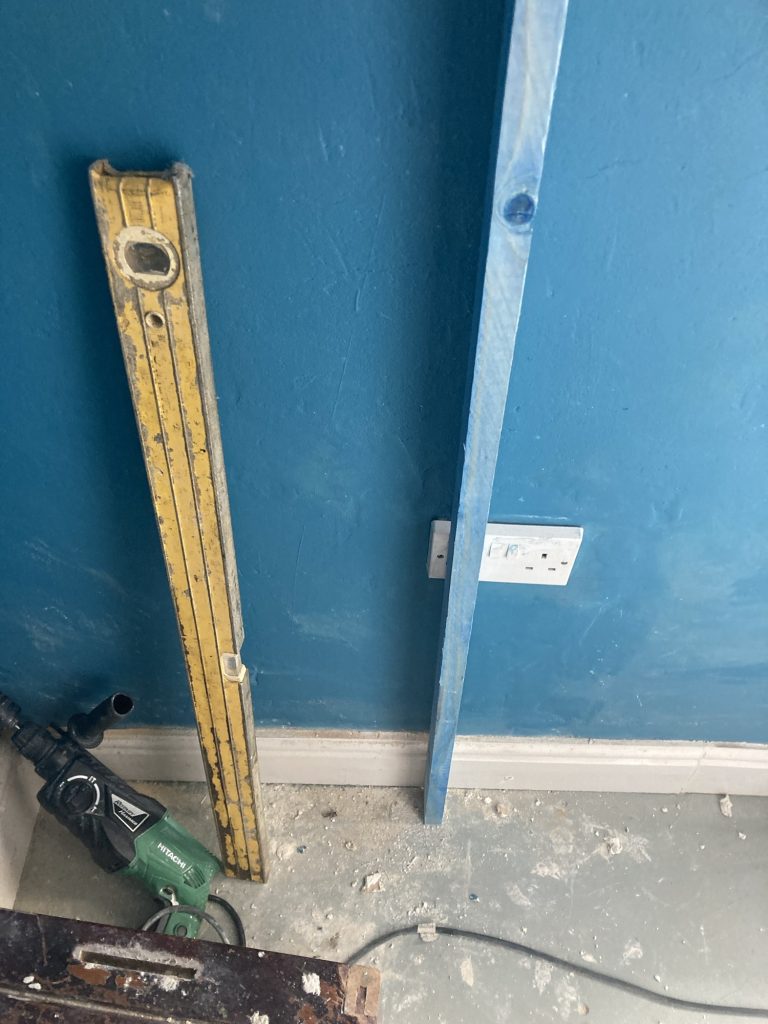
Uh-oh… a bit of a clash.
Hmmm!? Rather like the plastering I had to do, after removing coving. This is not something I’d wanted to deal with. Still, it’ll learn me some new skills.
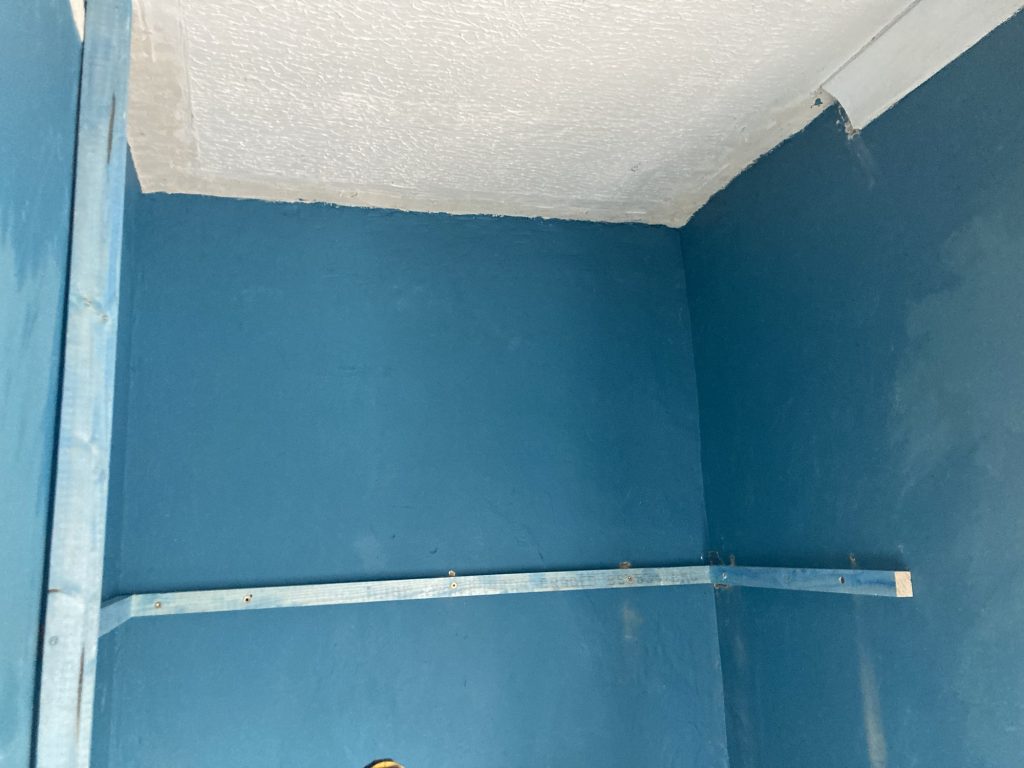
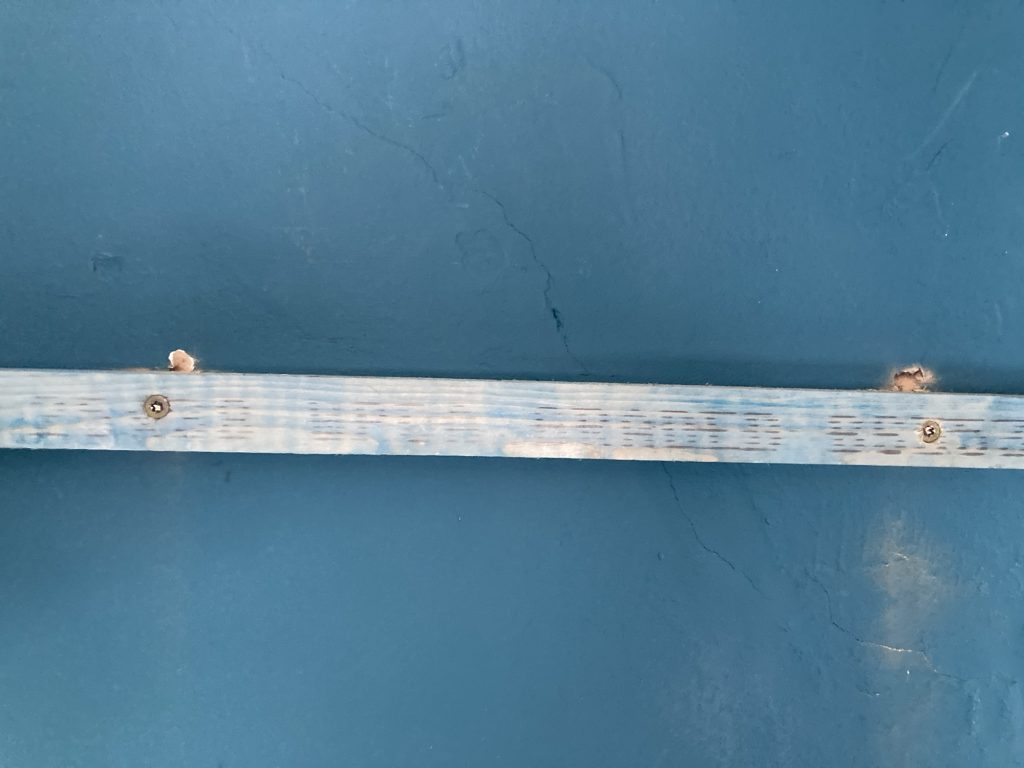
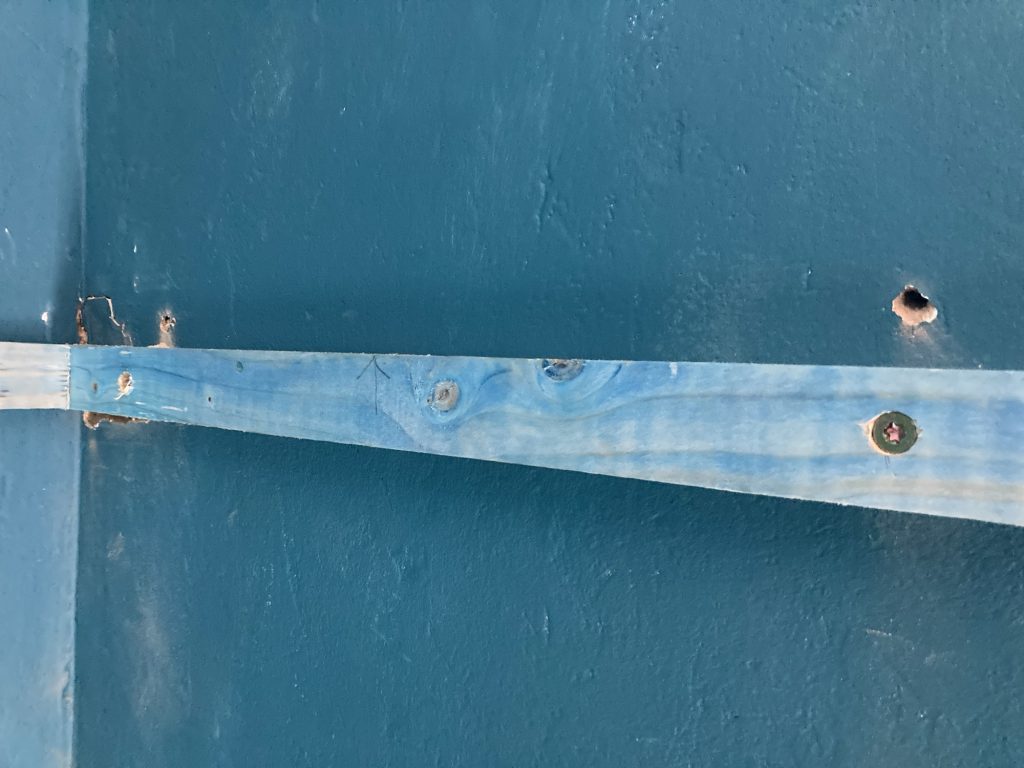
I’m glad I did this. It’s going to be better, neater, stronger and more satisfying job, by doing it right!
And that allowed me to put this front member (below) across the gap. I tested this latest addition for level, and it’s poifeck!
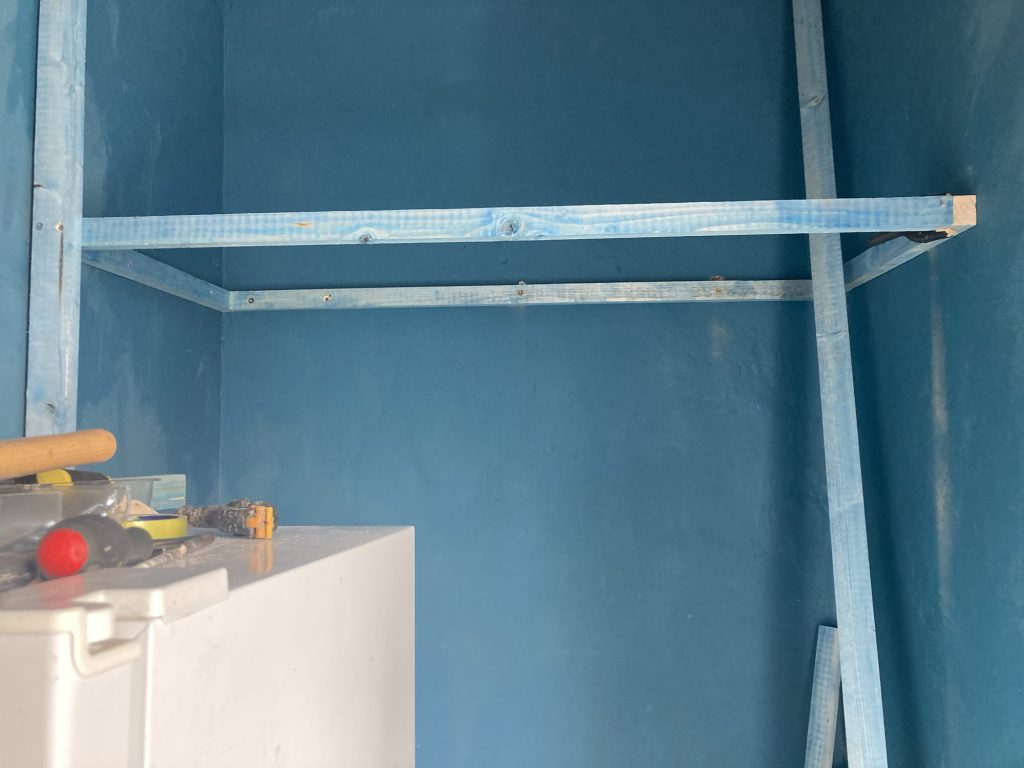
I’m doubly pleased I bothered to correct my earlier mistake. And the new tools/technique, with concrete screws, etc, have made it all much easier.
This from horizontal is screwed in at the left, but it yet at right. That’ll happen when the front vertical goes in. And that’ll happen after I’ve moved the power sockets.
Having another brief break, and then it’ll be time to take up the electrical challenge… (gulps)
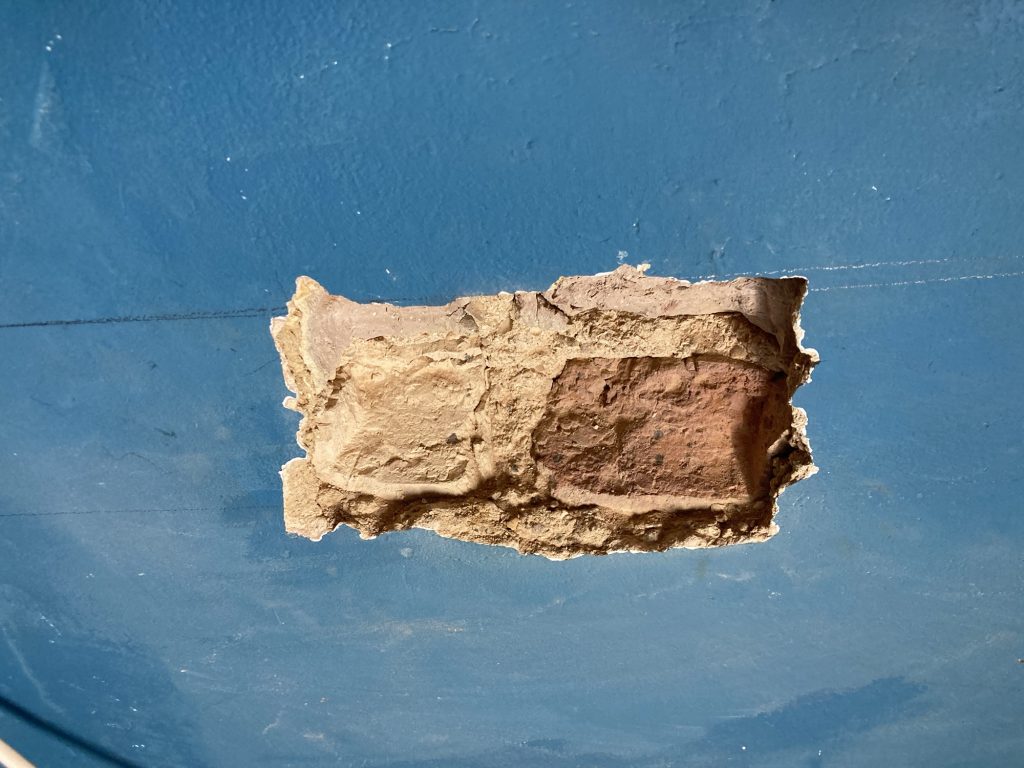
As usual, I watched YouTubers making this sh*t look easy. And as usual, when I tried my hand at it, it was really hard! The hole ended up way too big, and none too neat.
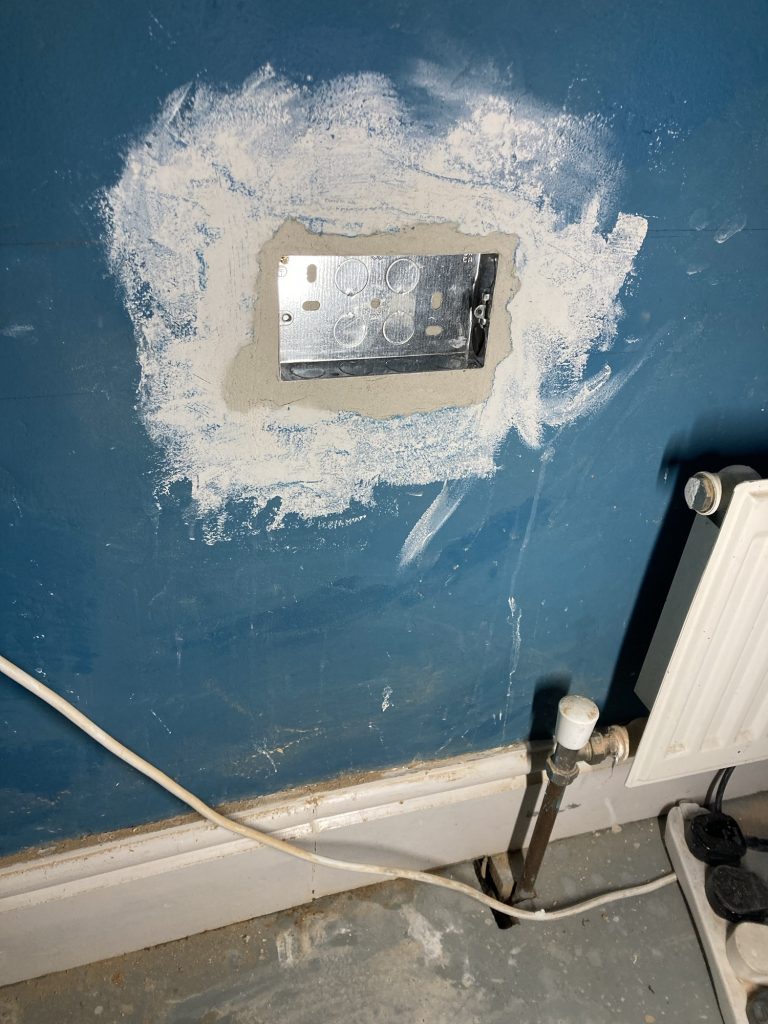
I wound up using the plaster to help get the back-box level, and roughly in the right place, depth wise. I’ll let this fully harden, for at least 24 hours, before using a concrete screw or two to secure the box. Mind, I reckon the plaster alone will hold it pretty well.
I had to pop out and collect Teresa from Ely. She’s had to get a bus, due to the train strike. When we got home, the back-box looked as you see it below. I’ll let it dry, screw it to the wall, sa d and paint the surround, and pop the from on (unwired, for now).
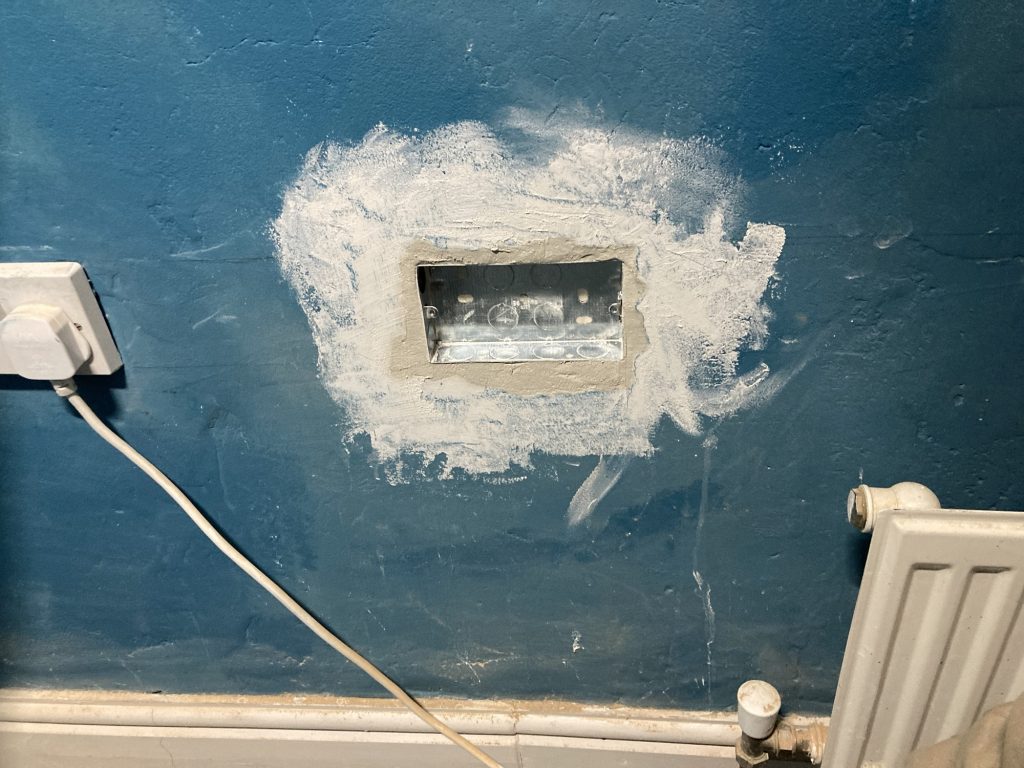
Why unwired? Well, I haven’t done the chasing yet, from the other sockets. And my plans may have changed again, anyway. This is kind of Jazz DIY, with me improvising and making it all up as I go along. Perhaps not the best way? But currently my way!
So I might be leaving the pair of sockets by the fridge where and as they are. That would make the new sockets as redundant visual fluff, for the time being. The reason being that with the fridge back in place (see pic several below) there might be discs for the vertical beam anyway.
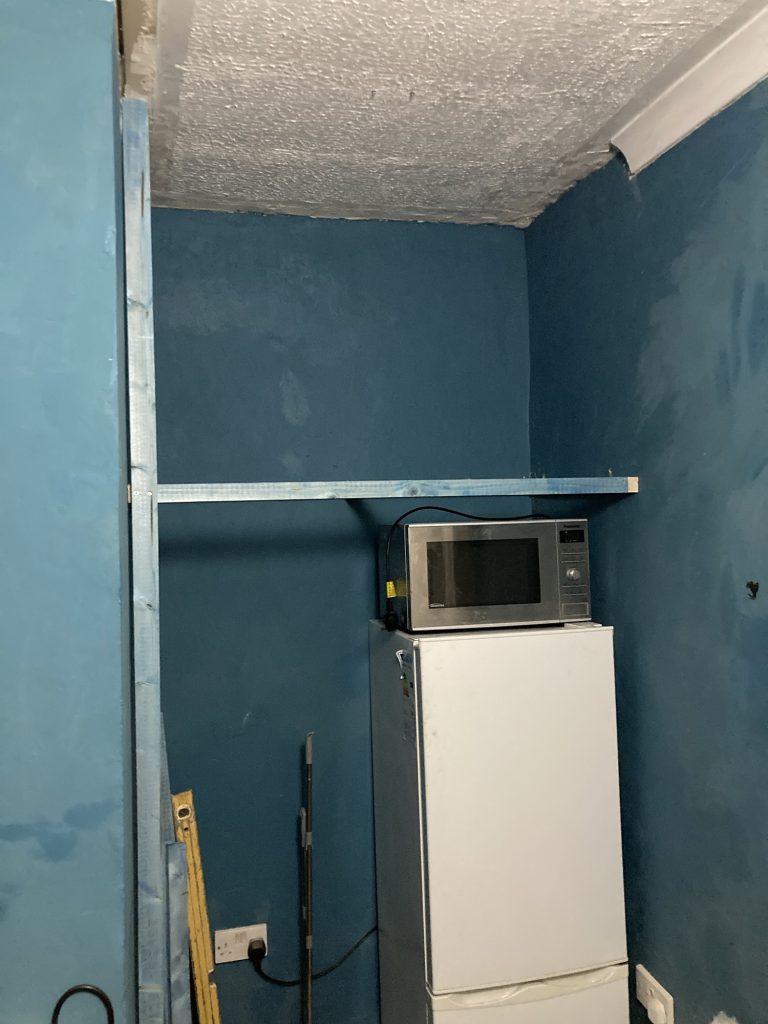
The next step was a reinforcing bar, across the middle of the basic rectangular frame. This’ll stop the sheet-work shelf from sagging. There’ll also be a pillar support, left of the fridge.
I decided on two L-brackets and glue at rear: the concrete screw, drilled into the wall smack-dab in the middle, precluded repeating what I’d wanted to do, and did do, at the front.
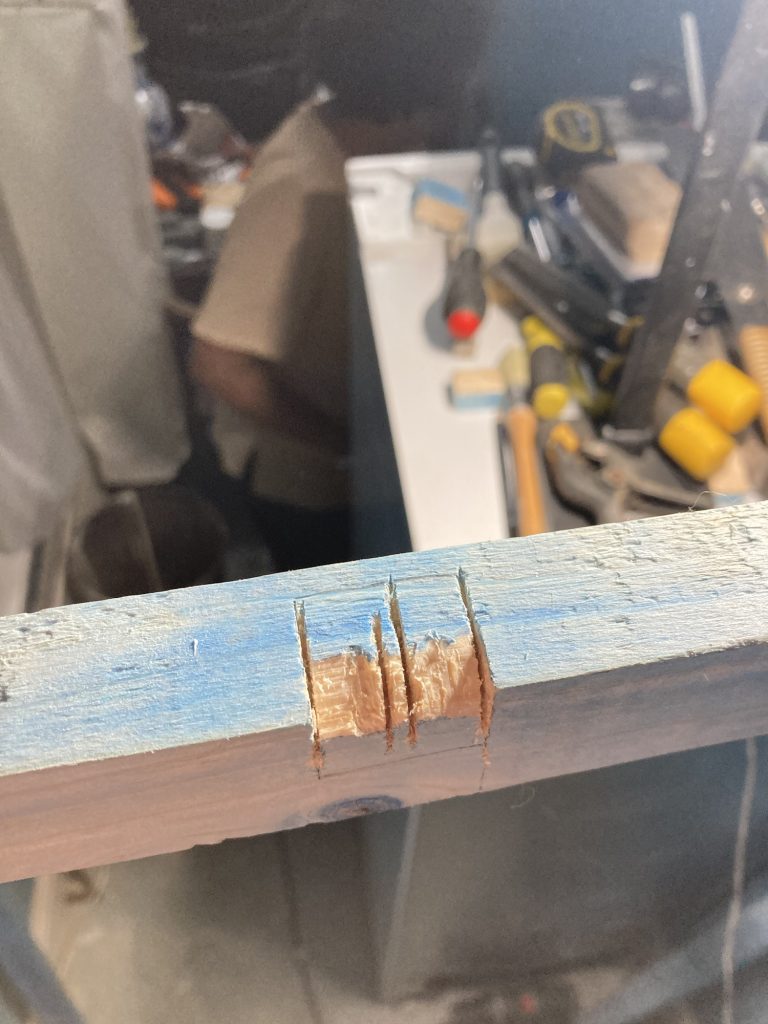
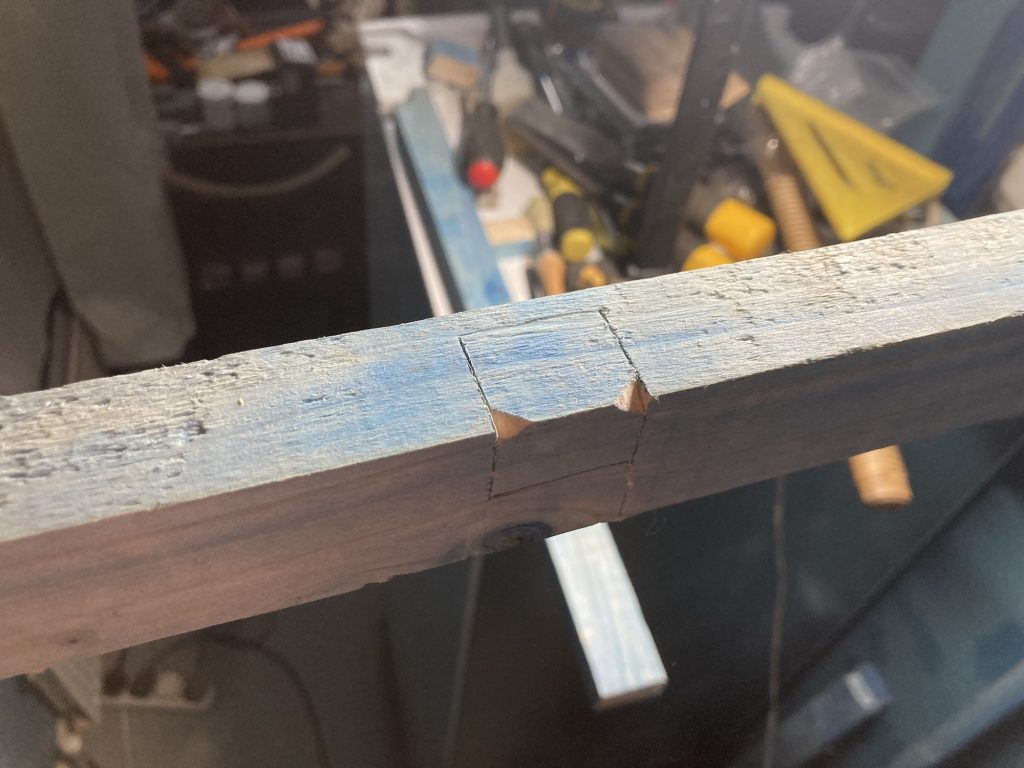
And that was, a stepped north. I’ve a feeling there’s a correct woodworking term for this kind of joint. But I can’t recall it! making these cuts was ok. Although ideally I should’ve done this before putting the beam in place.
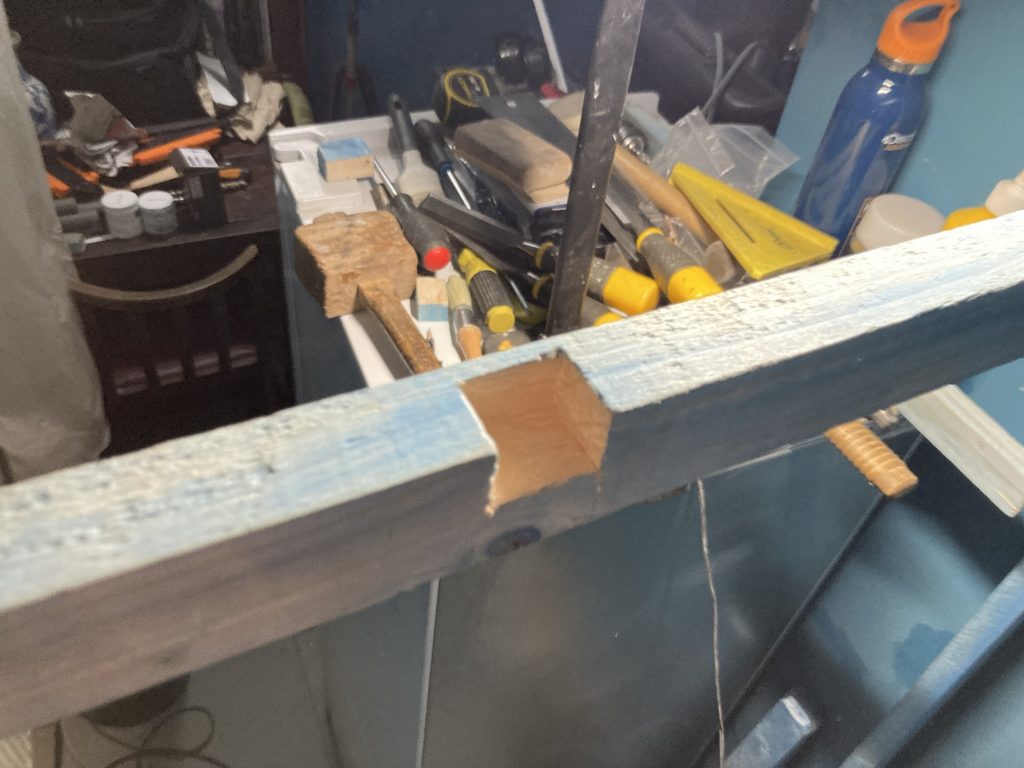
Getting it to the state pictured above took ages, inc. some chisel sharpening. And required a lot of patience. But, taking it as a meditation, slowly and calmly, I got there in the end. And I’m chuffed with the result.
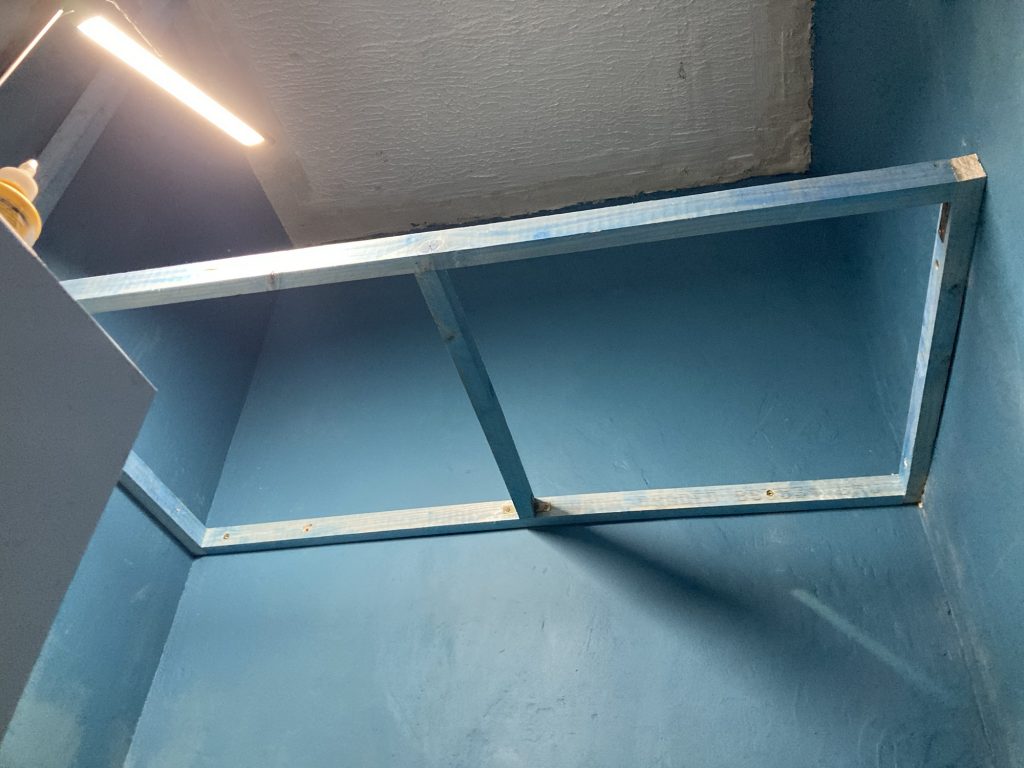
Having got this far by about 9.30pm (I’d normally be in bed, these days, long before this!), I decided it was time to tidy up a bit. By which I mean general sweepage, putting tools away, and returning the fridge and microwave to their allotted places.
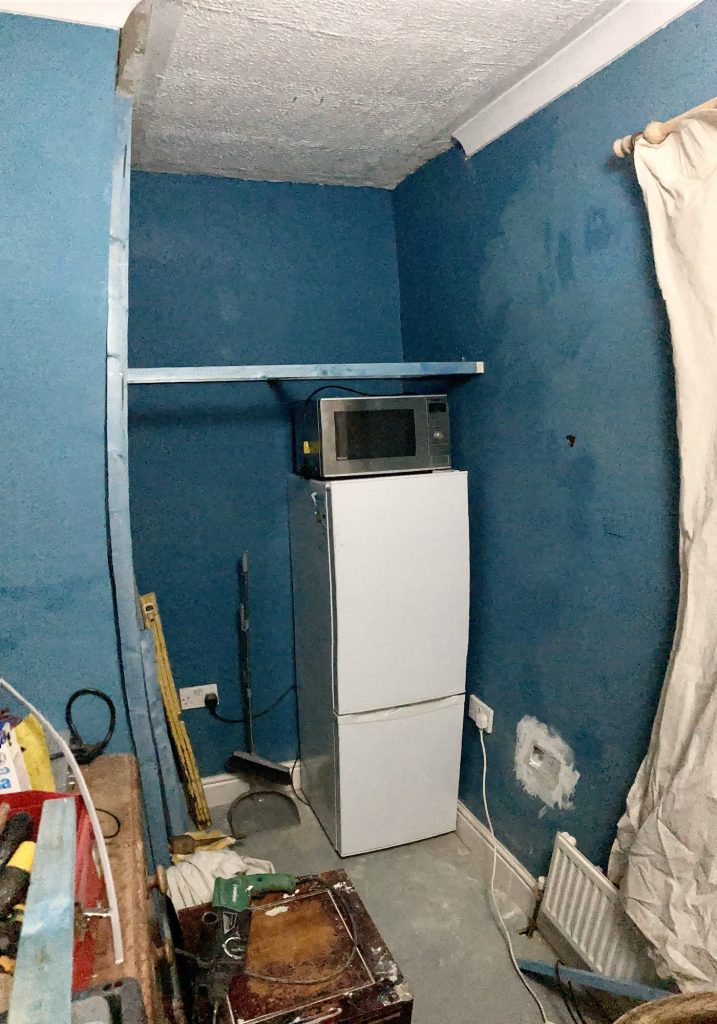
I took the day off delivery work to focus solely on this. And I think that was the right move. I feel I’ve broken the back of it now.
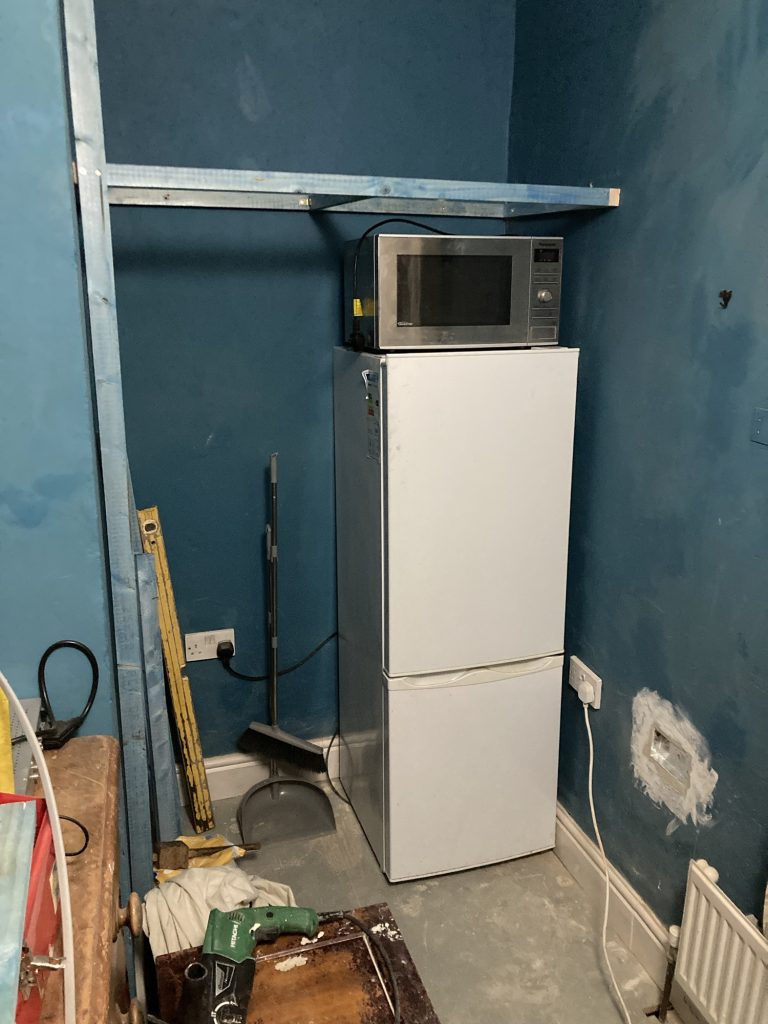
I need to measure up, and then buy a flat sheet (prob light/thin ply?), to go over the framework. That’ll be an upper storage shelf area. I might add a second shelf at some point?
Then I need to put a partition wall alongside the fridge. And, across the gap, contrive some kind of clothes rail/hanging business. Prob a couple of poles, sitting in semicircular troughs.
