
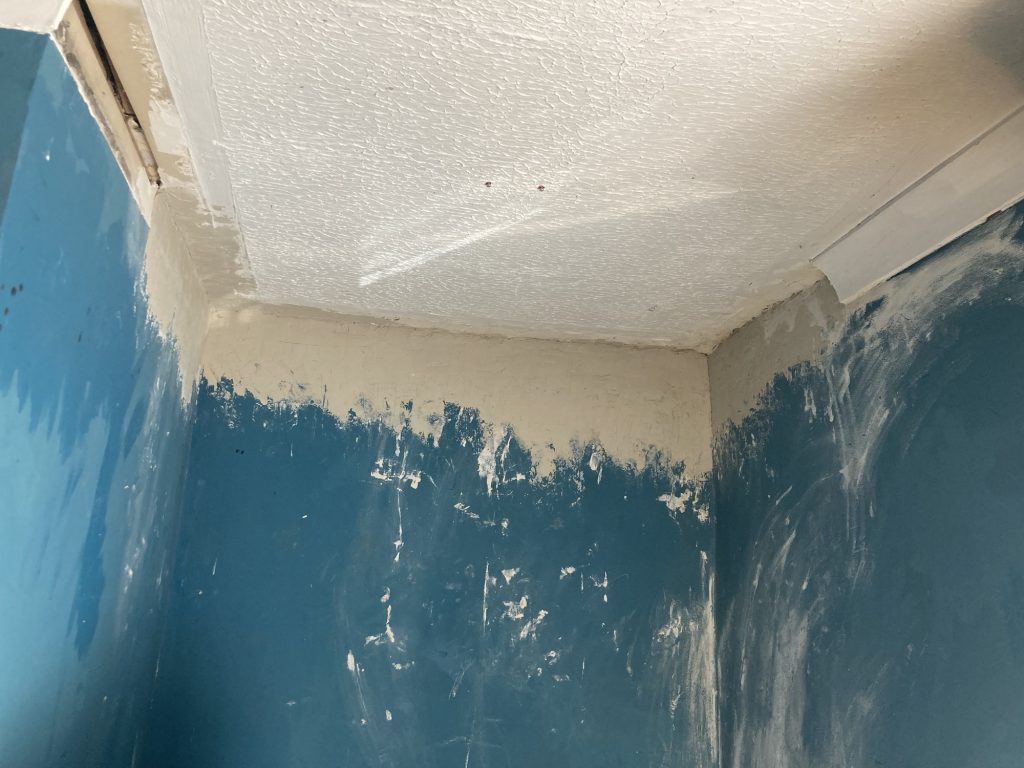
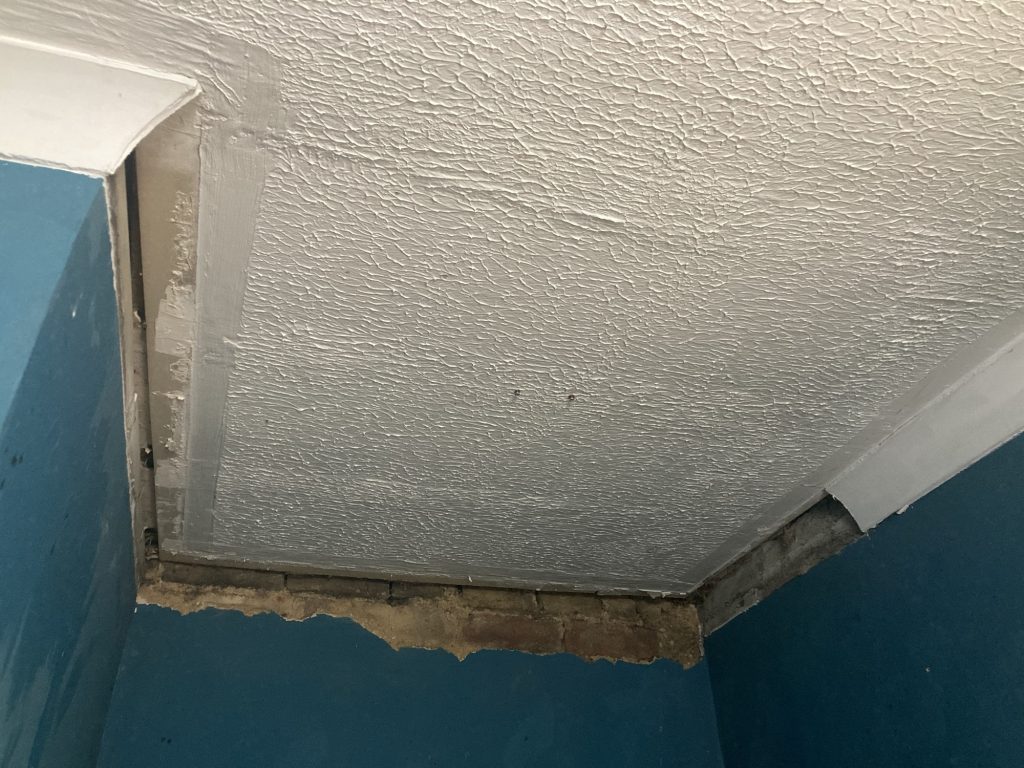
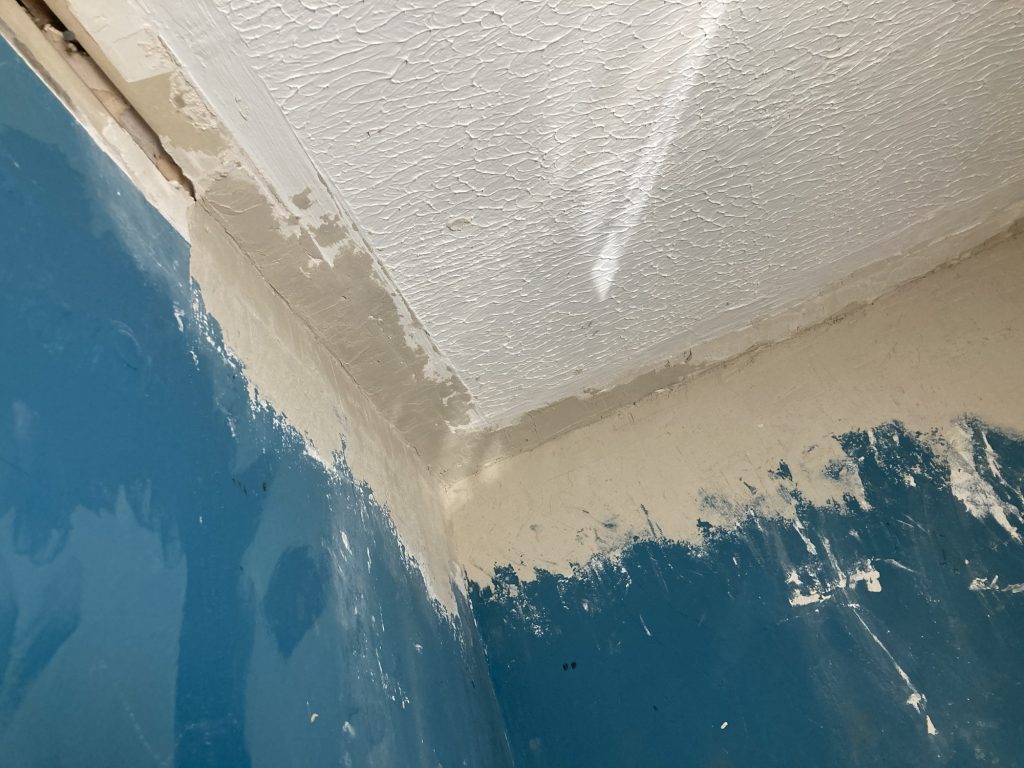
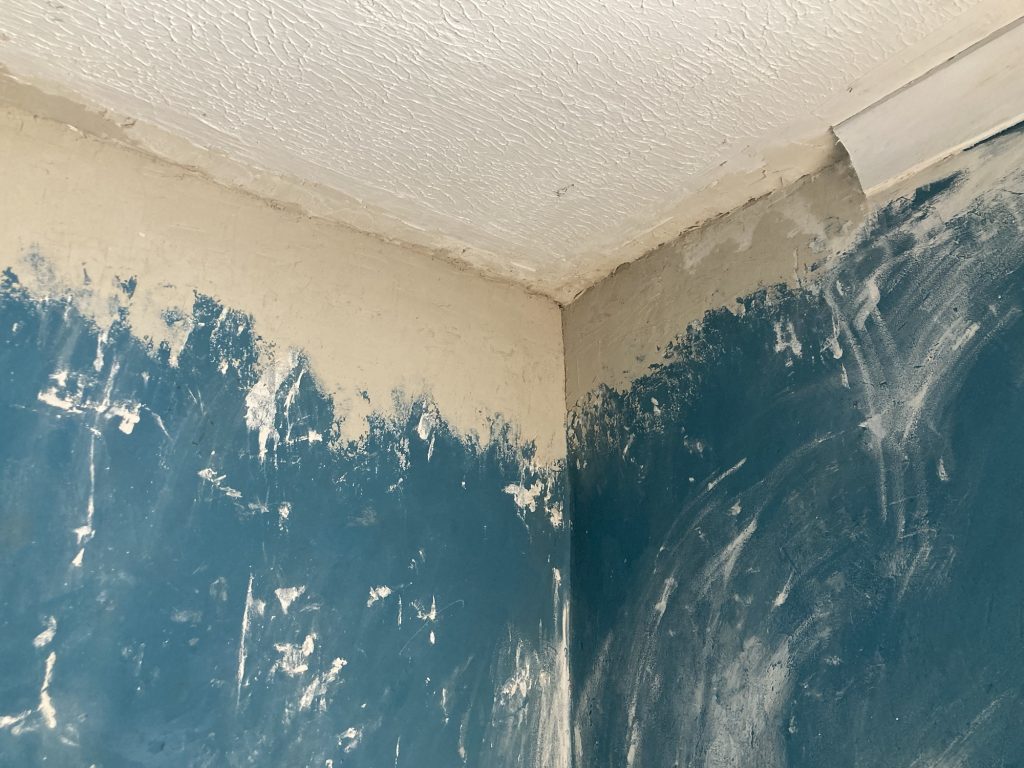
So I just did the second coat or round of plastering, up where the ceilings meet the walls. Here’s how it was before the re-plaster:
Once the plaster’s dry, sanded, and re-painted, I reckon it’ll look pretty good. At the very least the surfaces are now contiguous. I might also paint the insides of the storage area white. But keep areas outside (e.g. where the fridge freezer will be) blue. Hmmm?
I’ll also need to re-install a section of coving. Another job I’ve never done before. Taking the damn stuff off is one thing! Putting it back up? We shall see, I guess.

Tidied up the area with a lickle lick o’ Dragon’s Lair paint, by Valspar (B&Q’s own brand). Teresa also helped me cut a load of carcassing timber, for framing out the storage.
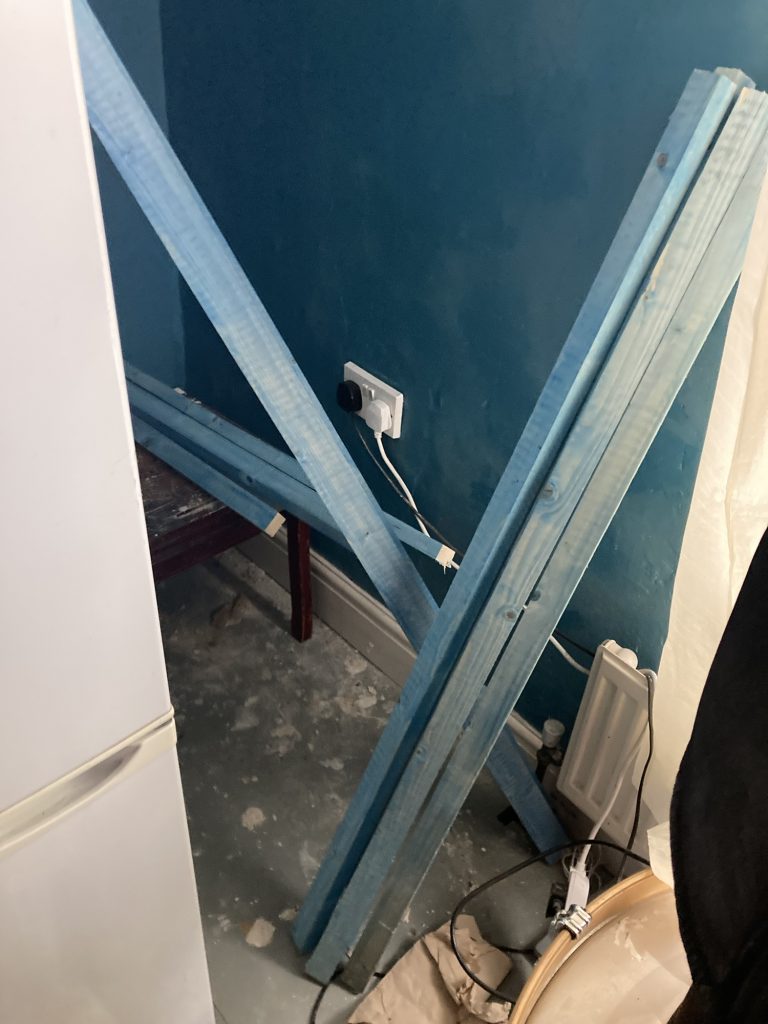
The timber I bought, from Wickes in Wisbech, also happens to be blue. Owzabout that, then!? I believe it’s treated roofing slats. But whatever it is, it’s kinda fun how it ties in with the whole blue room vibe.
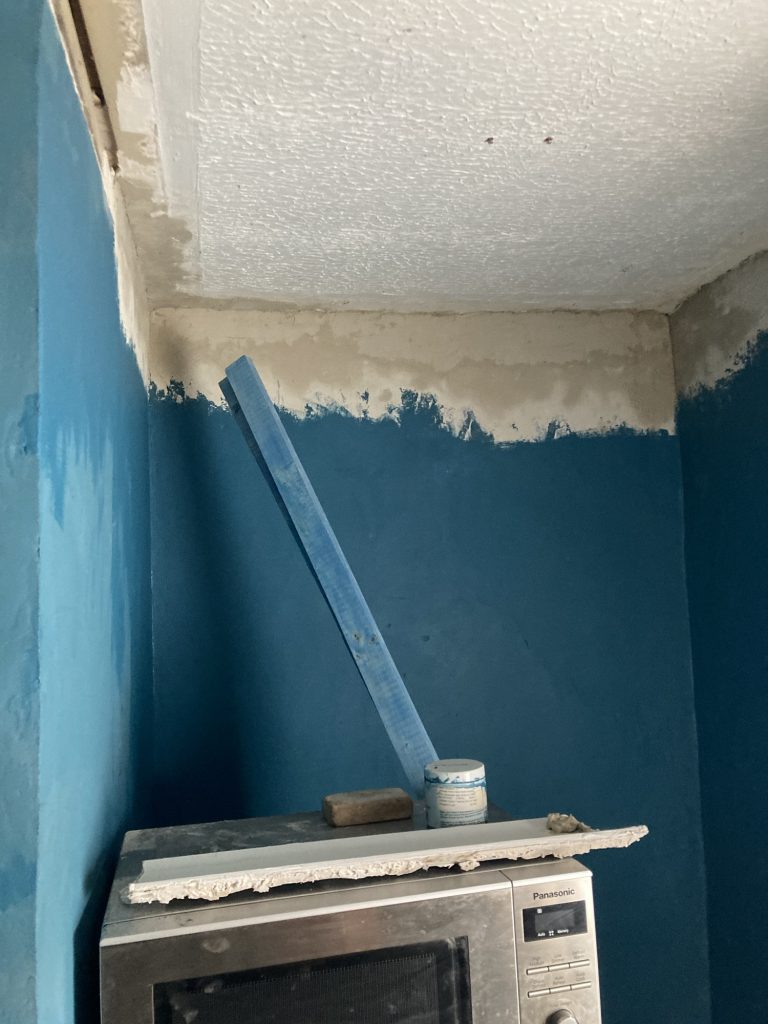
I had a quick peek again, afore turning in for the night. The plaster’s still drying out. By tomorrow it should be fully cured. Then it’ll need a wee sand, and some more paint. Might need to poichase another tester pot of Dragon’s Lair?
Then it’ll be time to start constructing the storage itself. I still haven’t decided exactly how I’ll be doing it!