
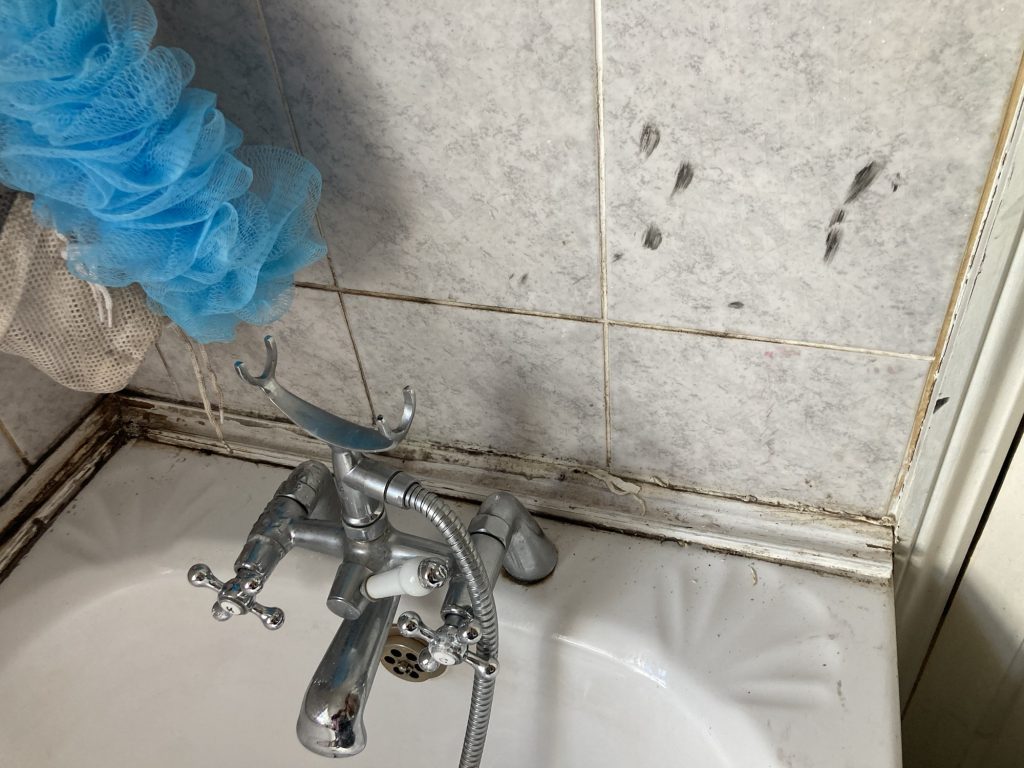
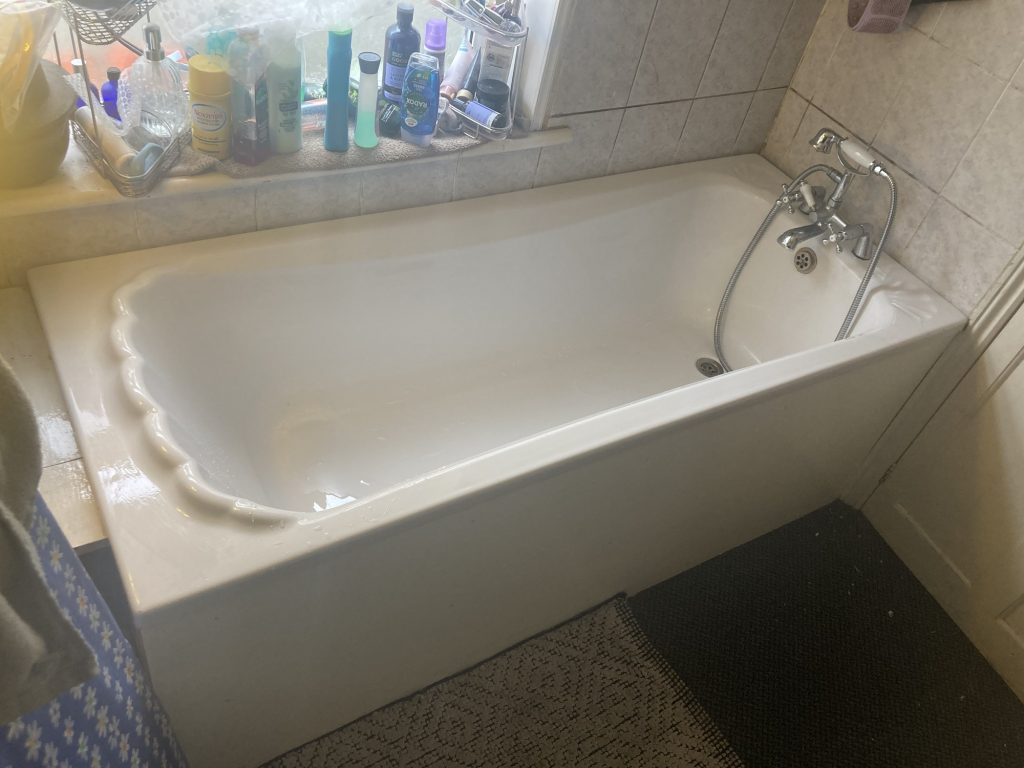
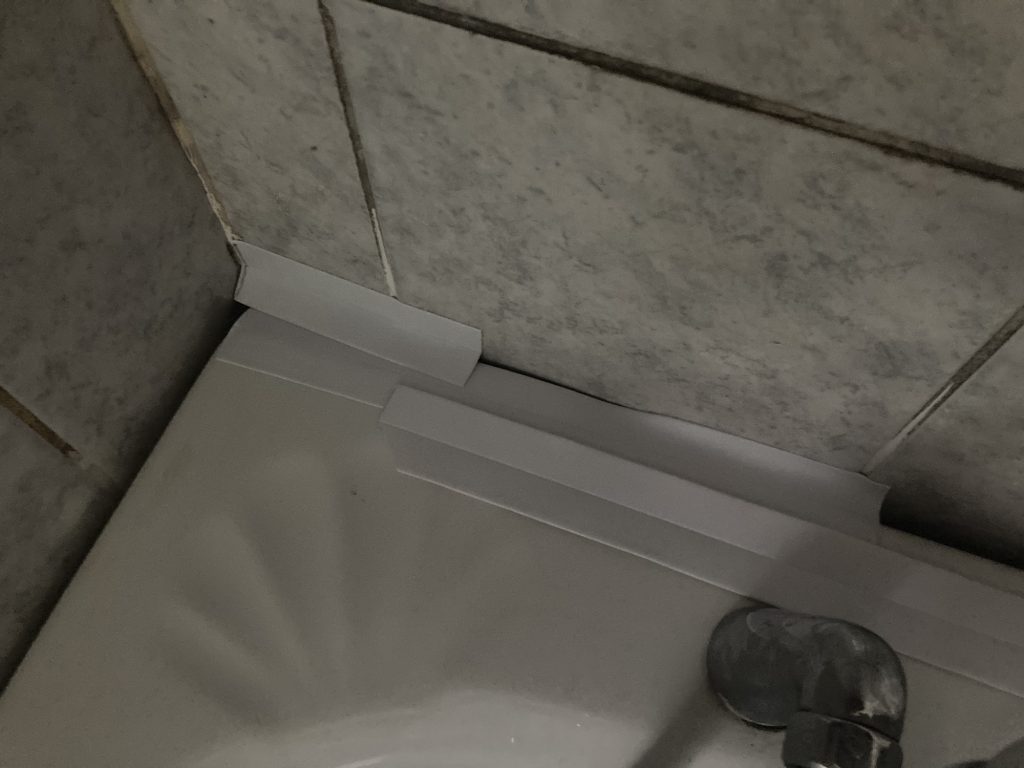
In the pictures above and below, you can see how grim this bath trim had gotten. Especially right in the corner.
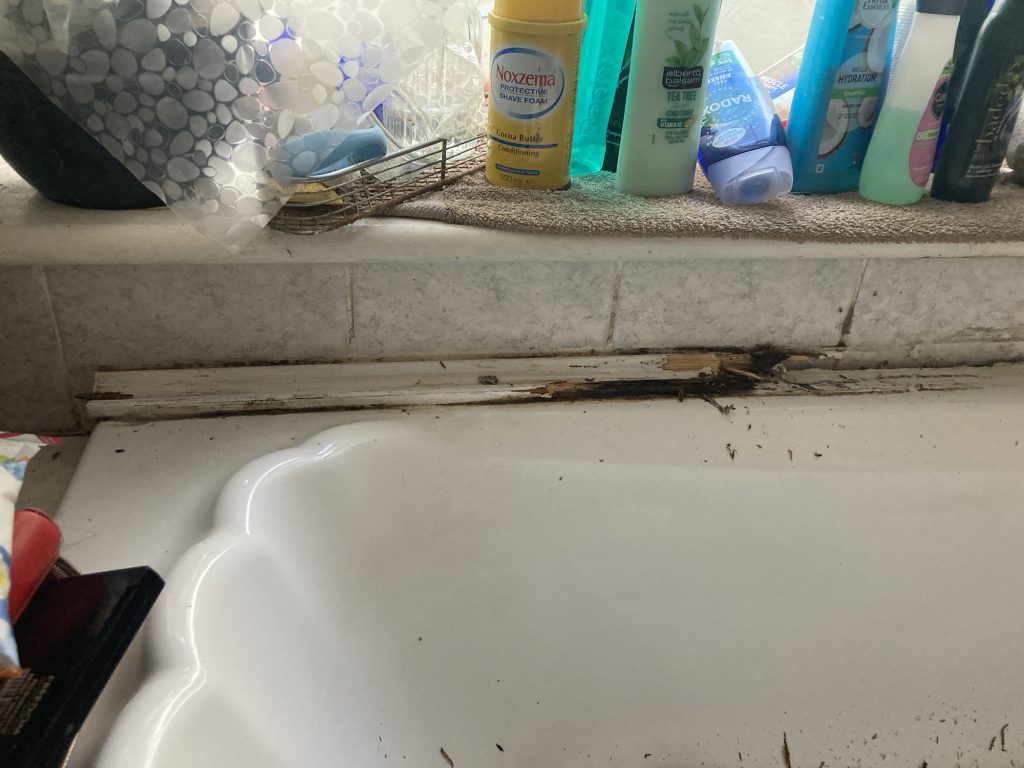
We inherited this ‘solution’ to sealing the area ‘twixt bath and walls/tiles from the previous owner/occupant.
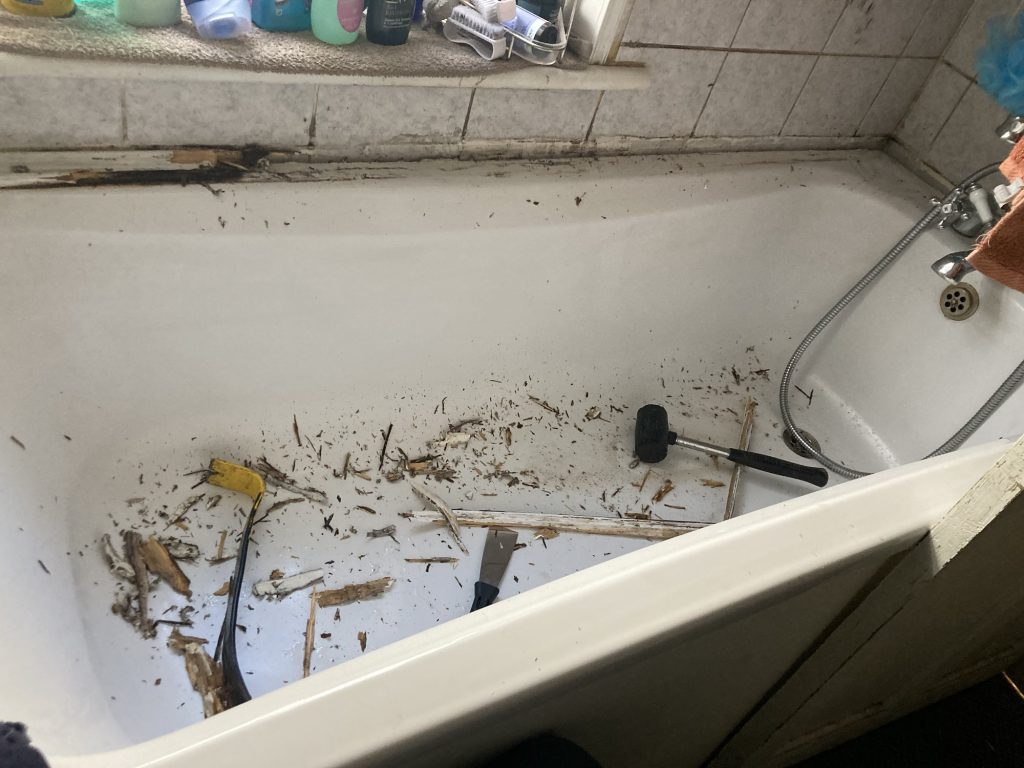
It had been ok for a few years. But it stared to come away from the walls, and discolour. I took it off, cleaned it all up, repainted the wood, and reinstalled it all.
I used a sealant that was supposedly bathroom friendly, waterproof, and anti-fungal. Yet in practice it deteriorated far more quickly after my ‘maintenance’ than prior. That sucks!
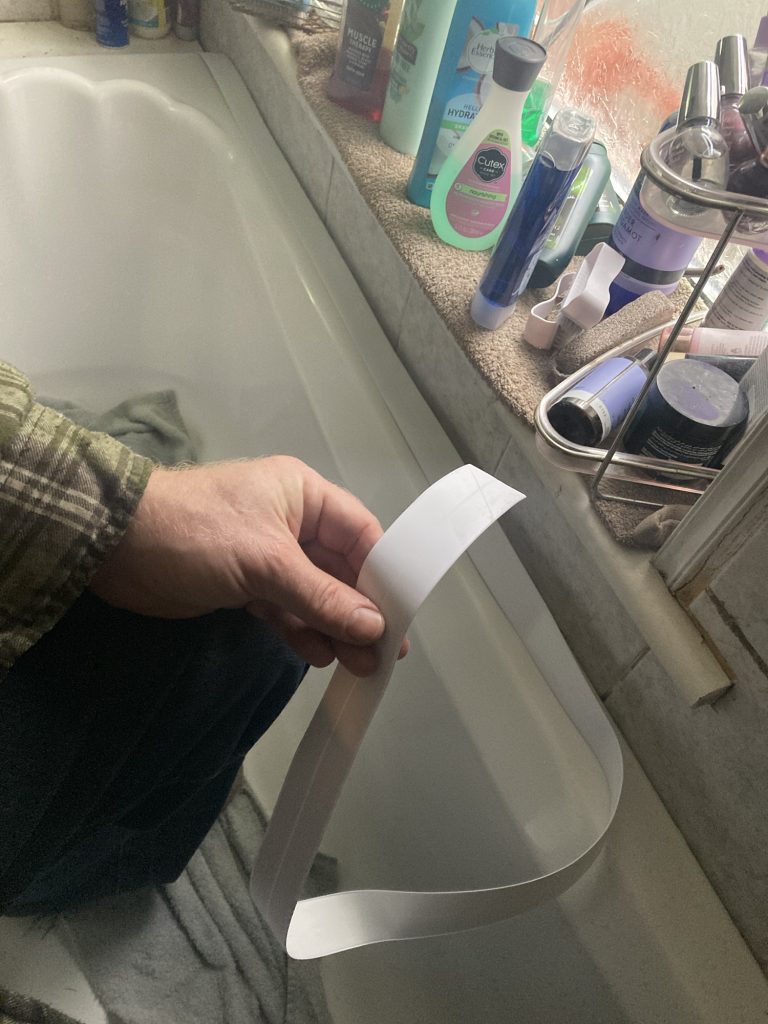
So I’m going a different route (to be said American style, like ‘grout’!) this time. I’ll be using some white adhesive backed tape. I just hope it goes on easily, and doesn’t get all ‘orrid n manky!
LATER ON…
Aaaargh!!! Sometimes I hate this DIY shit. Esp’ when trying to make silk purses from sow’s ears, and with very limited skills.

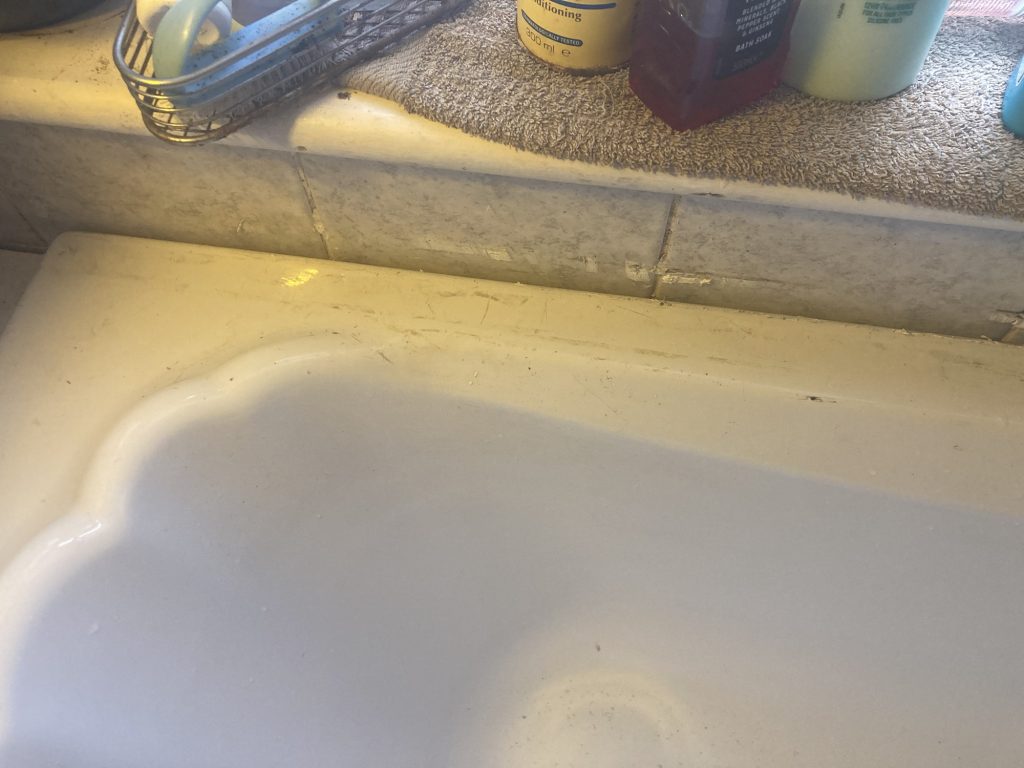
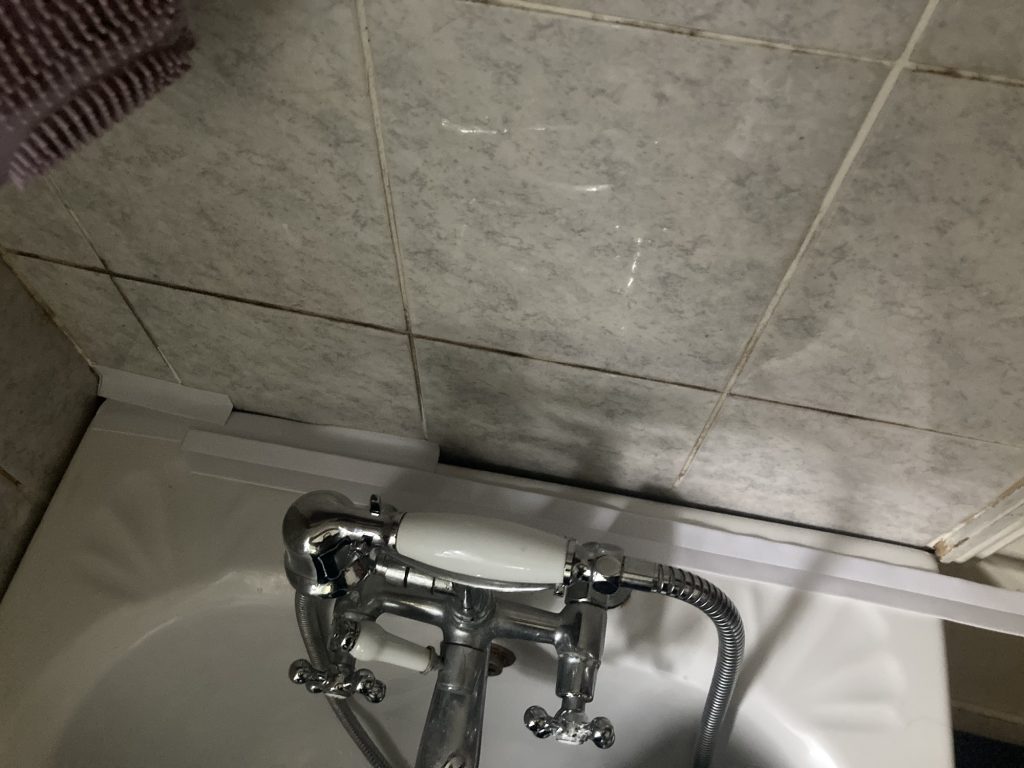
For starters the walls and the bath are not in parallel alignment. This is particularly bad along the short or ‘top’ side of the bath. This doomed this job – at least in terms of neatness and simplicity – from the outset. Although I didn’t quite realise until this late stage.
This was the most annoying part. But actually the product I used has issues. In order to do the job properly, I ought to have used painters’ masking tape to mark out an alignment edge, all around the bath. Then, at least on the long edge, I might’ve used just one layer of this tape, and maybe stood a small chance of getting it in position reasonably accurately.
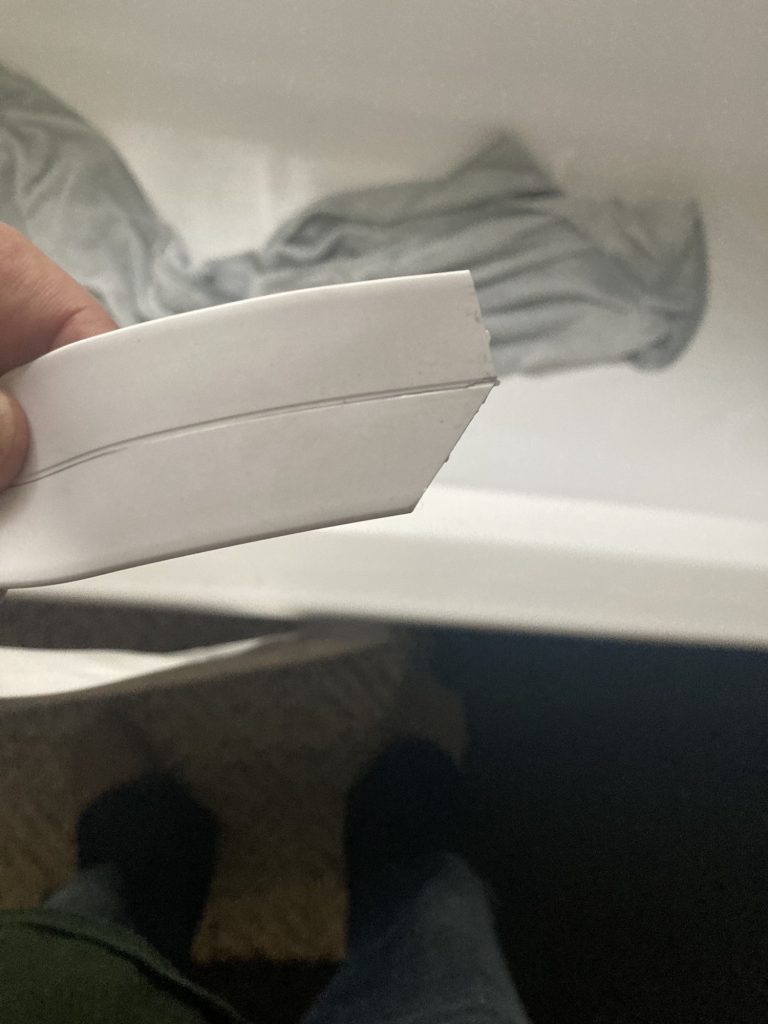
I tried to remove half the backing (length-wise – along the fold line), and position just one half in situ. But, whilst that had seemed like. Good idea, it didn’t work at all. In fact it made things worse.
And the tape? Once the backing is removed, it’s both so incredibly sticky, and also very stretchy, that proper alignment utterly eluded me.

Really the best thing would be to gut the bathroom entirely. Start from scratch, and get everything ship-shape, from the ground up. But this whole house is one bodge on top of another.
My only comfort, after this disappointing result, is that, shite as it is, it still looks a lot better than it did afore.