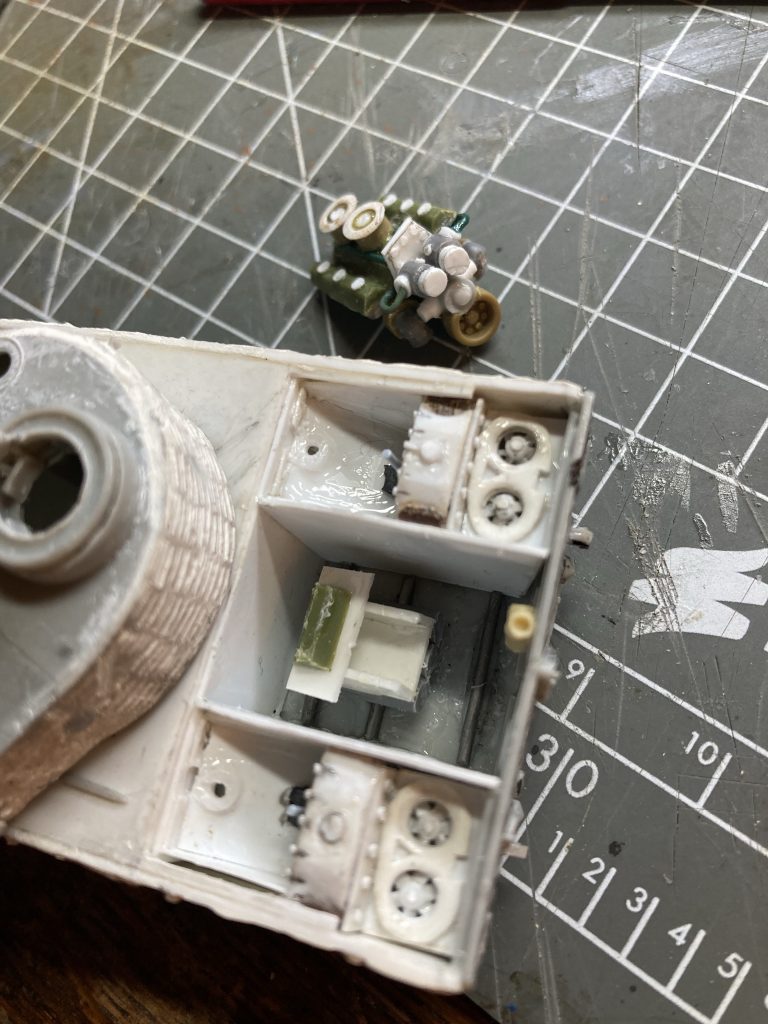
Once home, after work, my chief goal was to further the work on the engine and engine bay of the Tiger I. In the above pic I’ve altered the support/base, and added more front end detail to the engine itself.
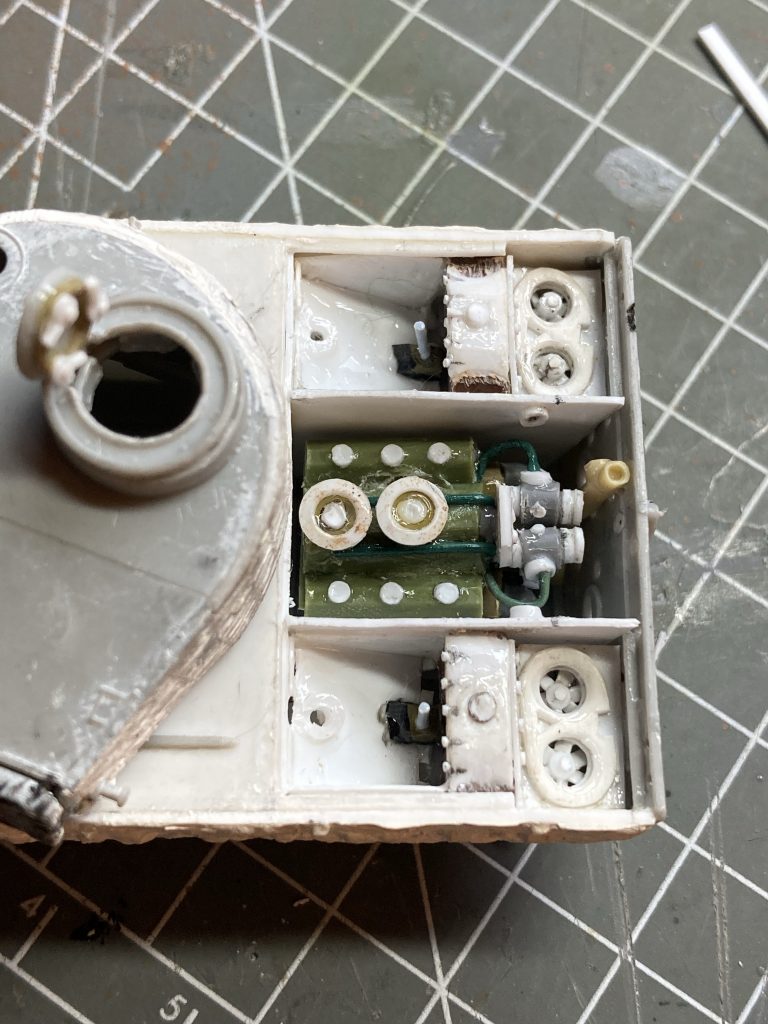
The engine sits better now. But there’s still a lot to be done.
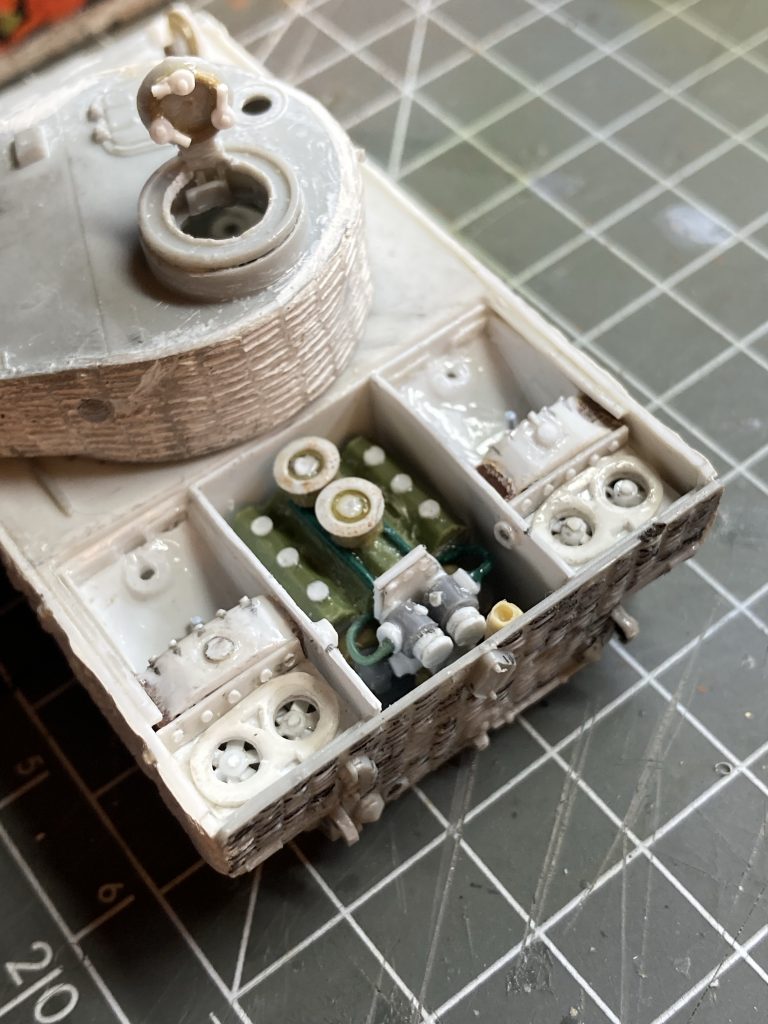
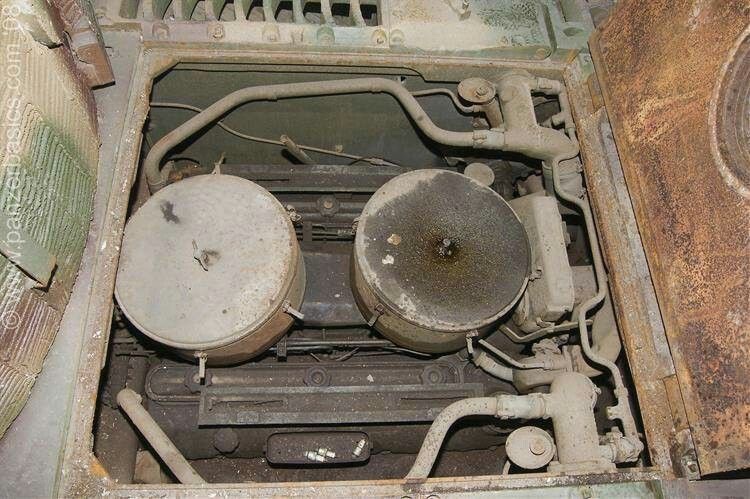
The above ref, from a restoration project (poss’ Bovington’s 131?), drew my attention to several things: the spacing of certain objects on my engine was wrong; and I needed to add lots of pipe work.
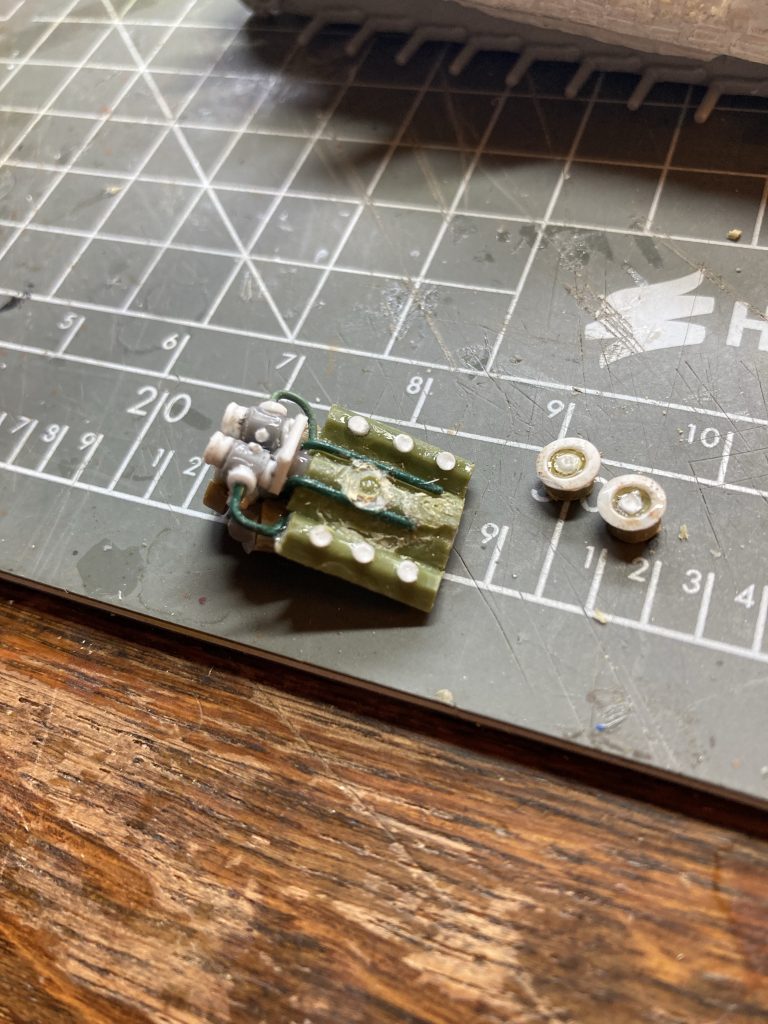
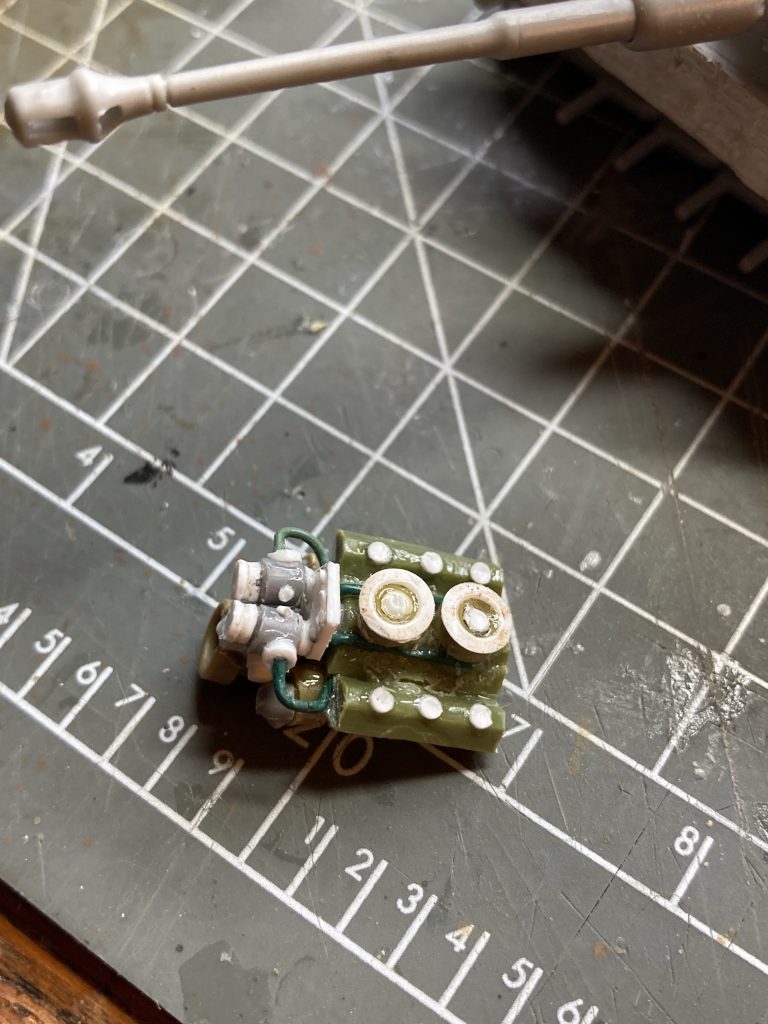
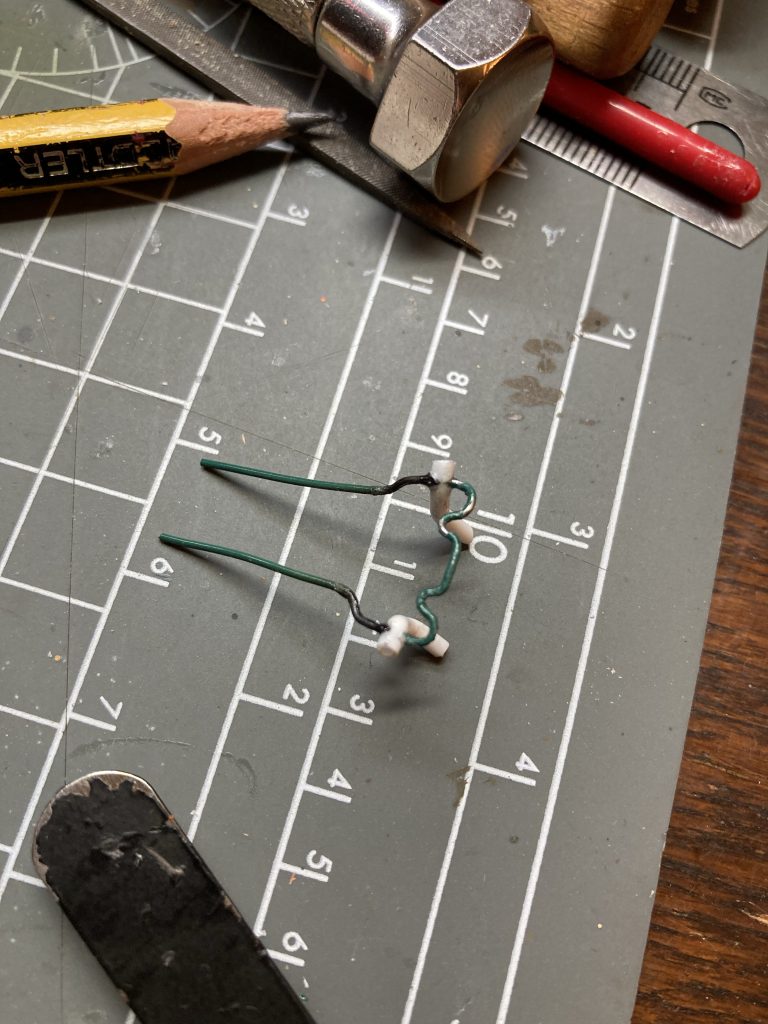
The pipework proved to be incredibly fiddly. Frustratingly so! Superglue was involved; gluing styrene and metal. And, as ever, it was a nightmare.
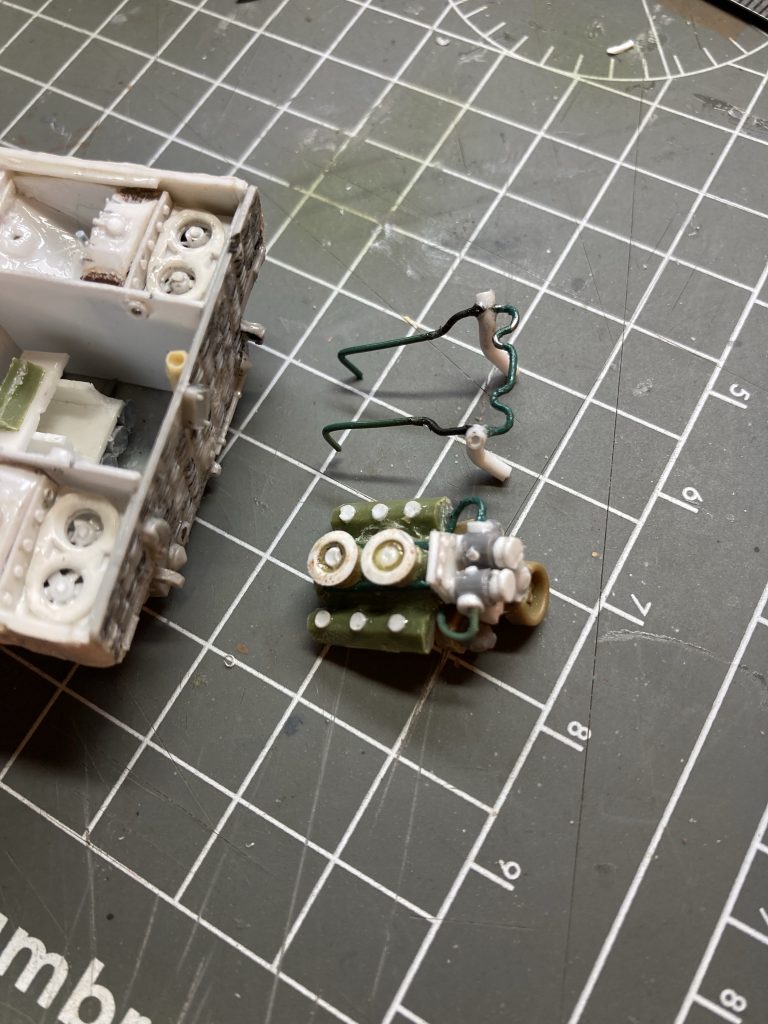
One pic I didn’t take, but really should’ve, shows how the engine and pipework might go together. The moved air-filters, shortened engine, and pipes, all combine to make a compact and complex engine. It’s a lot of work. But hopefully it’ll all be worth it!?
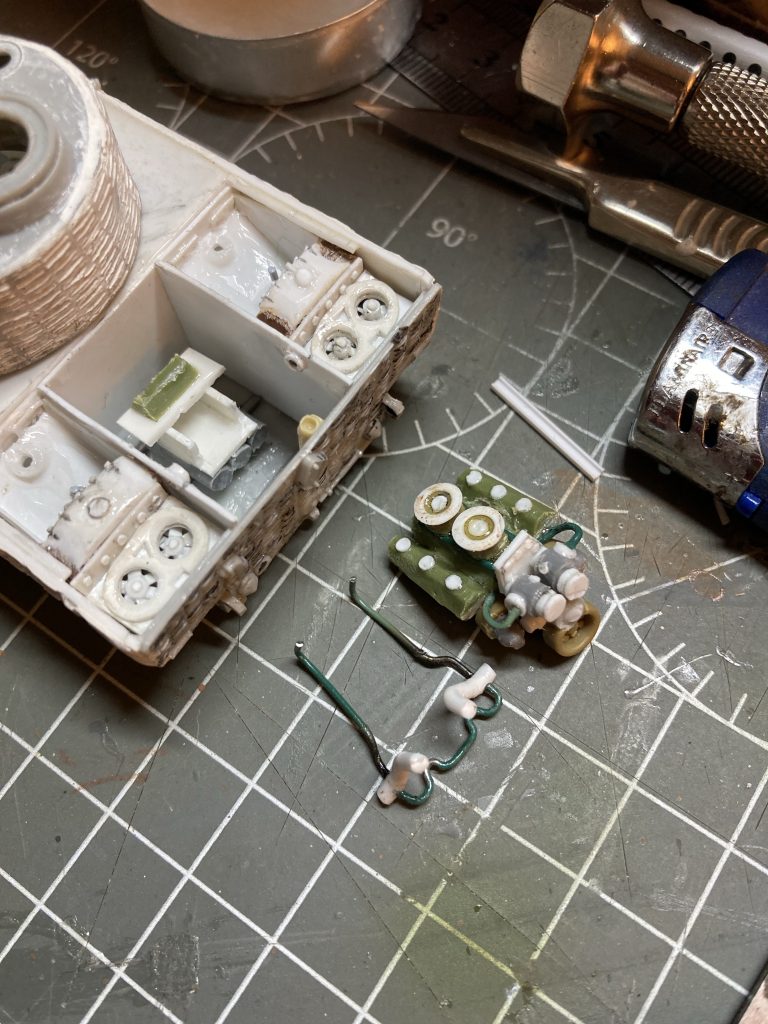
Hopefully tomorrow I’ll get all these major bits installed. Though having said that, there’s the question of engine bay wall detail.
