
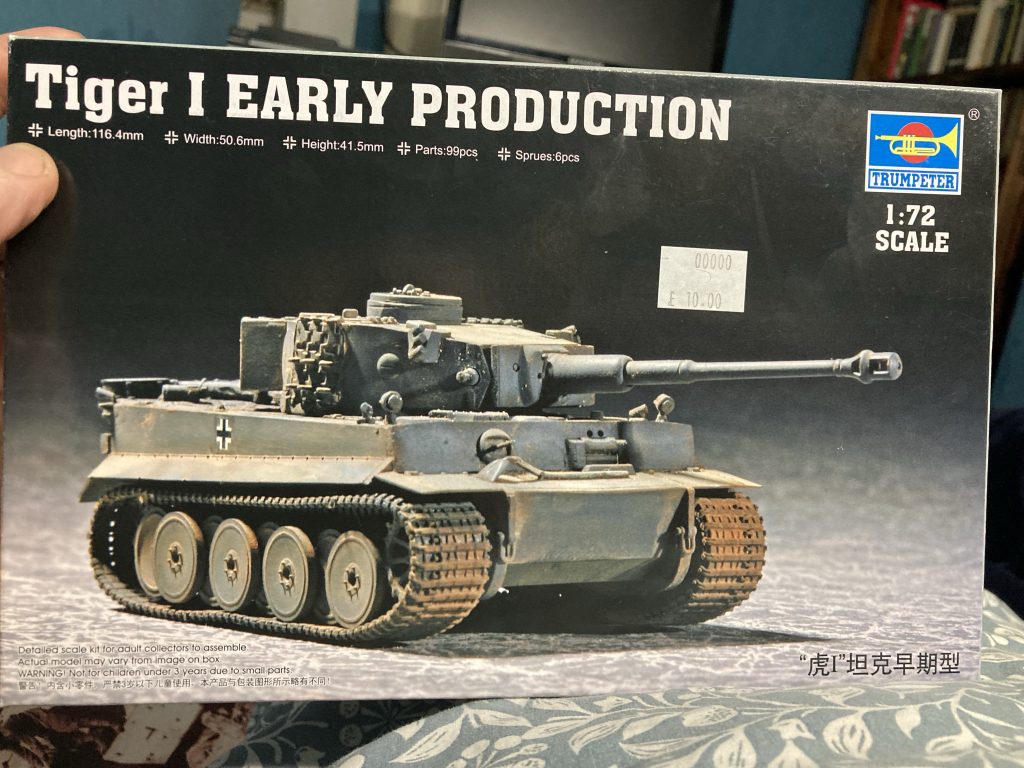
I bought the above model (a secondhand but unused kit) for £10, from Trains4U. The latter shop, in Peterboro’, is a new discovery for me. Mostly, as the name suggests, catering to model train bods, they do nonetheless stock 1/72 WWII German stuff.
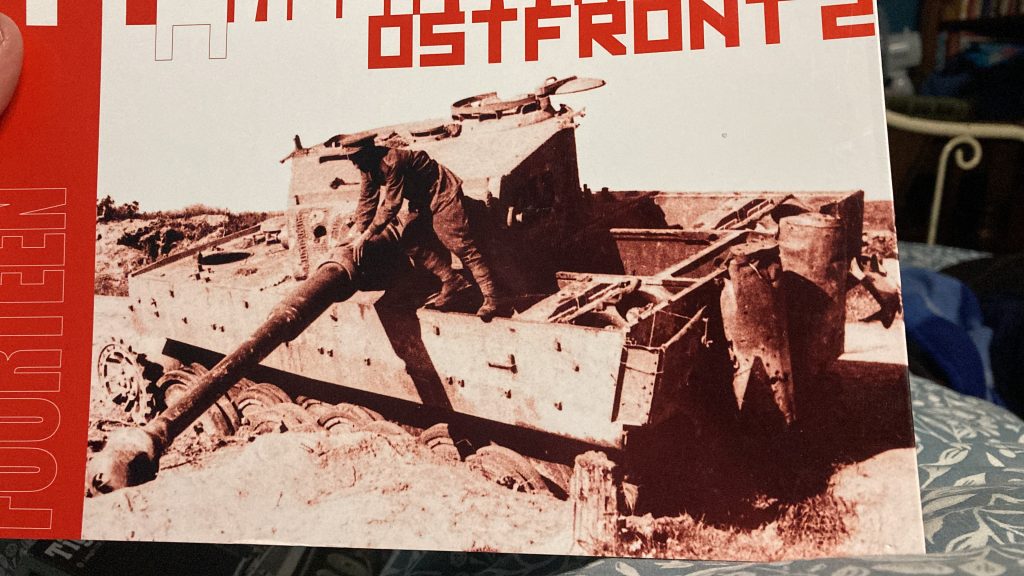
I decided I’d try and make a little diorama with this kit, and base it, to some degree, on the above photograph. I’m not being slavish about reproducing the photo. I want there to be more zimmerit visible, and the overall vehicle to be a little less completely stripped.
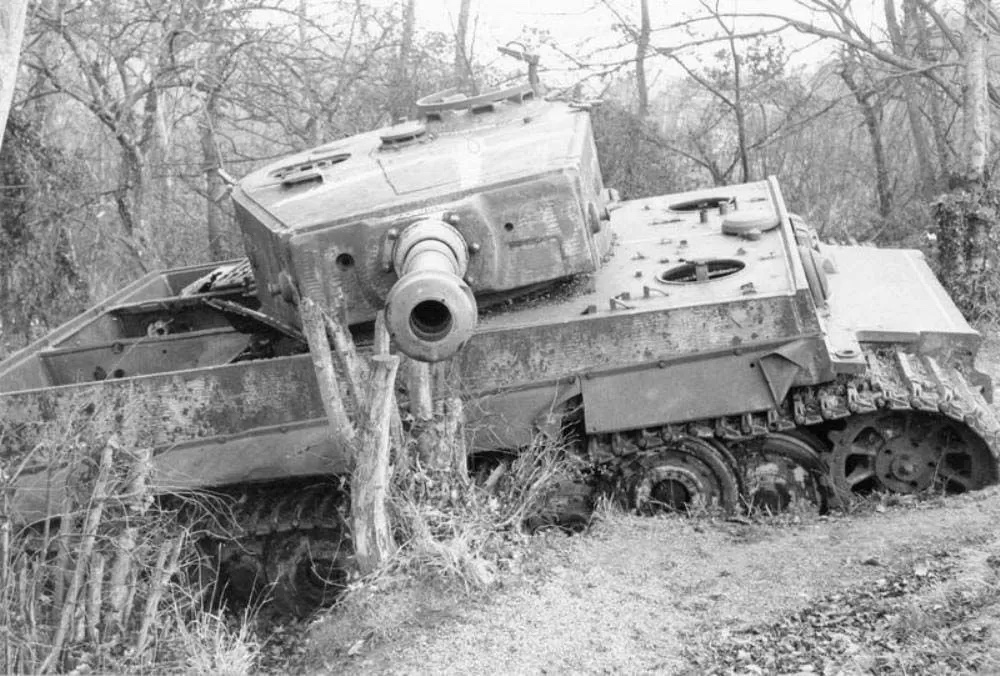
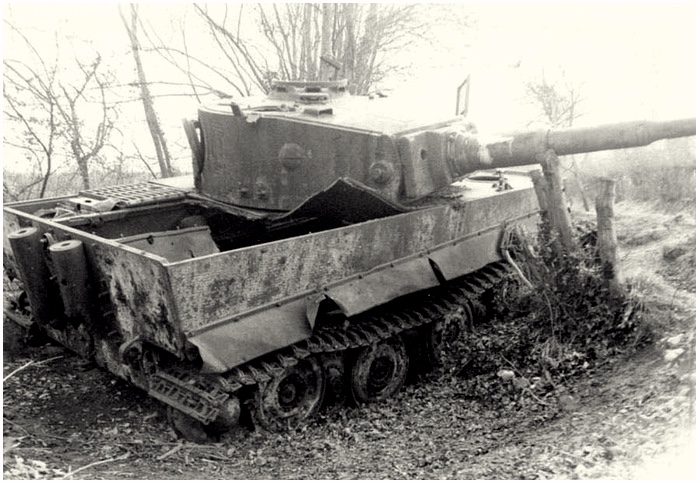
I’ve also subsequently learned of the Vimoutiers Tiger (see pics above). Like the one on the cover of Panzerwrecks 14, it has been stripped, and has an open engine bay area.
BTW, this post covers several days worth of activity/modelling/research, etc.
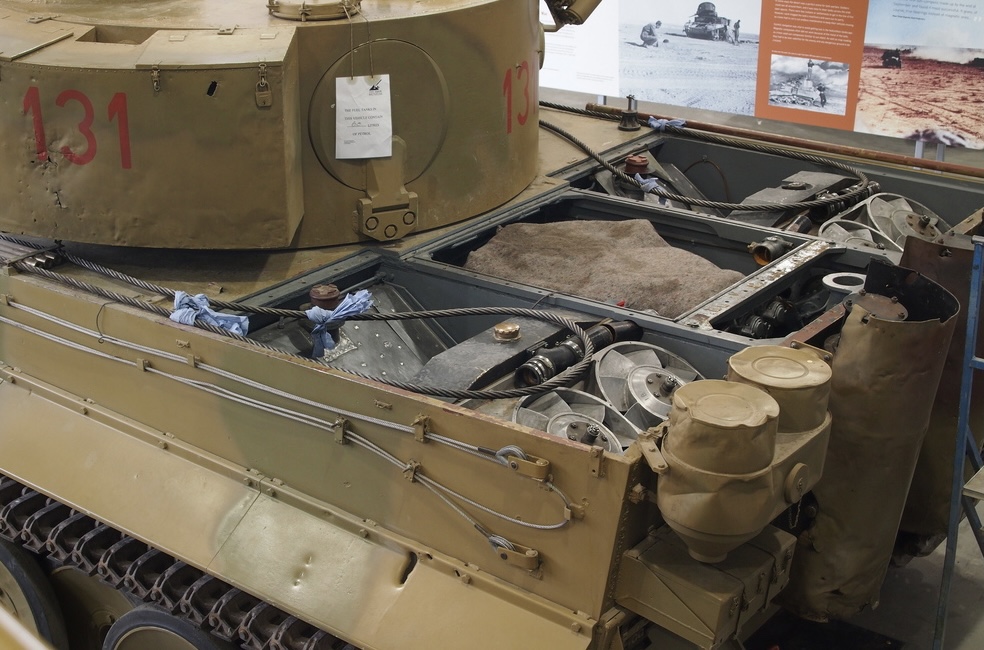
The above shot was the only one I found on’t interweb that showed the central engine compartment with a strut across it, like the Ostfront 2 cover photo.
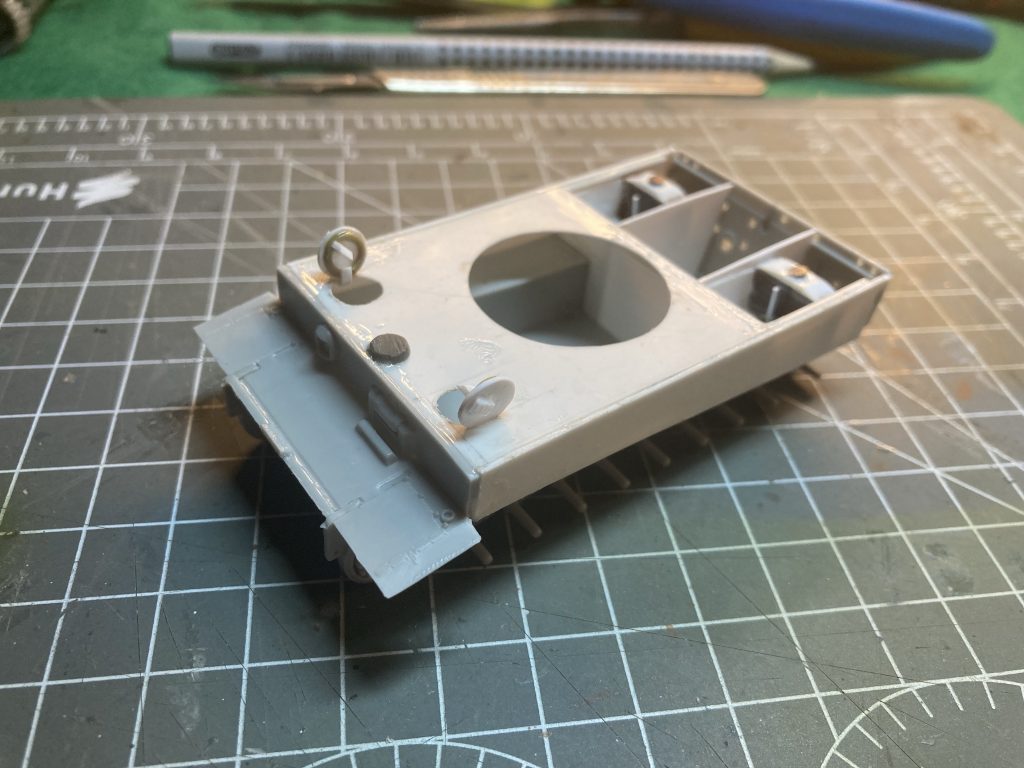
The fun thing about a project like this is, of course, fabricating the scratch-built stuff. In this instance that has entailed a near complete upper-body rebuild.
Finding useful ref wasn’t that easy. Despite Tigers being one of the most popular tanks ever. It’s astonishing the fan base these old warhorses have! And yet detailing the rear engine deck internal stuff required much research.
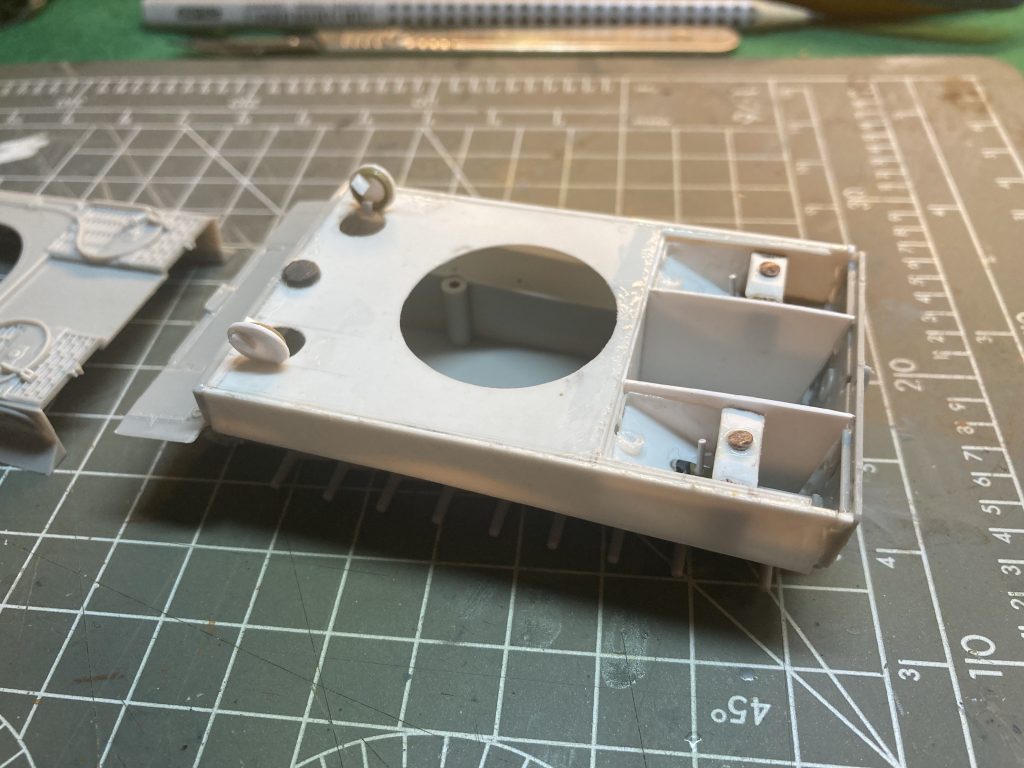
Thus far I’ve fabricated the two radiators, and these weird doodads with slanted faces that I believe cover the fuel cells. That leaves the cooling fans, some pipe work, sundry odds and ends, and – poss? – the engine itself.
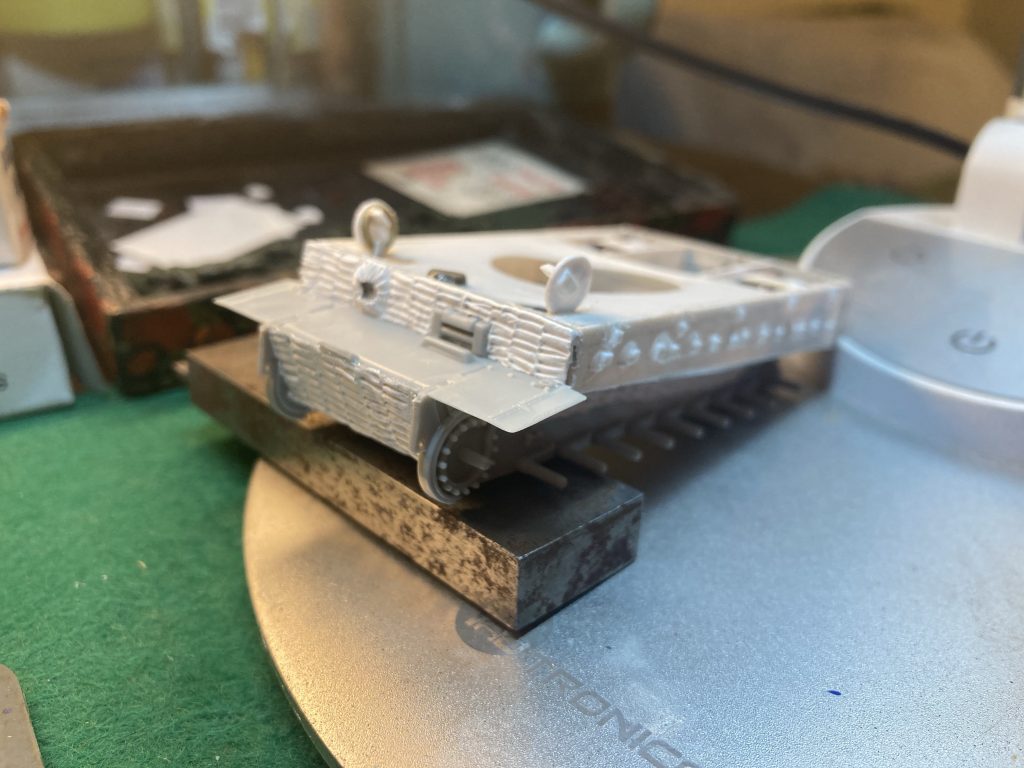
The upper hull of this tank is mostly stripped. So much so that all the covers from the rear deck are gone. But rather than leaving the driver and radio op’ hatches empty, I’ve opted to have open hatches. Making them was not easy. And I may want to detail them a little more?
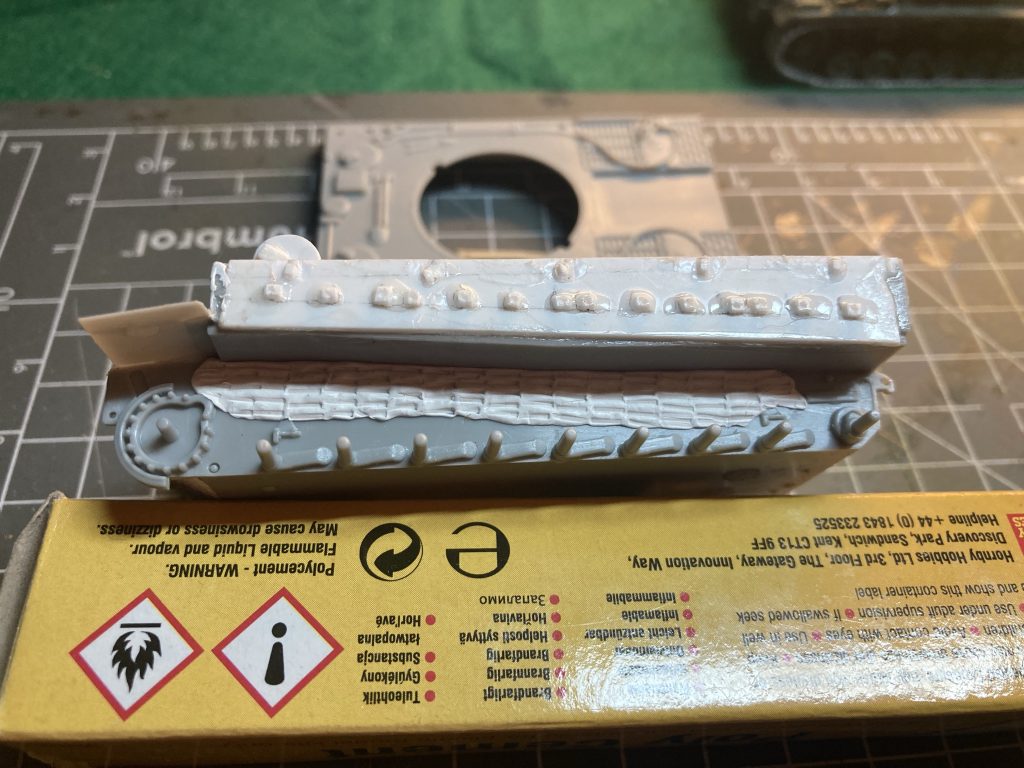
Adding zimmerit can be fun, if also time consuming and often quite fiddly. I’ve only recently realised that it was standard to have the anti-magnetic past on the hull area directly behind the road wheels. Makes sense, of course!
Ditto – re time consuming/fiddly- all the detailing on the sides of the hull. Most of these doodads are, I think, mounting points for the slanted ‘skirts’ (which in this instance are missing), and other stuff.