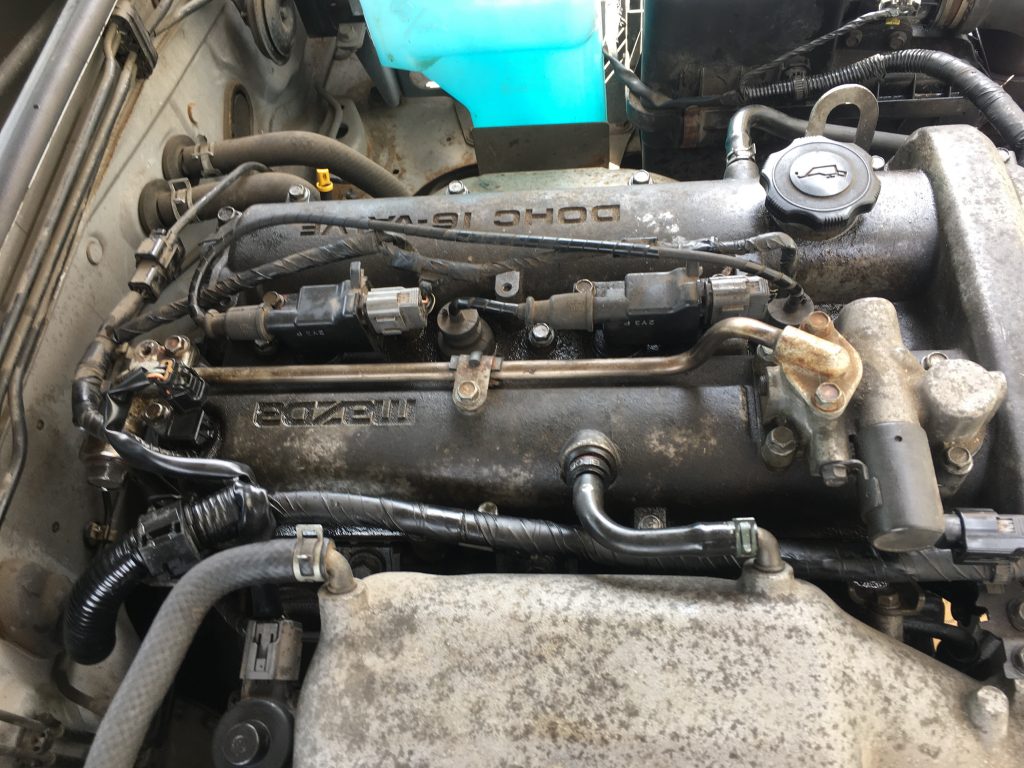
Spark-plugs reminder photo.Working in dazzling sunshine.Note that banjo bolt (rear of VVT) leaketh not!Later in’t day, torch now required.Happy grease monkey; engine starts!
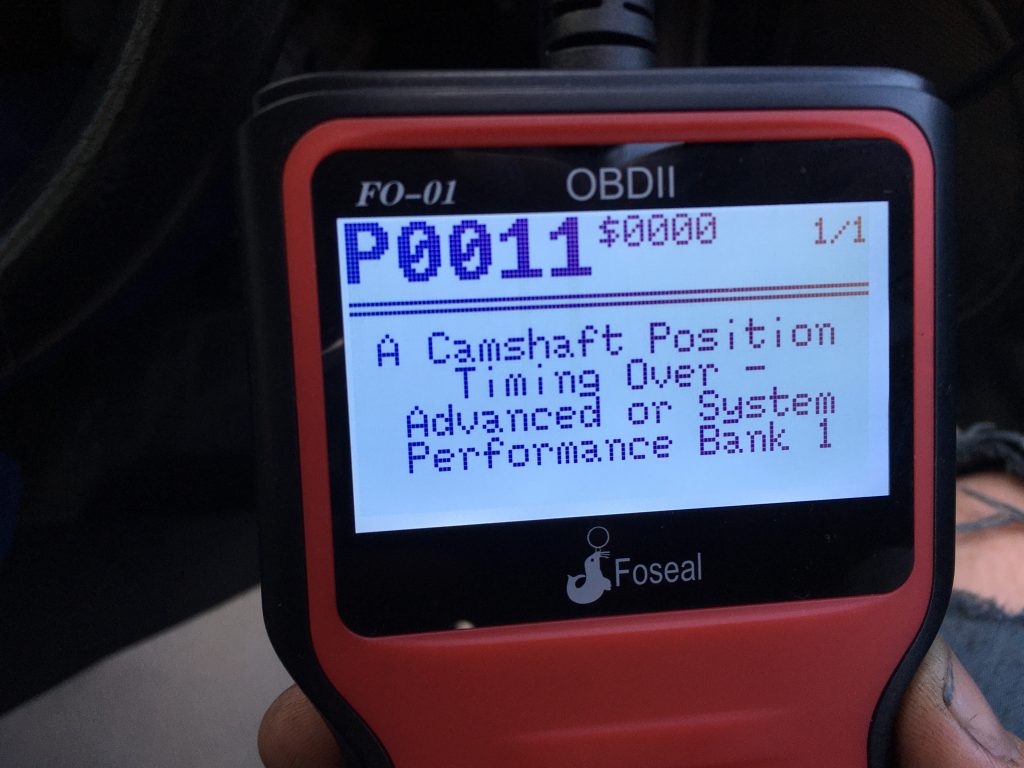
And lo, it came to pass, that ye olde engine was fix-ed! Hence the happy mien, and Churchillian two finger salute above. The image below is just a reminder of an earlier – and at this point gratifyingly absent – OBD fault diagnosis.
Adopts Inspector Clouseau voice ‘Yes, I know that, you fool!’
But at this point I still have a major coolant leak.
Today I hardly took any photos of the work I did. Most remiss of me! Maybe it was because today was mainly re-assembly? But frankly I really should’ve taken lots of pics!
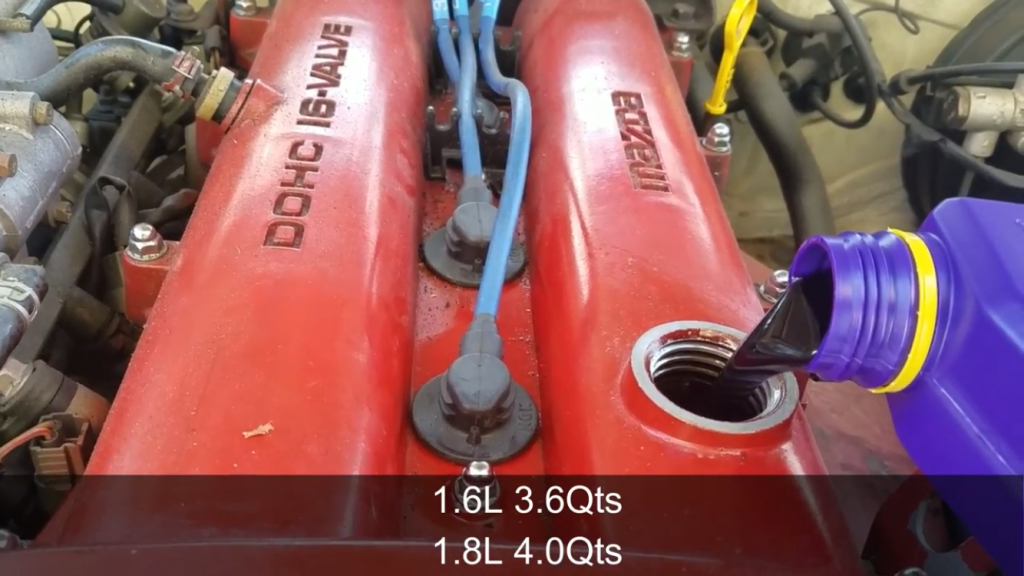
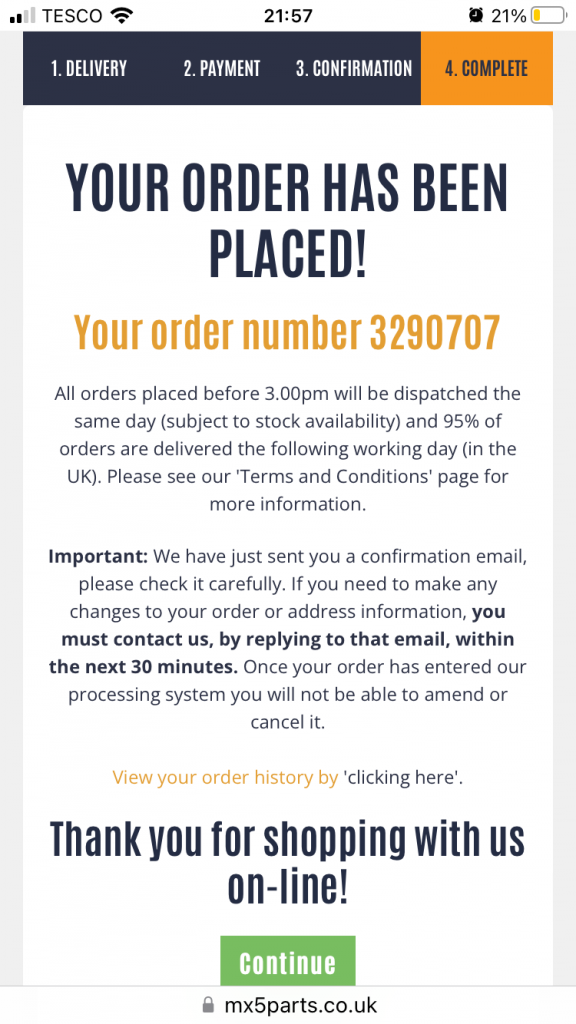
The above screen capture was taken to help me work out how much oil I needed to refill the engine with. Most of the helpful videos are American – the call their Mazda MX5s Miatas! – and everything needs to be changed from foot pounds and quarts to NM and litres.
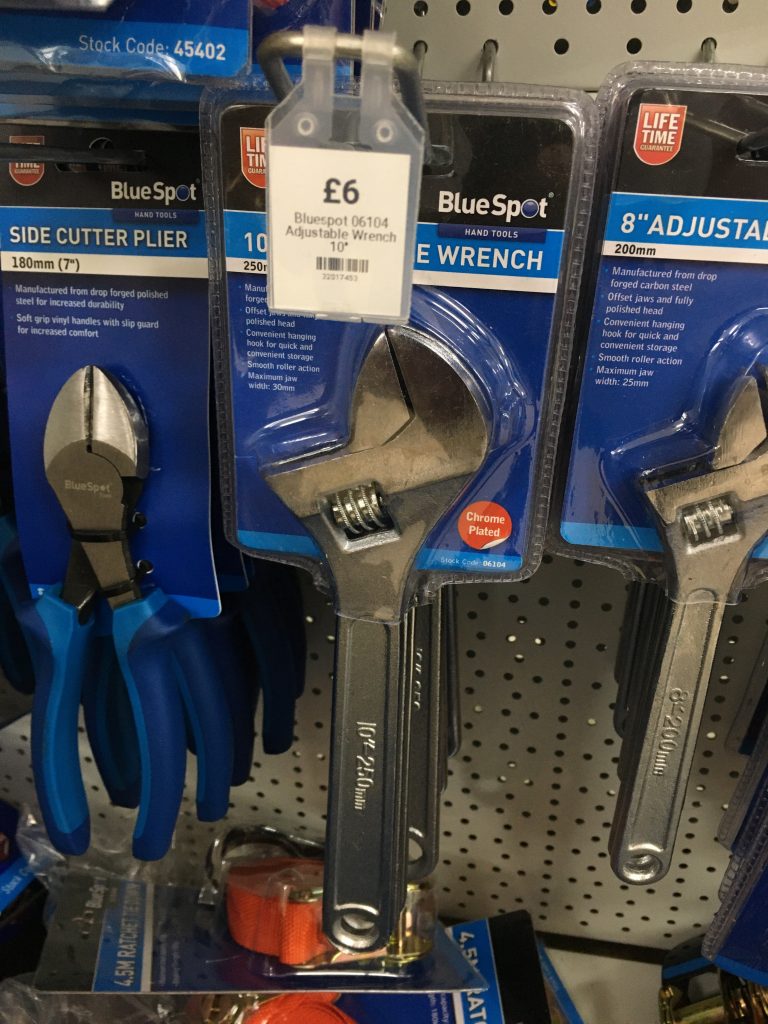
I walked into town – not far! – and had a slice of pepperoni pizza from Dreggs. I also checked out some larger wrenches, in Boyes and what used to be Thing-a-me-bobs. I can’t recall what the latter is called now!?
I wound up buying two 300 mm x 36 mm – one foot long with an inch and a half ‘mouth’ (in old money) – Rolson adjustable spanners. At £6.99 they were a wee bit dearer than the Boyes ones; it’s the latter pictured above. But they looked and felt both bigger and better quality.
Actually, whilst they look decent enough, they’re not great. Are any adjustable spanners any good? The adjustment is always fiddly, and very prone to slipping or working loose!
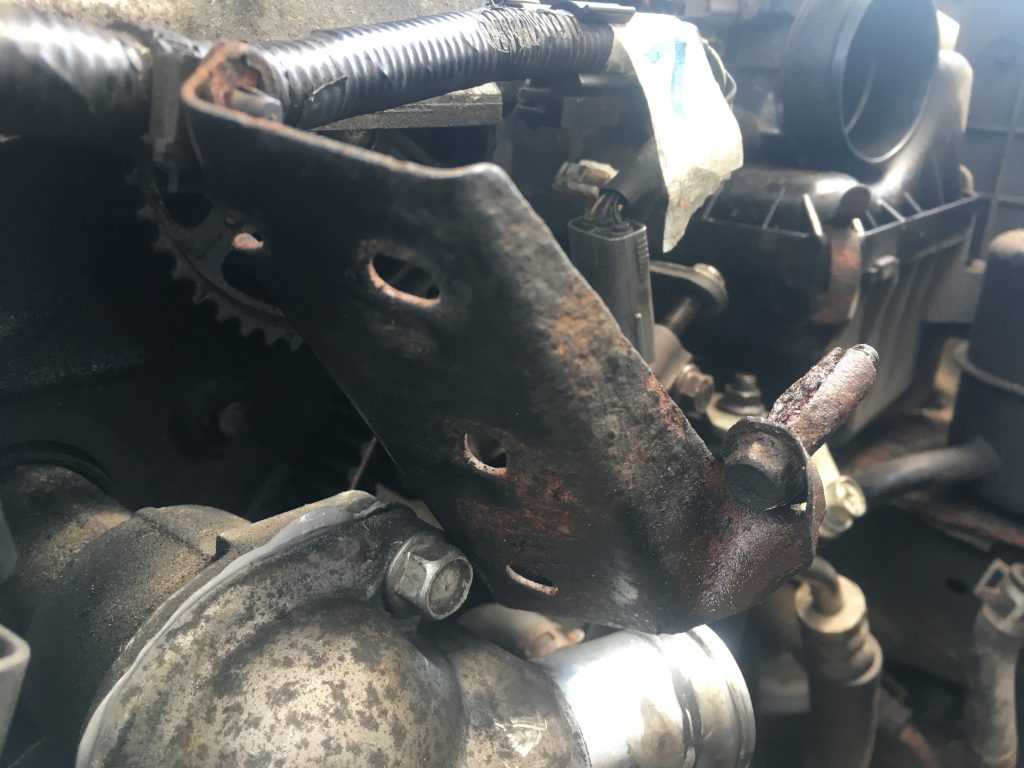
I left off all three of the cam-belt guard plastic bits, as they were pretty mangled to start with. And removing them had further damaged them. I think this metal plate screwed into one of them. There are two metal bits n this line that are not fixed back in place.
Took two shots of this bit, which now seems poss’ redundant. Ended up removing it altogether. in total there are three plastic cambelt guard sections I’ve left off, and two metal brackets, this larger one, and a much smaller one.
A chunk of today – two hours, poss’ more? – was given over to a trip to Halfords. After buying the two spanners and a bit of pizza, I caught a bus to the big roundabout on Wisbech Road, which is pretty close to Halfords.
I bought a new oil filter. I was expecting it to have a ‘crush ring’. But it didn’t. Rather tragically and annoyingly I failed to install it, as I was unable to remove the damned old one!
I wanted to catch a bus home, but didn’t want to walk to Tesco. I would up walking all the way home, with a rucksack full of heavy tool, engine oil, and even a little ‘dolly’ trolley (the latter in lieu of a larger and more expensive inspection trolley).
I stopped at The Hippodrome en-route, for a refreshing lager shandy, and to rest my poor aching feet! I’m not fit any more. The walk home was horrible!
As I said at the top of this post, I totally failed to document the re-build. I replaced the cam-cover, inc adding sealant gasket gloop where indicated.
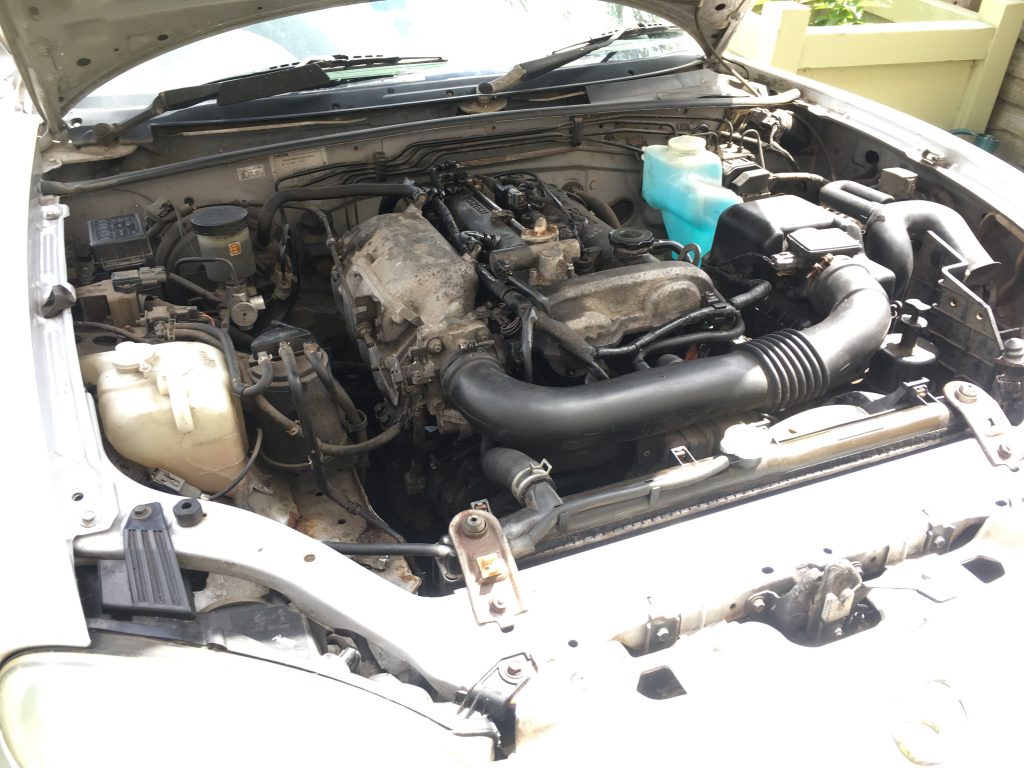
One of the only bits of documenting I did arose out of the balls up I made of the radiator re-install. For starters I totally wasted a whole bottle of coolant/antifreeze, by failing tore-attach one of the radiators’ lower pipes.
Pouring the whole litre in, it simply drained right out, via the lower and still disconnected tube. It was a mother to re-connect that particular pipe, as the clip on it, and the end of the pipe itself, we’re not in tip too condition.
Then, when refilling the coolant mix into the re-installed radiator, I discovered further leaks due, once again, to missed connections. This was a thinner pipe-work segment, and it only haemorrhaged coolant when the radiator got pretty full.
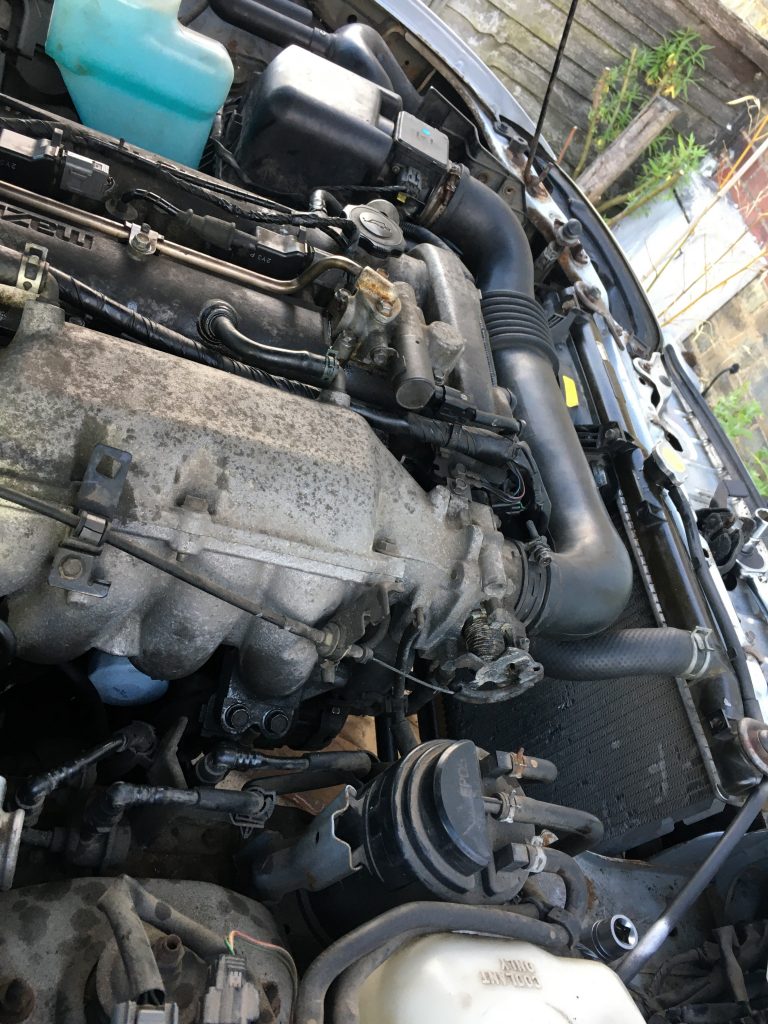
But even after connecting all the errant lines, and tightening up all tubing and fastenings, there remained a terrifically annoying leak. This turned out to be the thermostat housing, the gasket inside of which had fallen apart.
I tried to bodge it, with gasket sealant. But I put it back together wrong; a whole 180° out of its proper alignment. So when I’d reversed it, or corrected it, the ‘temporary fix’ suggested by a BOFIracing dude, didn’t come out as planned.
So I wound up ordering a new thermostat housing gasket today, plus four new undertray fasteners, all from MX5parts.co.uk I hope they get to me ASAP!.
What was most g-g-gutting and g-g-galling, was getting everything back together only for the engine to not work, still. I have to be honest. This necessitated a bit of a lie down! I was, frankly, utterly crushed.
After about an hour of rest, I decided to go out and look at the car again. A friendly neighbour then took me to Halfords, for my second visit o’ the day – at 7.50pm, ten minutes before they shut! – where I bought some coolant.
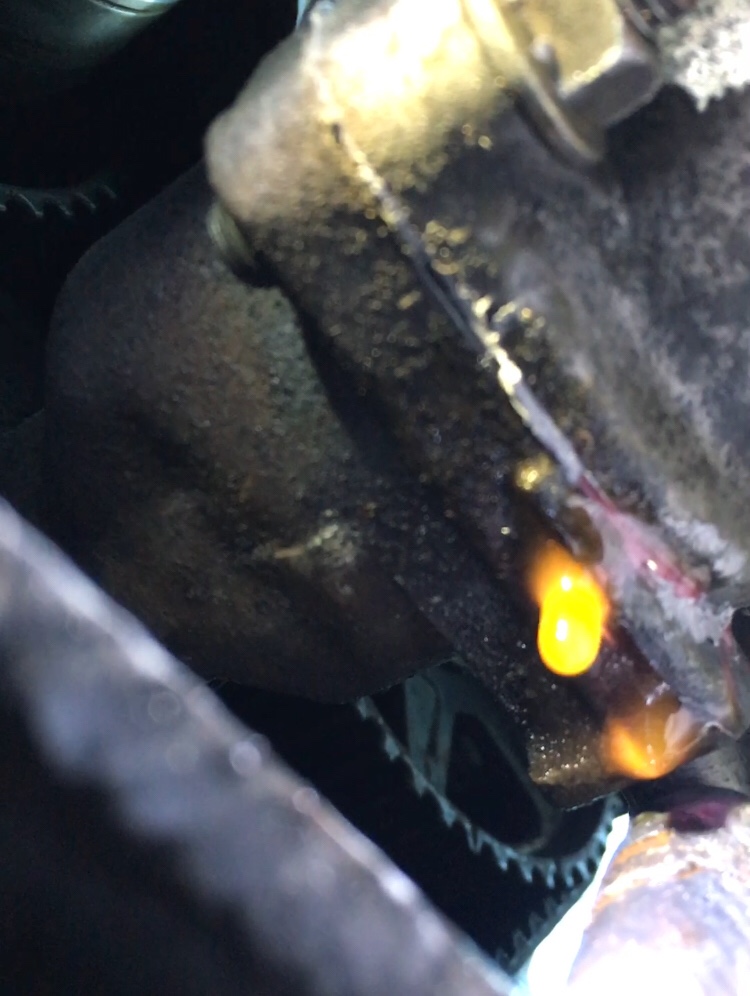
Still from my video that WP won’t upload!
Topping up the coolant revealed several leaks. the easiest to repair was a small hose I’d missed. Next I tweaked a few of the clipped hose connectors. But, alas, coolant continued to leak. And a video under the area revealed that the thermostat gasket bodge hadn’t worked.
I tried to add that video to this post. I had to shorten it to even upload it. And then, once added in WP, the post no longer updates… gaaargh!!! So I’ve taken a still image from said vid’. Not great, but better’n nowt!
Bizarrely, the coolant, which was streaming out initially, but only dripping by the time I got my iPhone camera on it, seems to be dripping not from where the two parts meet, but just behind that. Weird!?
Anyway, that’s that for this post. I guess tomorrow I just keep on keepin’ on…
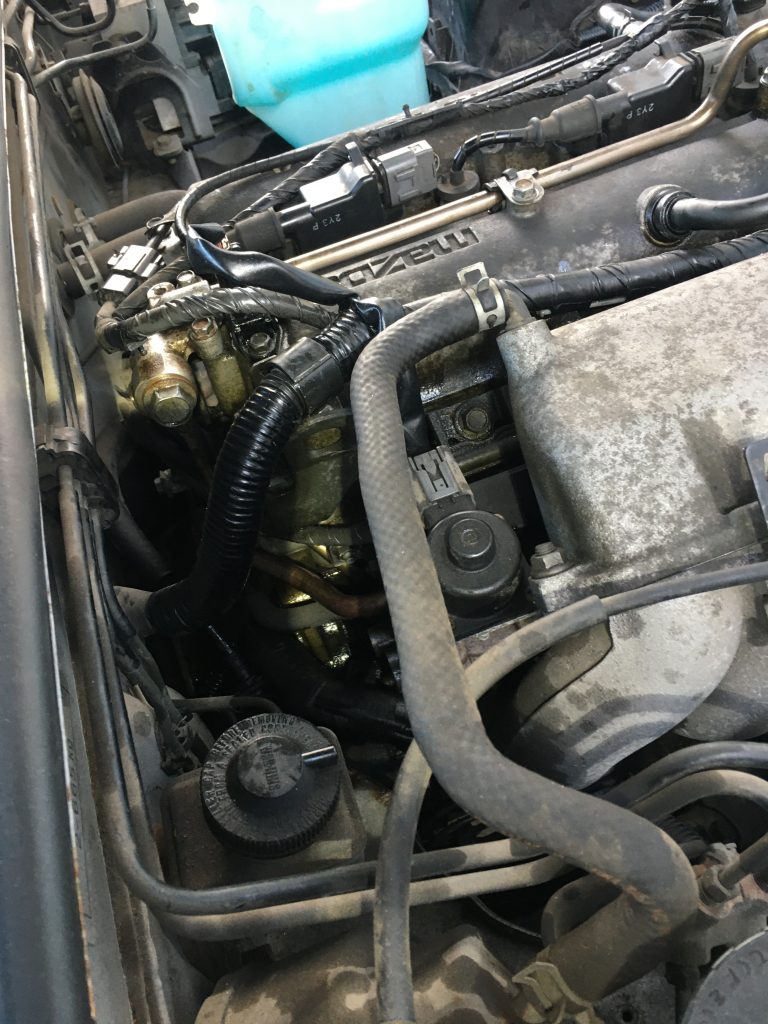
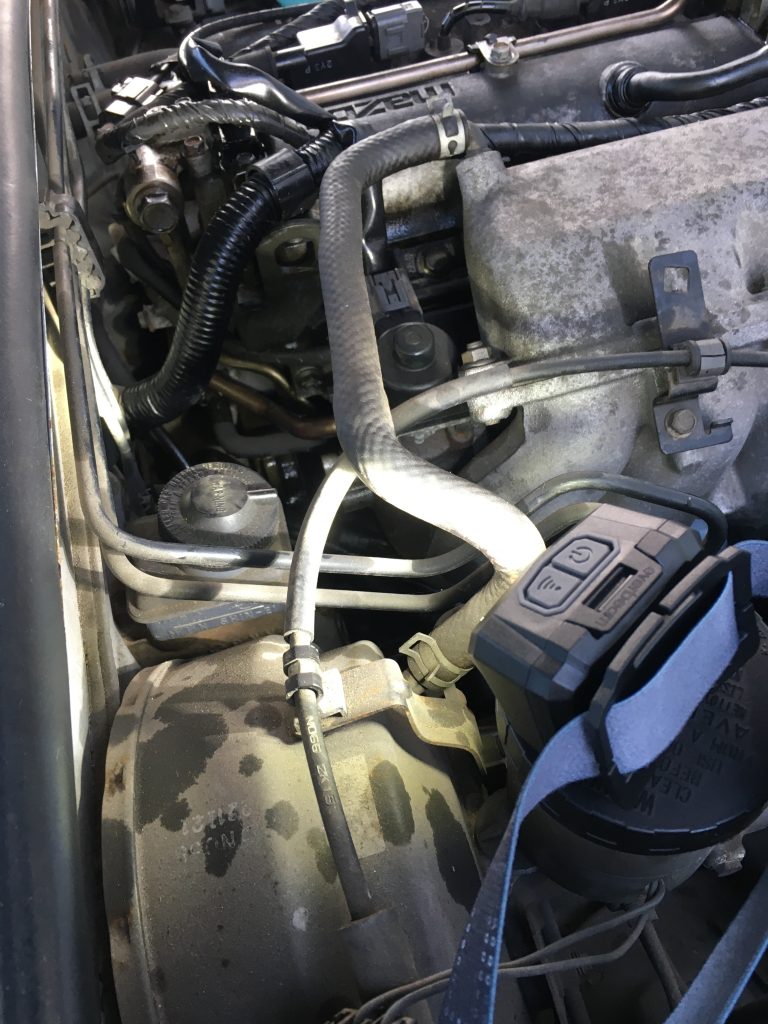
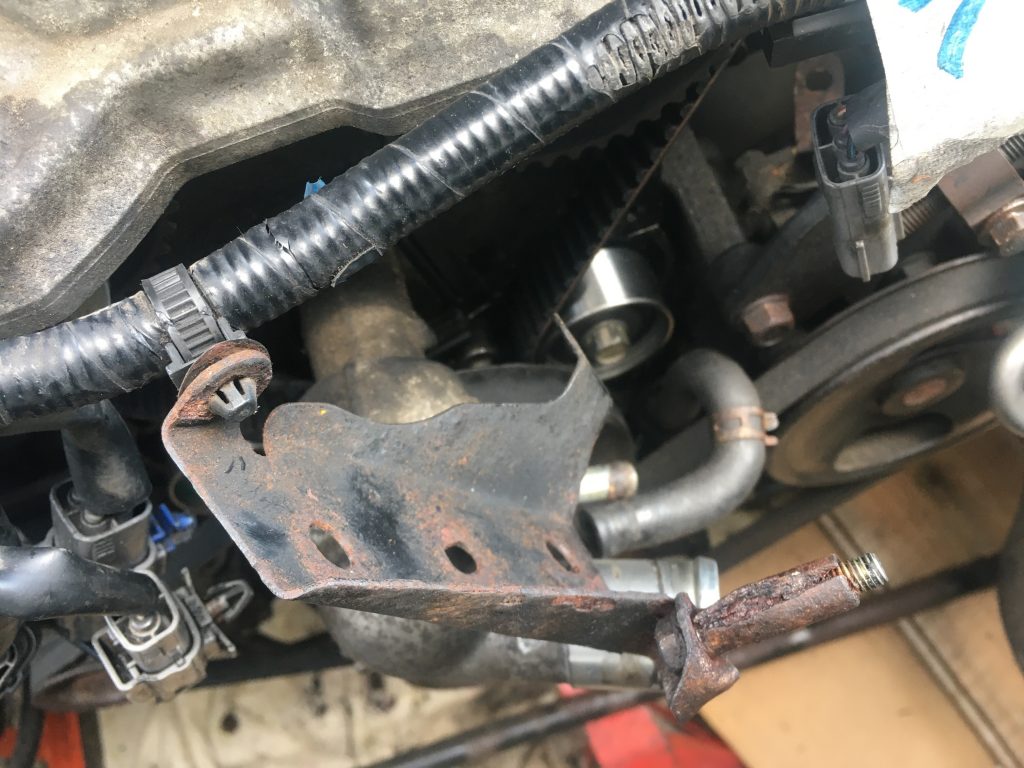
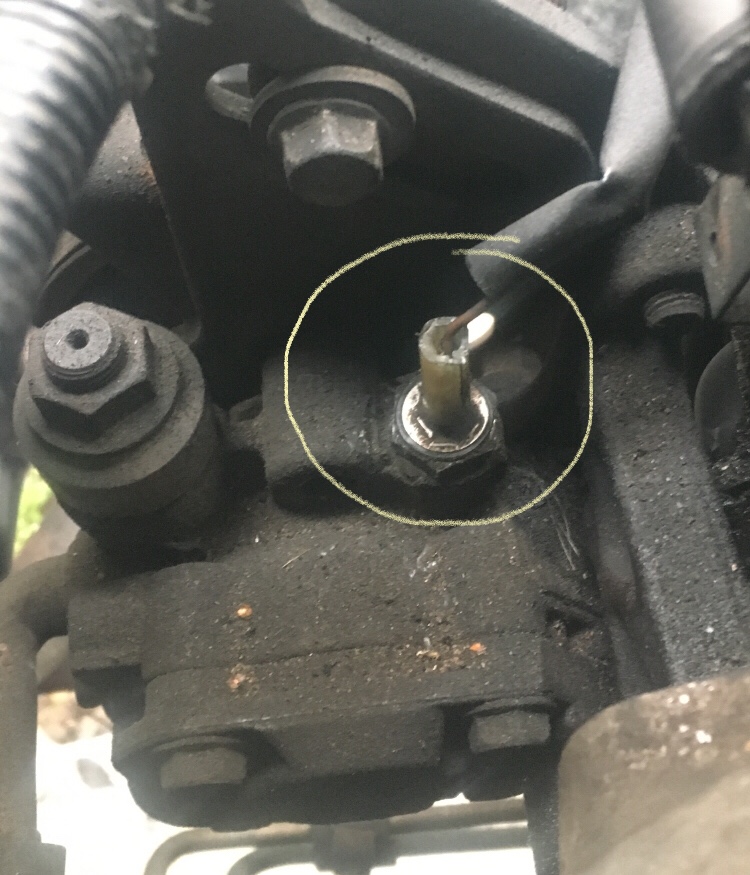
Last night, after emailing Greg Peters at ‘carpassionchannel’ (thanks, bro’!), and much – mostly fruitless – googling and watching of YouTube, I finally found out what the thing circled in the image below is.
Turns out this is a power steering pressure sensor.
Having established what it is, I was able to find a YouTuber removing it, and thereby learn how to do so myself. I did that late last night, sporting a head-band style torch, as it turned dark.
In the YouTuber’s video, as so often, it looked super easy. In real life, for me, it was very, very, very tricky. I used needle-nosed pliers to simultaneously grab the whole thing whilst depressing a tiny little lever, all the while also pulling upwards.
After lots of worrying (about breaking it whilst manhandling it so roughly!) and a fair bit of swearing, the ficker funally came orff…
The pic at the top of this post is how I looked and felt at day’s end. Note the new mechanic’s style overalls! £20 from the local Boyes.
Yesterday it was raining in the morning. And it remained damp, drizzly, and cloudy all day. But the afternoon was workable. Today the sun is out, the sky is blue. It’s beautiful, and so … wahoo!