
Today I started on repairing the area ‘twixt walls and ceiling, where formerly there was coving. But before I could start on that I had to clean the areas where I would be applying the plaster.
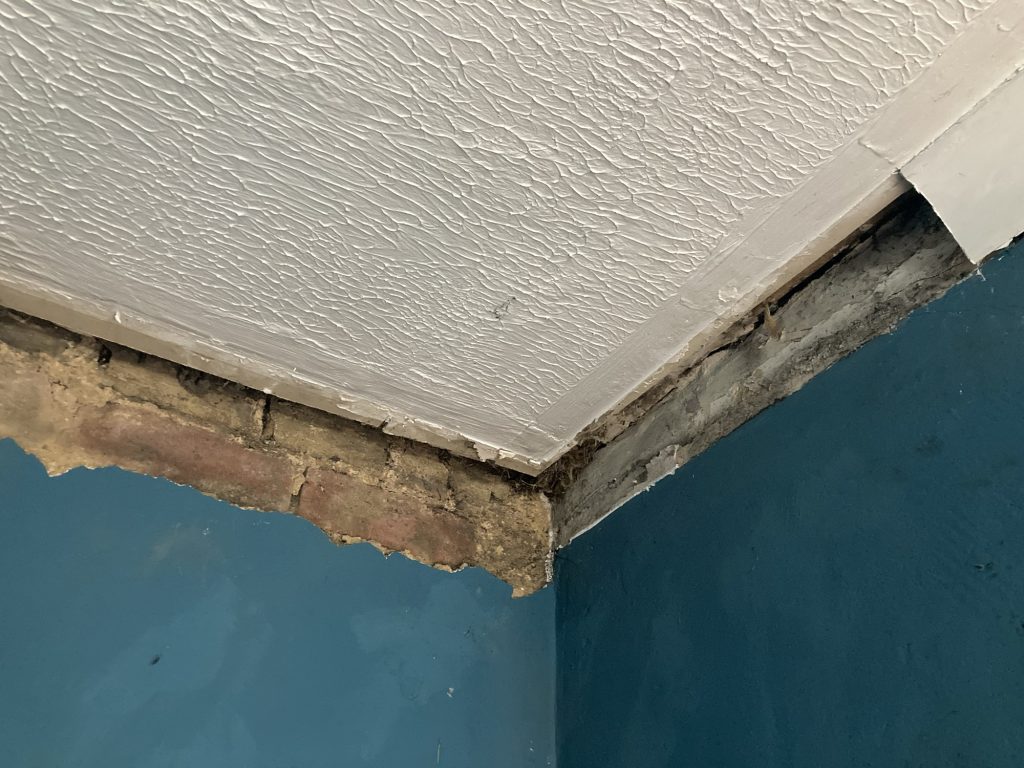
I’m doing so yet more plaster crumbled away from the brickwork. In the picture above I’m talking about the left half of the image. What had initially been a single course of exposed bricks – or one and a half, to be precise (as on the right) – suddenly became to courses.
Having already swept and hoovered yesterday, this new crumblage requires another tidy up.
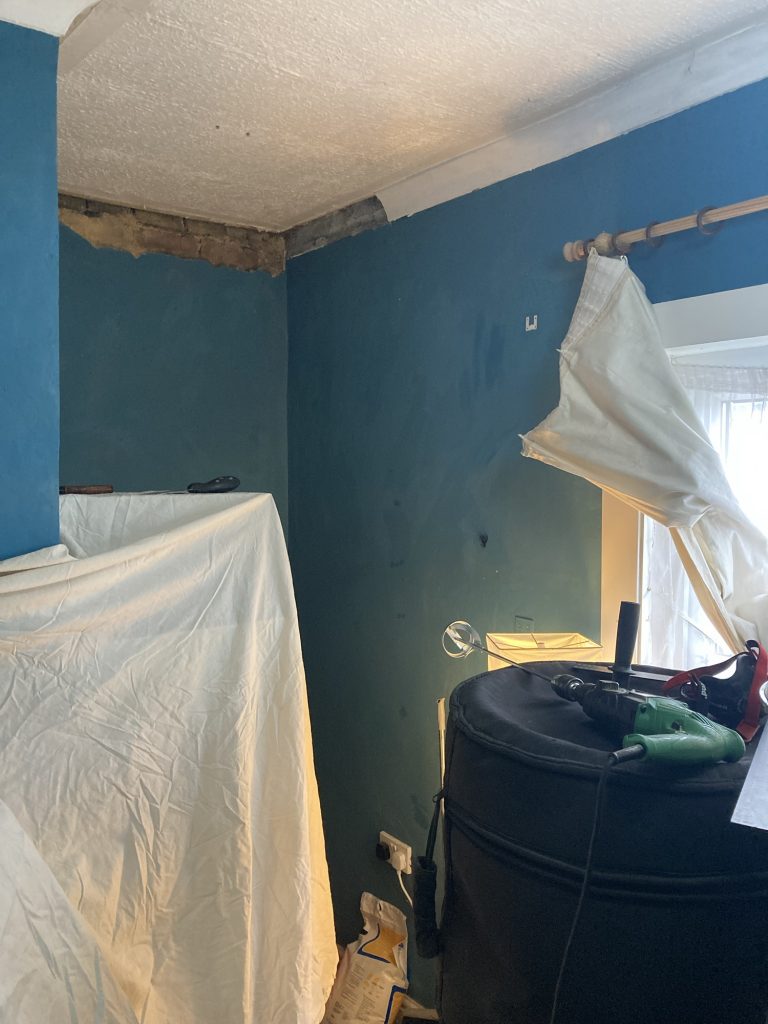
I’m working in a very tiny space, in a small room, that’s filled with stuff. Not ideal. Still, you gots to do what you gots to do!
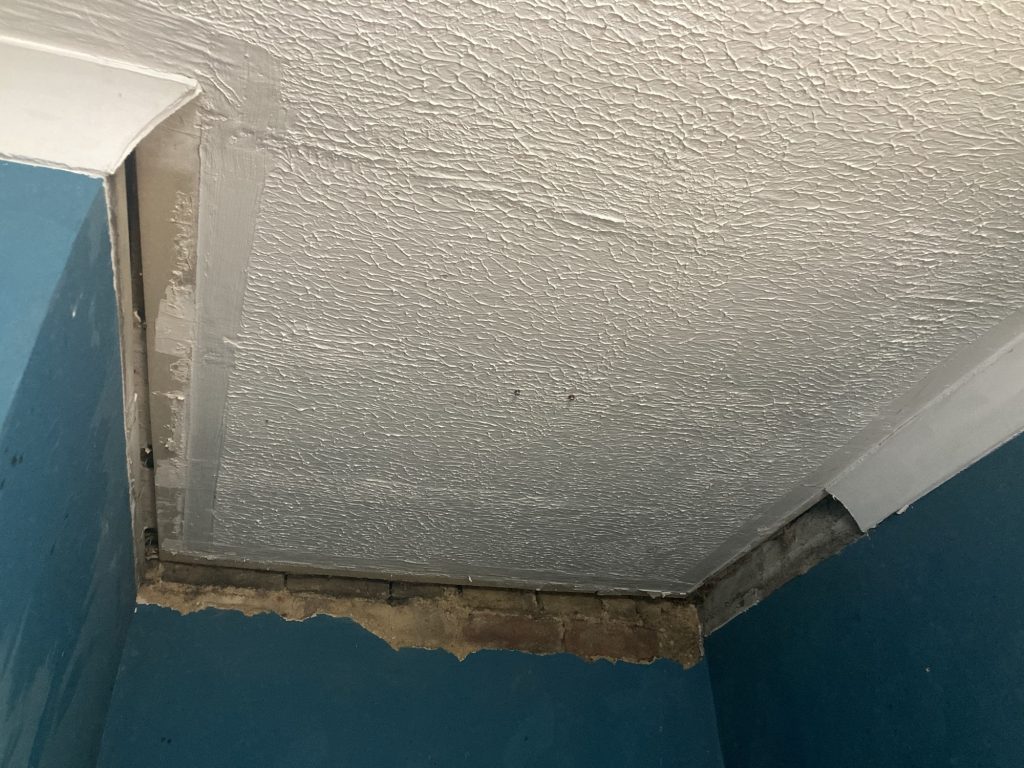
This morning we were at B&Q, in Wisbech, getting stuff for this job. So back home, I mixed me up a bucket o’ mud, and slathered it on. ‘Twas far from easy. Esp’ where the gaps were very large. But I built up lots of thick goopy layers, and gradually got there.

And presto! The bulk of the plastering is now done. Tomorrow I’ll go over it all, and try to neaten it up. The main thing is that all the various planes now meet. The next step is to try and make them flat and 90°, etc.
LATER ON…
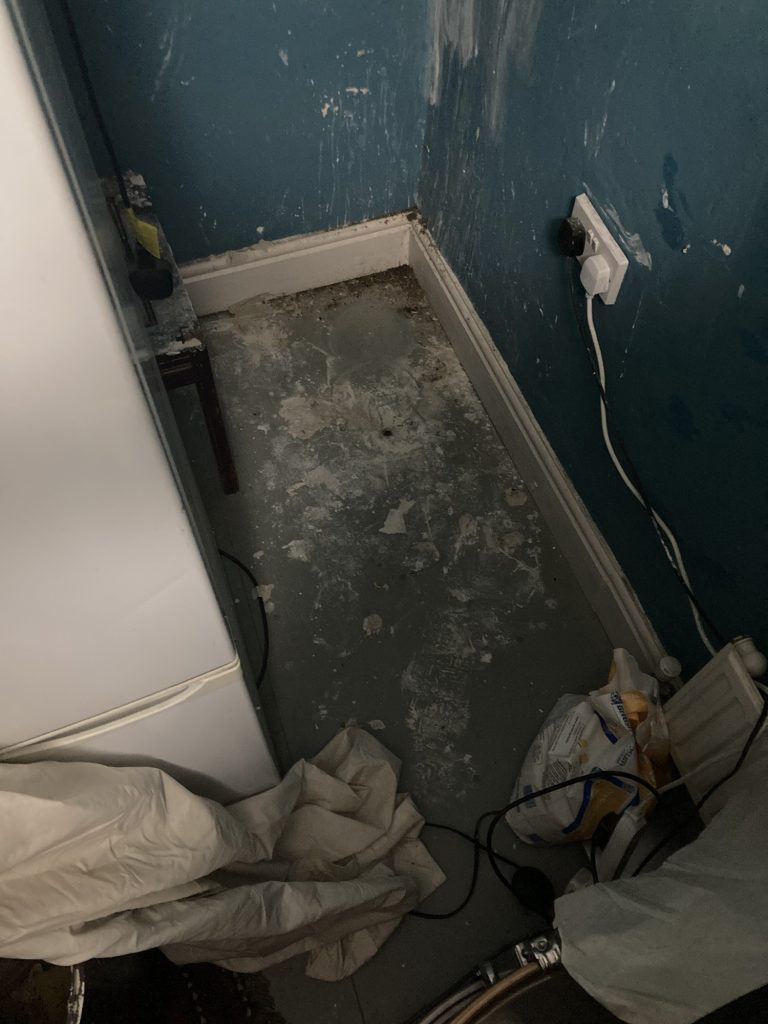
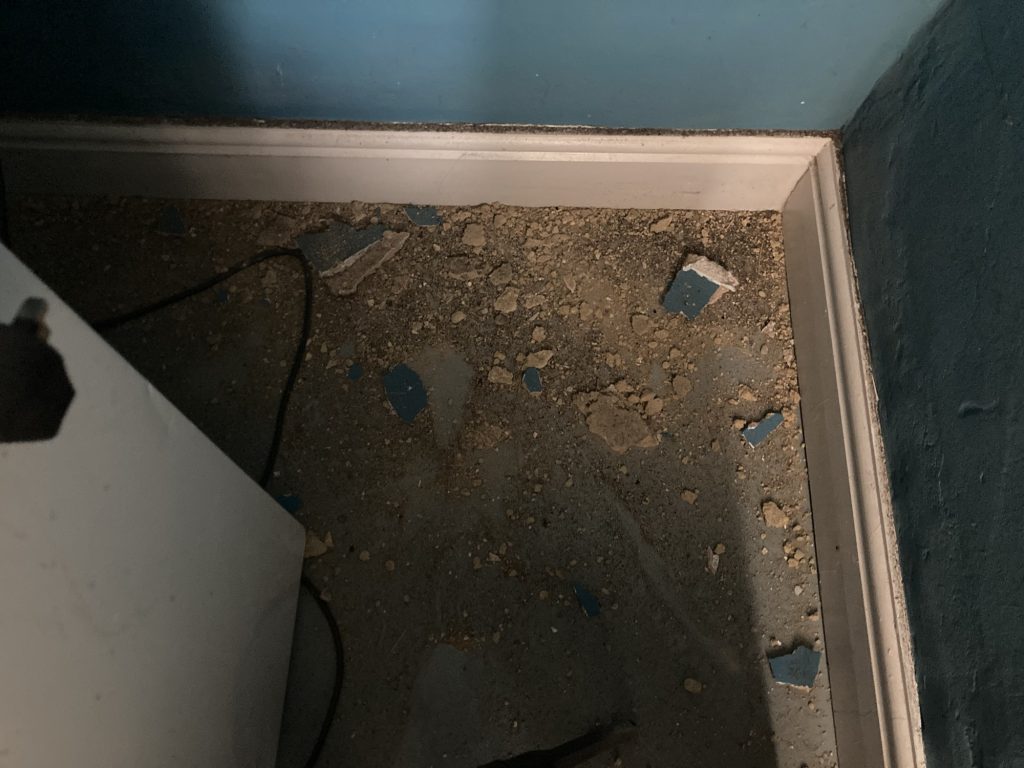
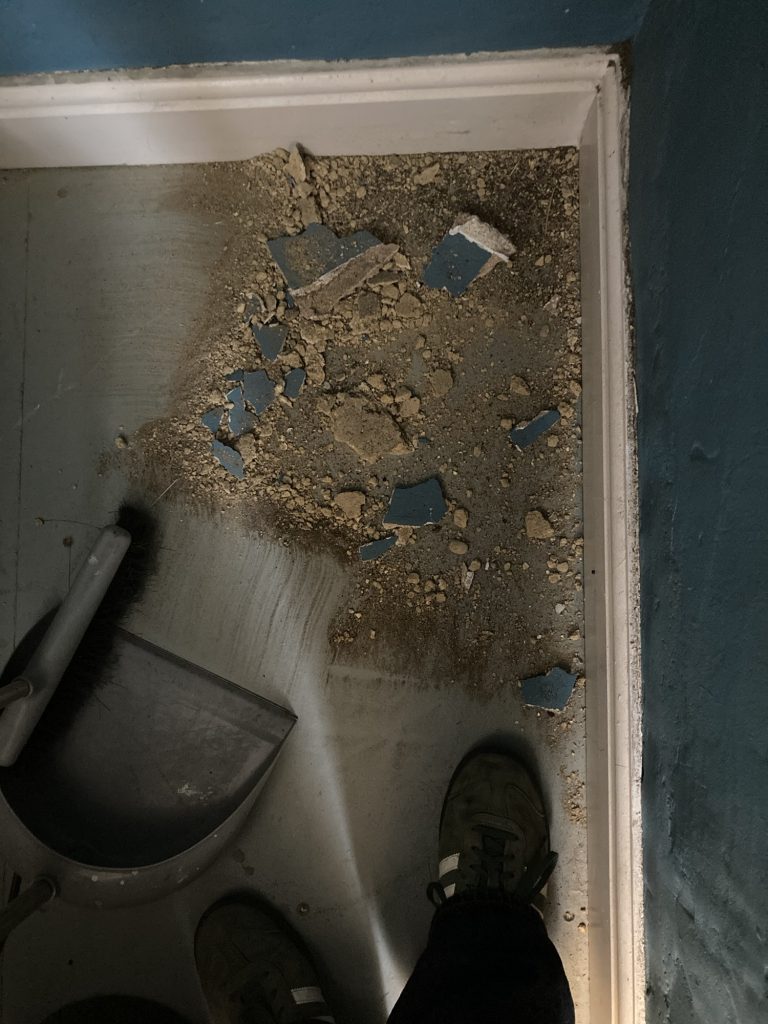
After an evening delivering for Amazon, I finally got home, and this was how my work was looking… the floor’s a right mess.
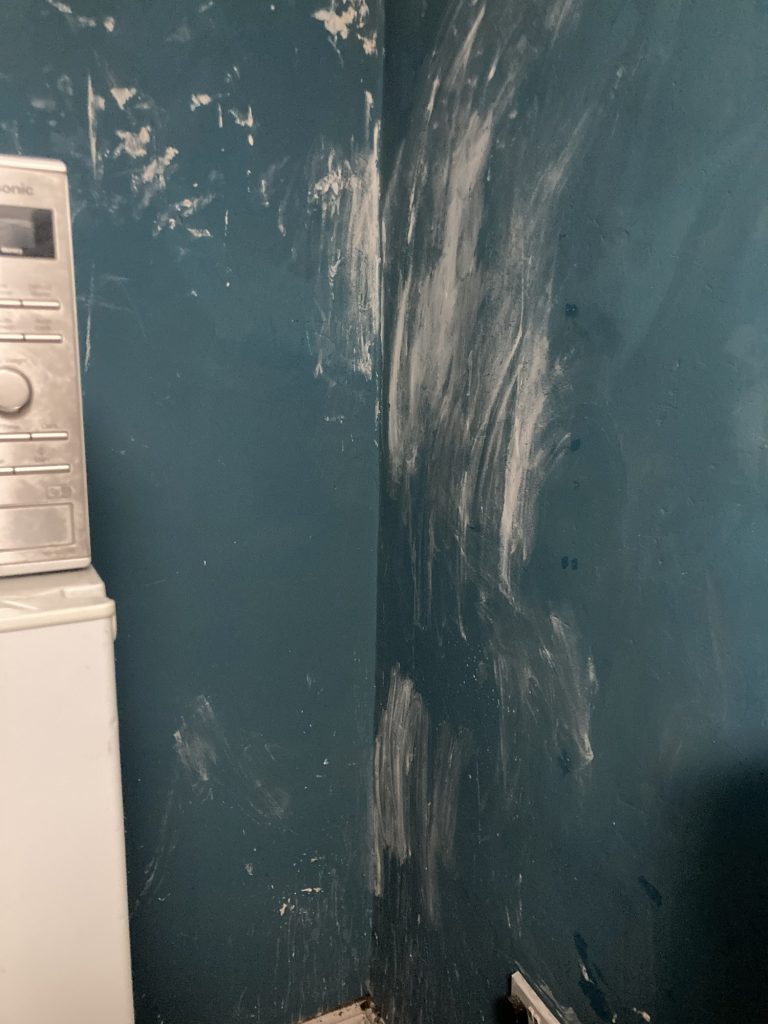
The walls are a right mess…
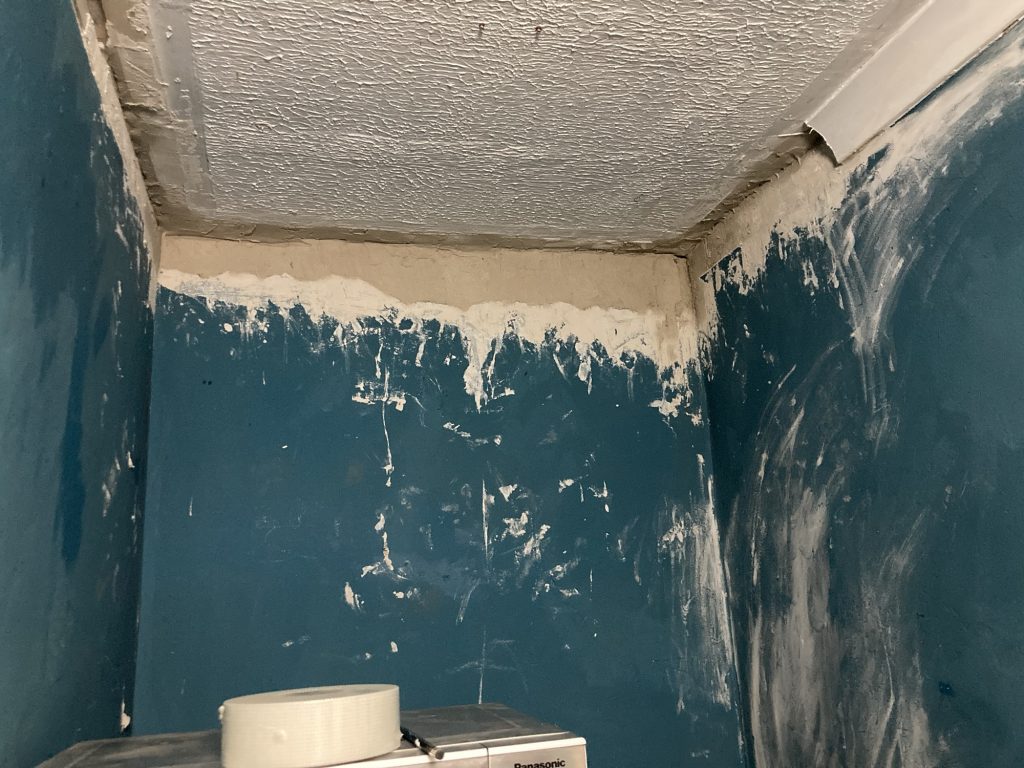
And my ‘work’ is itself, a mess! But it is at least still up. And, although I didn’t test it, for solidity, I reckon tomorrow I’ll be able to do some sanding and a second coat, to beaten things up a bit. Or a lot, even?