Teresa begged me to take her to work today (well, the begging was done last night). Today is one of those rare Fridays where she’s actually doing some teaching work. At Ely College, on this occasion.
She needed/wanted to be there for 8.15. We would up getting her there at 7.45! Despite being directed to the wrong place. And even with an additional stop for a Breakfast McMuffin, which we shared.
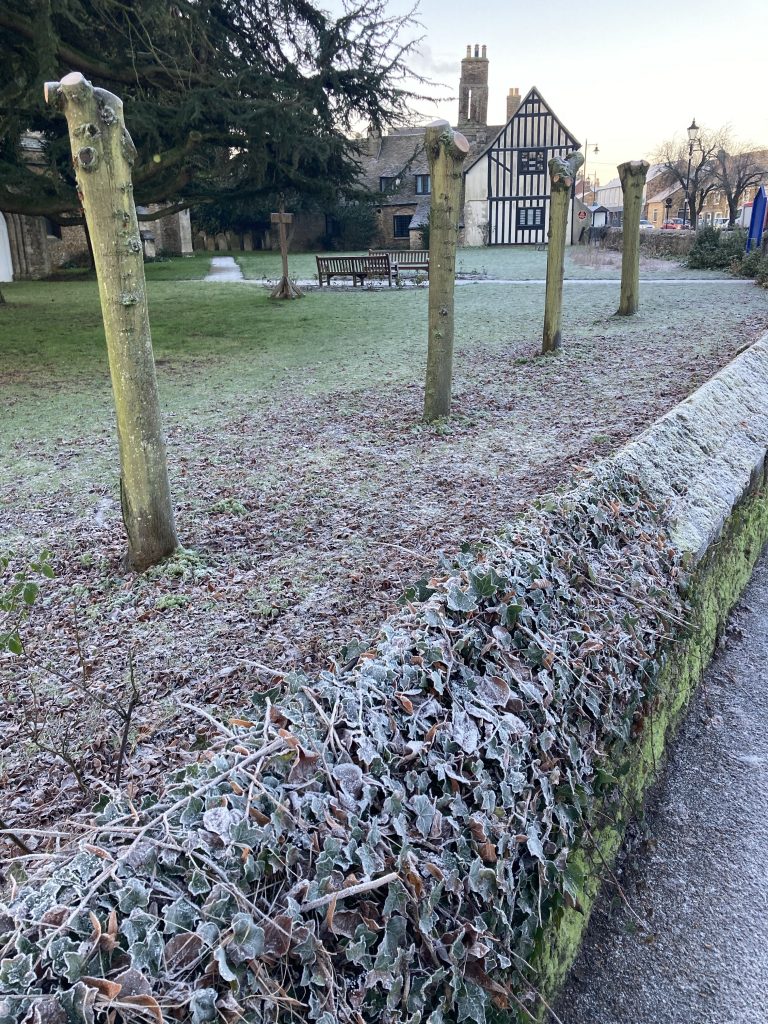
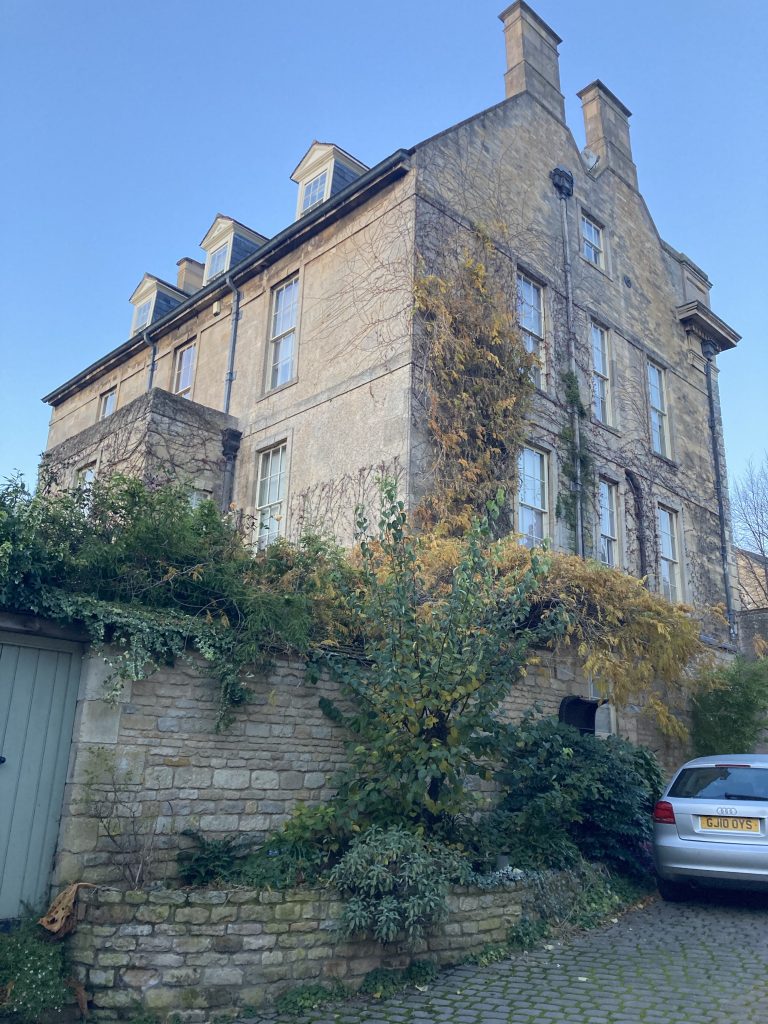
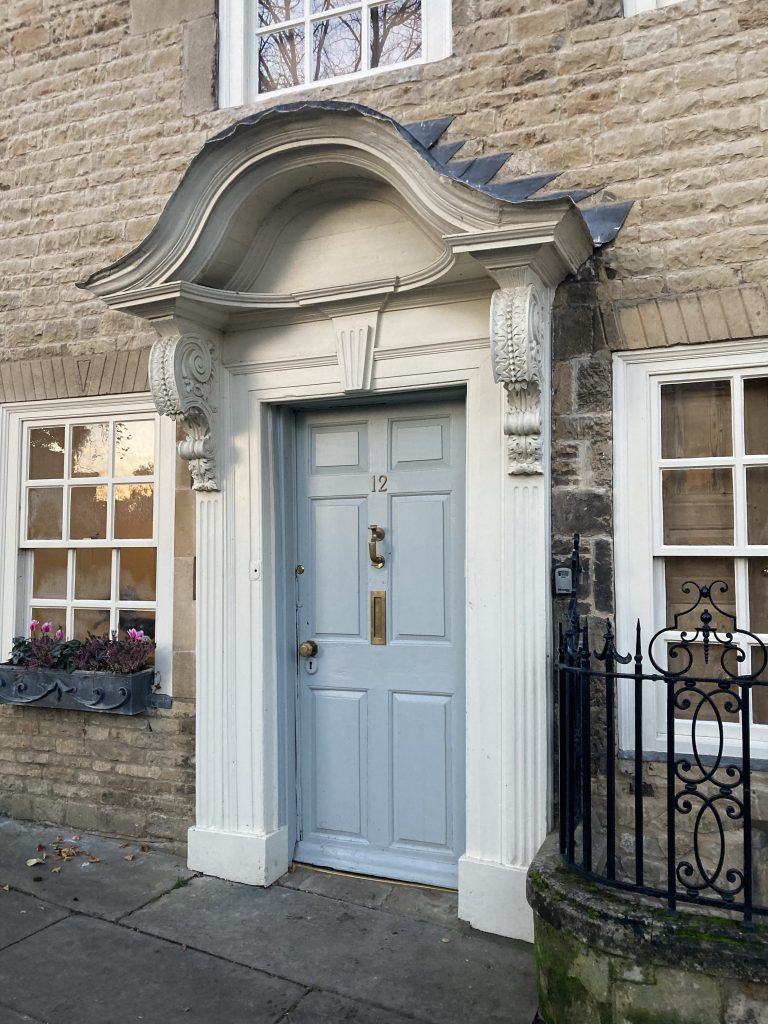
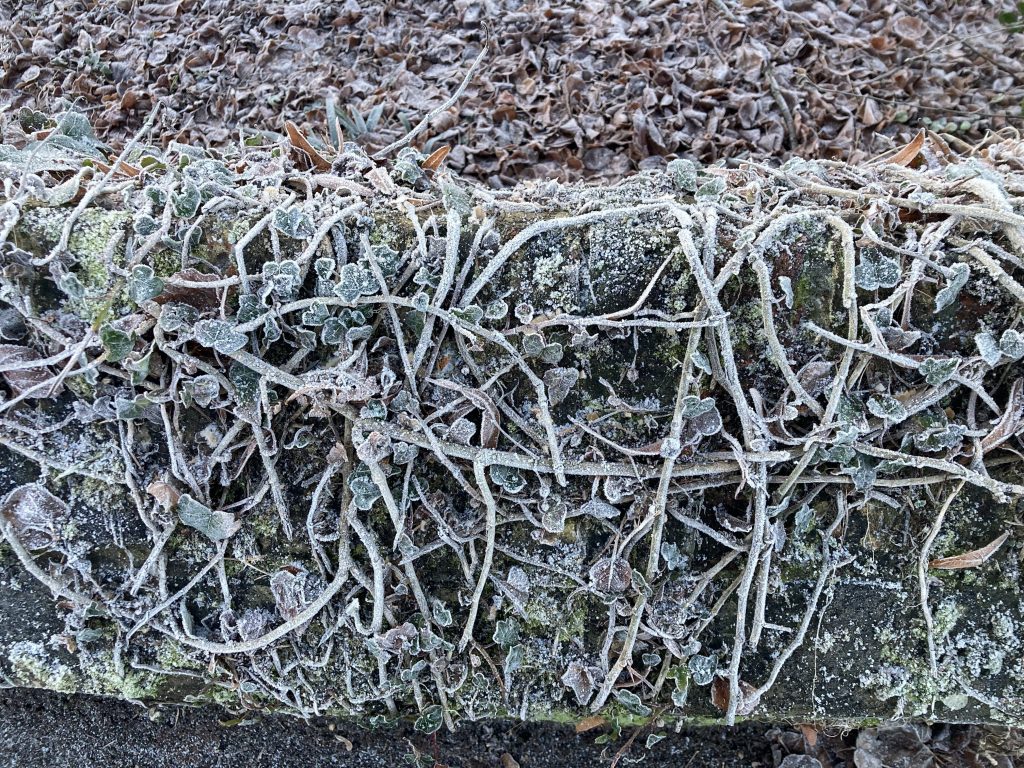
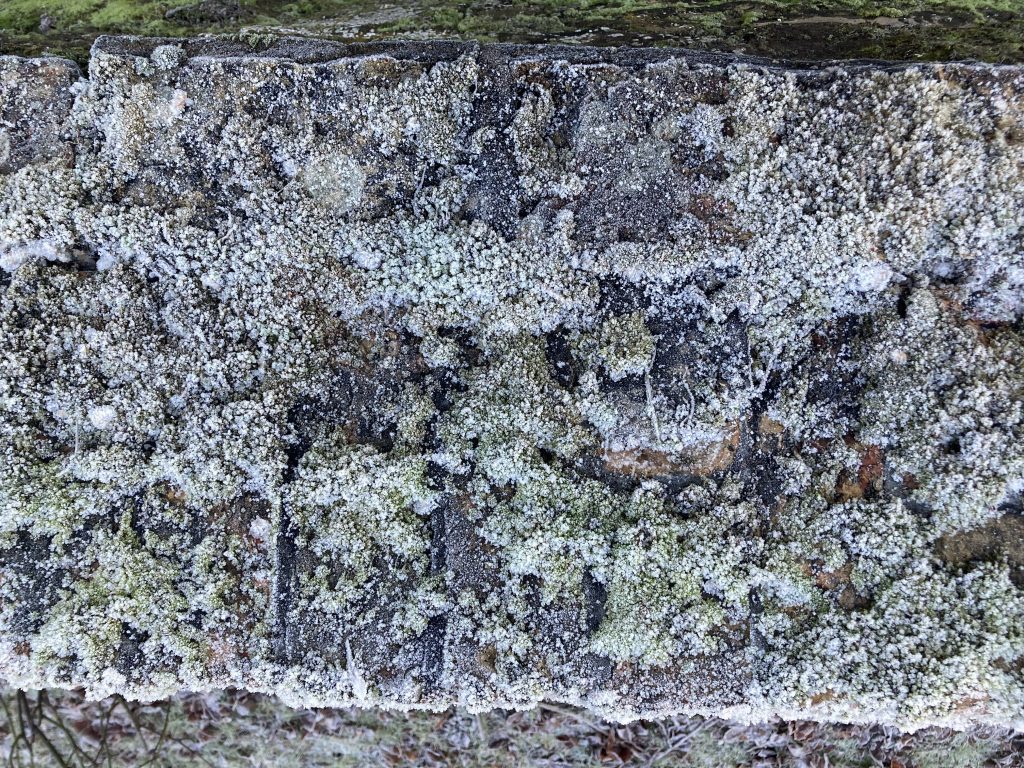
Shooting the above drew my attention to the wall itself, which looks amazing, with all the ancient frozen growth on it. Chilled to an almost grey-green monotone.
In the two close-ups below, the organic stuff almost looks like those electron-microscope images one sees in science books.
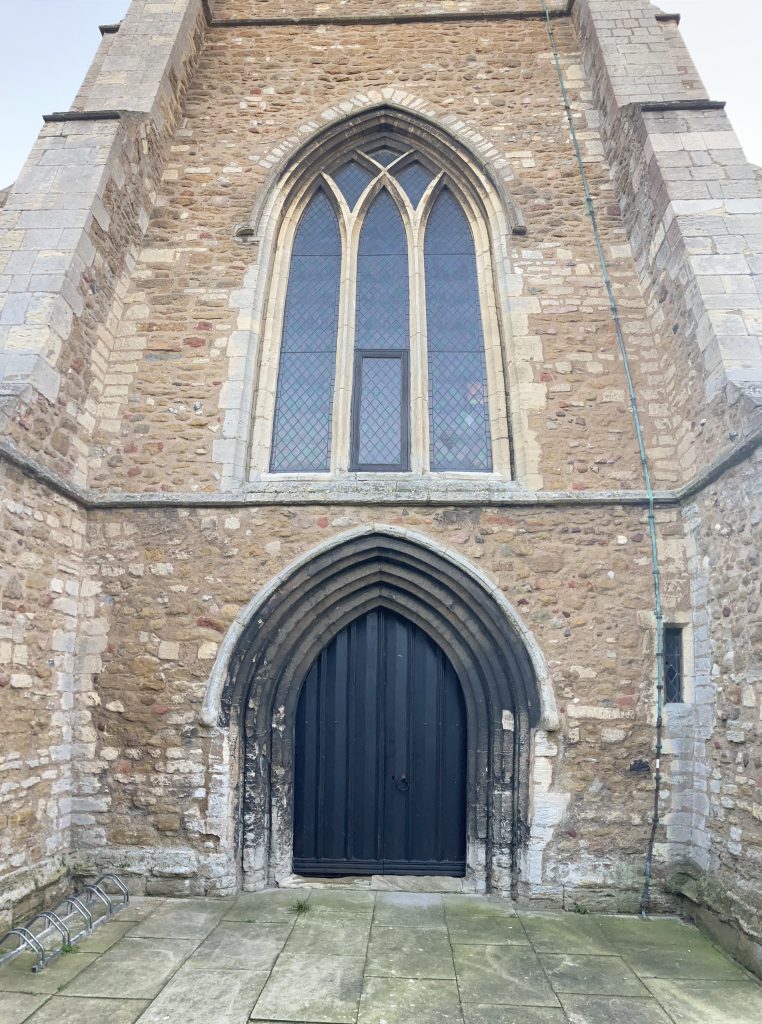
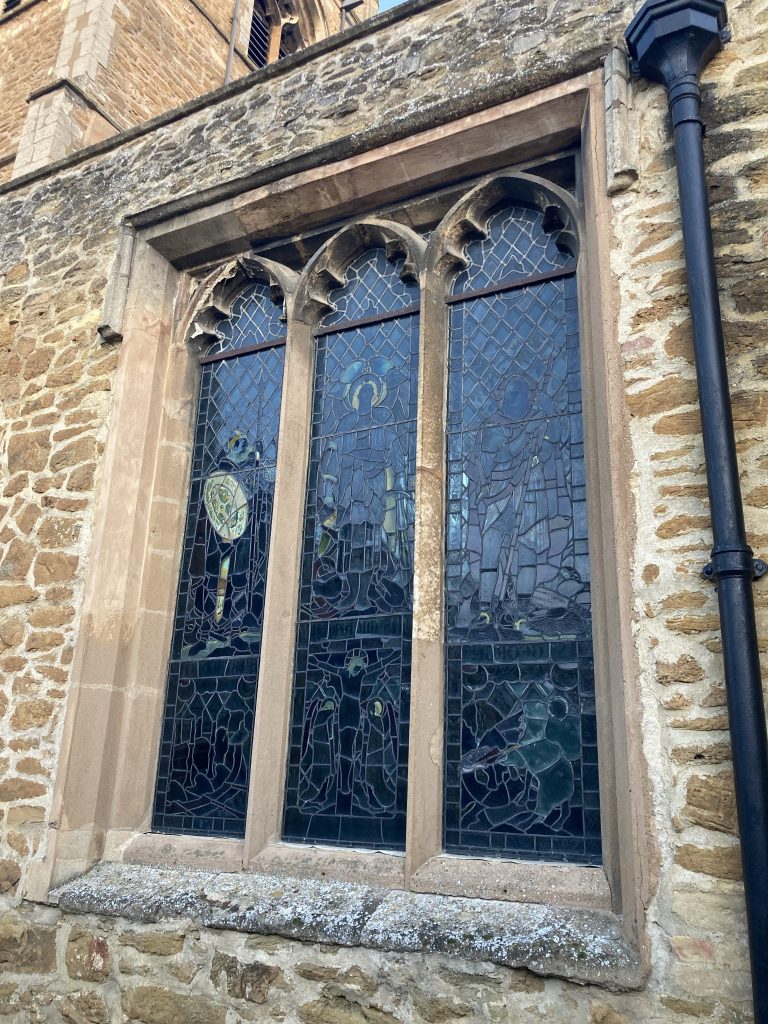
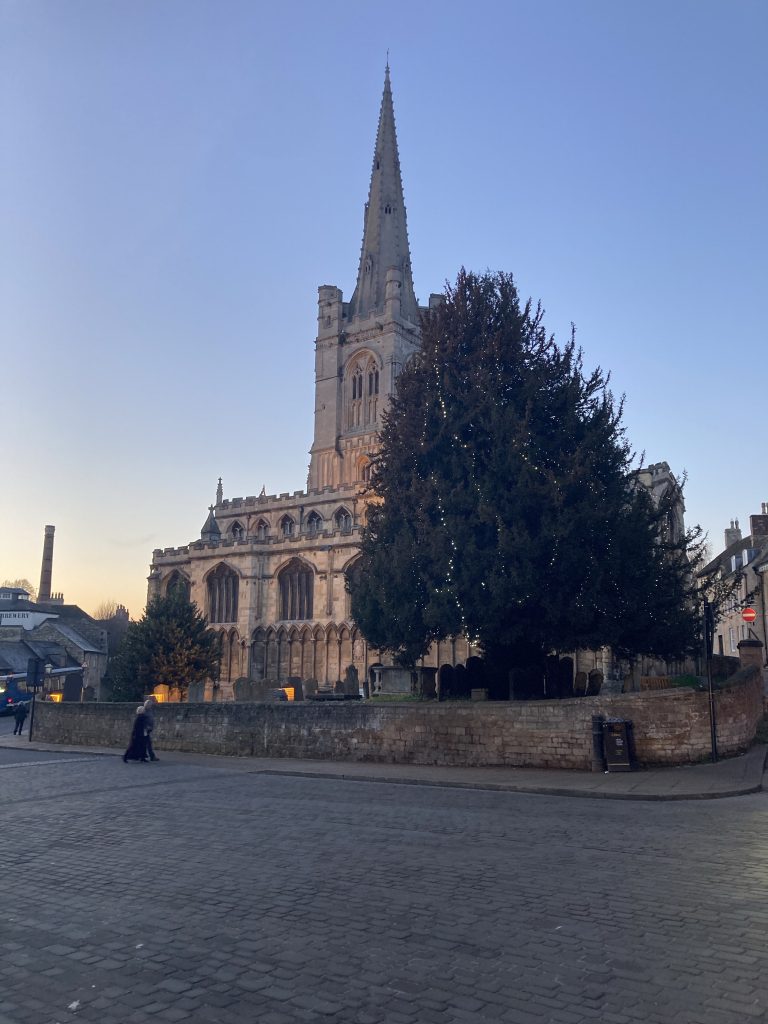
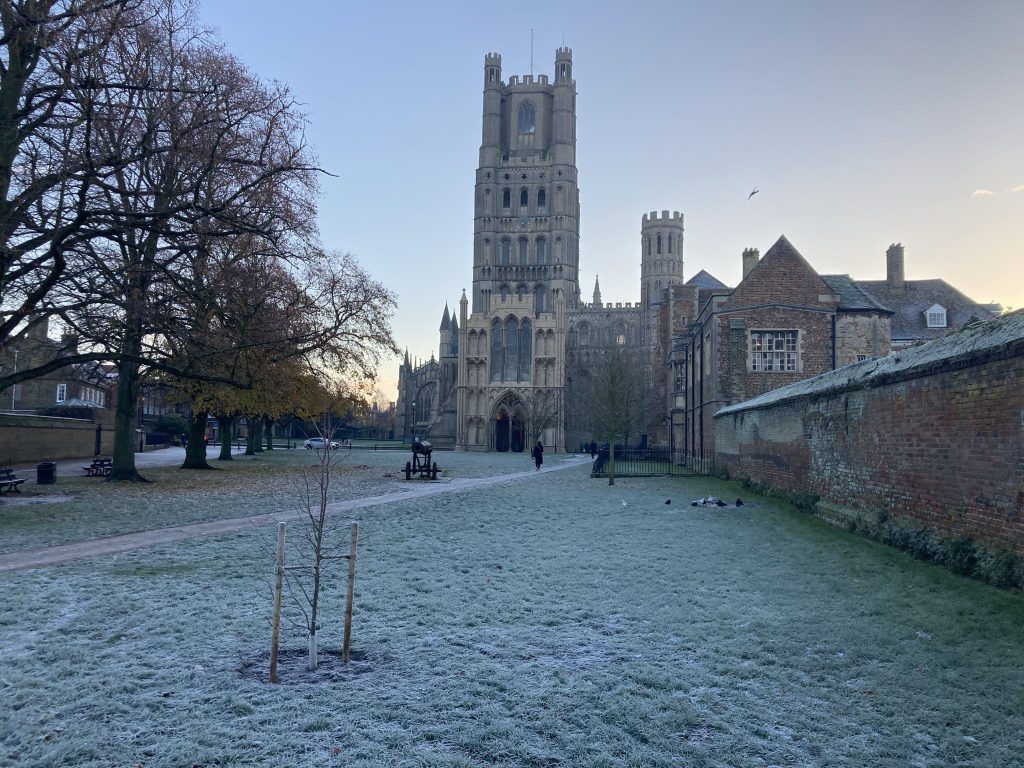
Sadly the church was locked. Another one for the revisiting list. Definitely want to capture the stuff that most interests me on the insides of all these locked up churches.
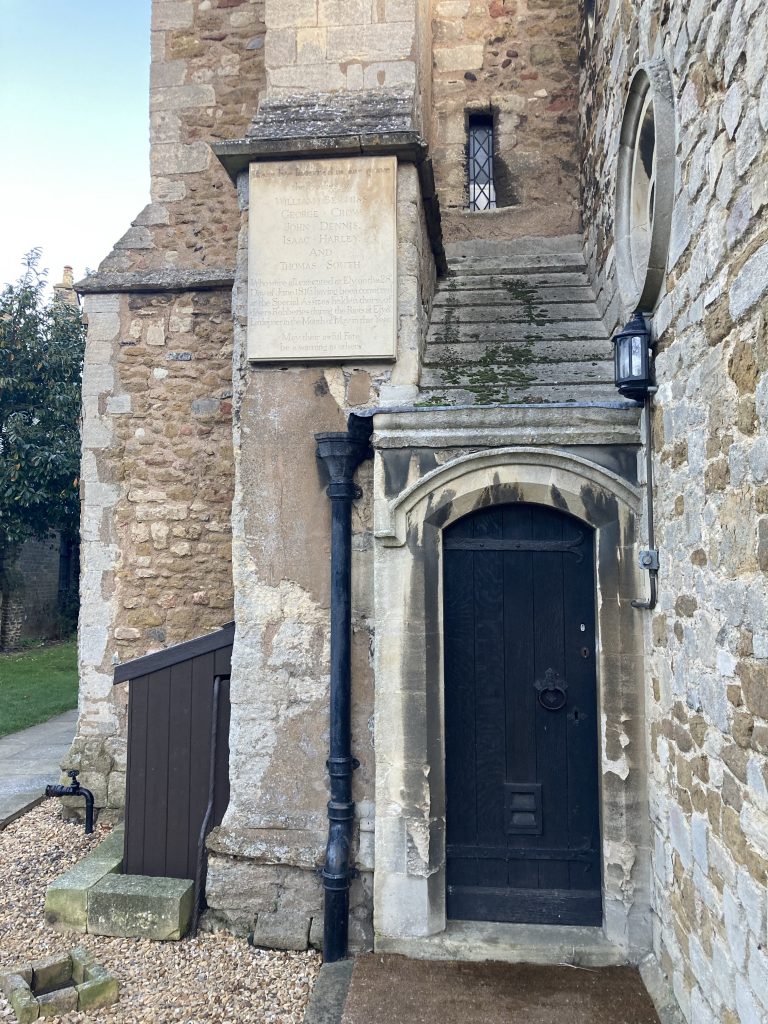
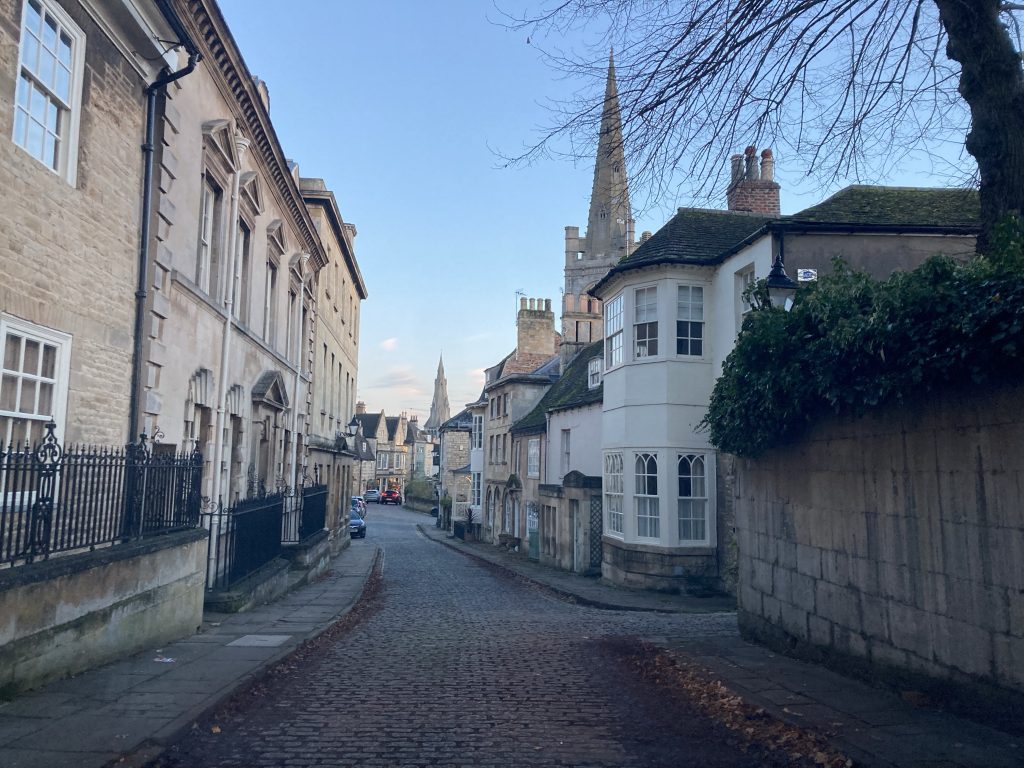
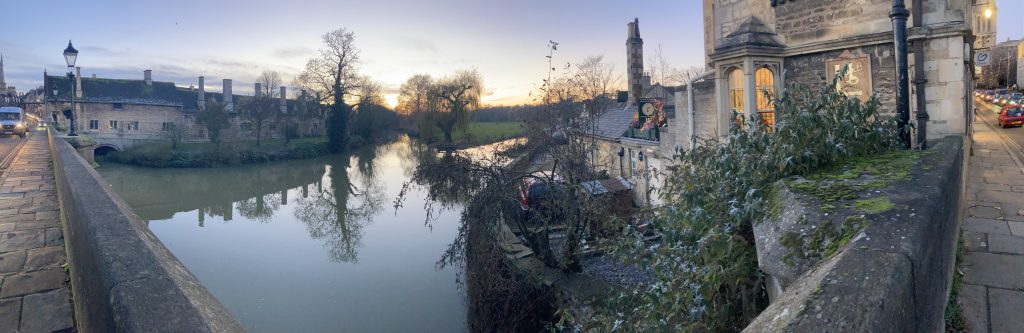
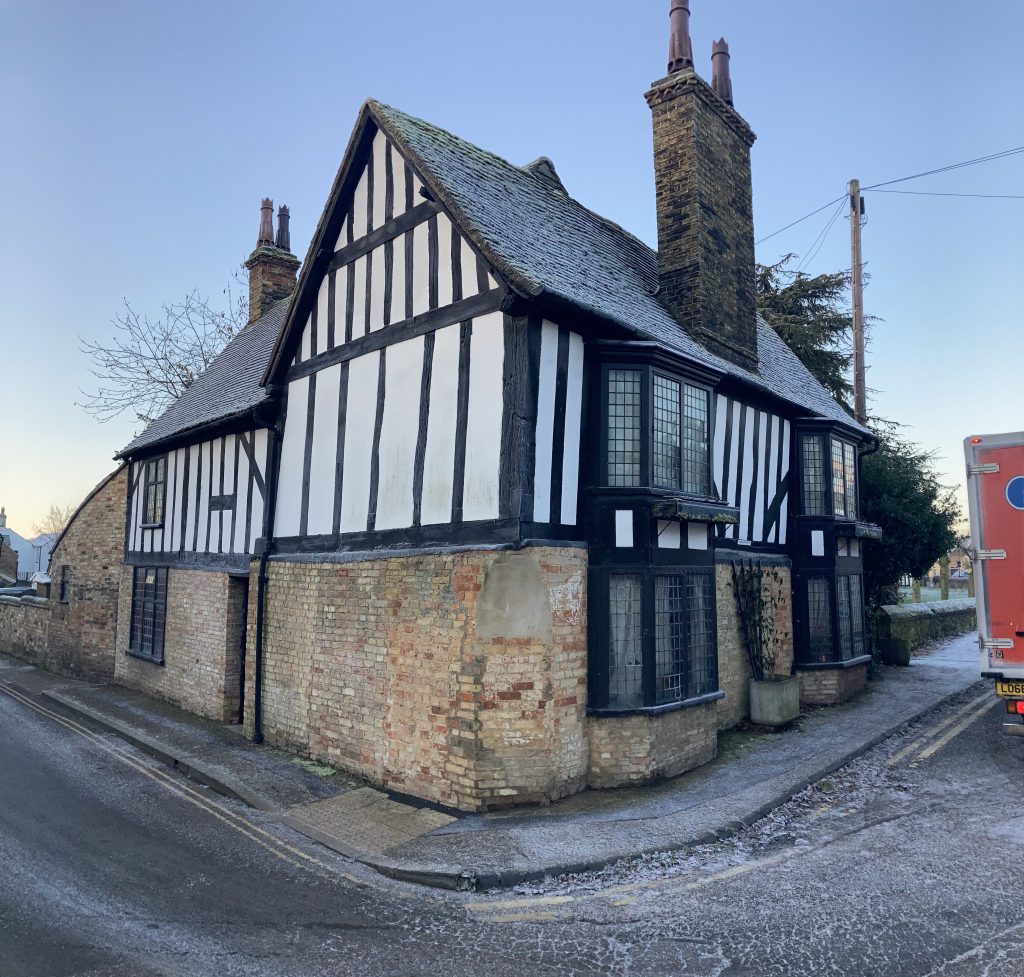
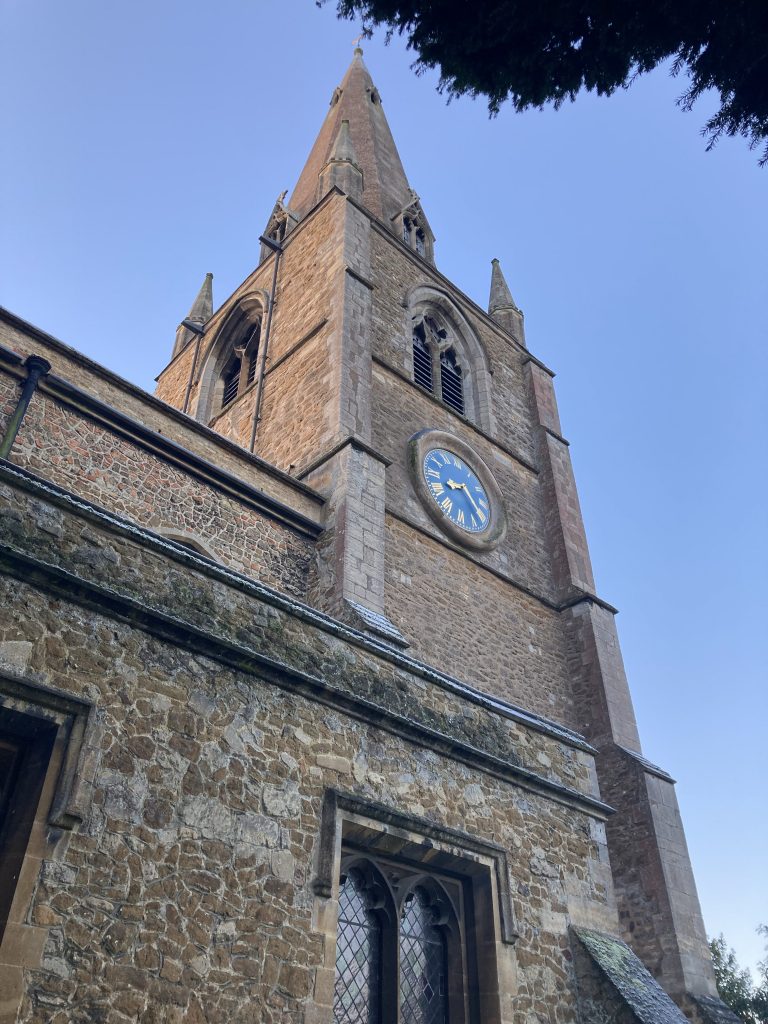
The view above is fun for falling into that category of architectural jumble, that you often seen in places on old buildings. In this instance there’s a bit of added interest:

The Ely Riots, which occurred in 1816, the year after British and Allied victory over Boney, at Waterloo, are a reminder of the uglier costs of war, even if you’re supposedly on the winning team.
The Wikipedia entry on The The Ely & Littleport Riots sums it up succinctly:
The riots were caused by high unemployment and rising grain costs, similar to the general unrest which spread throughout England following the Napoleonic Wars.
A fascinating little footnote to the above story is that the Chief Justice of the Isle of Ely was one Edward Christian, who was brother of the famous/infamous Fletcher Christian, of ‘Mutiny on the Bounty’ fame!
Fletcher mutinied in 1789, and yet his brother was appointed Chief Justice in 1800, by James Yorke, who was Bishop of Ely from 1781-1808. It appears Fletcher’s mutinous adventures didn’t ruin the prospects of the entire family!