
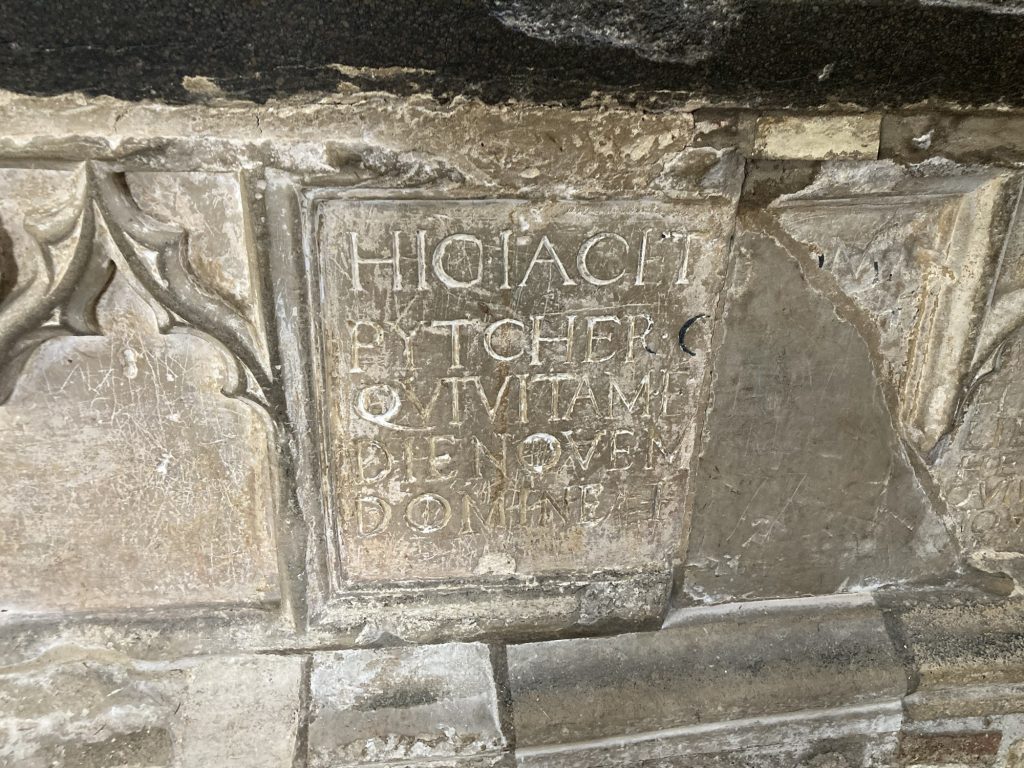
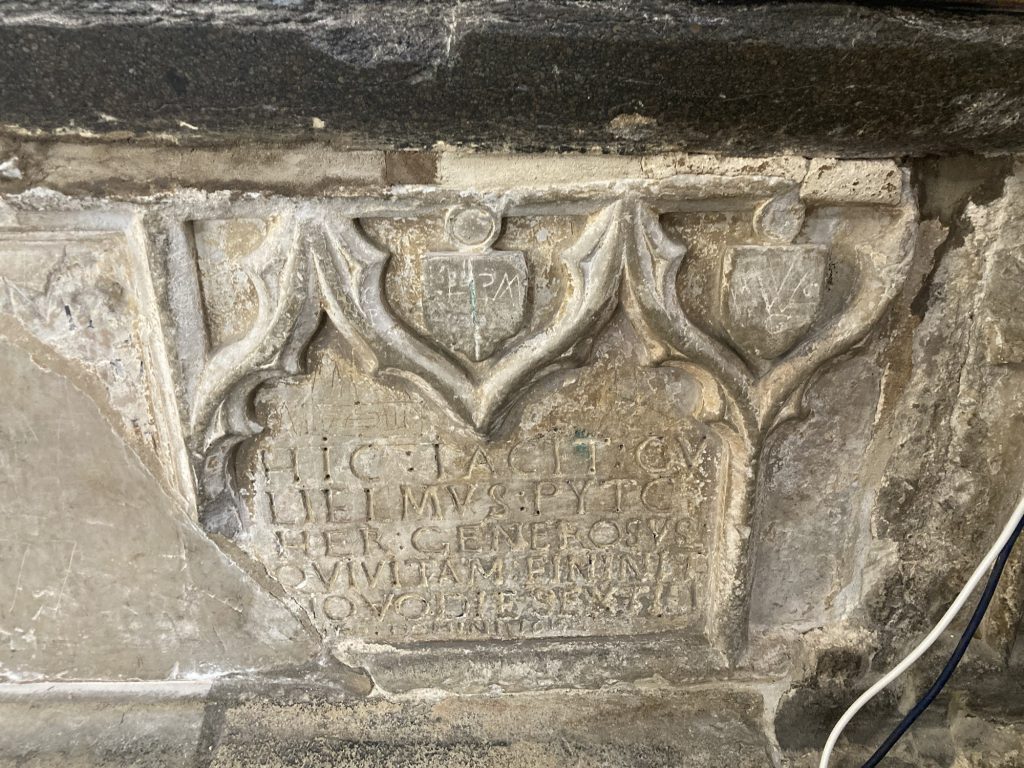


renaissance man
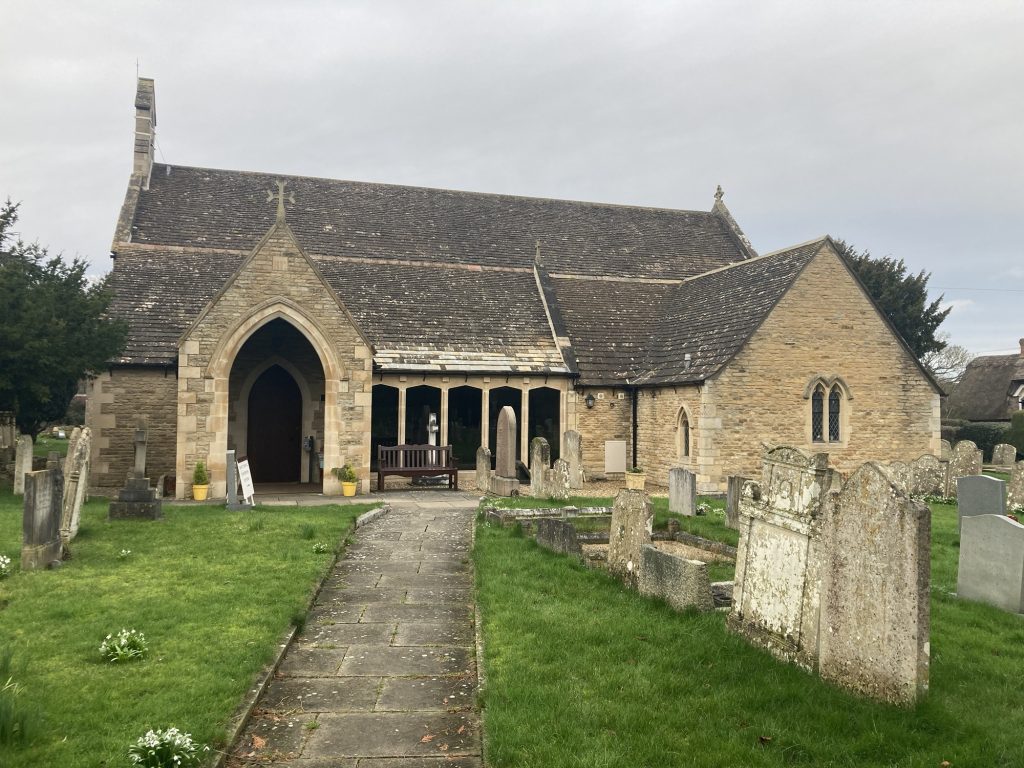
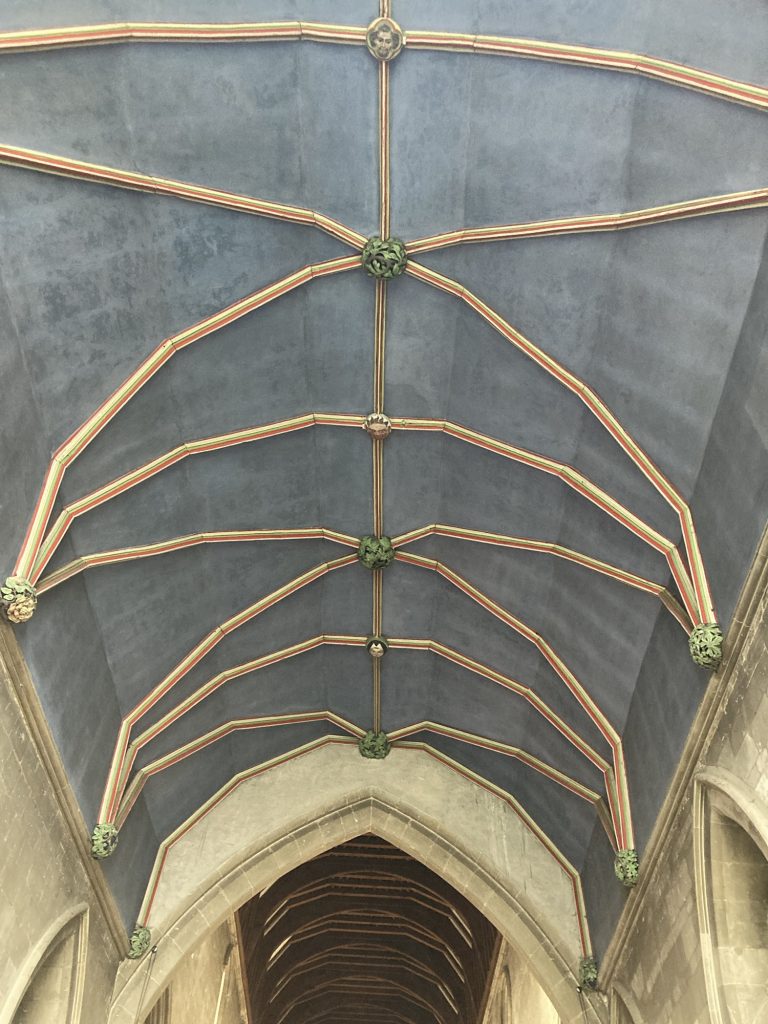
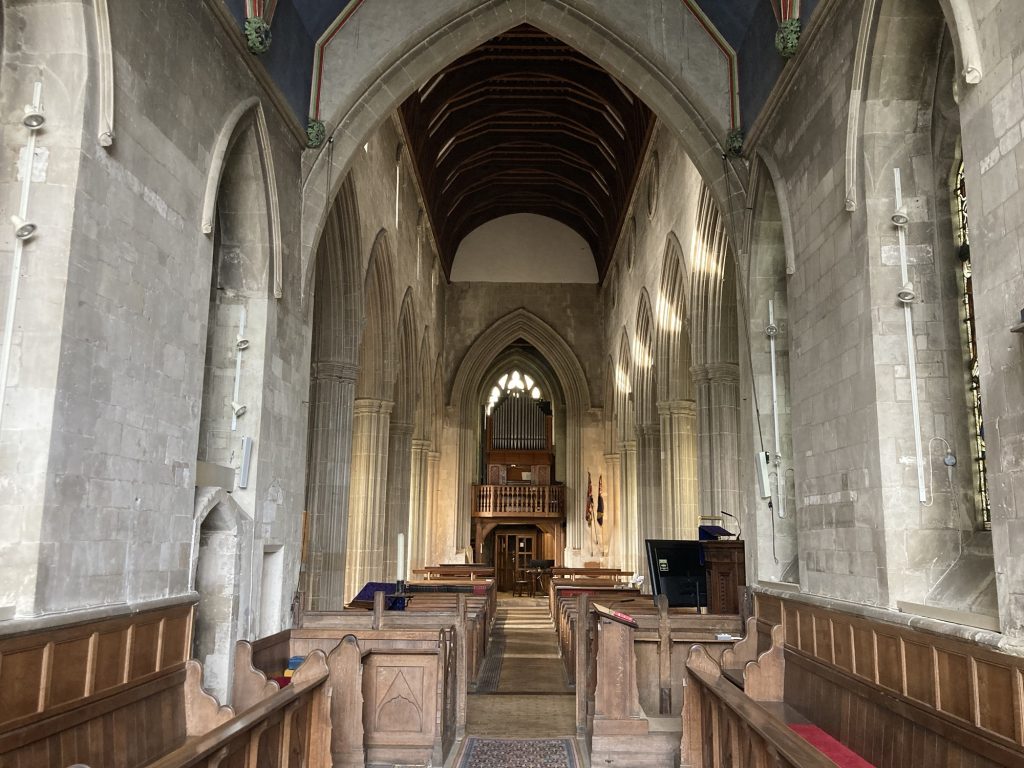
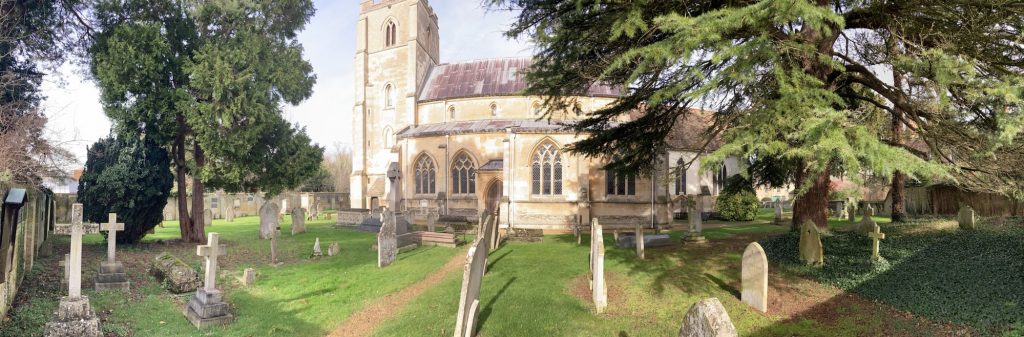
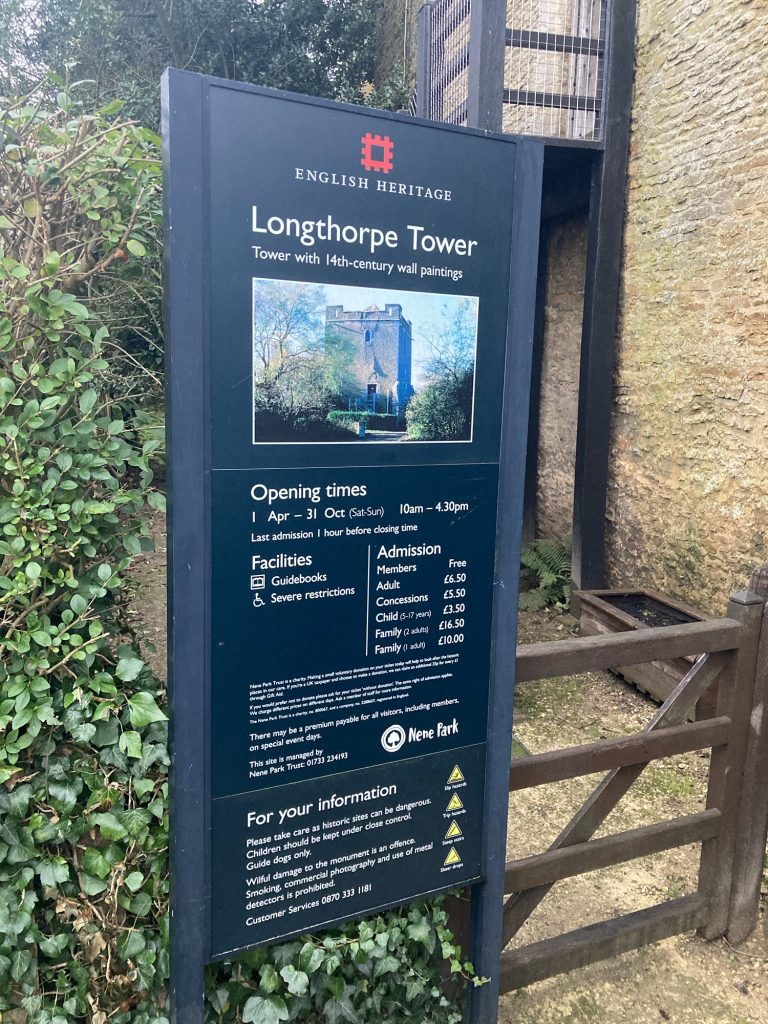
After work, and after the sojourn at the Sue Ryder Hospice, I spotted St Botolph’s, and nearby, Longthorpe Tower. The church was open. The tower wasn’t.

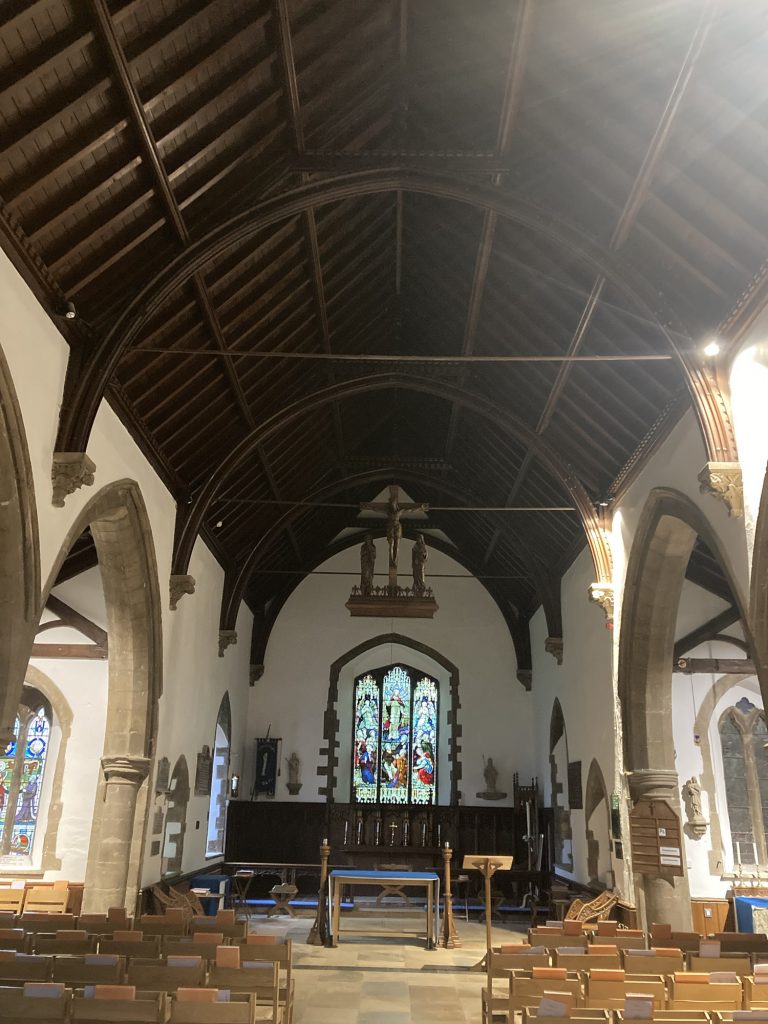
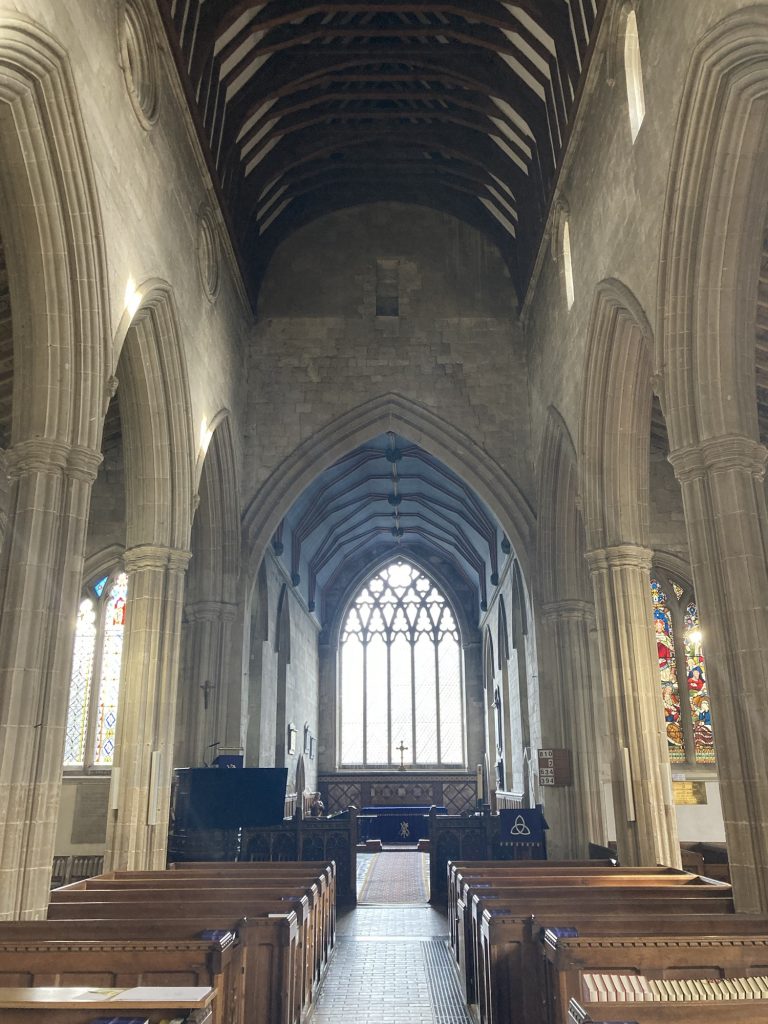
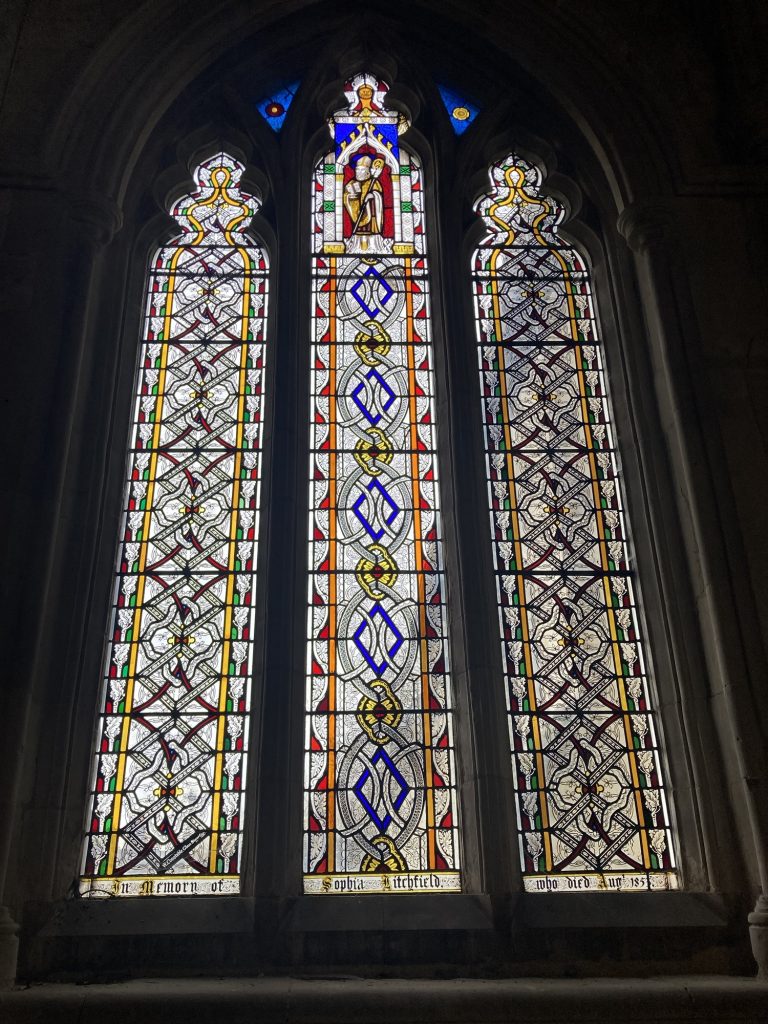
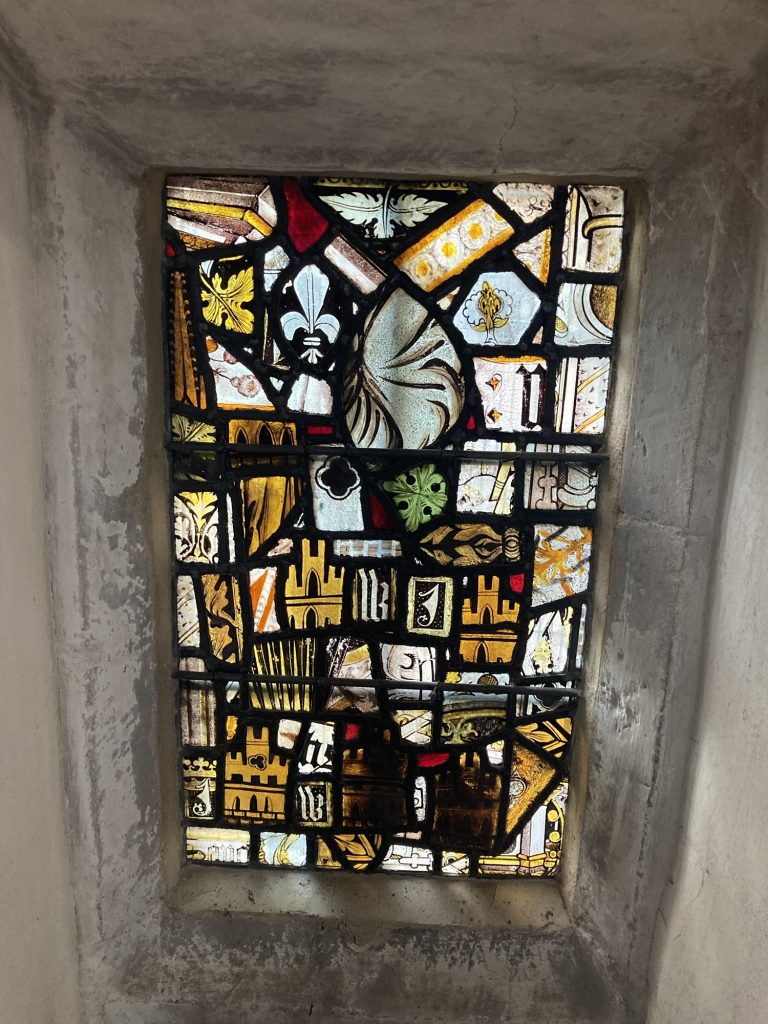
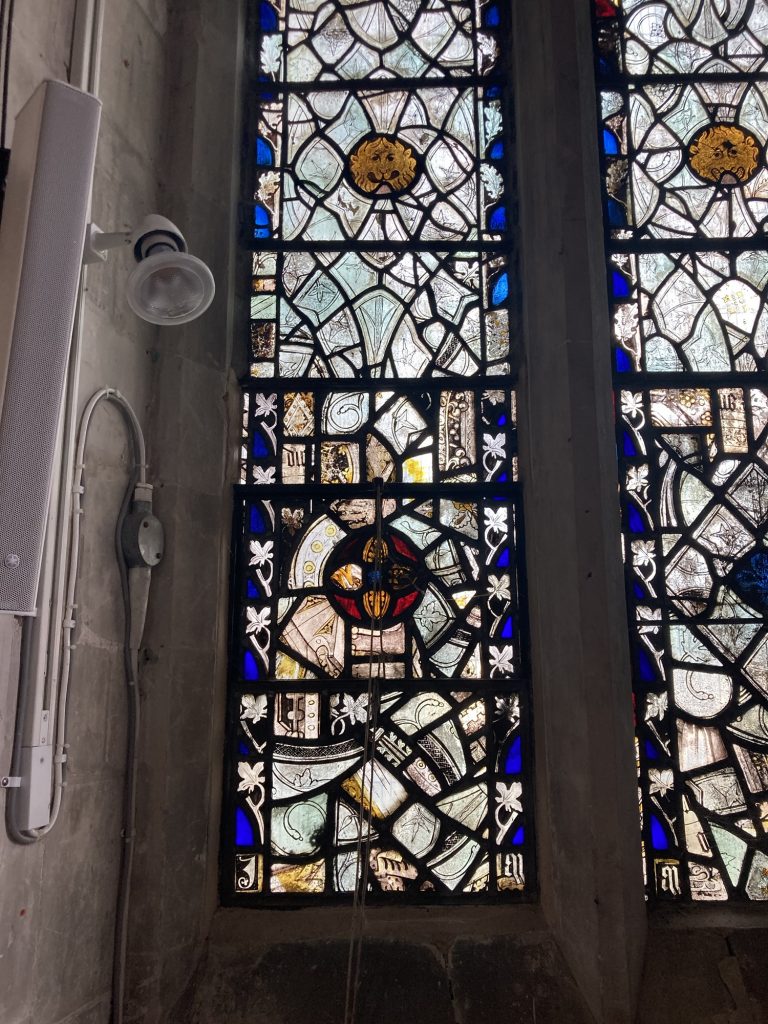
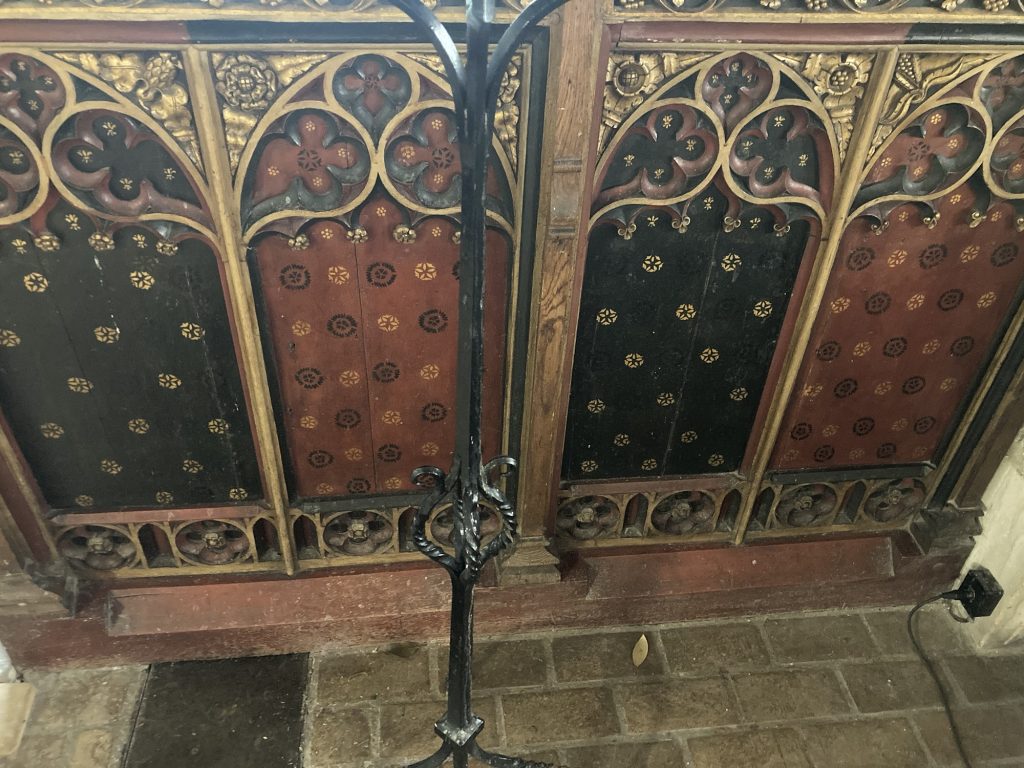
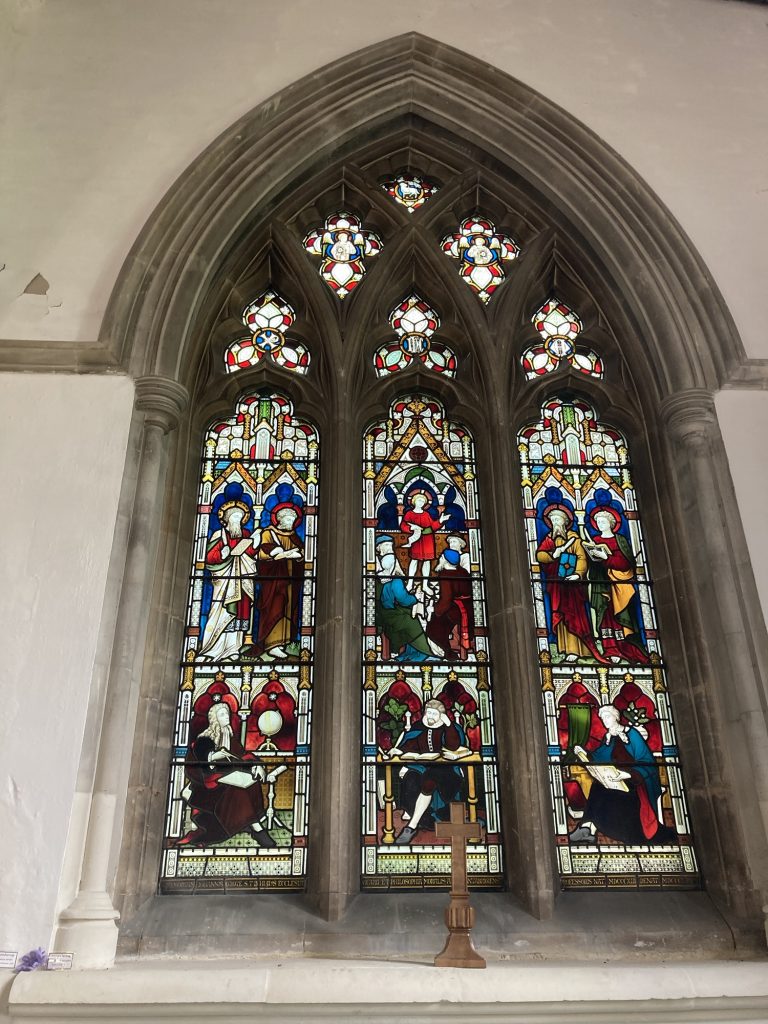
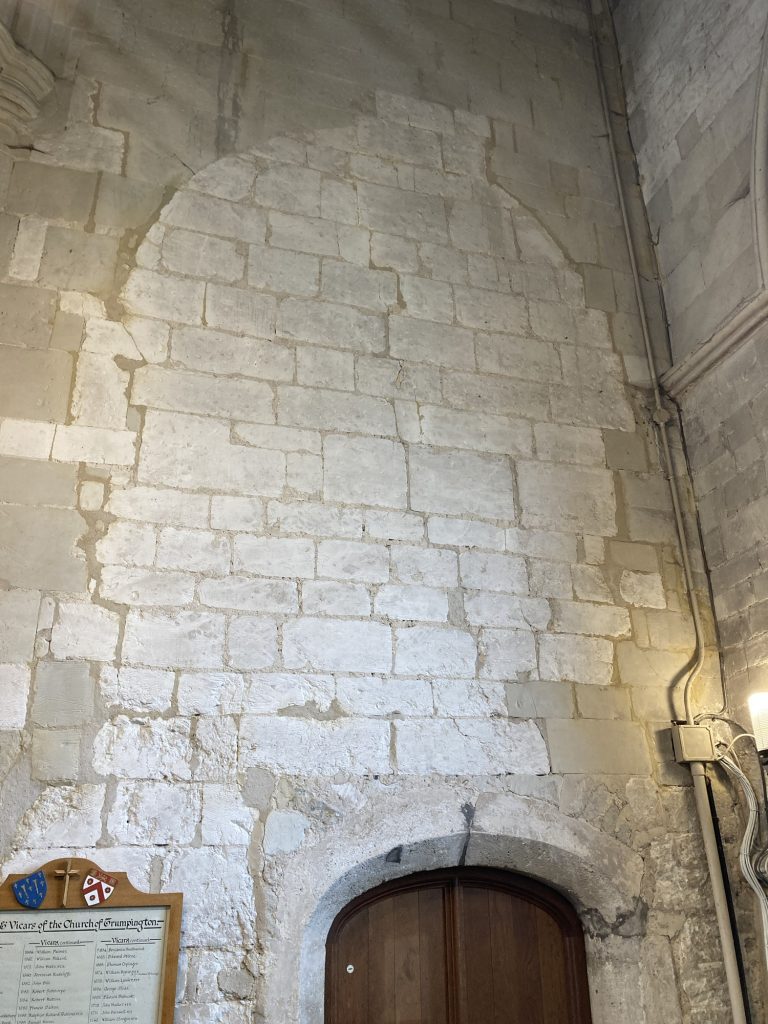
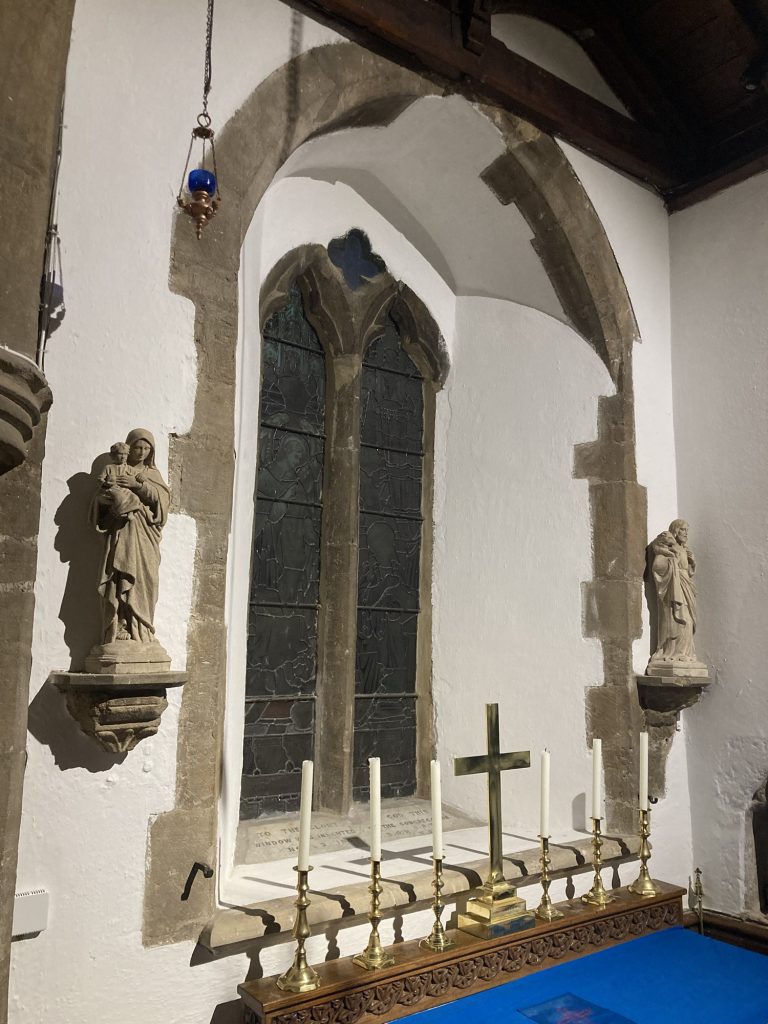
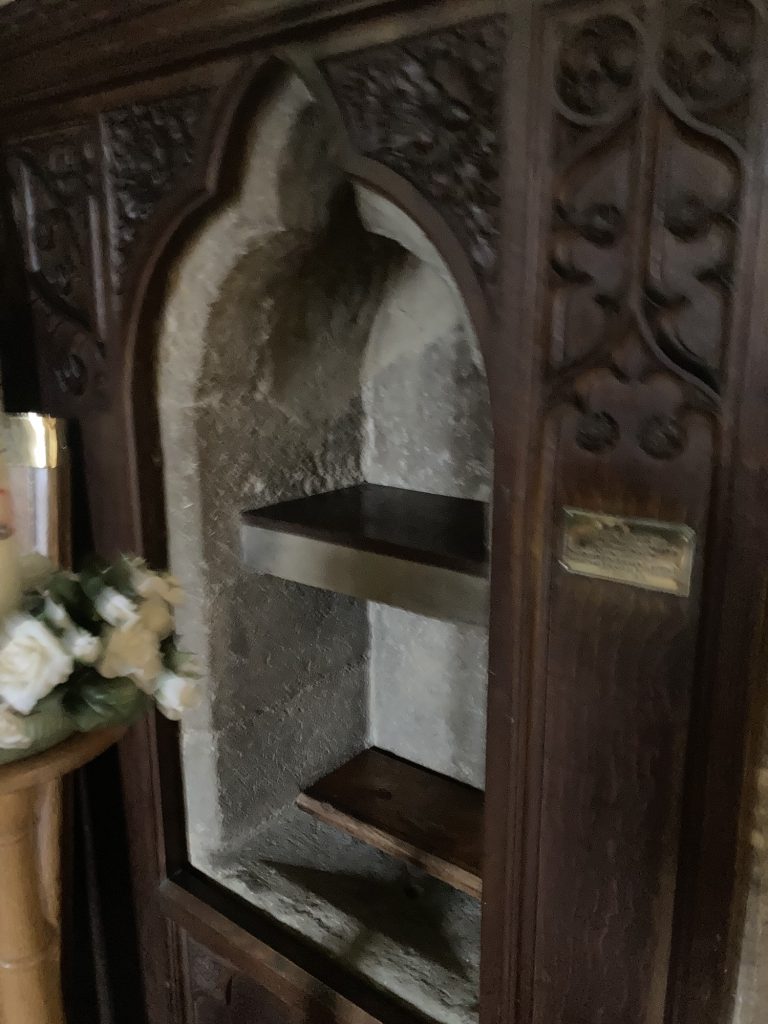
Strange church this. Feels like it’s been looked after. Possibly a bit too much? Very mixed bag, stained glass wise. some of which is blocked (e.g. below), so it isn’t illuminated by any light, natural or otherwise. Odd!
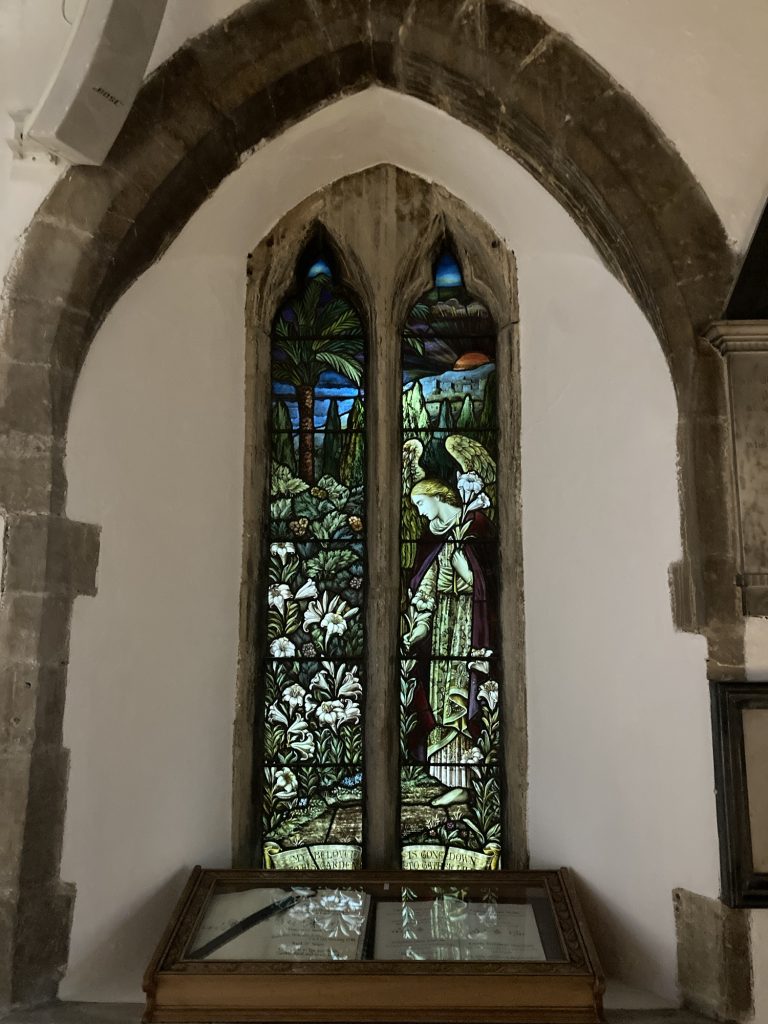
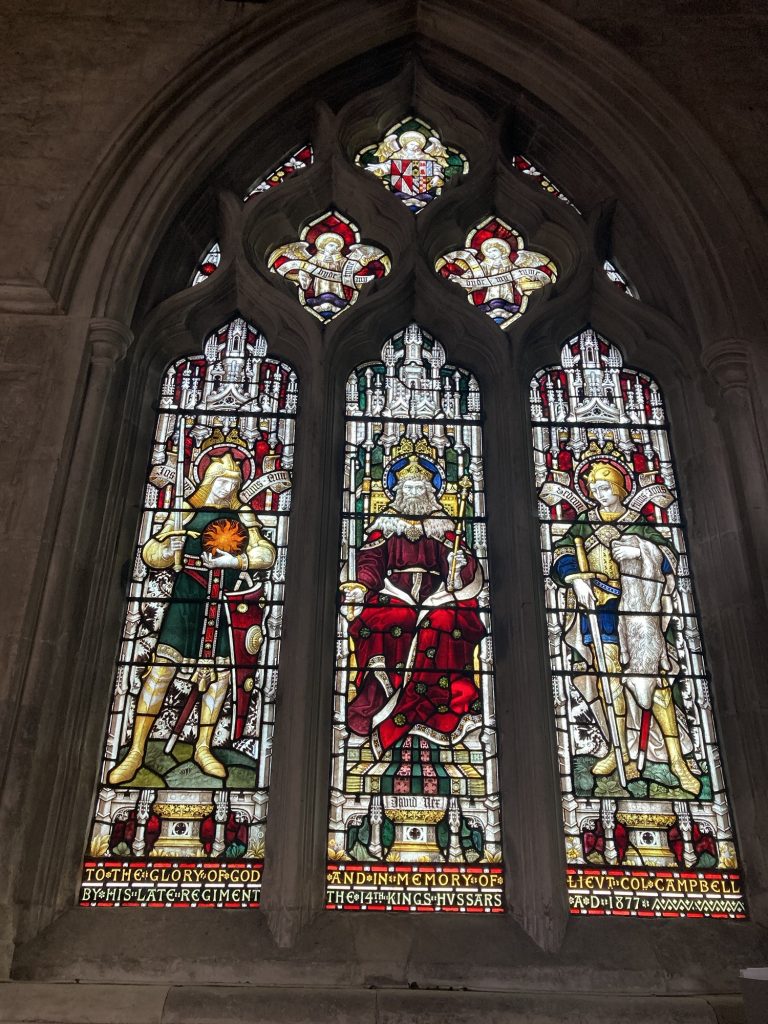
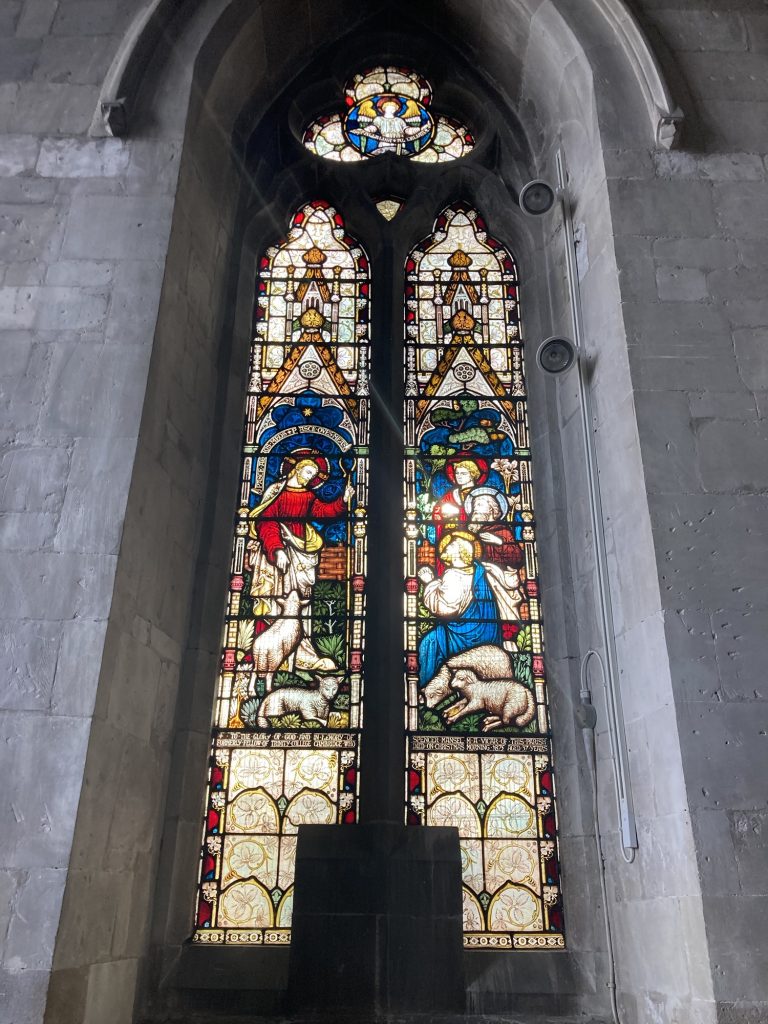
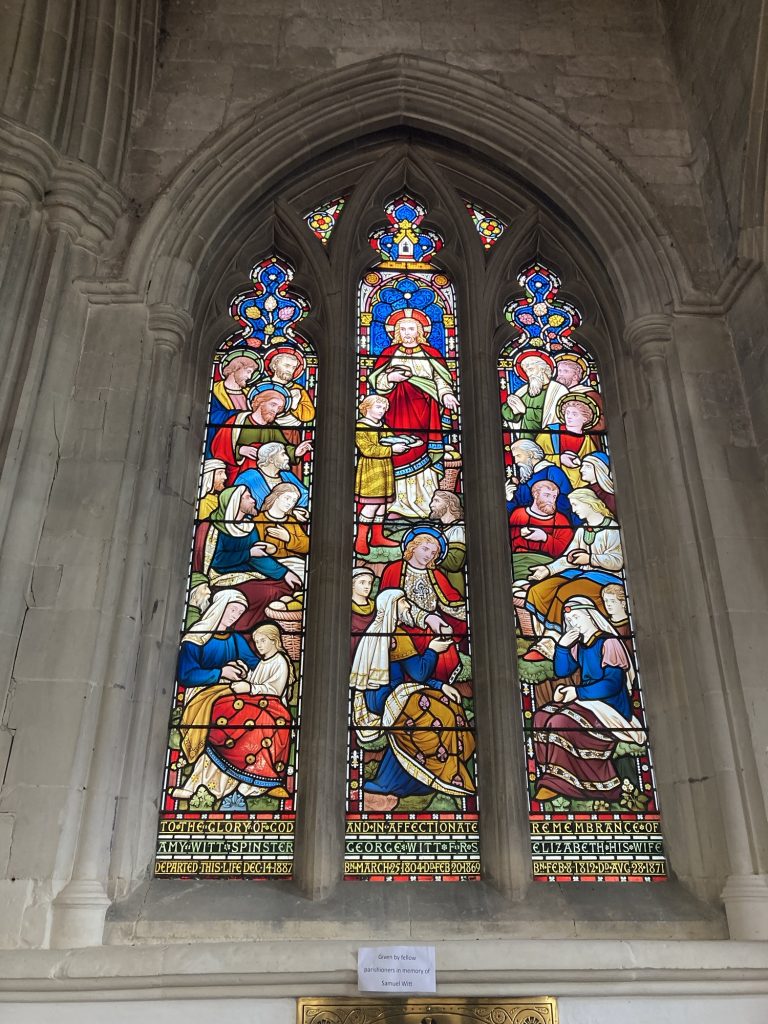
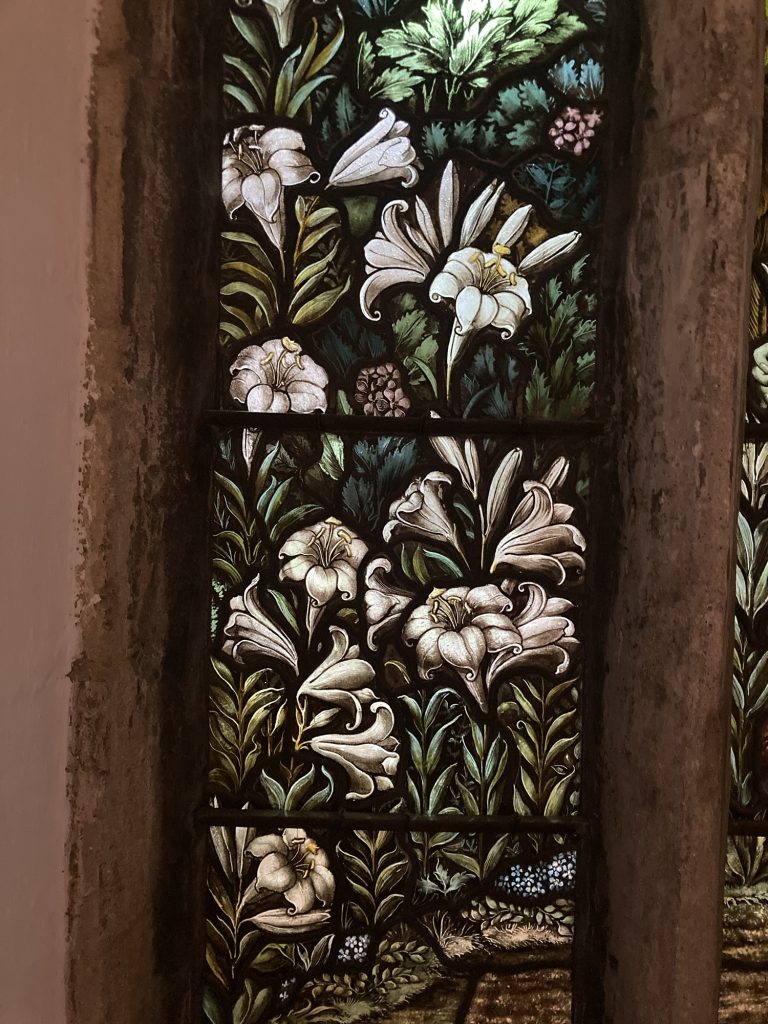
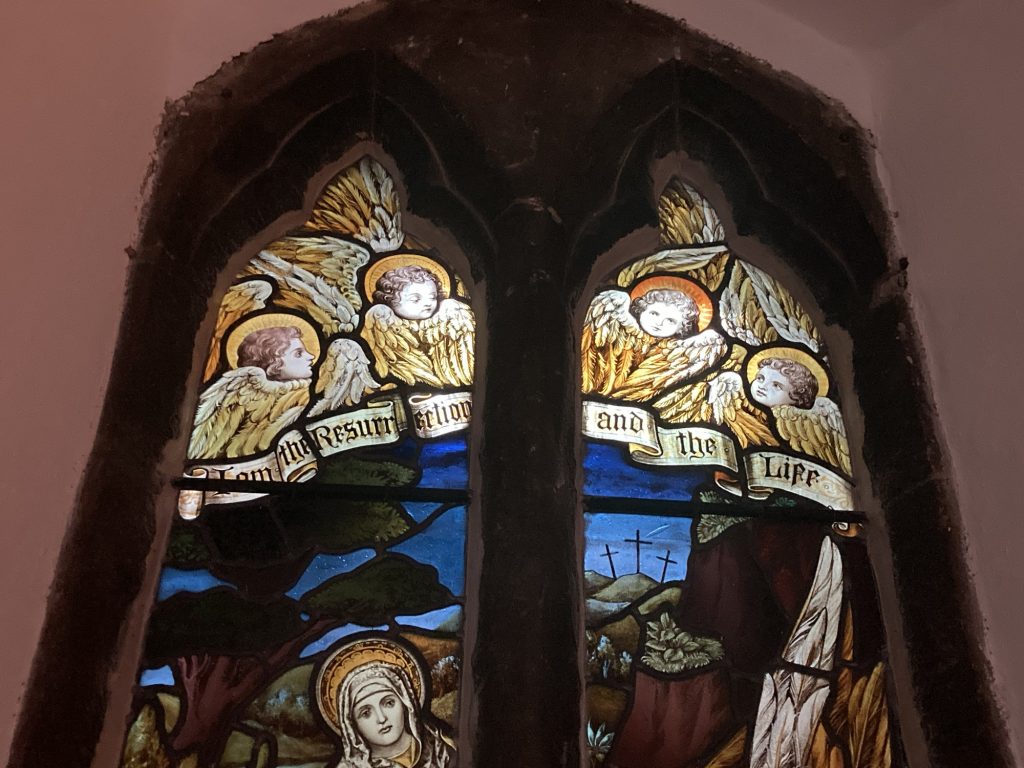
The above is the best of the stained glass windows. Very Pre-Raphaelite! Loved the flowers – lilies? – so zoomed in on ‘em:
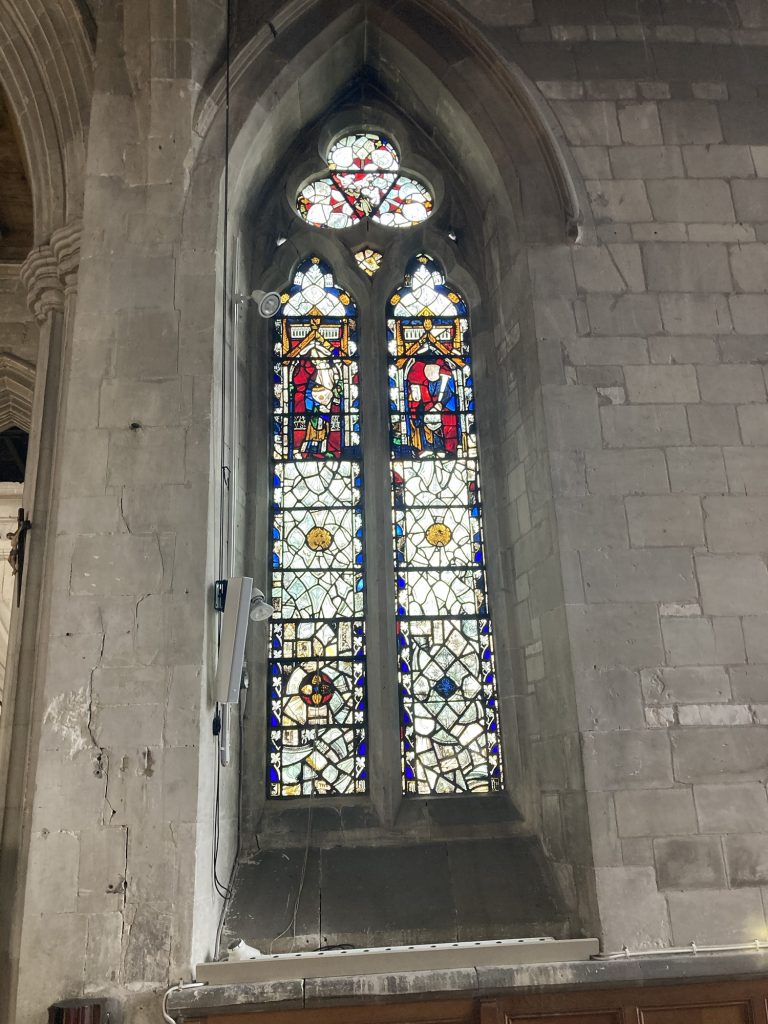
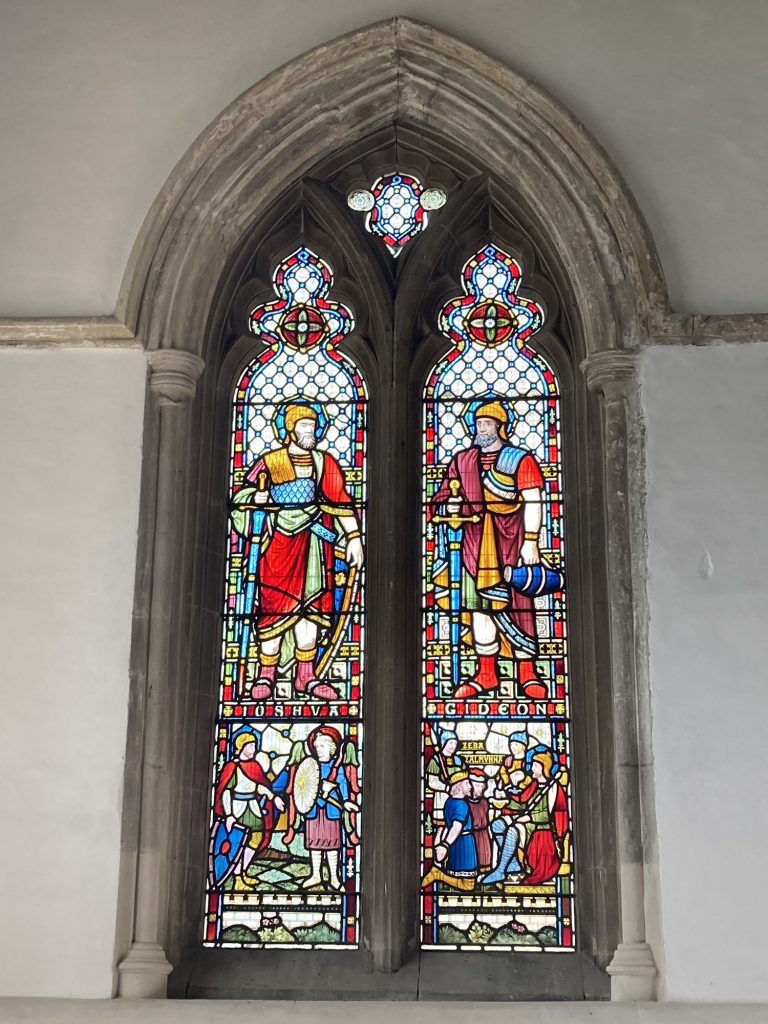
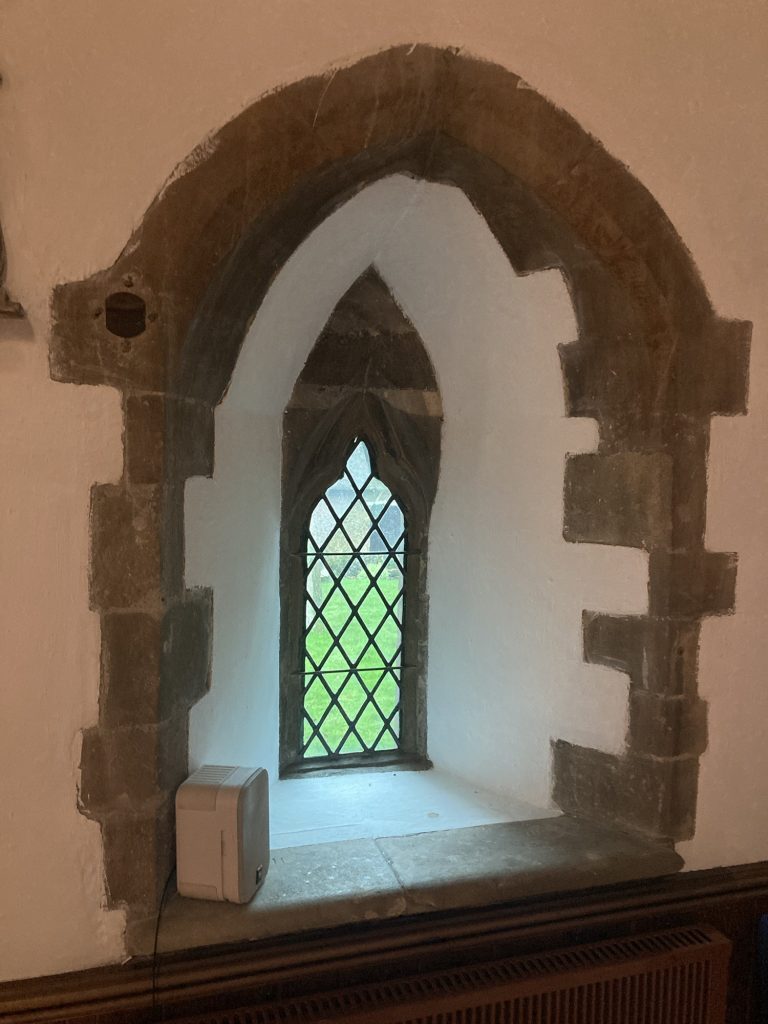
Lots of varied sized windows. From the big to the cutely small.
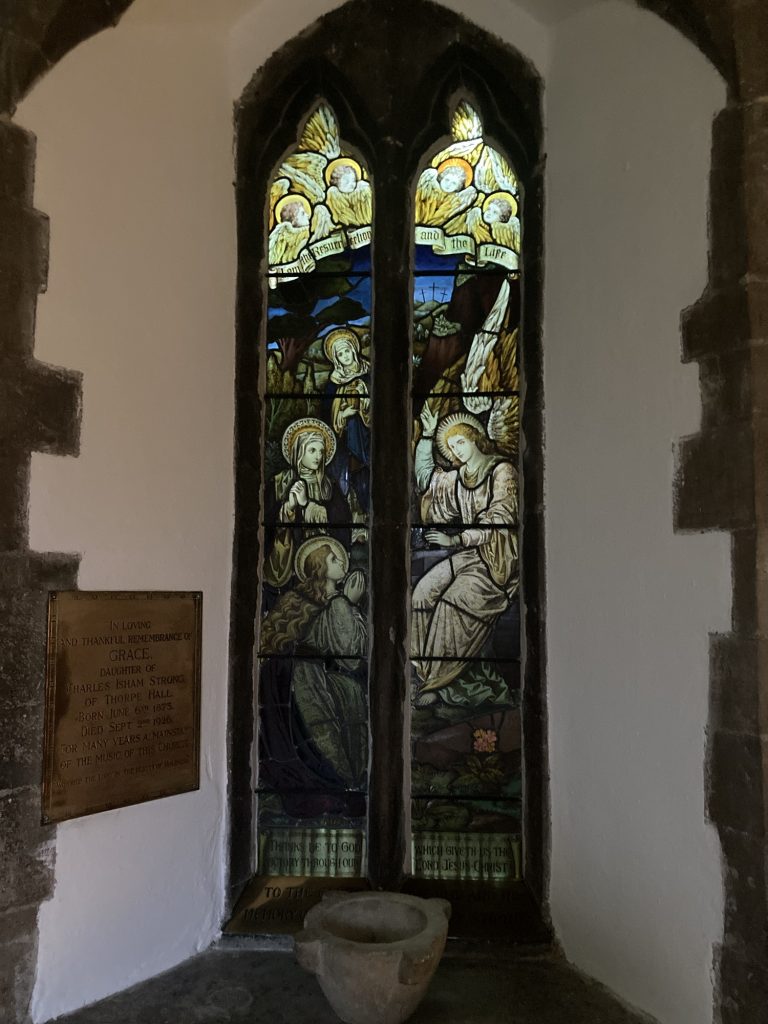
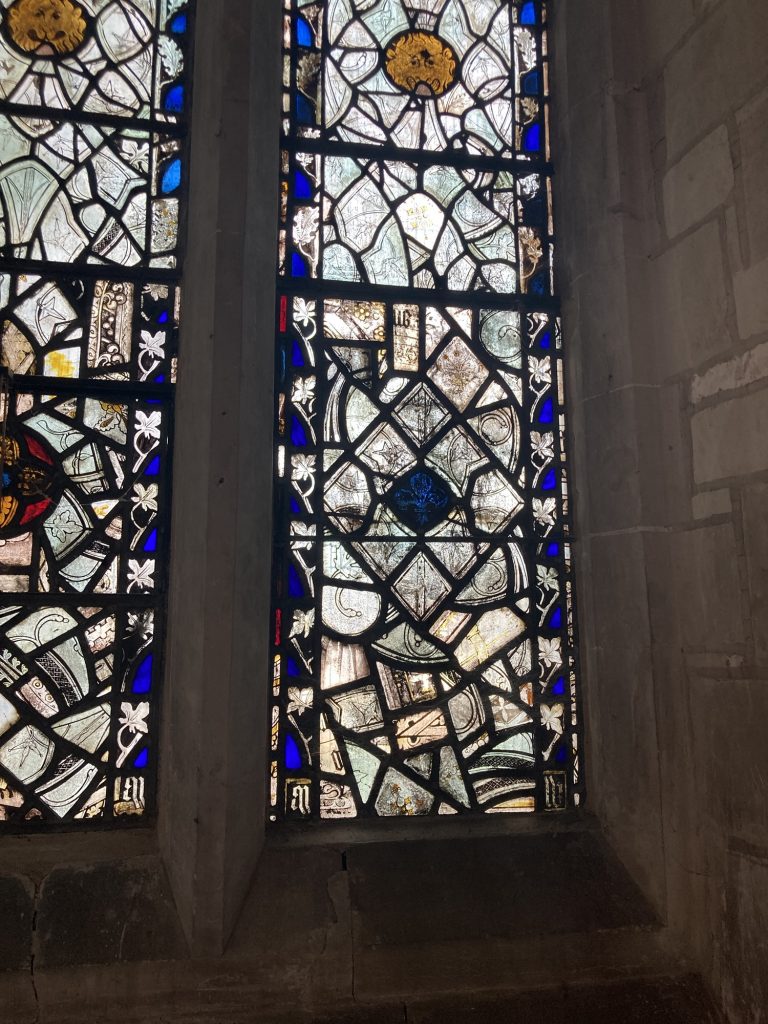
Some of the stained glass windows are totally blocked, light-wise. Others just partially so. Such as the one above. At least enough light gets through you get an idea of it. And another close up, this time winged cherubic heads!
And from St. Botolph’s, to Longthorpe Tower…
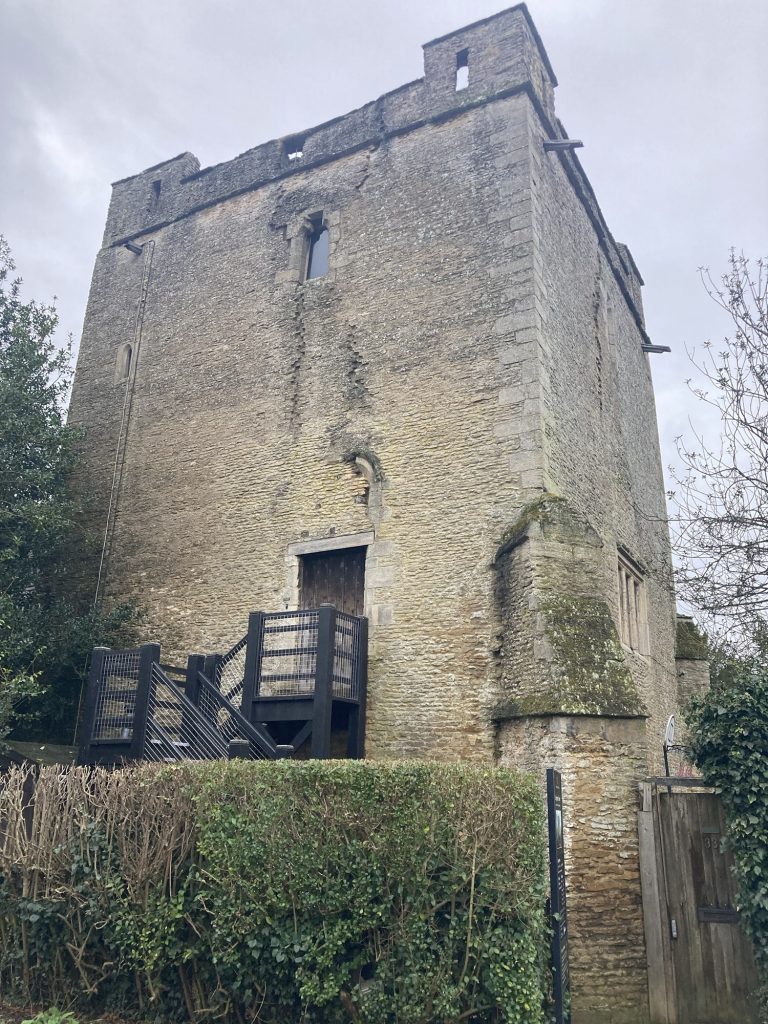
This tower is apparently famed for some wall paintings it contains. Must go back and check it out when it’s open.
* Note happy faced reflection!
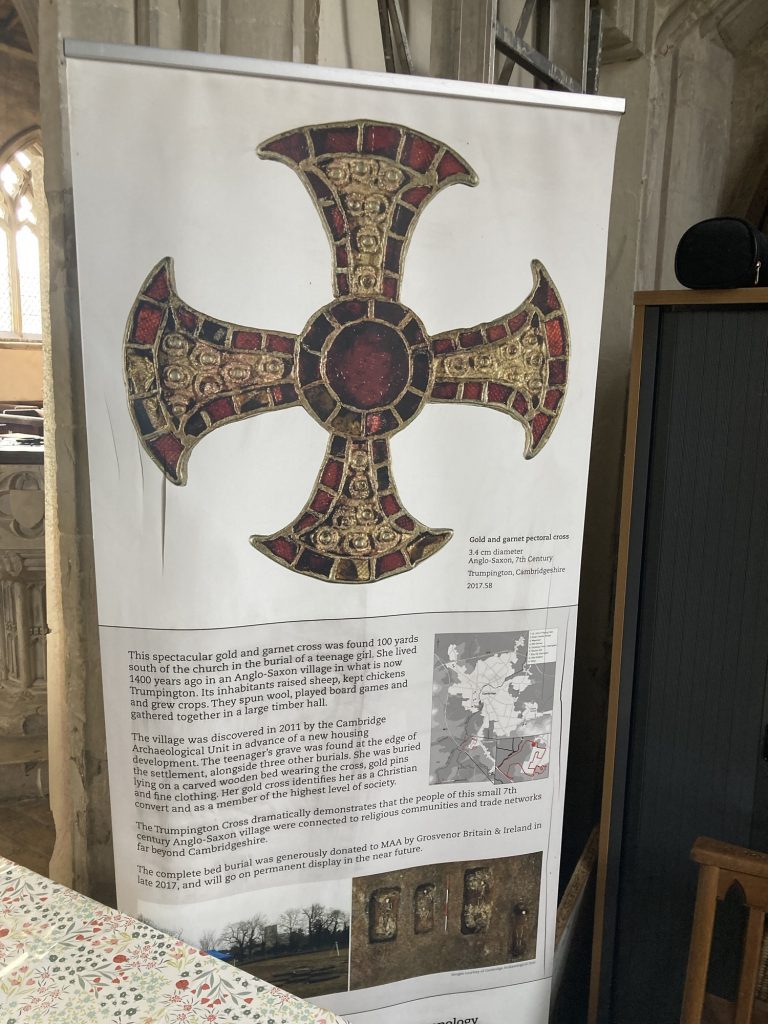
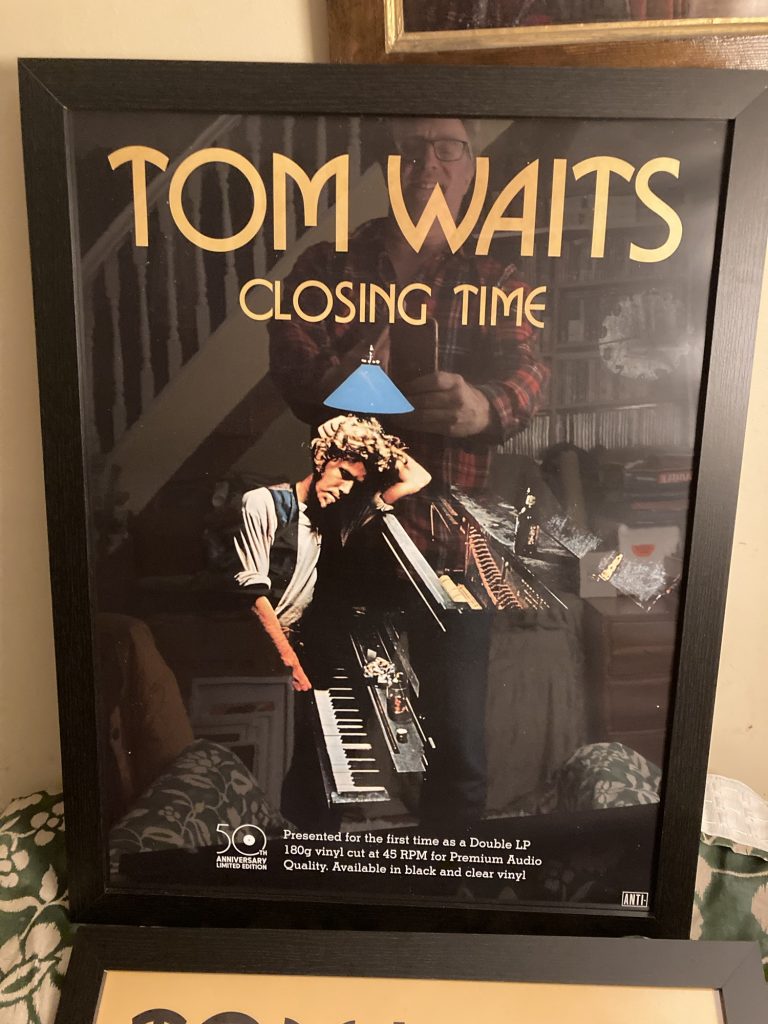
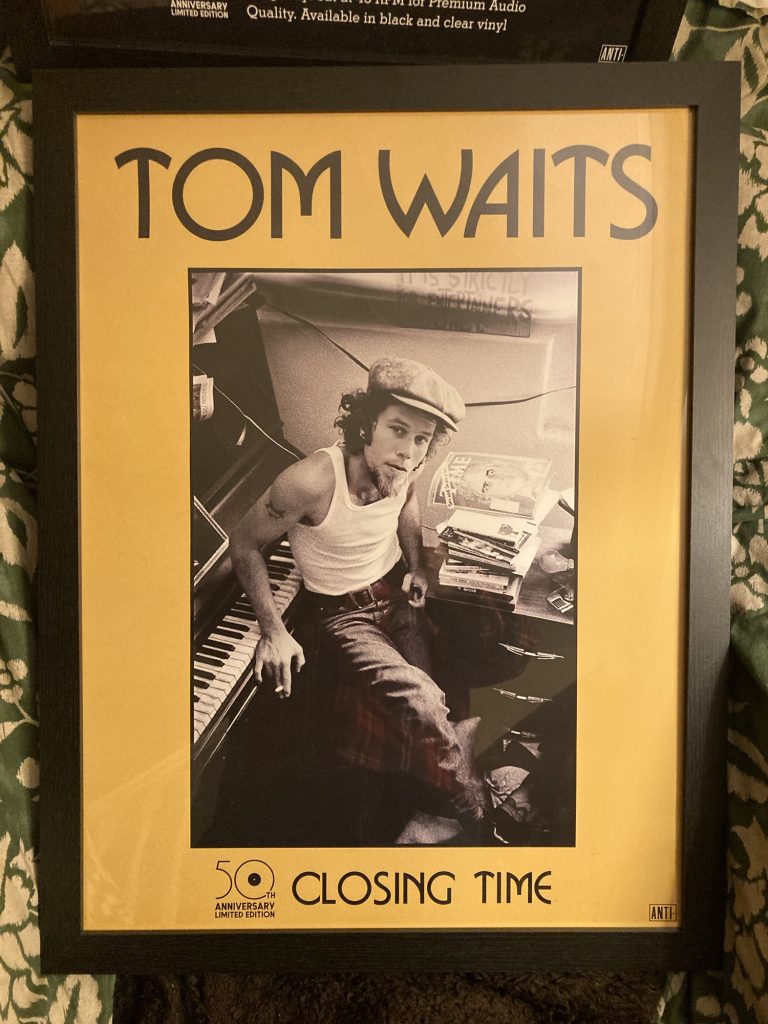
These are in fact the same double-sided poster. Or rather two thereof. So I can display both sides in separate frames.
The frames arrived today. And the posters fit absolutely poifeckly. Step three will be find the right place to hang these beauties.
I’m much more of a fan of the MkI Tom Waits, or the pre Kathleen Brennan version. I don’t doubt that she – his wife – saved him from self-destruction as a caricature Beatnik. But I loved that early version. it was pure Jack Kerouac, in musical form, and then some.
I can constantly go back to the ol’ Jack, er… I mean the ol’ Tom. Not so for the latter day version. His latest album? I haven’t even made it through the first track yet.
After I’d finished my delivery shift, I wanted to visit Thorpe Park, Peterboro’, which was nearby. I couldn’t see how or here to park and get access. But I spotted a Sue Ryder Hospice, with signs for a shop, on the edge of the park.
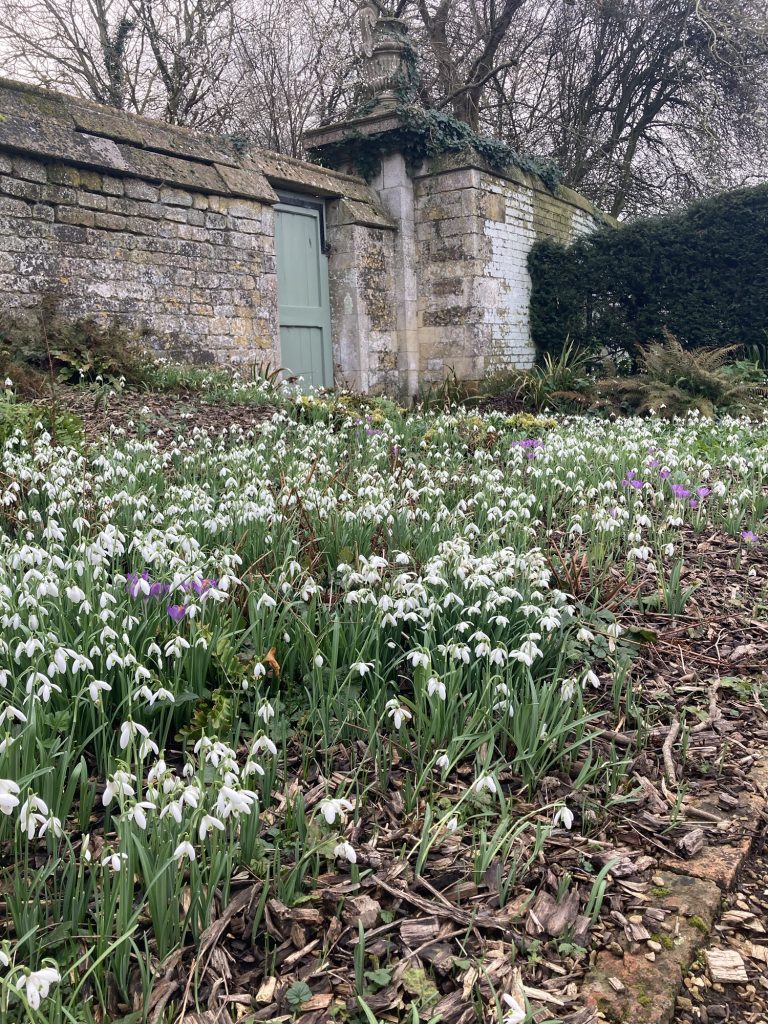
So I visited that. And I’m very glad I did. I’ve been wrestling the ol’ black-eyed dog, just recently. And the hospice had a nice garden attached. I stopped in there for a while. And it was very restorative.
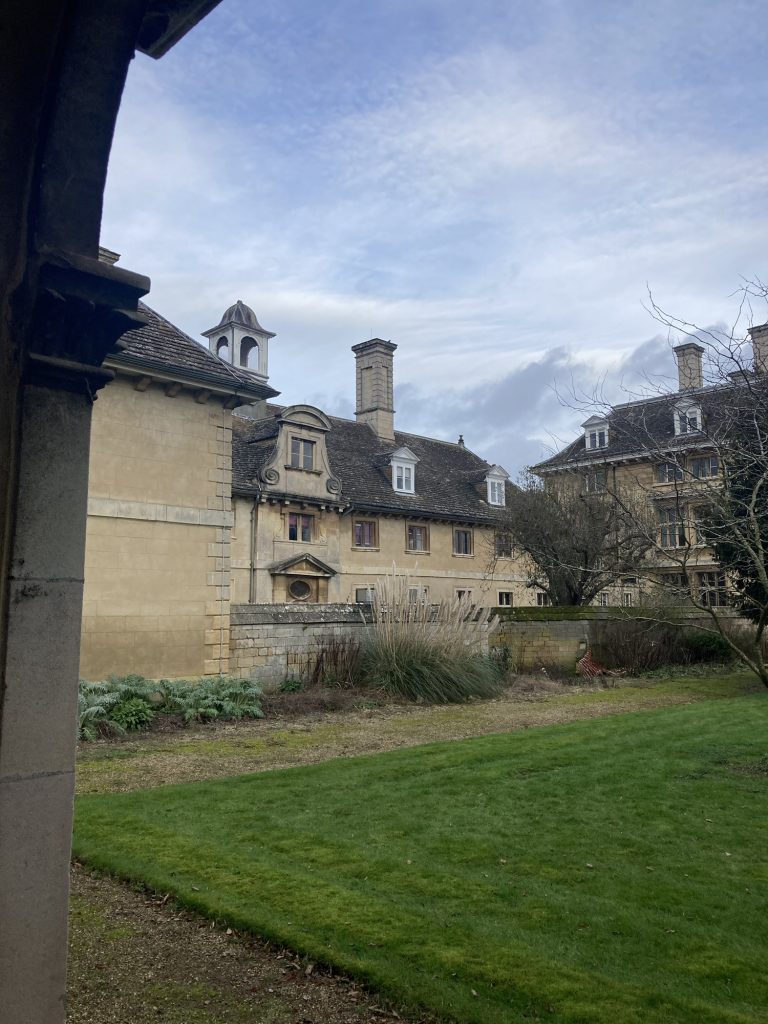
There maintenance work going on; stone block paving is being restored, or renewed. So parts of the hospice grounds are like a building site.
But the gardens were fine. Indeed, where the snowdrops were, and the lovely old walls, there are some trees or. She’s that are giving off a beautifully fragrant aroma. That and the birds chirruping away was lovely.
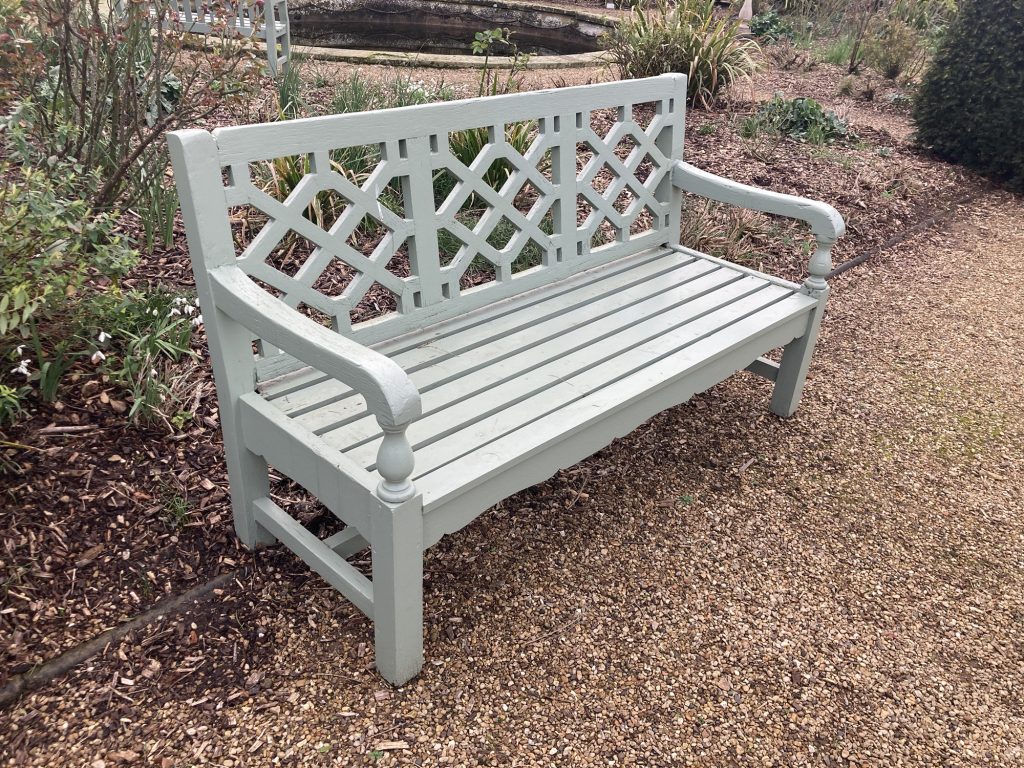
I noted that there’s a workshop in the grounds. I wonder if they make the benches on site? They all differ slightly, and have a slightly rustic rough n’ ready vibe.
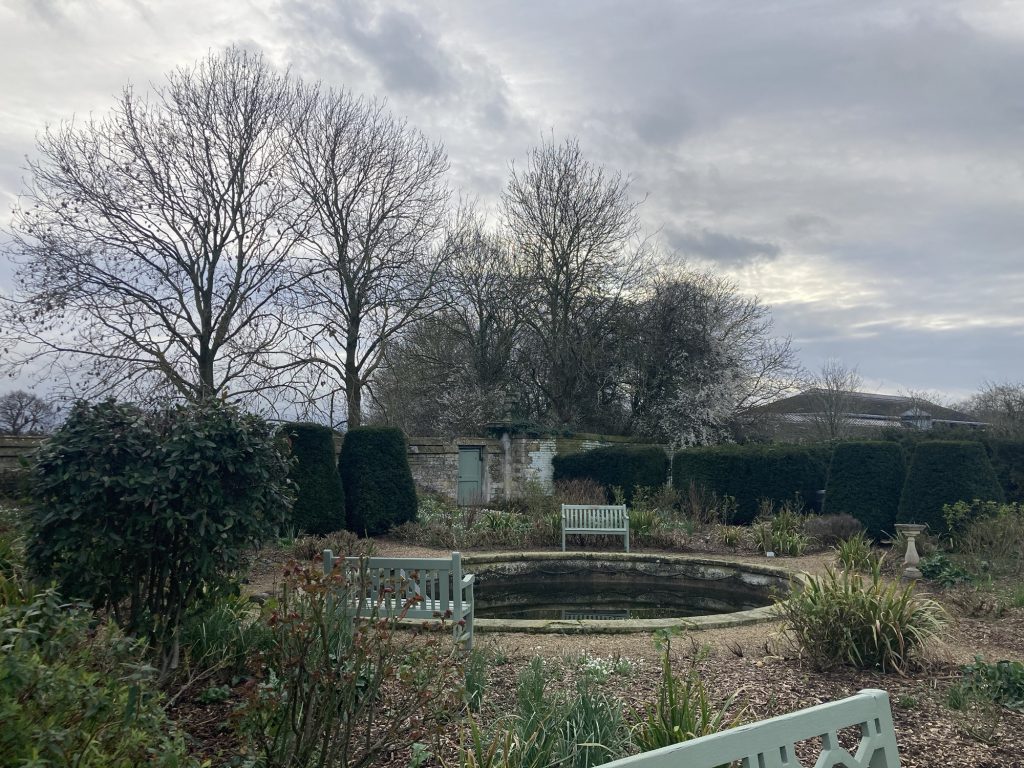
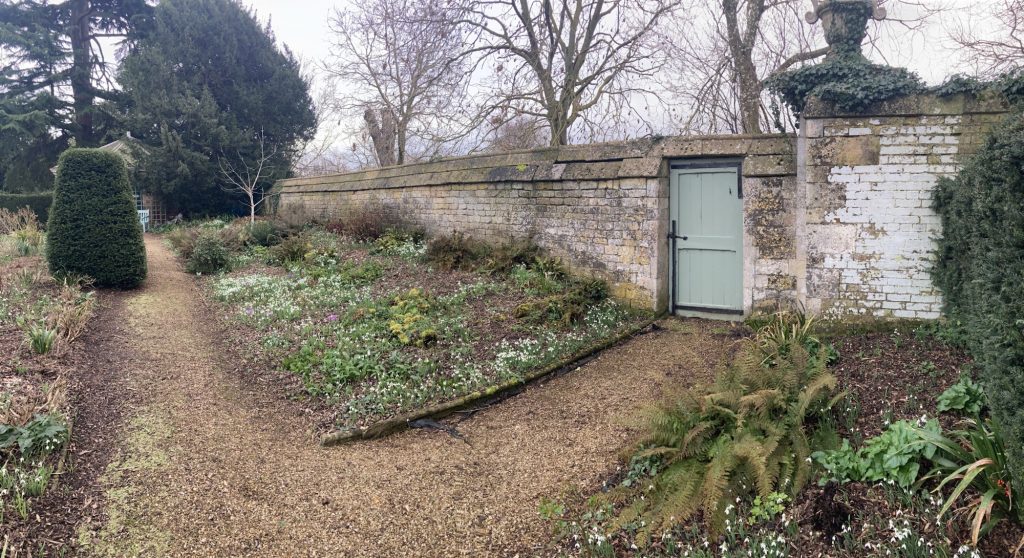
This was the nicest. Or er if the garden section that I was in. The. Knob of gravel paths, beds of snowdrops, the old walls/gate, and the trees and bushes, all added up to something very charming.
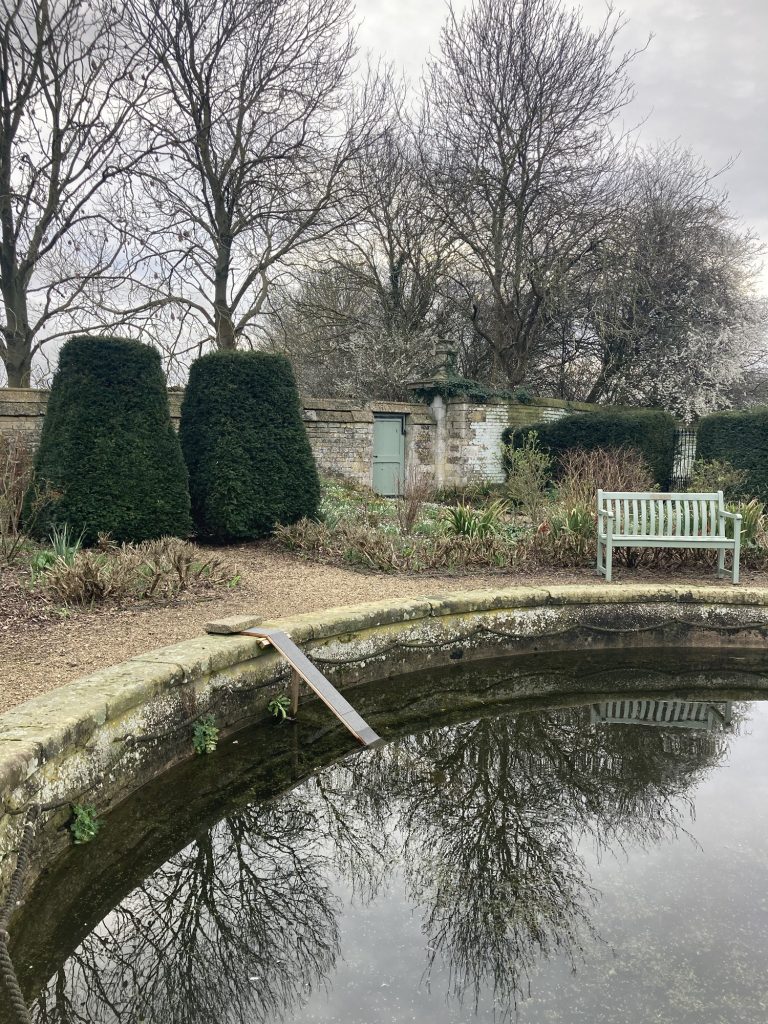
I sat here for about… we’ll, I’ll be honest, I lost track of time. Might’ve been 10-15 minutes. Could’ve been a fair bit longer? Some of the time I just sat. Listening to birdsong. I also had Shelby Foote with me, and read some of that.
And I bought a few books from the shop. Yep, they had a Sue Ryder charity shop on the site as well! I got one for Teresa (a Scrabble dictionary), one for dad’s forthcoming birthday (74!), and one on Trafalgar, for me.
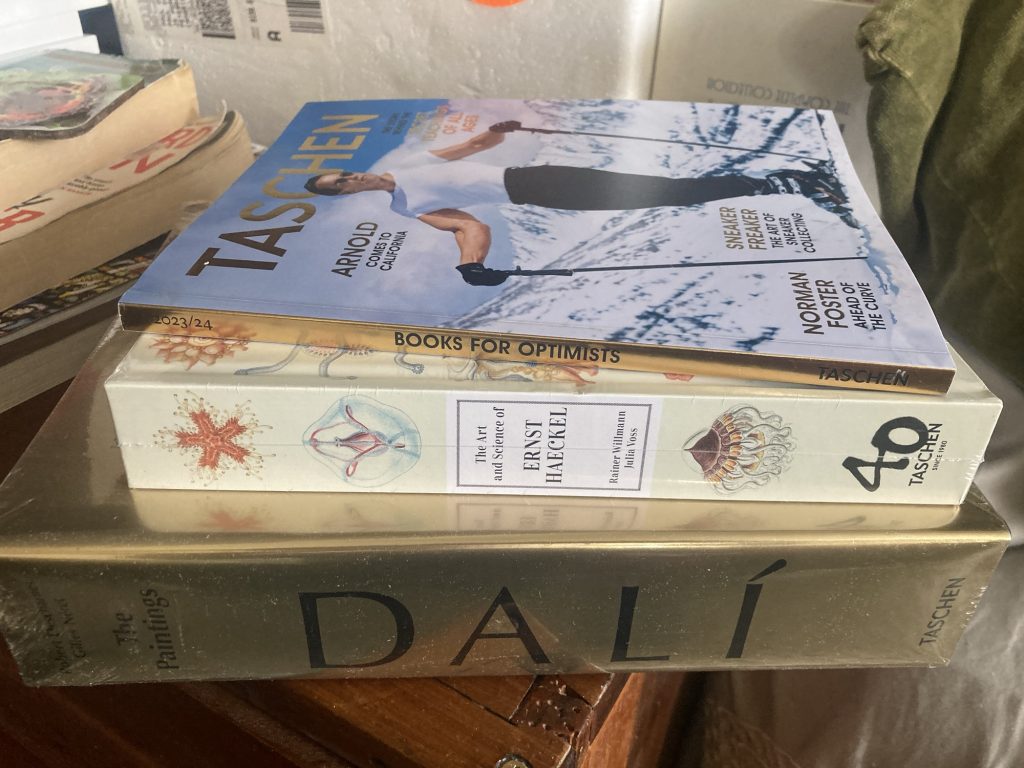
A guy just delivered these. The books themselves appear to be fine. But get a load of this:
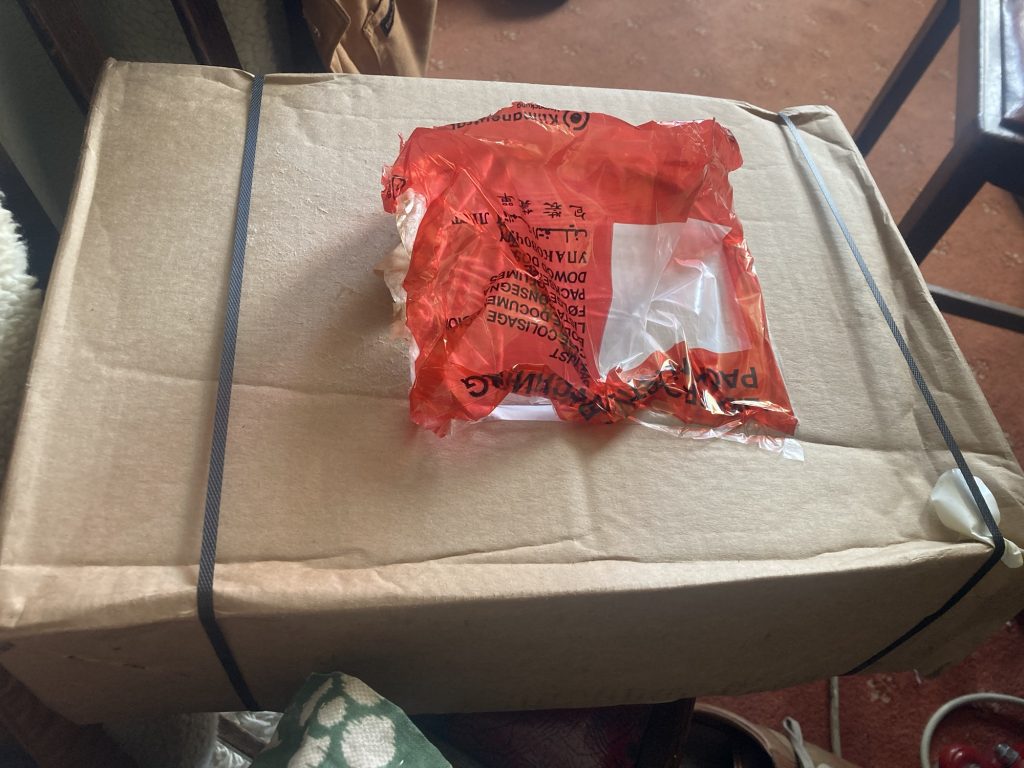
Knowing Taschen, I think this box has been opened and ‘re-packaged’ (the black ‘tape’). And it’s obviously been pretty roughly handled. And the paperwork in the plastic doodad on top has been removed. What’s that all about?
I think I’ll email Taschen about this, see what they say. Plus I want to find out who the carrier was. As I’m not too happy about their handling of my goods. At least the books themselves appear to be alright.
Very strange!
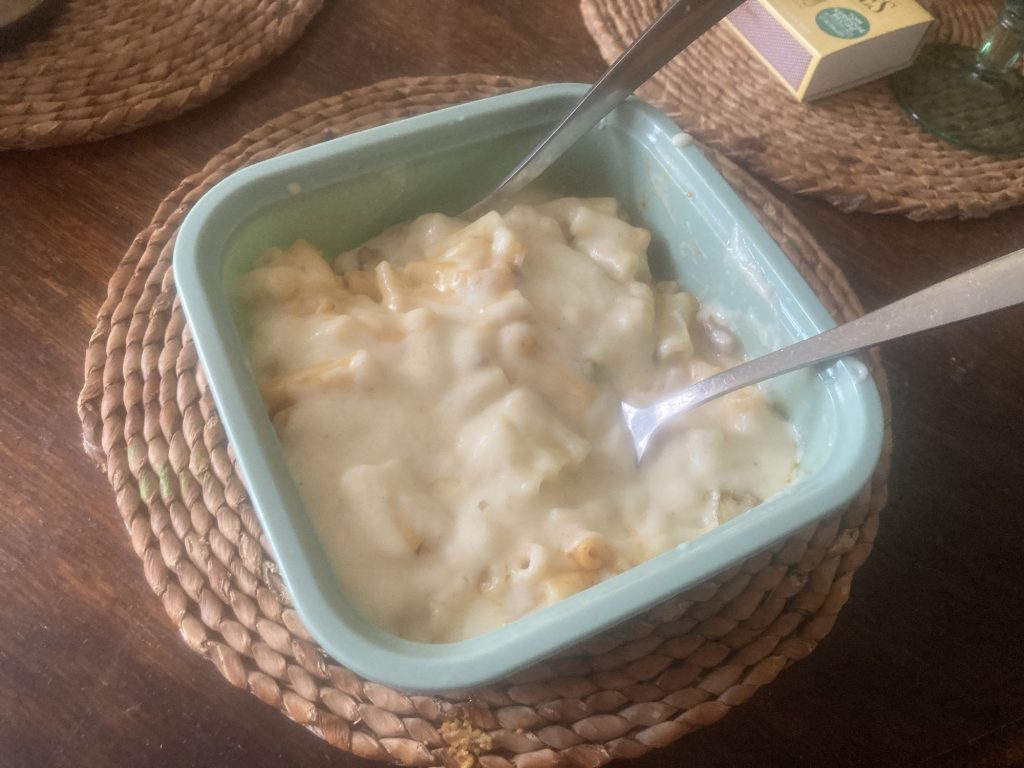
I think what really lifts this to the heights of prole dining is eating it with a spoon, out of a lunchbox.
The macaroni and a kind of mince hotpot were already cooked. By ‘er indoors (or, truth be told, outdoors… more than me!). I just made a nice big serving of cheese sauce.
The added touch of class here is a decent powdering of nutmeg.
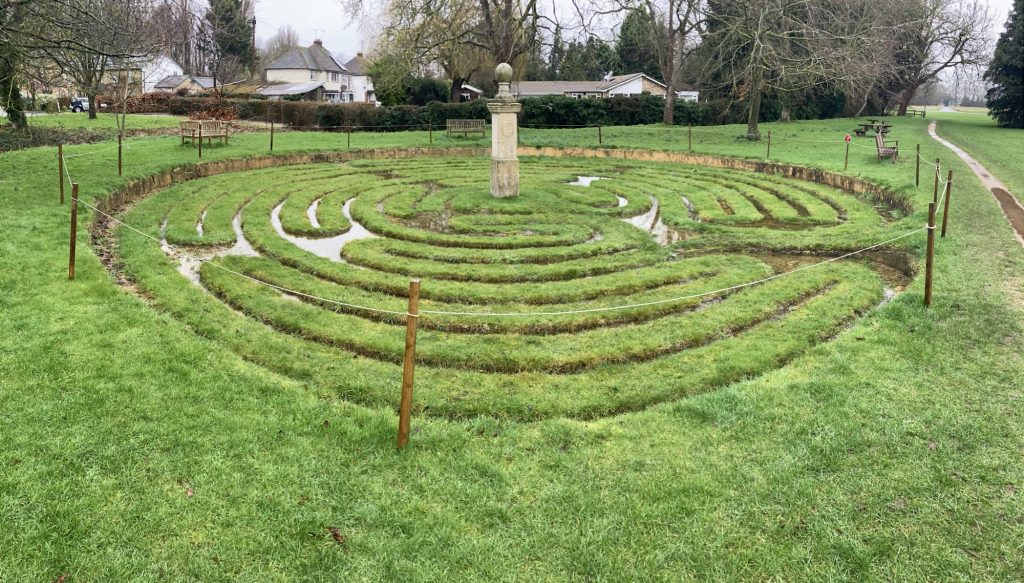
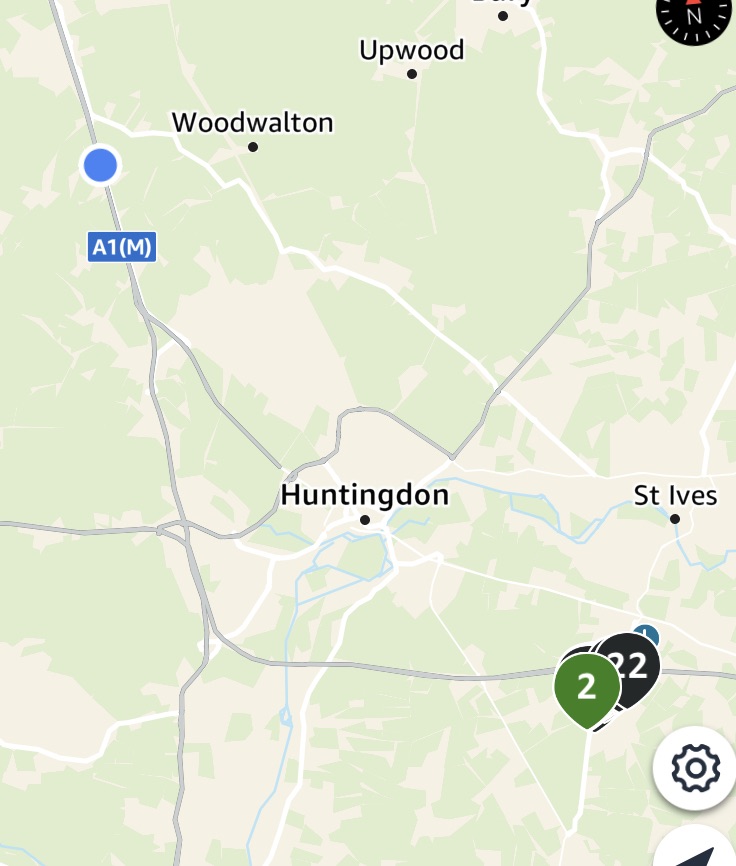
My delivery shift took me to Hilton today. it rained constantly. Not the best weather for appreciating the prettier aspects of this, in parts, very picturesque place.
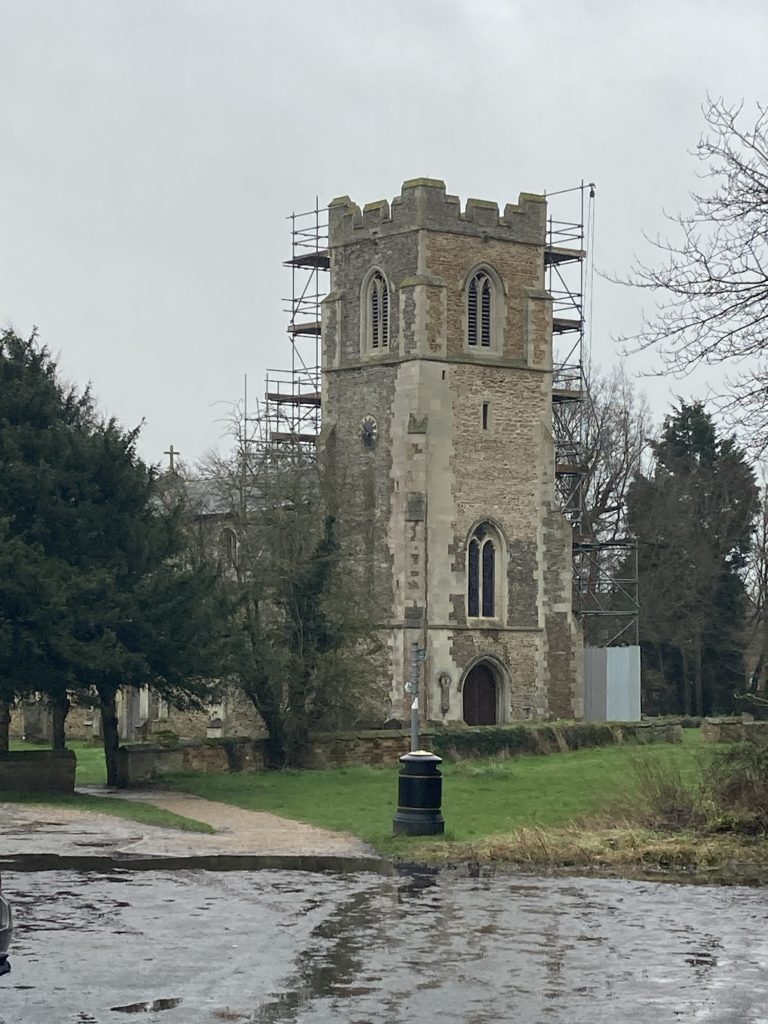
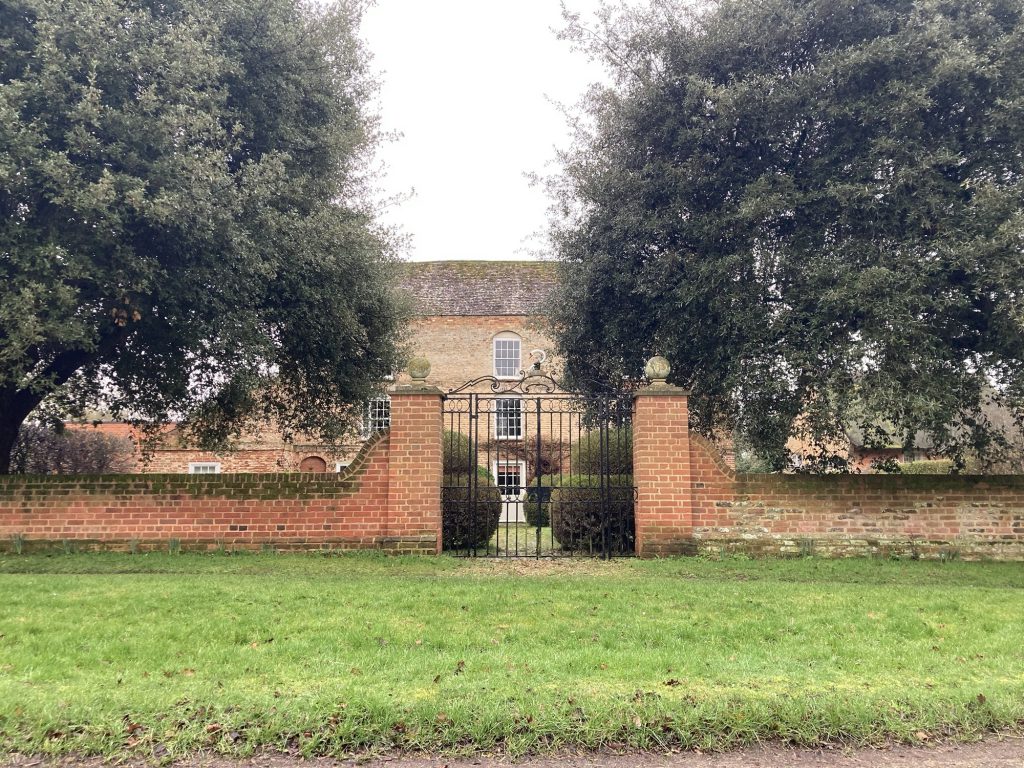
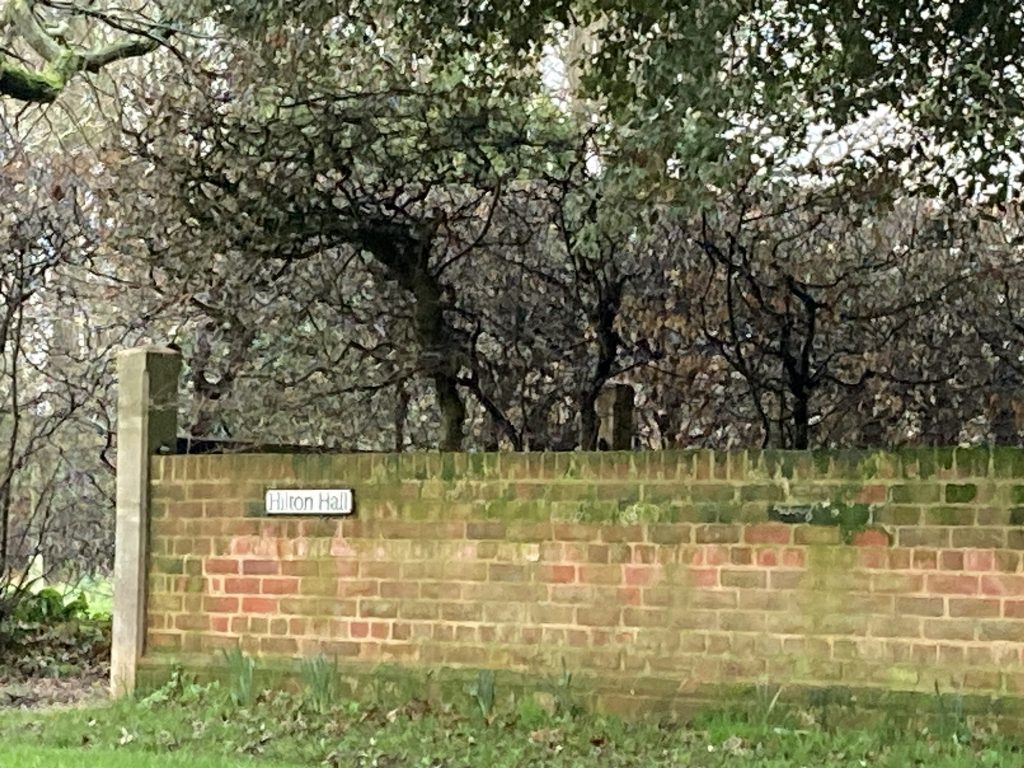
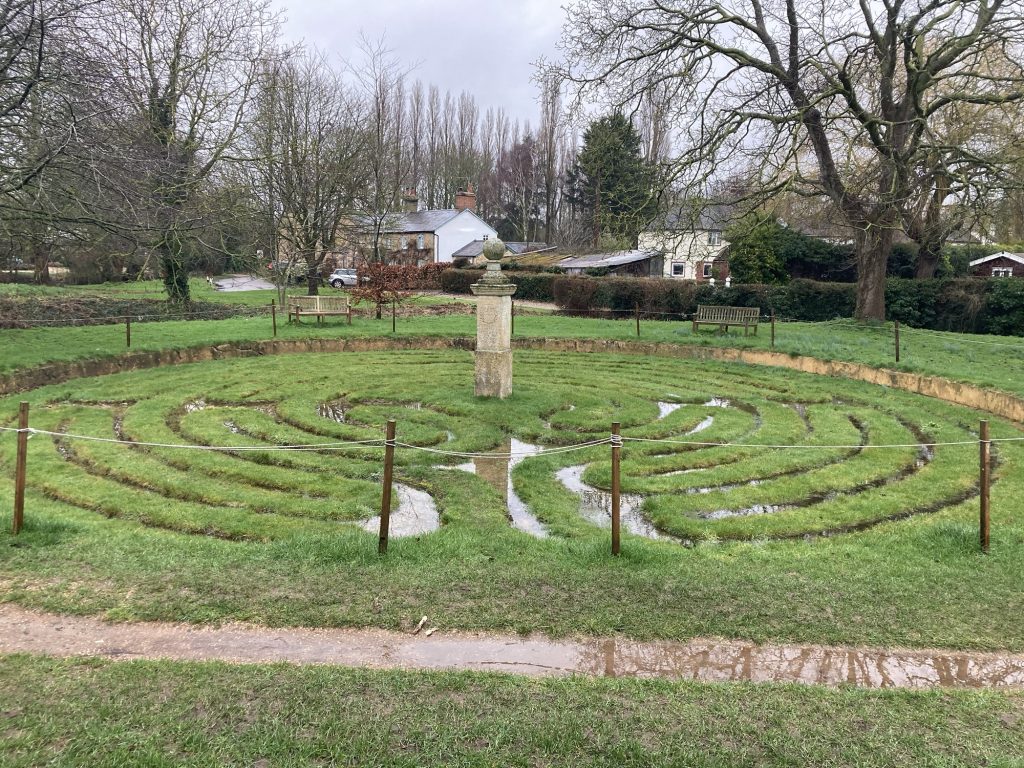
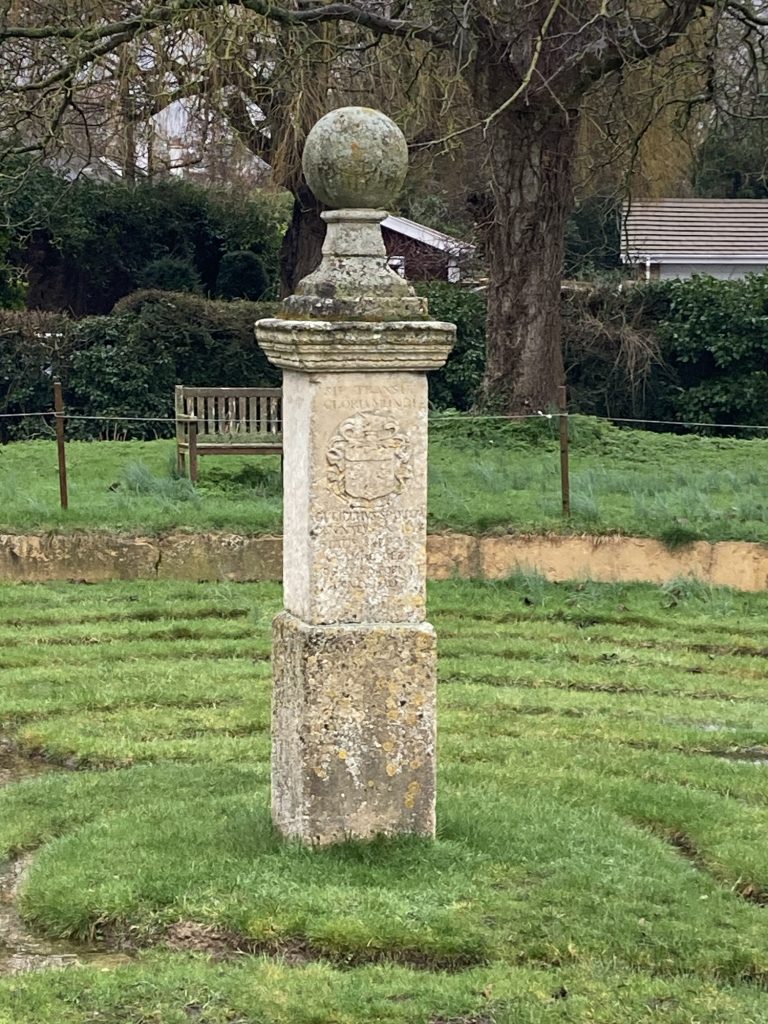
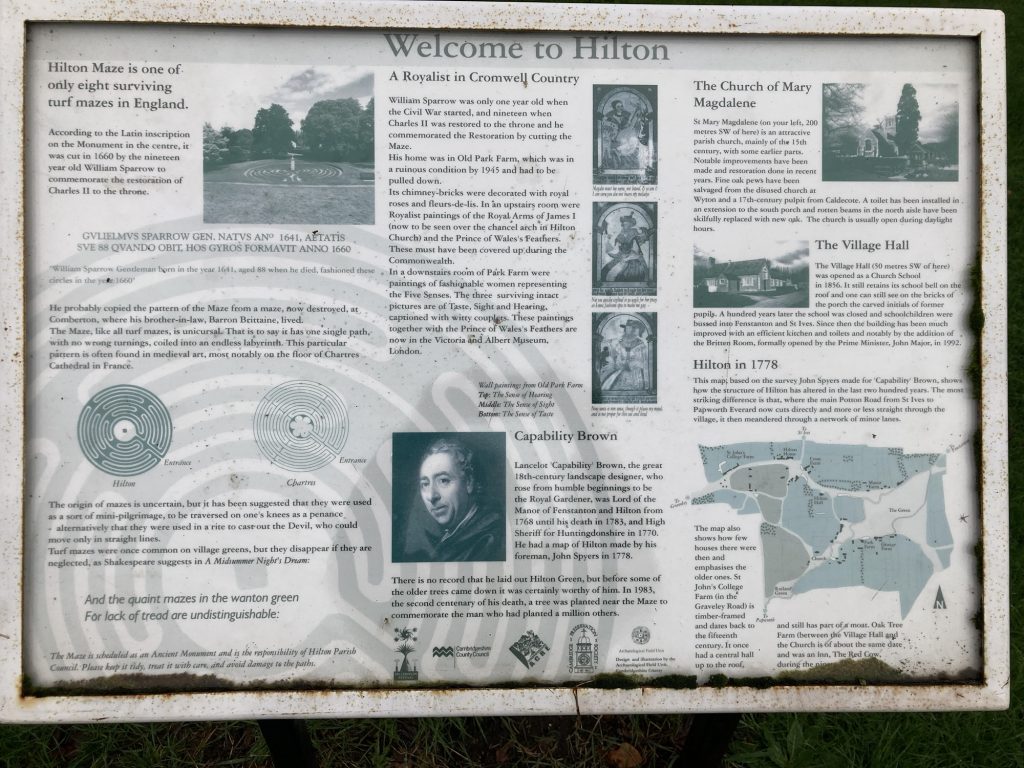
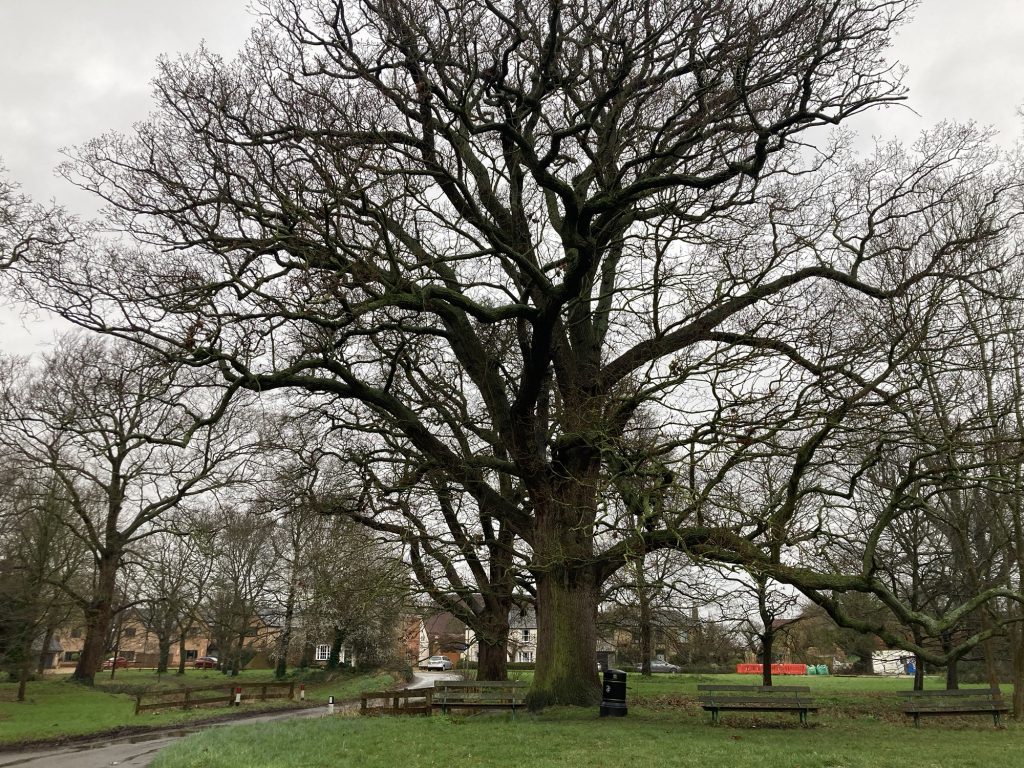
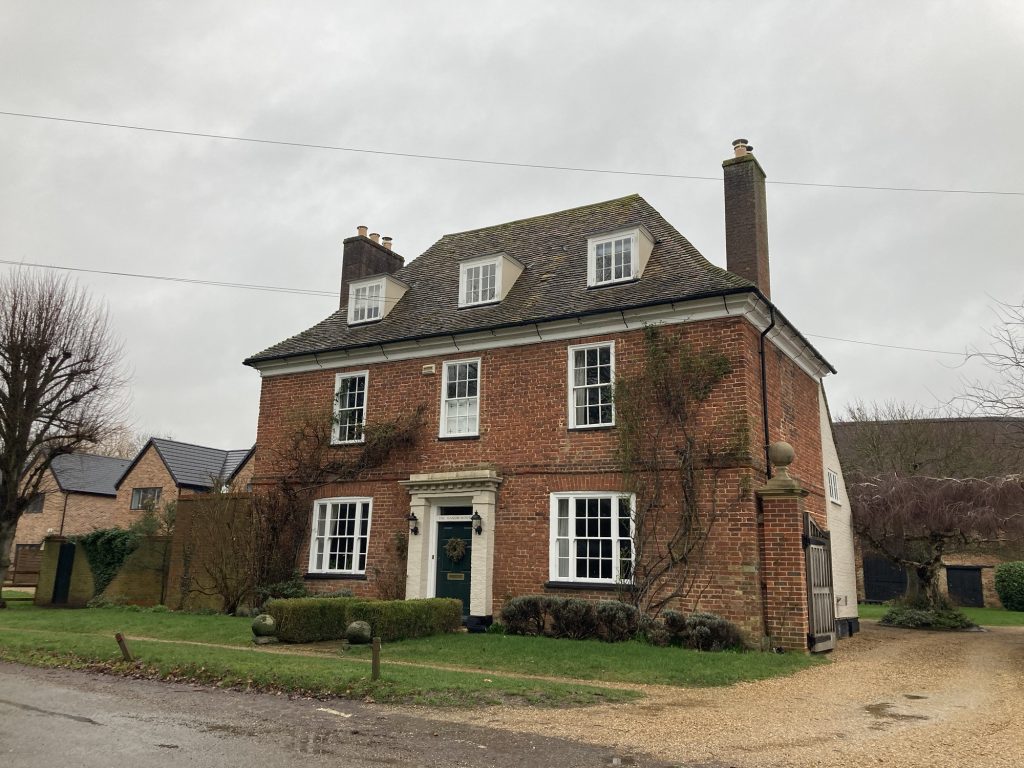
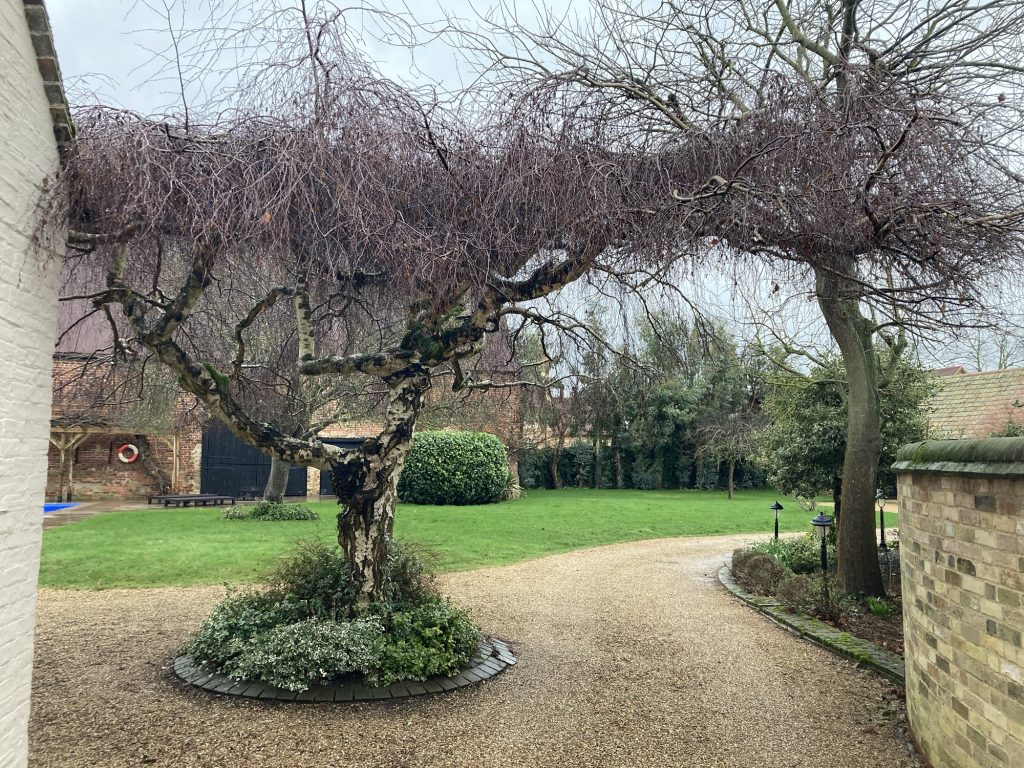
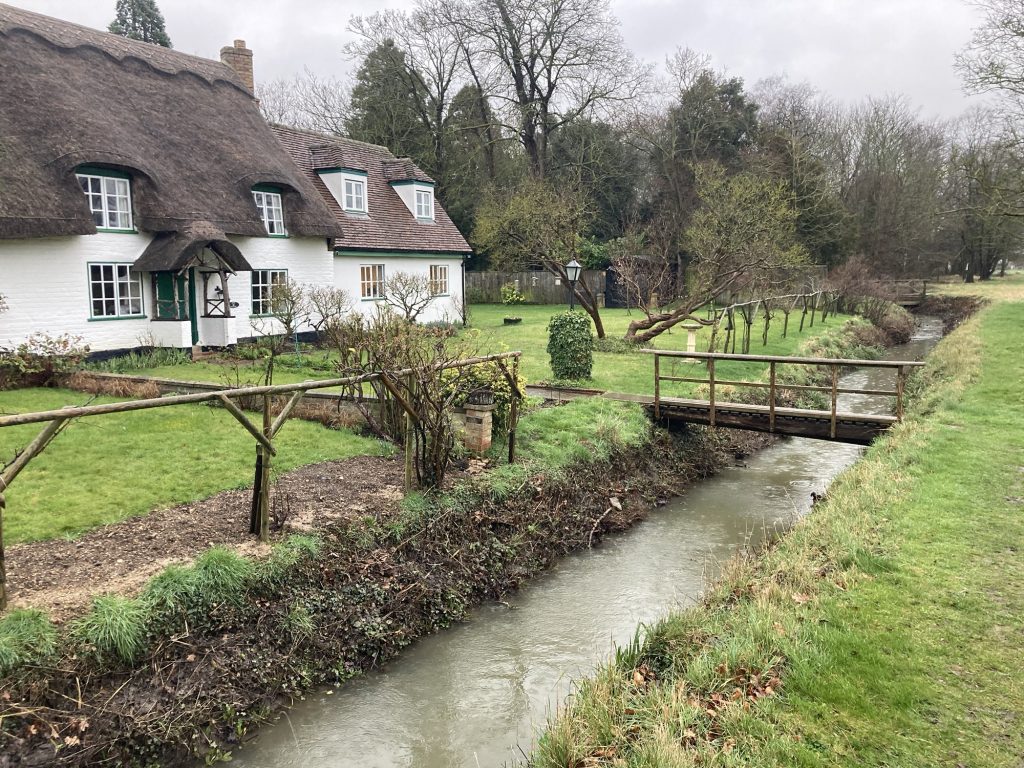
There are some really lovely properties dotted round the completely gorgeous old village green.
My grim mood, and the rather horrid grey rainy weather combined to make for a fecund day, poetry wise. I penned four pieces, during the dank and dreary downpours of the afternoon!
It’s nearing midday. And after another night of ‘Zopiclone to the rescue’, it’s another morning of laying in bed feeling totally and utterly shattered.
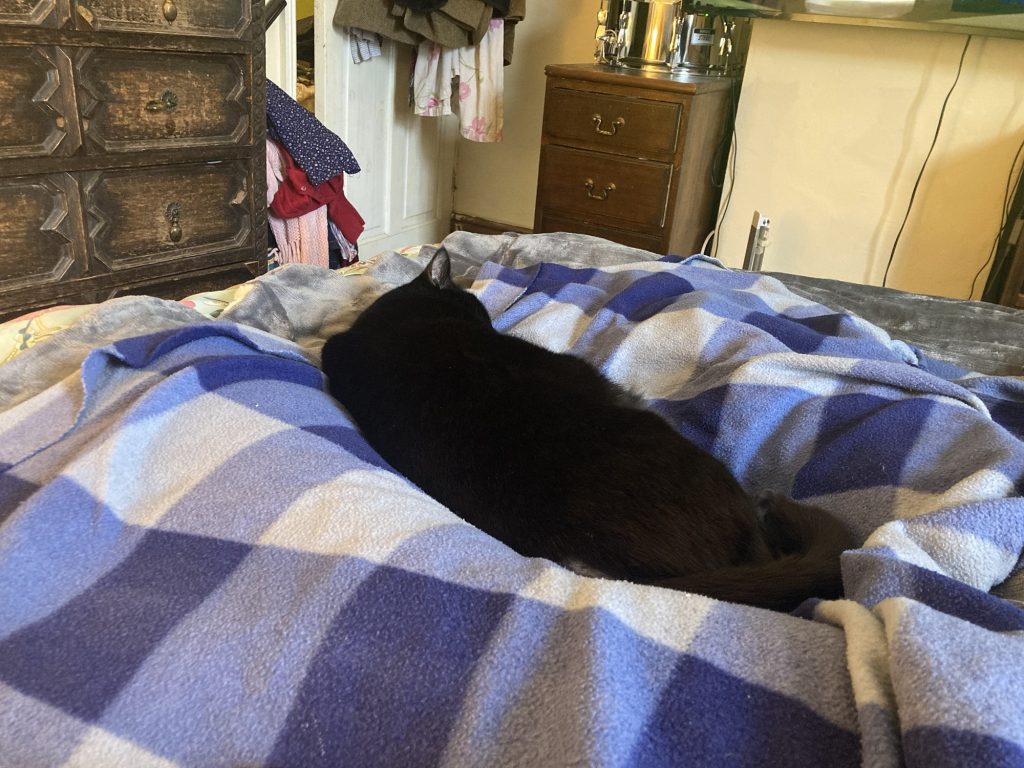
I both do and don’t like to do this. I love to stay in bed, frankly. As I’m G’damn tired. And it’s warm and cosy. Esp’ with Chester snoozing close by.
Today, I’ve slept like a log. At least post Zop’. I wanted to do without. As I don’t want to be dependent. But having fallen asleep on the couch earlier, when we came upstairs to bed my brain went into anxiety overdrive.
So I popped a Zop’, and read a chunk more of Shelby Foote’s monumental and highly enjoyable The Civil War. And finally got off to sleep.
I woke around 6-6.30 am, or poss’ earlier, when Teresa wakes up for work. And I was on the Flex app, 6.30-8am, solid. Trying but failing to book a shift or two. But I could barely stay conscious. And kept drifting off to sleep. With some YouTube snooker playing soothingly in the background.
I had all kinds of crazy dreams. Most of which I’ve forgotten, due to the stop-start sleeping this morning. I seem to have been enduring some kind of cold recently; bouts of tempestuous sneezing, nights of extreme dry throat, and sometimes – like now – a sore throat, partic’ when I swallow.
Teresa has me taking spoonfuls of strong honey with chopped garlic in it. Which does seem to have beneficial medicinal effects. I’m also taking plenty of Jakeman’s menthol lozenges.
I didn’t succeed in booking a shift for today until about 9-10am, in a brief wakeful moment. I’m going to ‘go with the flow’ today. On account of this extreme fatigue. And stay abed until I go to work. Not sure what I’ll do for lunch?
One of the obvious problems with this pattern of morning exhaustion is evening alertness, and concomitant difficulty getting to sleep. And I’m being strictly rationed by the Doc’ on the Zop’.
I’m hoping this is a short interlude? As prior to this cold, or whatever it is, I was sleeping fine unaided. And I want to get back to a more normal routine, ASAP.
One final footnote to all of this: I’m suddenly really feeling the cold!? I’ve noticed, since being on immunosuppressant injections, that my whole metabolism appears to have changed. I tend to be hot all the time. And feel the cold much less than I used to. But just in the last day or two I feel freezing! What gives?
Well… it’s 12.40pm. I gotta get up and go to work. And get some food n’ drink sorted… here goes nuttin’!
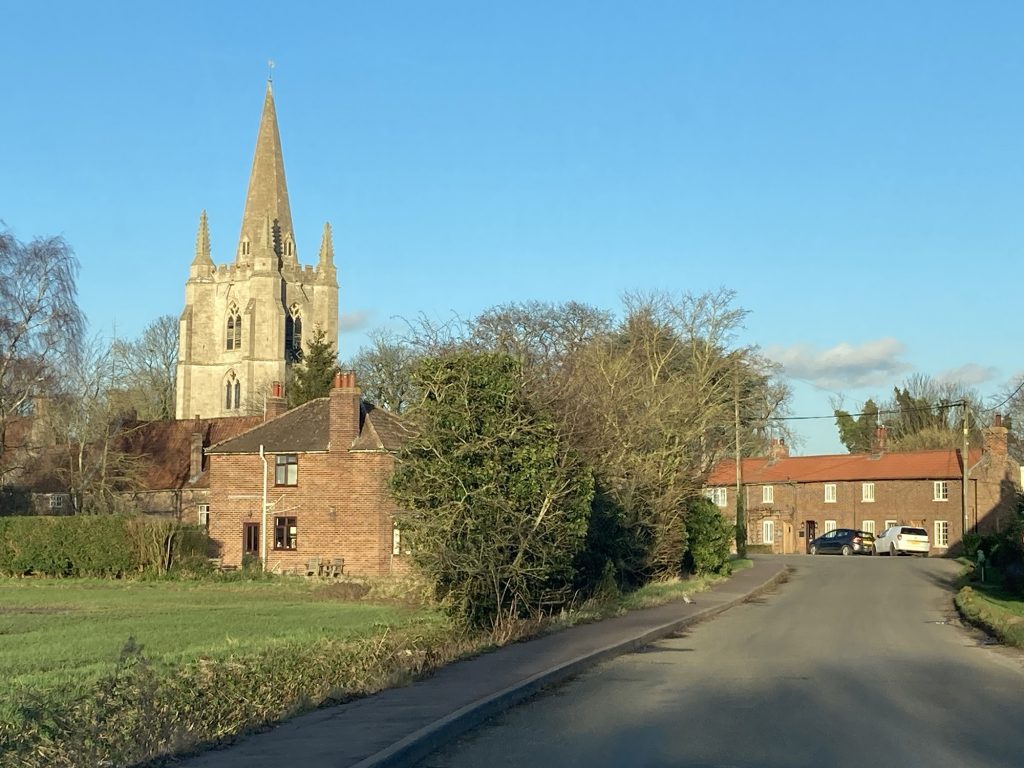
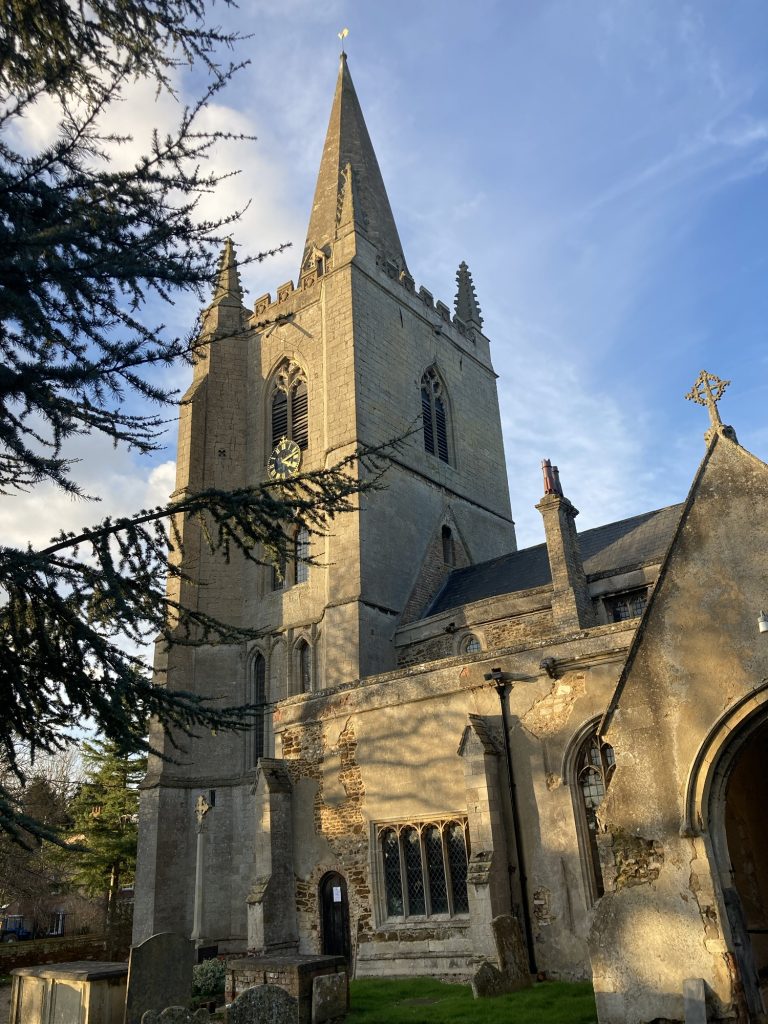
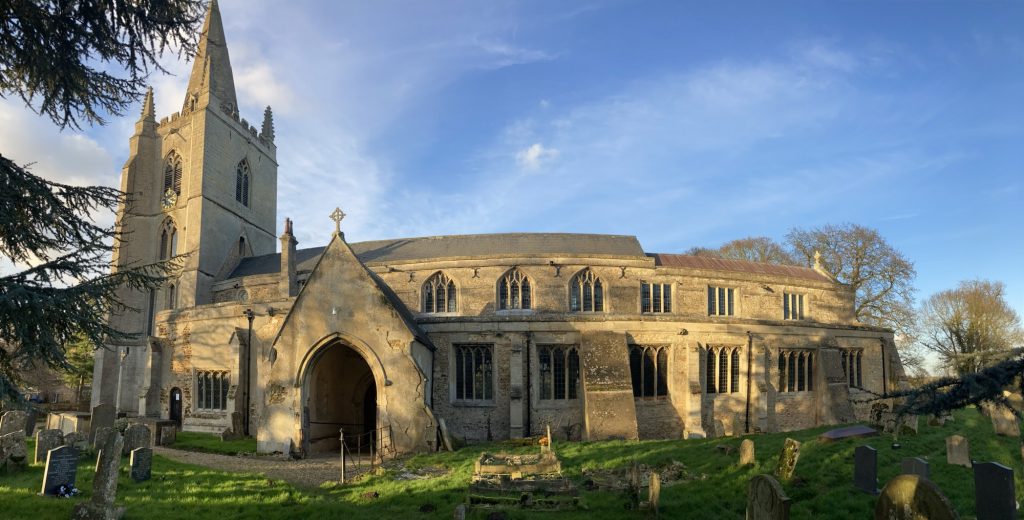
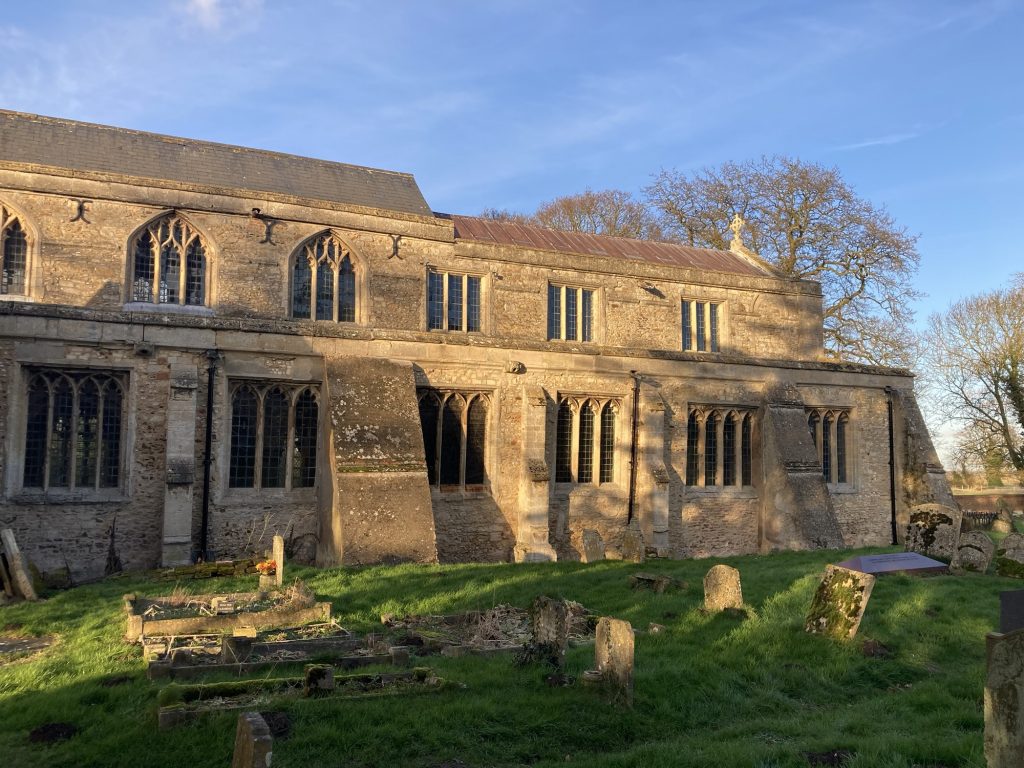
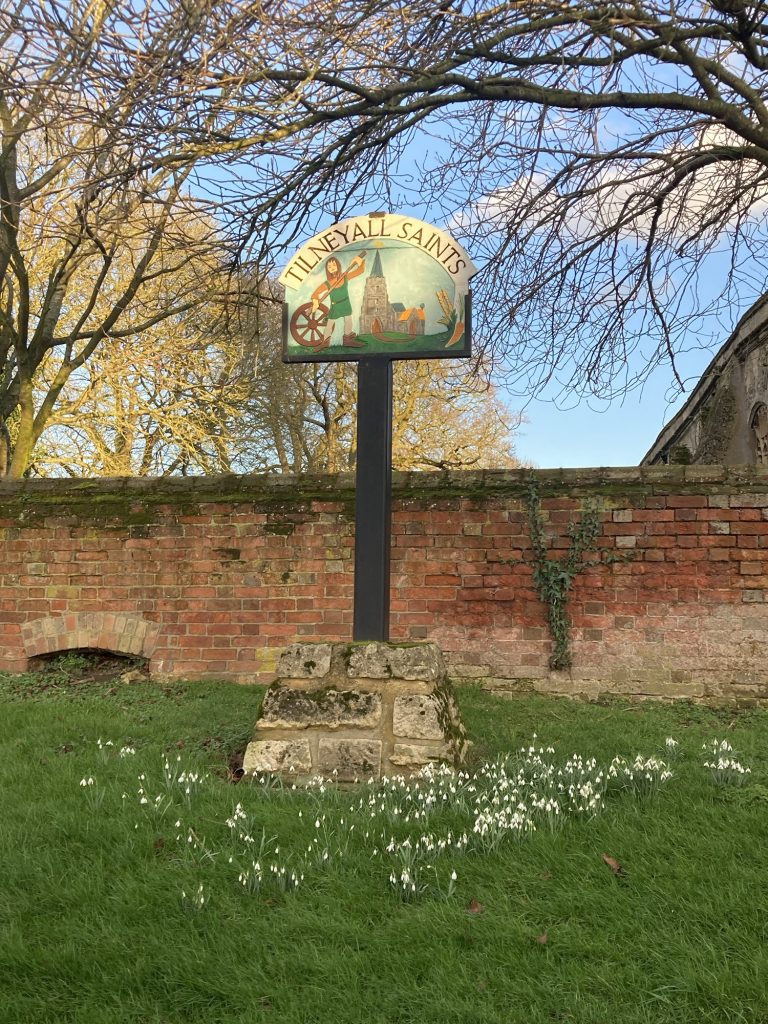
As I approached Terrington All Saints, the church tower loomed large, and beckoned further investigation.
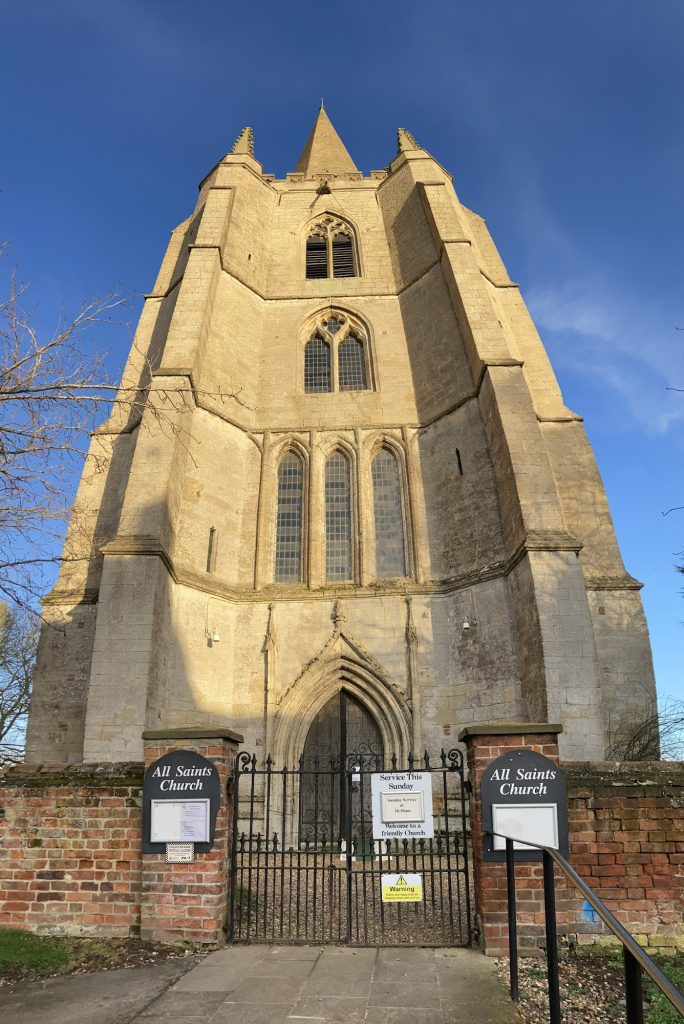
Sadly this church is shut, due to vandalism. I took a picture of the tel no’s for the church wardens. I might try and arrange a visit to look round inside.
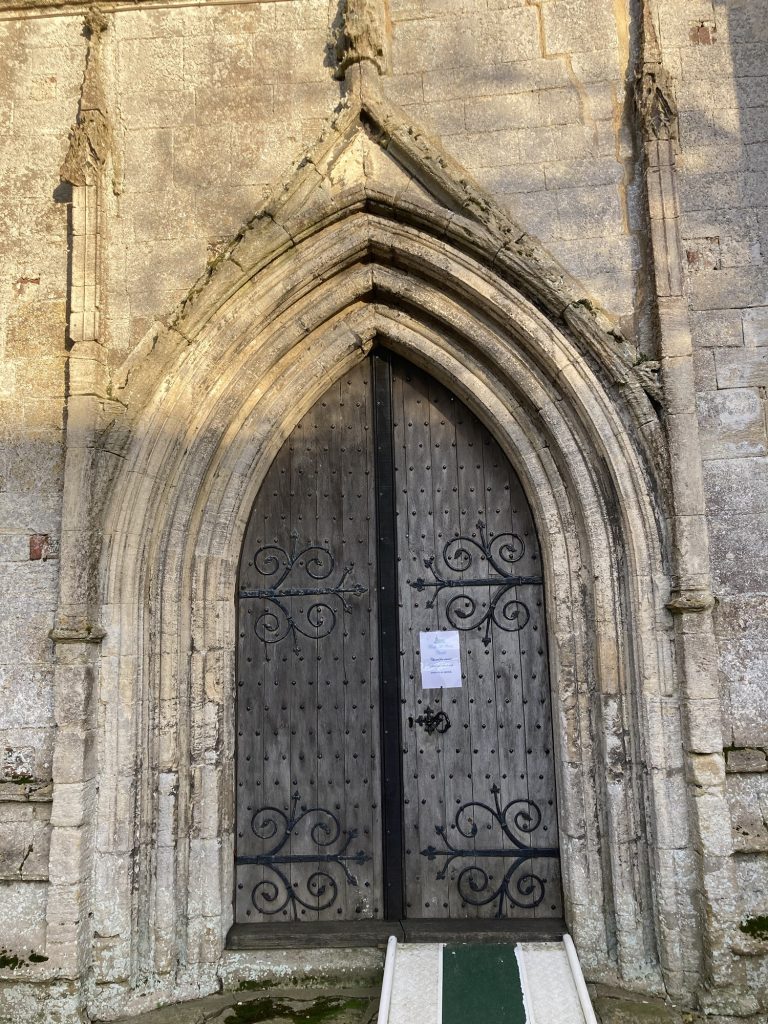
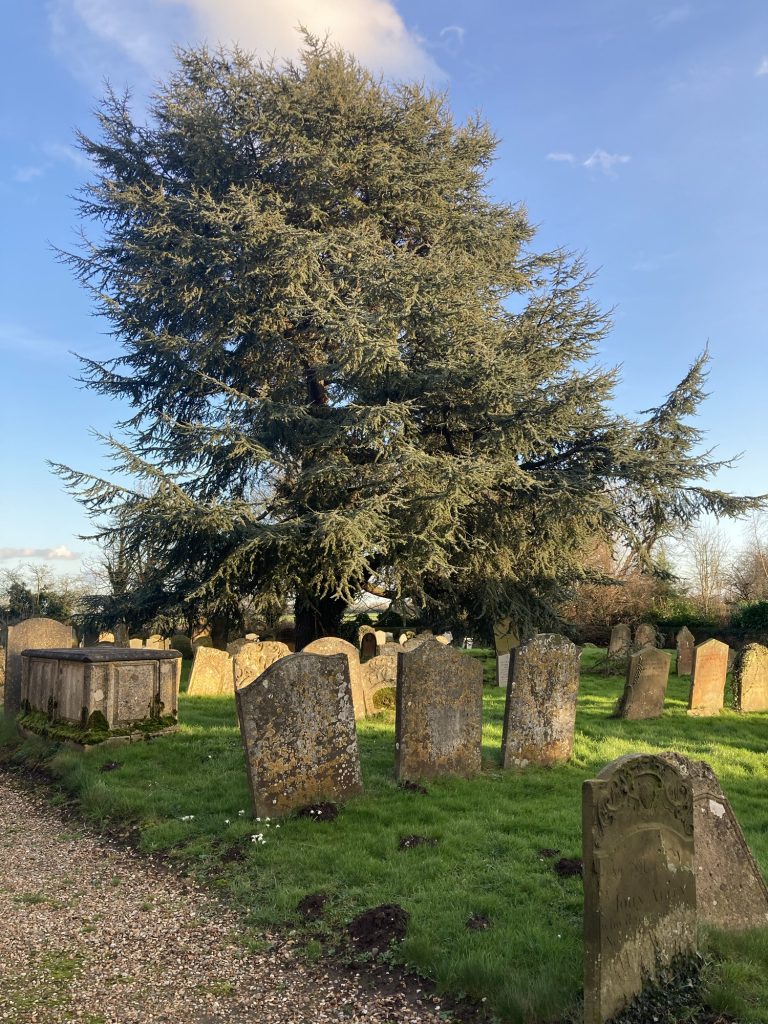
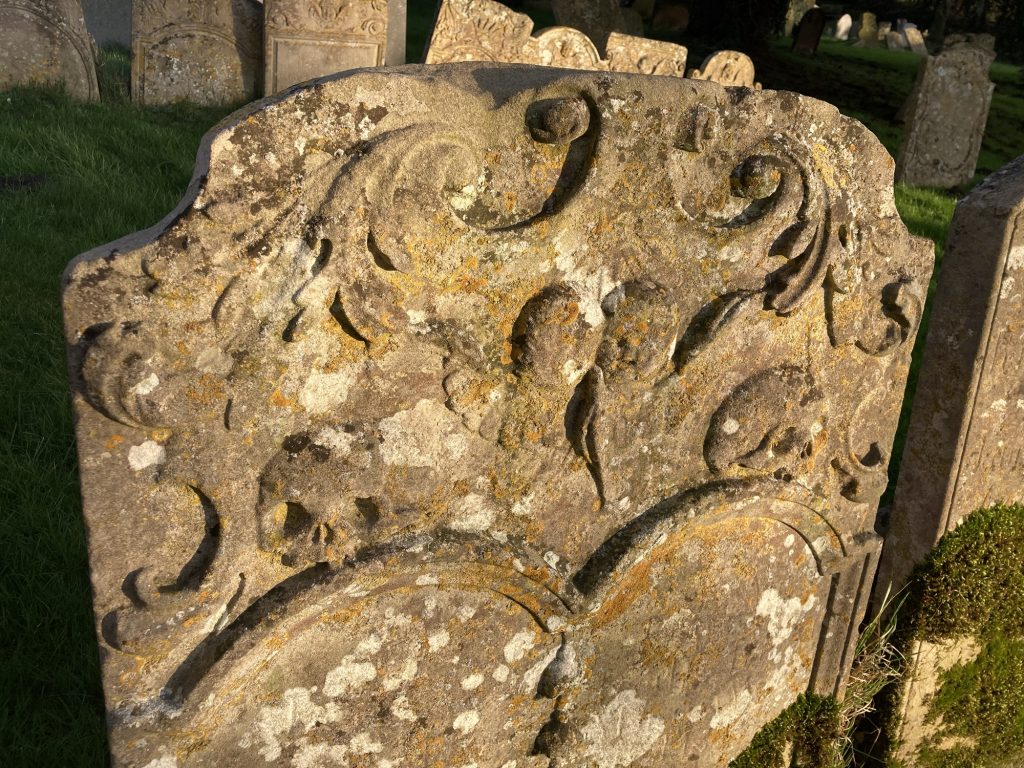
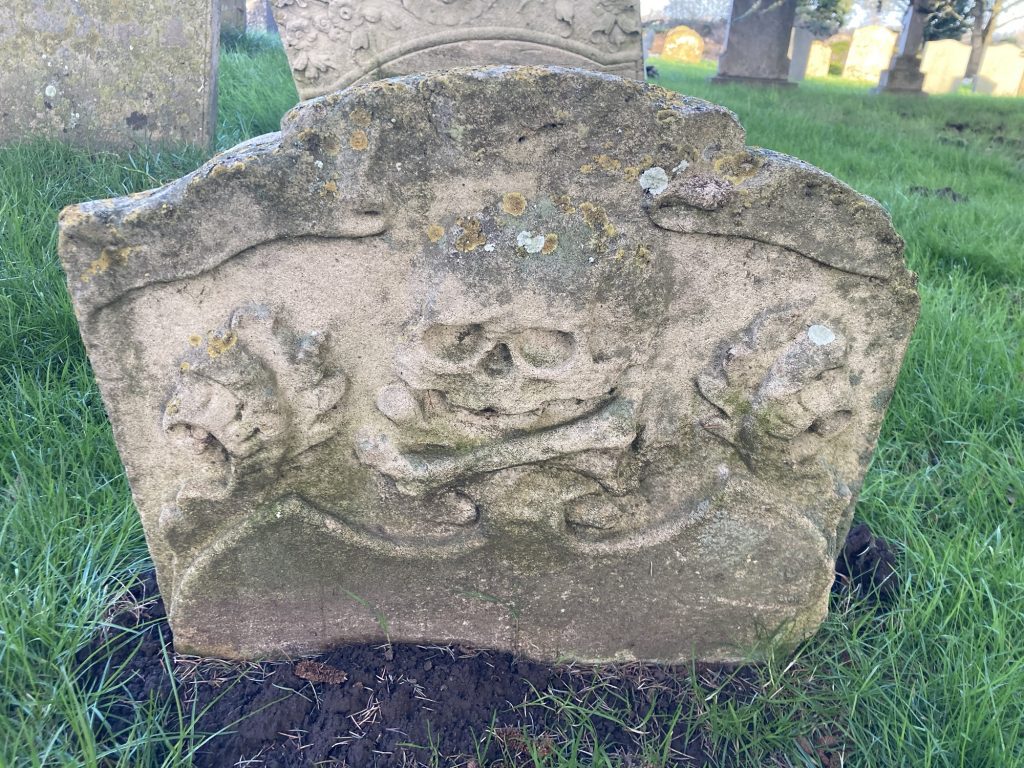
Some nice headstones in the graveyard. I do like a bit of skullduggery.
After this it was off to Kings Lynn.
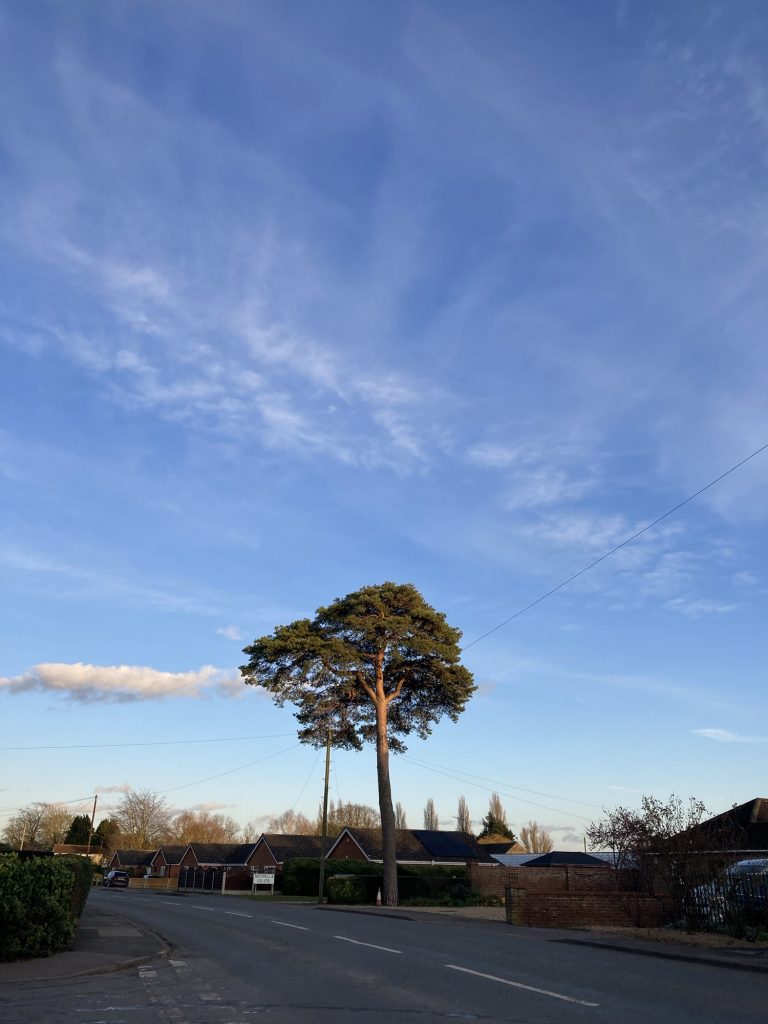
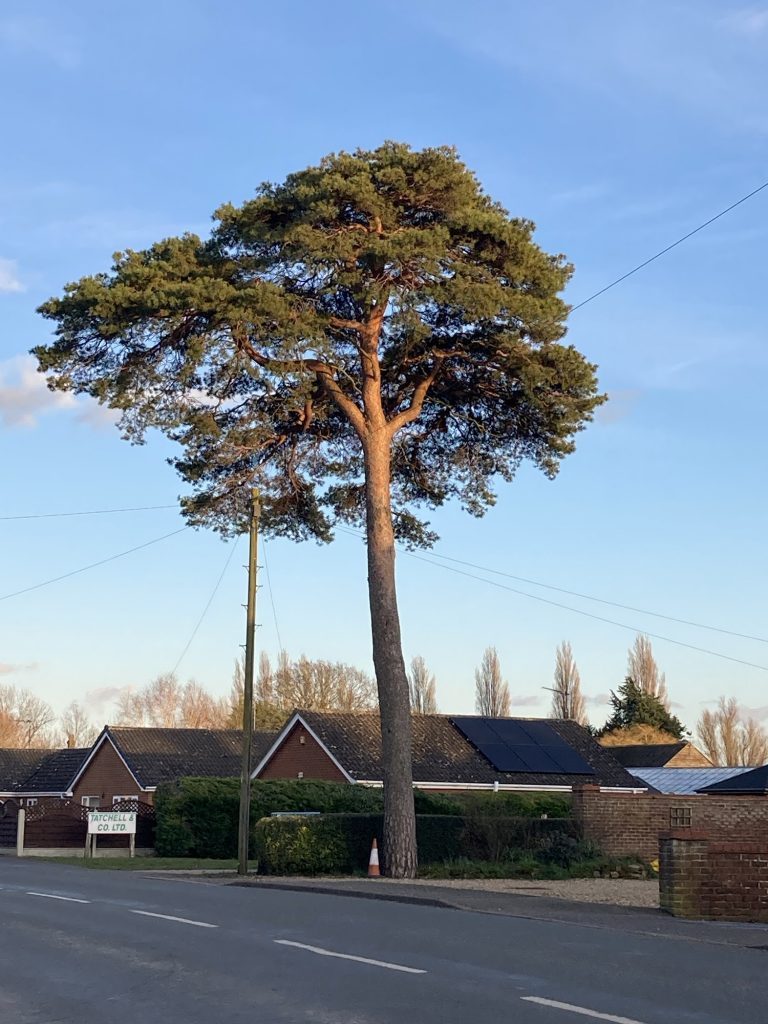
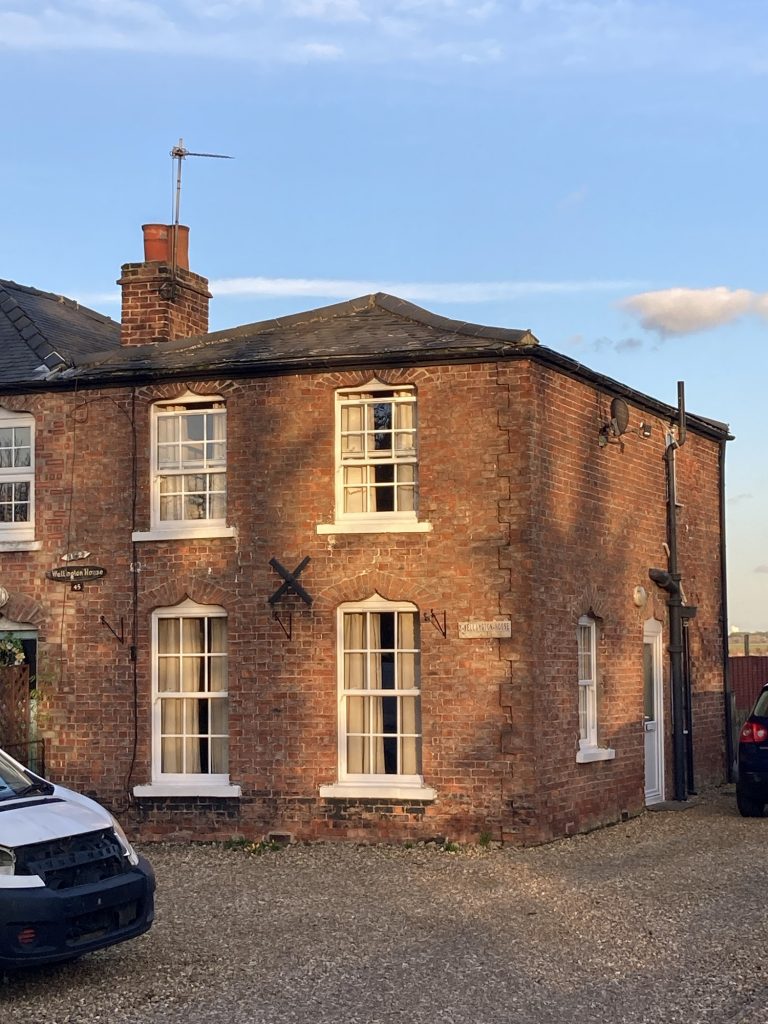
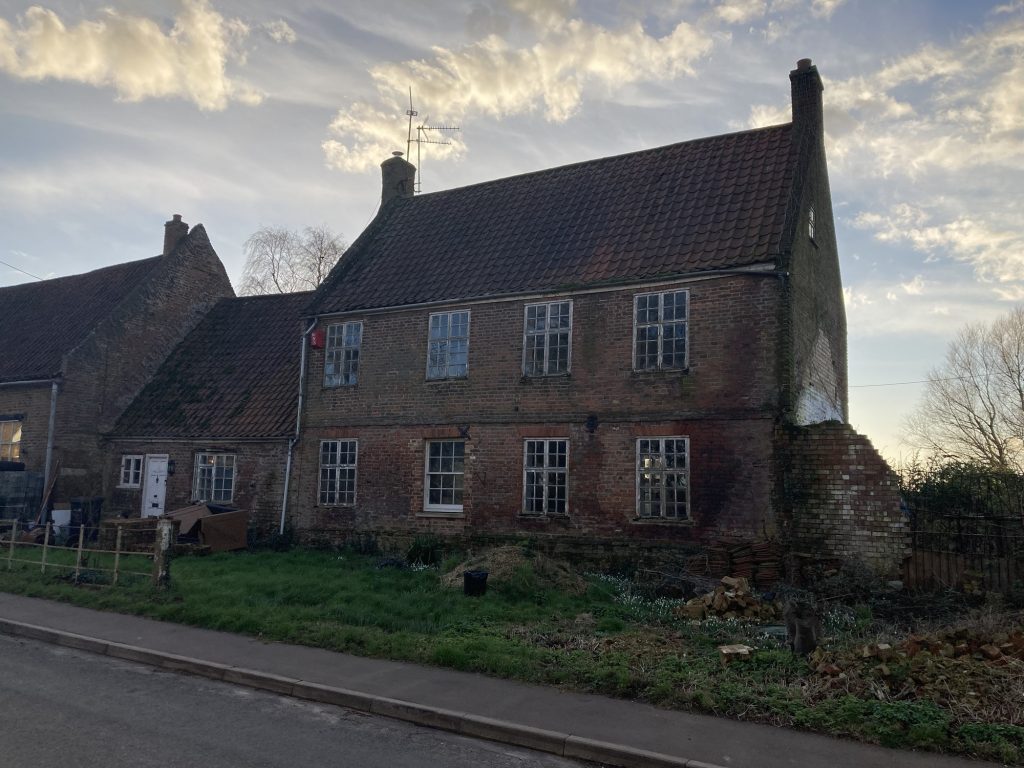
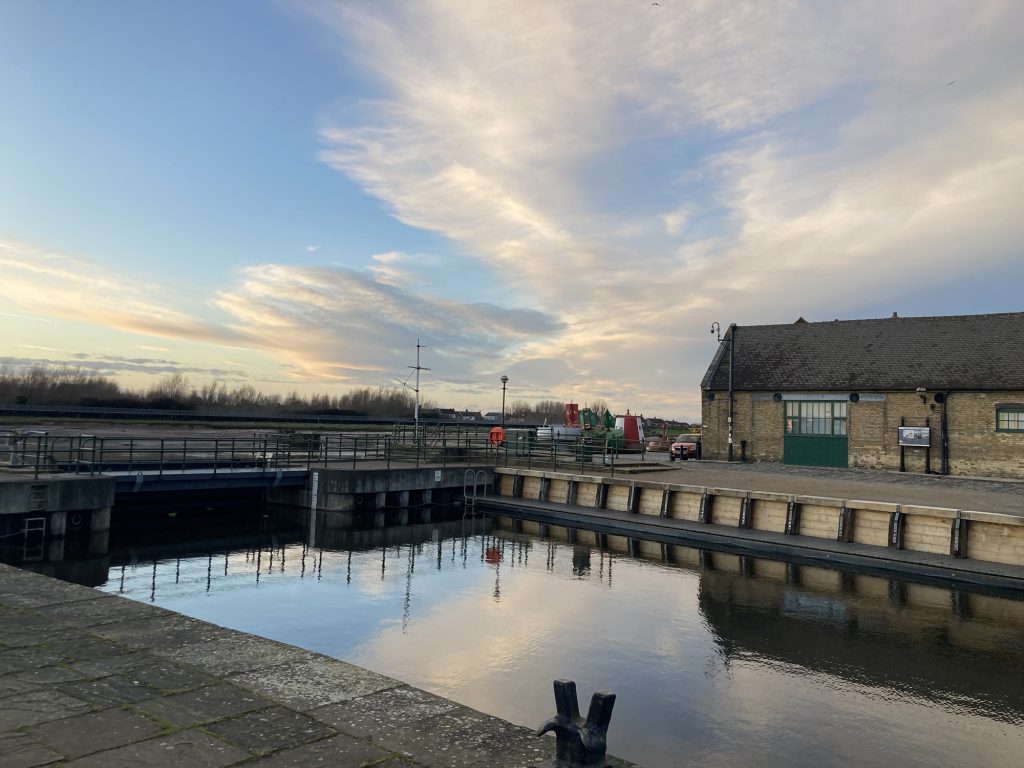
The tree and the weird windowed domicile were spotted en-route to KL. Once in Lynn, so to speak, I had a delivery right on the rivers edge. My last one. This allowed me to take some time snapping away. Parts of Kings Lynn are pretty exquisite. Well worth a visit.
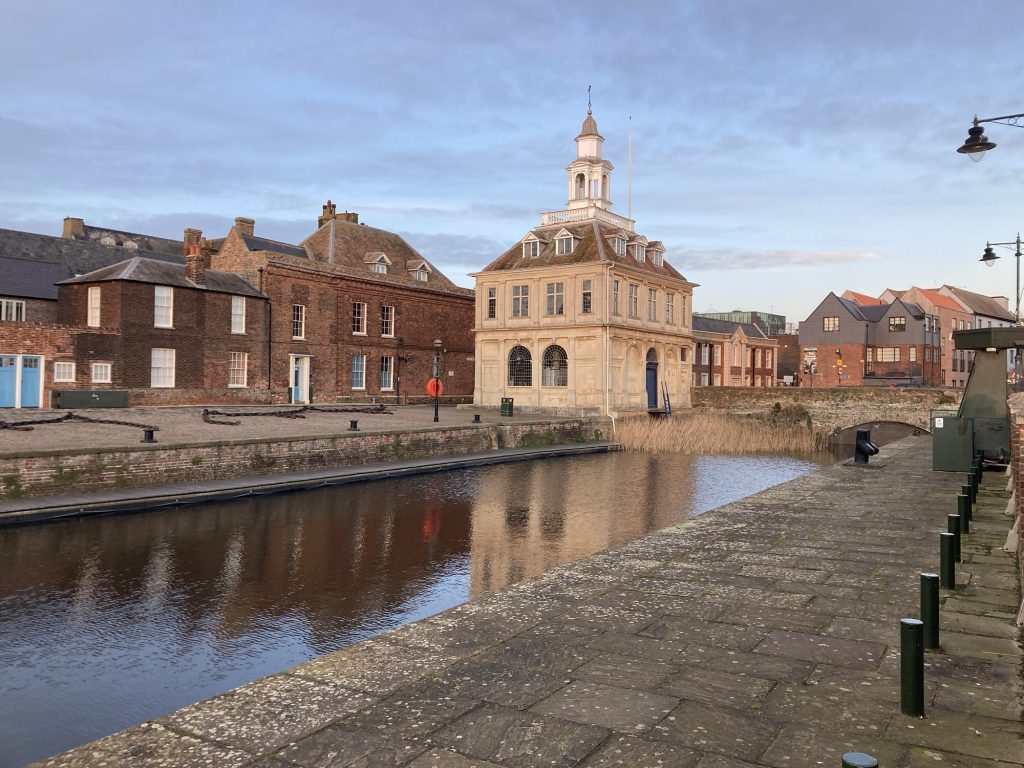
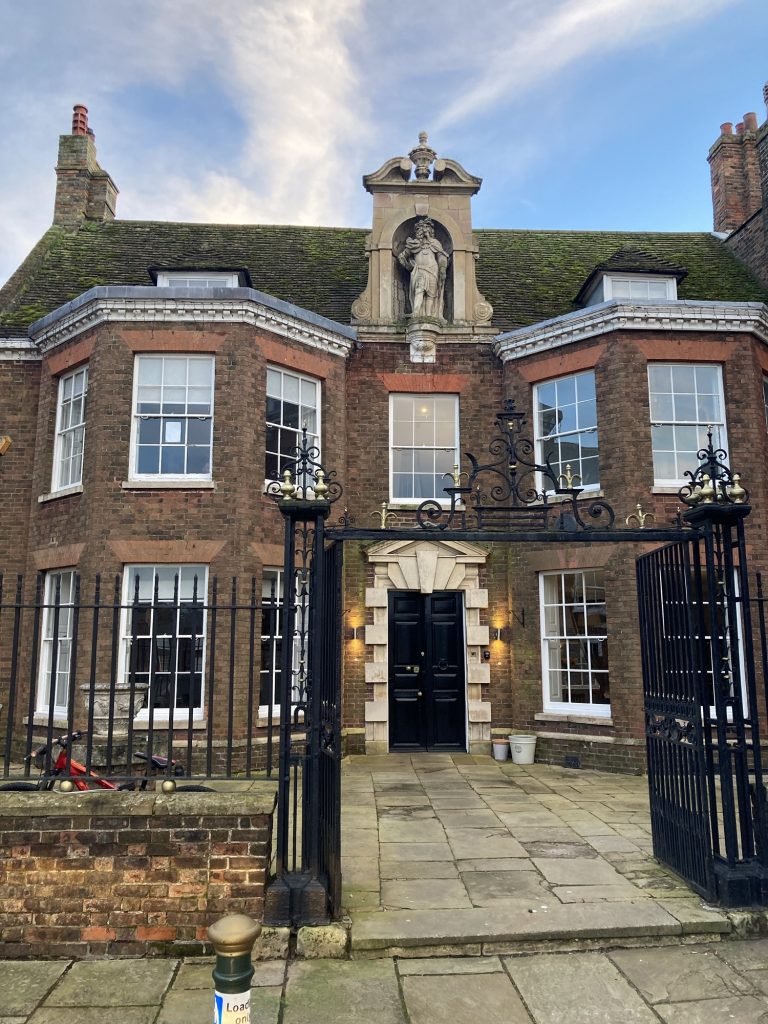
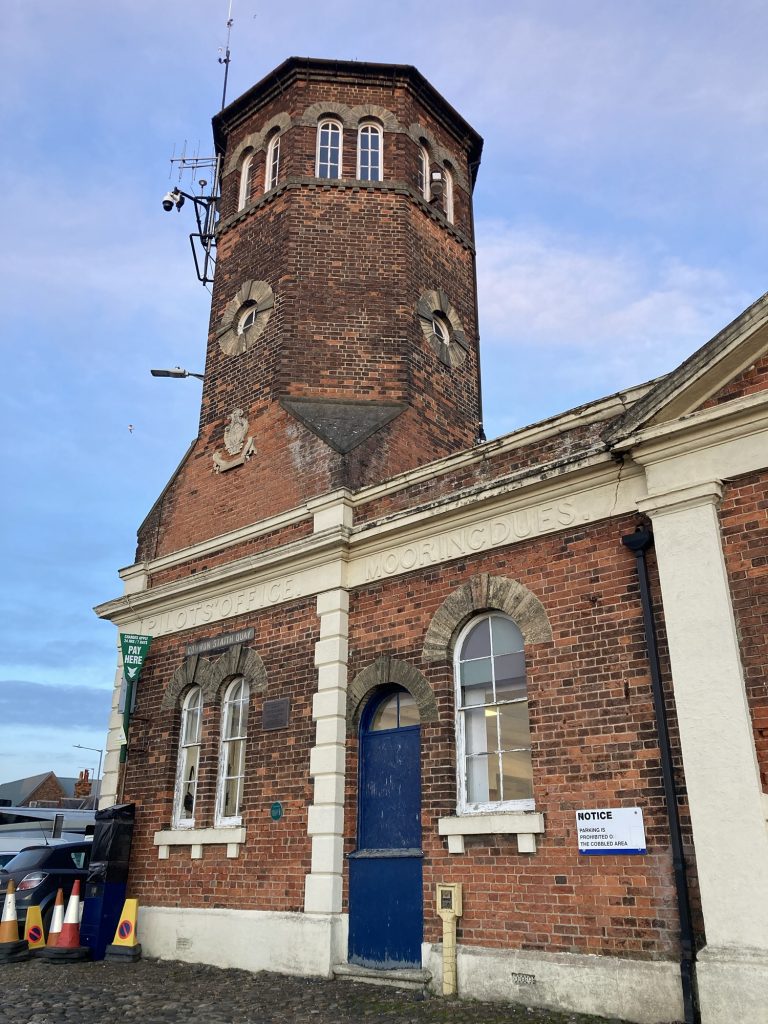
There’s an interesting old pub – The Crown & Mitre – rather hidden away, near the above building, all of which are located near the docks or port, or whatever it is. The water!
I had to drop into the pub, to see off a medical emergency… could’ve been very nasty. Thankfully the staff took pity on me. Some pubs are funny about letting non-patrons use the facilities.
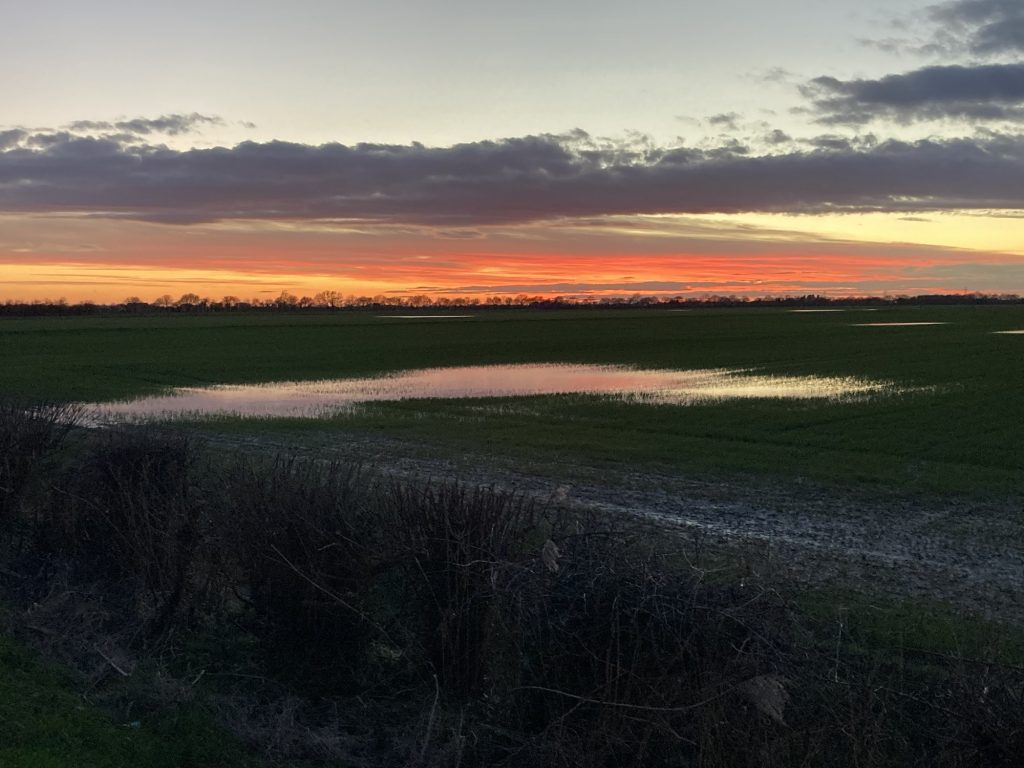
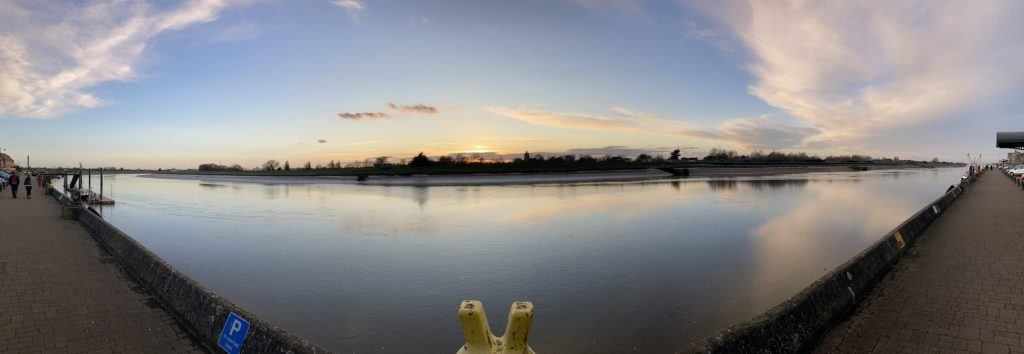
I’d been wrestling that ol’ black eyed dog all day. Fortunately this delivery work, and being out and about, usually lifts me out of these funks. Many an evening on the drive home the skies have put on astonishingly beautiful sunsets. And this was one such evening.
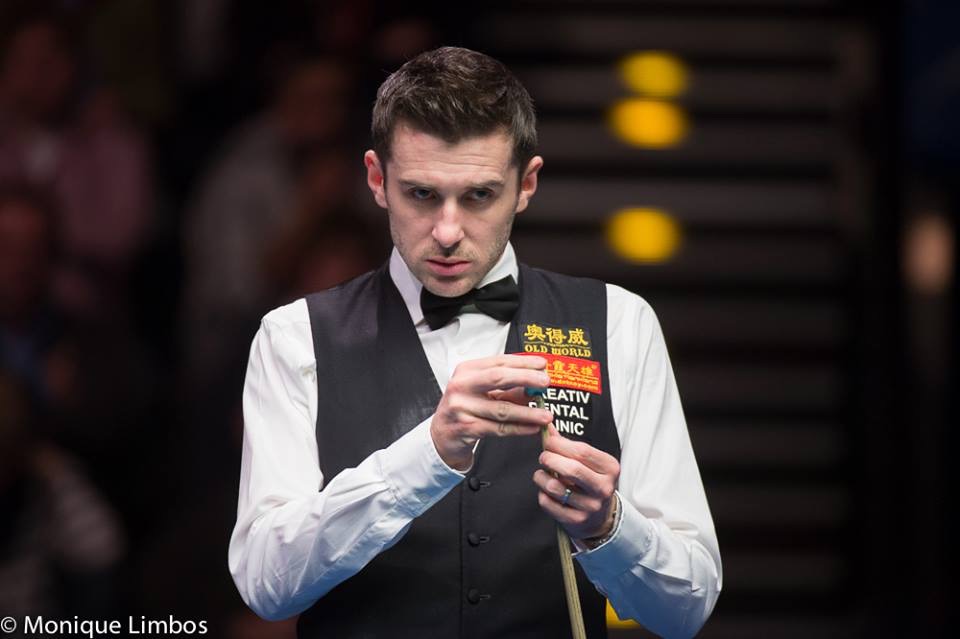
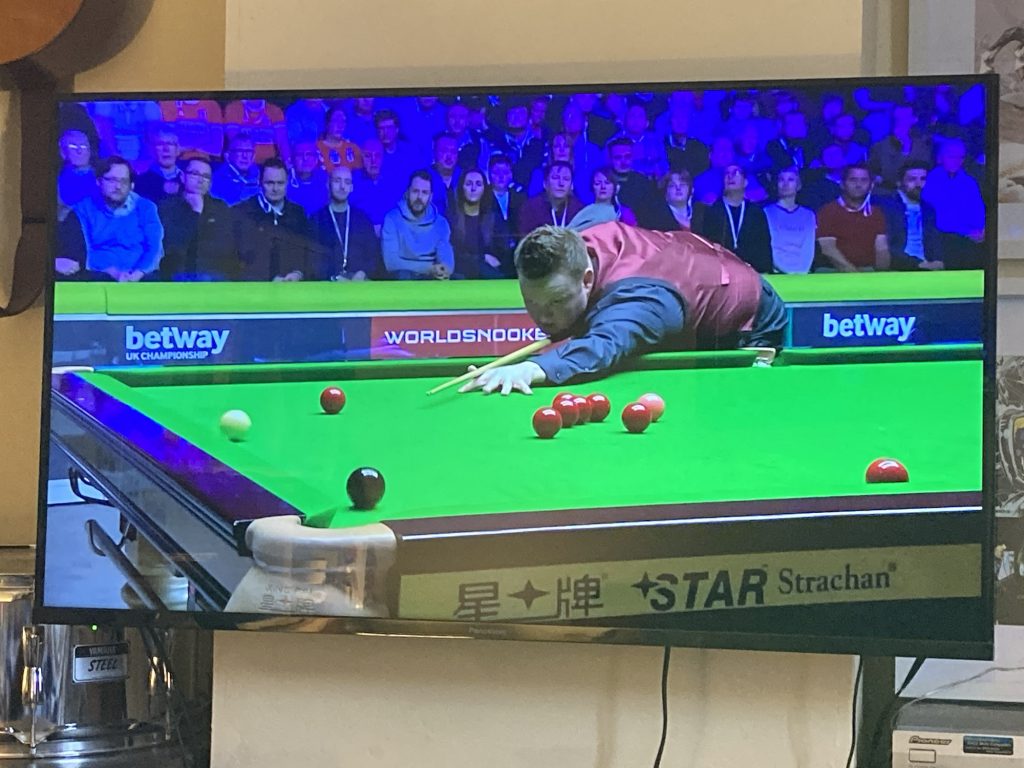
Haven’t watched much satisfying snooker in a while. Been a bit of a drought! This evening, however, I found two excellent games.
Mark Selby vs Gary Wilson was the first I saw. Fairly early on Selby played a couple of really quite awful shots, that were more Clown than Jester. In fact, I was in stitches, for a while, picturing Mark waddling back to his chair in a pair of huge clown shoes.
That match saw Selby go from Clown Car to Porsche 356, in an instant. Bagging the first two frames with back to back centuries. Then Wilson Fought back, taking the next two. And it was on to a final frame decider (best of five).
Selby’s excellent form had obviously dipped. But he kept his composure, and won the match comfortably. Excellent snooker!

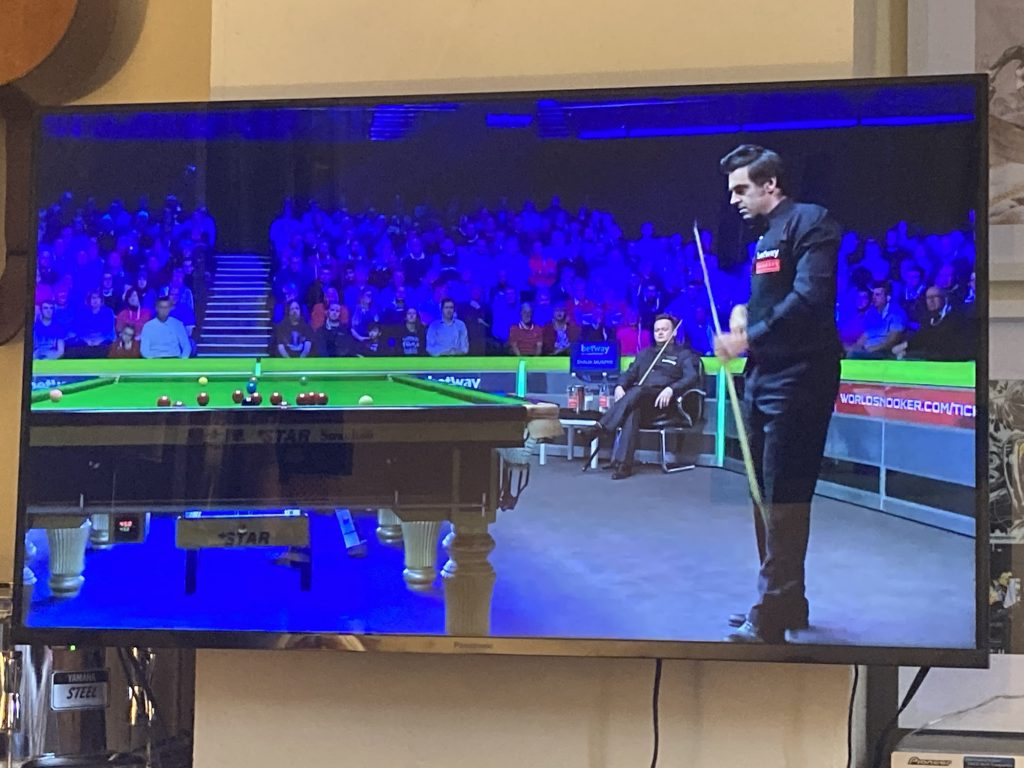
And then I found Judd vs Thepchiya Un Nooh. Both known for feud speed and flare. Judd was in absolutely blistering form! He got to four frames up – in a best of nine – in just over half a hour!
I was riveted. But I’m also utterly shattered. So I fell asleep before seeing how that match ended. Only to re-awaken to the Judd Vs Higgins match that was the follow up to Judd’s seemingly inevitable victory.
I’ll have to see if Un-Nooh managed more than just the one frame…