HOME/DiY: 1:20 Art Studio Model, Day V

Starting to take shape.

Some thoughts on this project…

Unlike the video that inspired me to do this, where a guy uses lolly sticks as they are, I decided to use them to create 1:20 scaled timber. Another difference is that he used hot glue to fix everything together, but I’m using wood glue.
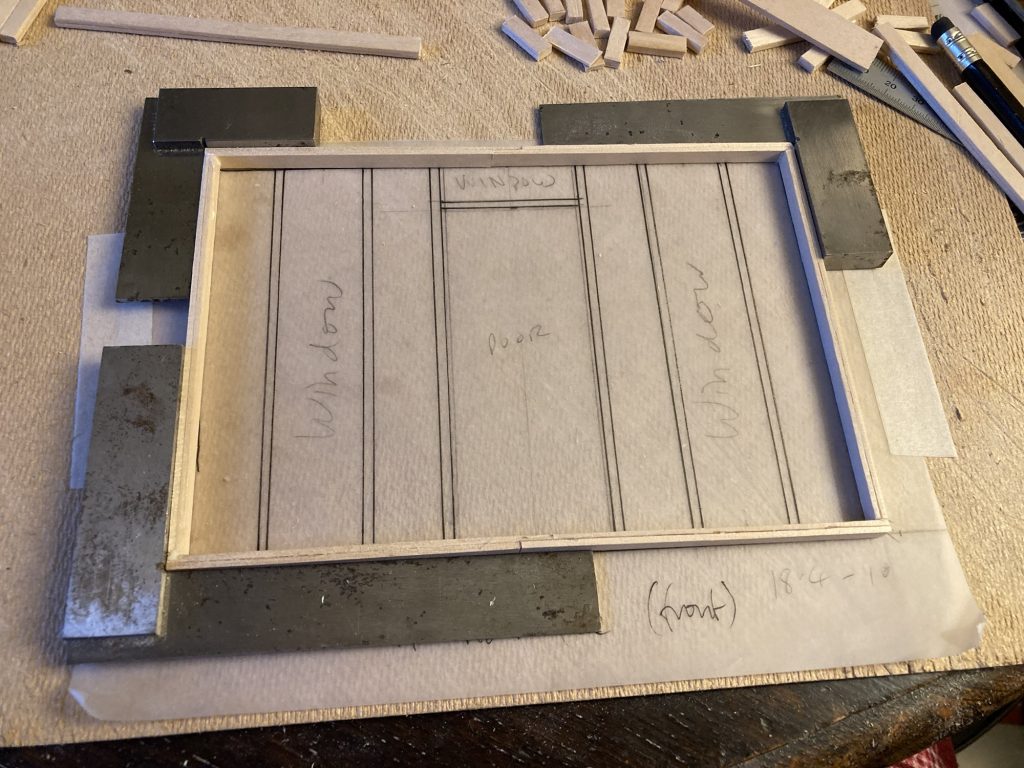
Glue up of frame A, step one.

My choice entailed a whole additional tranche of work, glueing and cutting the lolly sticks to create my timber. Could I have bought some ting closer to the right dimensions? Say, balsa, perhaps? Well, possibly.

Panel A laid out and gluing up.

Balsa – and I have bought some for this project – is very expensive! And the popsicle sticks are, by comparison, much cheaper, esp’ bought in bulk.

Lots of useful tips ‘n’ tricks in this vid’!

Truth is I don’t mind the repetitive processes the creation of my lumber/timber involves. In fact I like it! It’s very calming and meditative. ‘Grounding’, even, to use some contemporary parlance (I won’t go so far as ‘earthing’!).

Neil Paskin, aka Pask Makes, whose YouTube videos I often watch, and who I find very inspiring, often does projects with similarly mind-numbing levels of repetitive stuff. Such as when he adds kumiko to his already amazing hand-built canoe:

A truly awesome build.

One thing that’s quite intriguing, is how this current project – my ‘art studio’ scale model build – is taking over my mind. It’s hard to switch off from, to such an extent I’m having to be careful about how I wind down from the work, at days’ end. So as not to disrupt my – blessings be! – recently improved sleep routines.
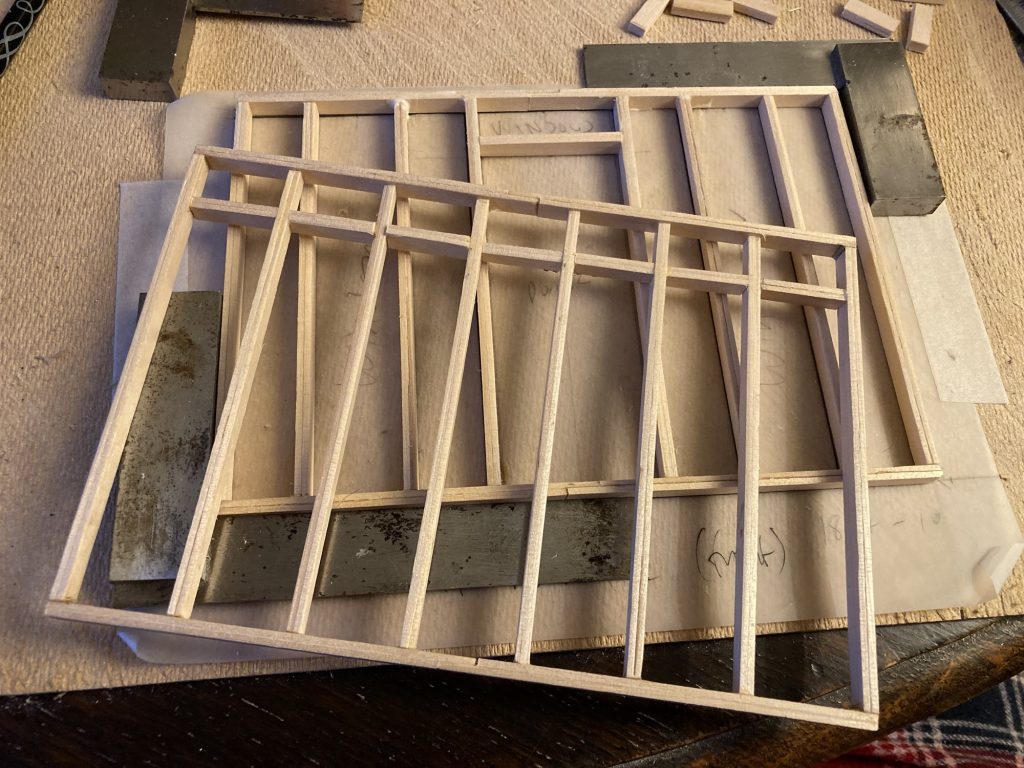
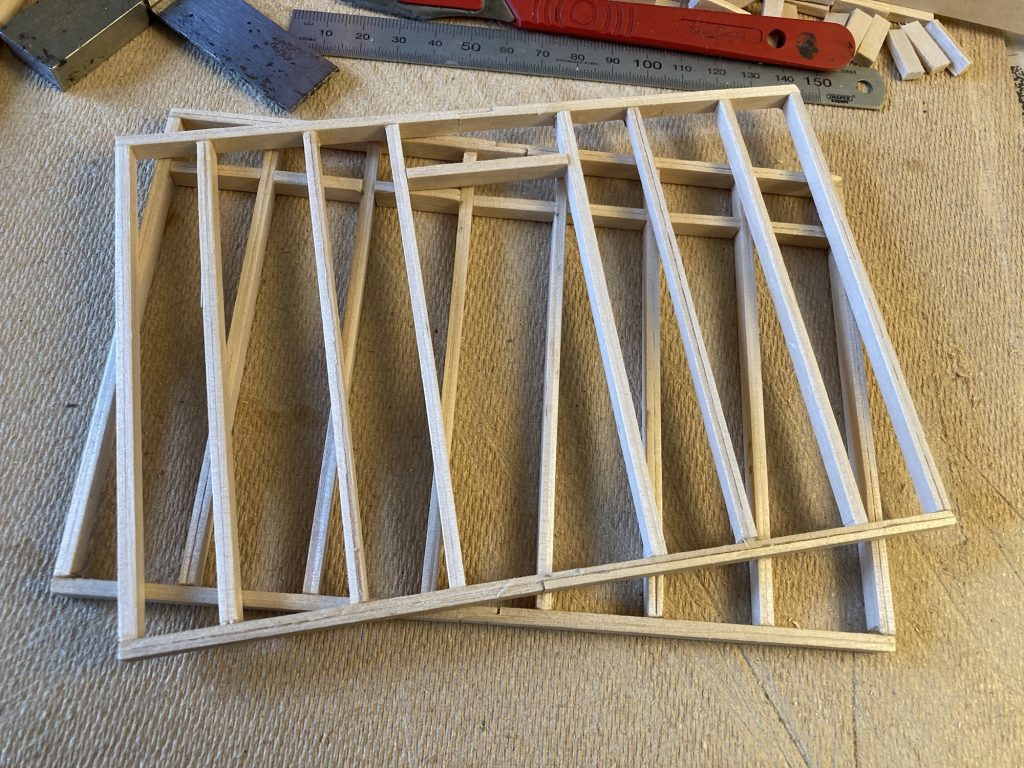
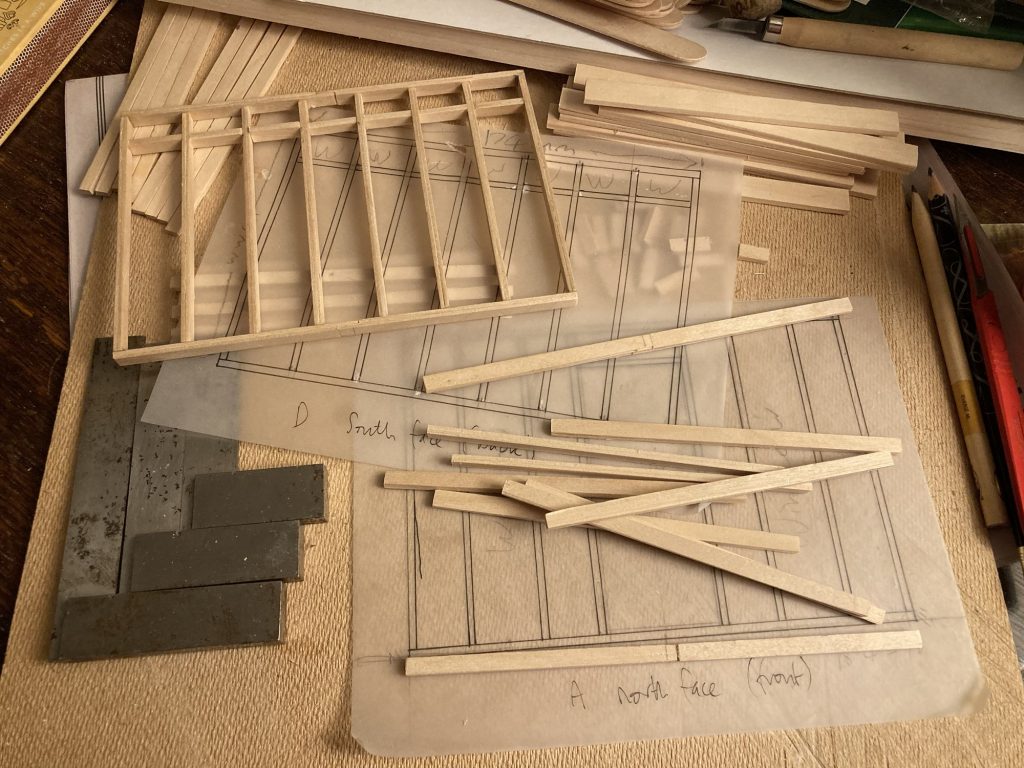
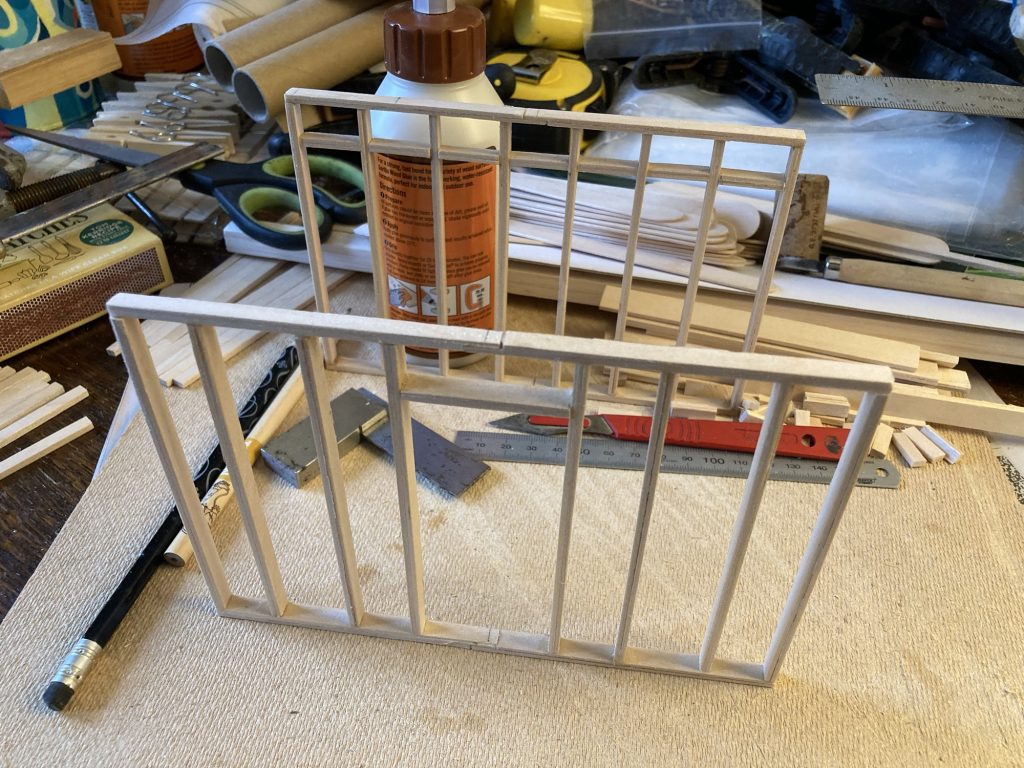
Panels A and D, done.
Door and window apertures.

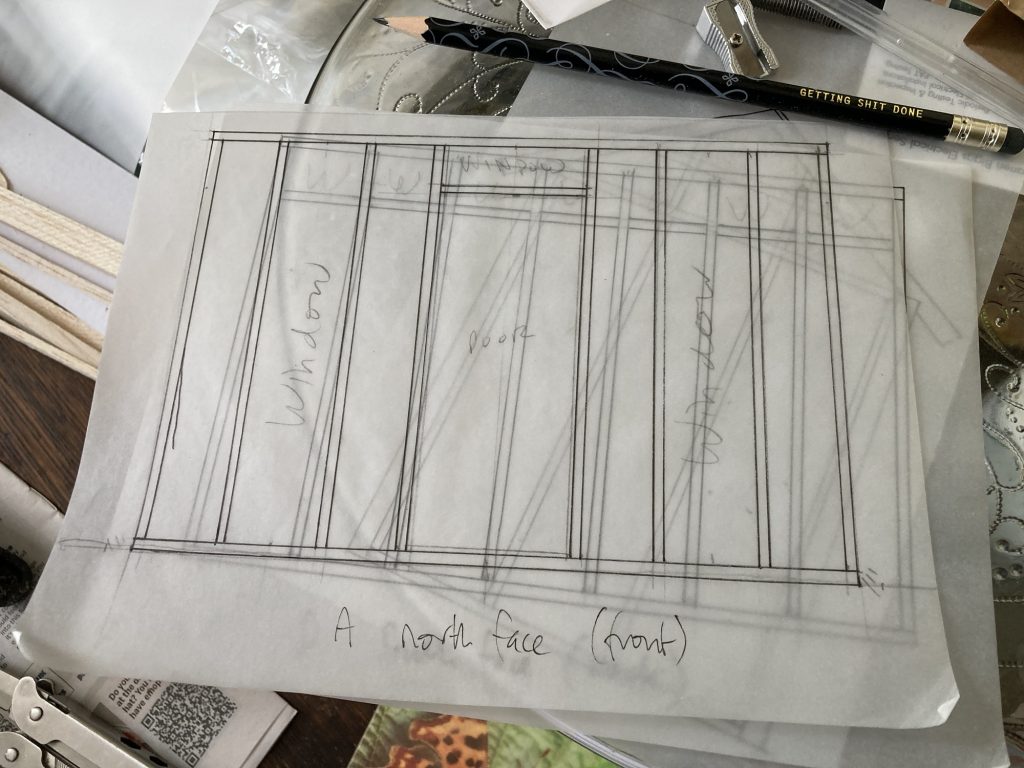
Compared with panel D, panel A has differently spaced vertical members. This is to allow for the door (centre), and two tall windows (possibly floor to ceiling?), in the second and sixth gaps.

A window over the door would also be nice. The more natural light in an art studio, the better!
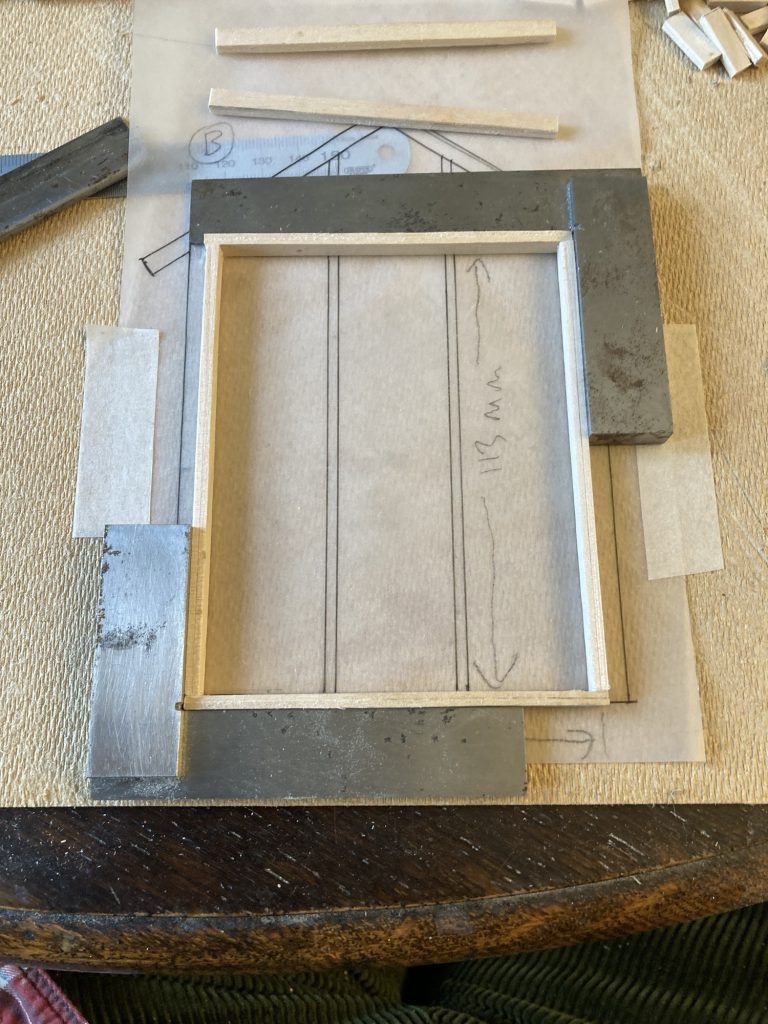
Panel B, east facing.

A bit later…

Well, I had my Covid booster jab this morning. And now I’m back home, before my afternoon shift, I’m working on the end panels, C and D.
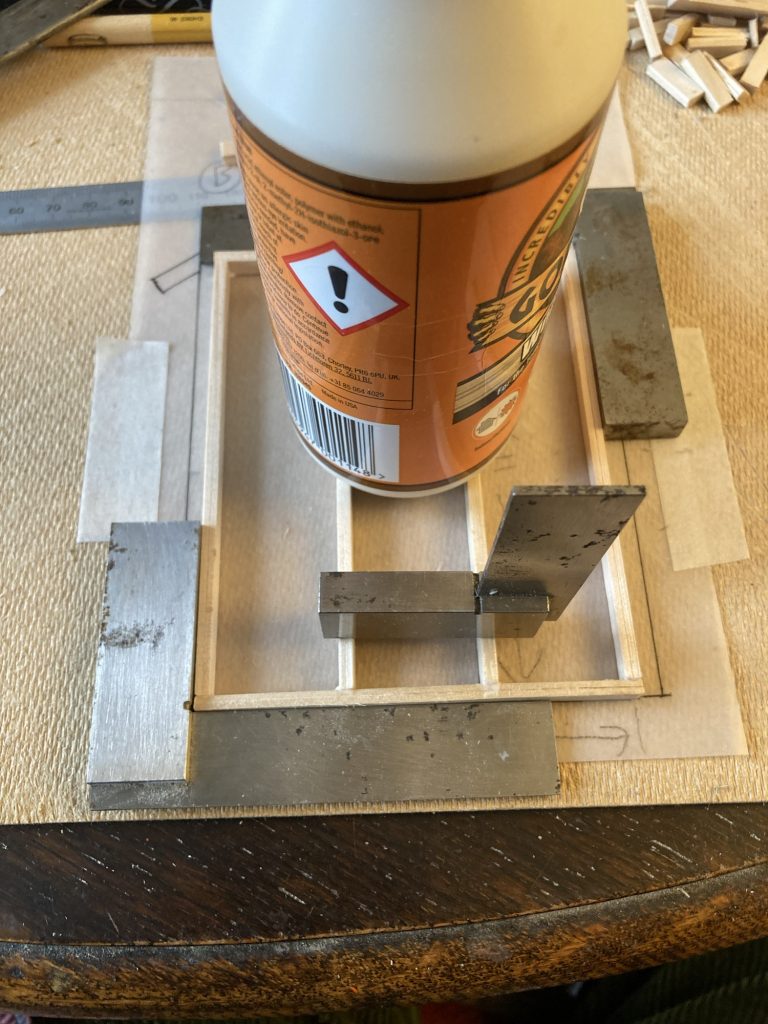
All squared, and gluing up.

Panel C will be a bit different, as I’ve got a pair of glass and timber doors to install on that aspect, facing west, down the garden.
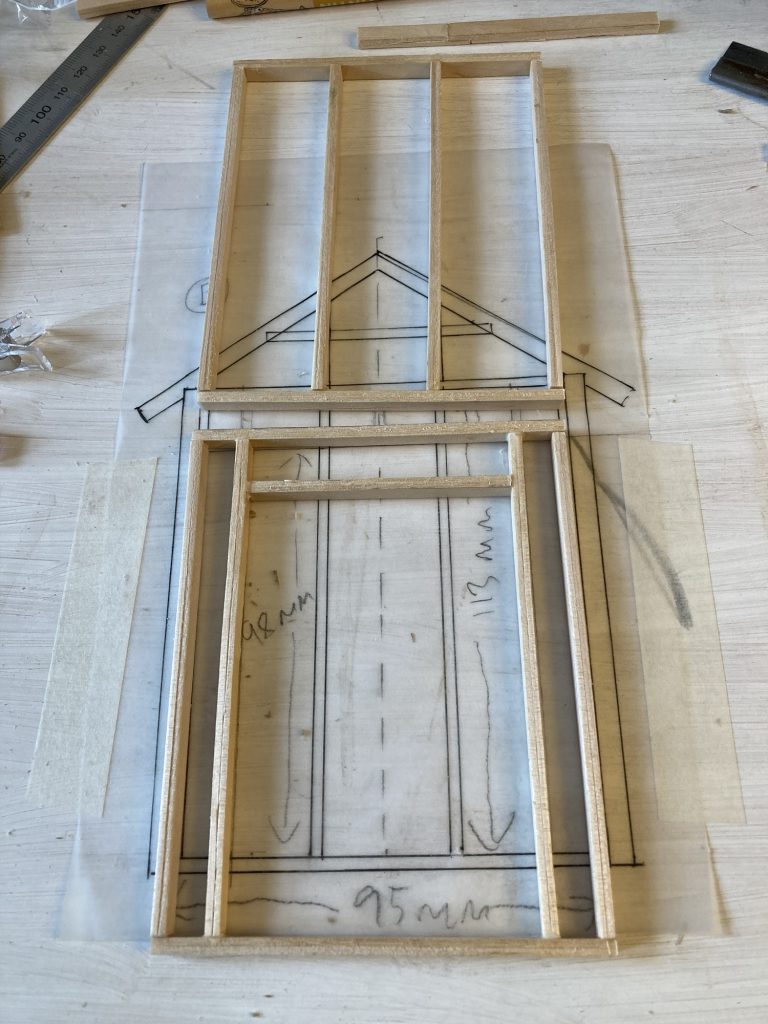
Panel C, with space for double doors.

I cut a solid base out of marine plywood. And made a course of balsa bricks, to lift the wooden frame off the ground. One of the reasons for the rebuild is that the original shed framing, sat directly on the concrete floor, is rotting away.
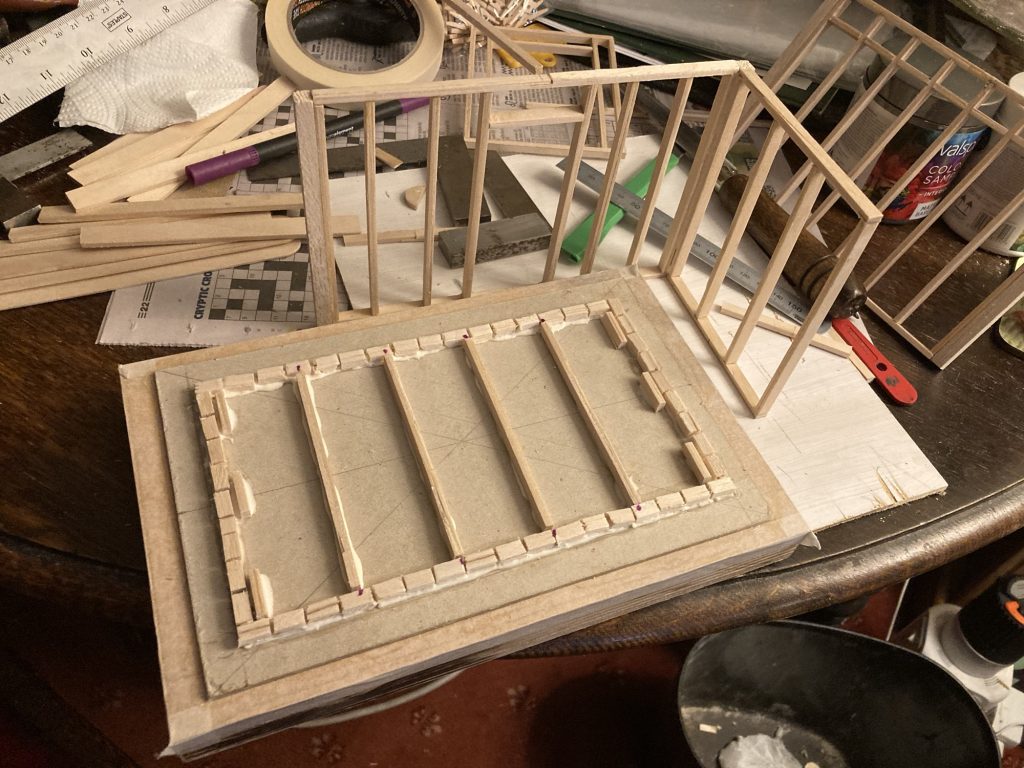
‘Bricks’ on a concrete pad.

Some timber cross members, to support the floor. The gaps in the real build would – I hope? – be filled with insulation. I glued some floor panels onto the cross members, and glued up the four external walls, A, B, C and D.
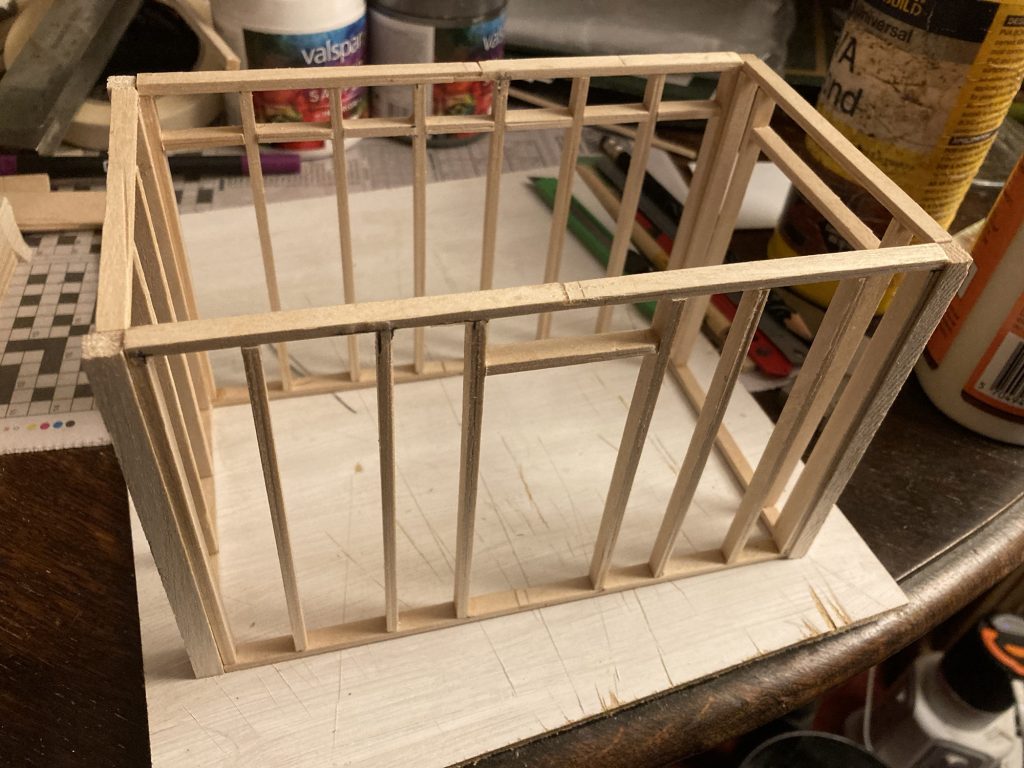
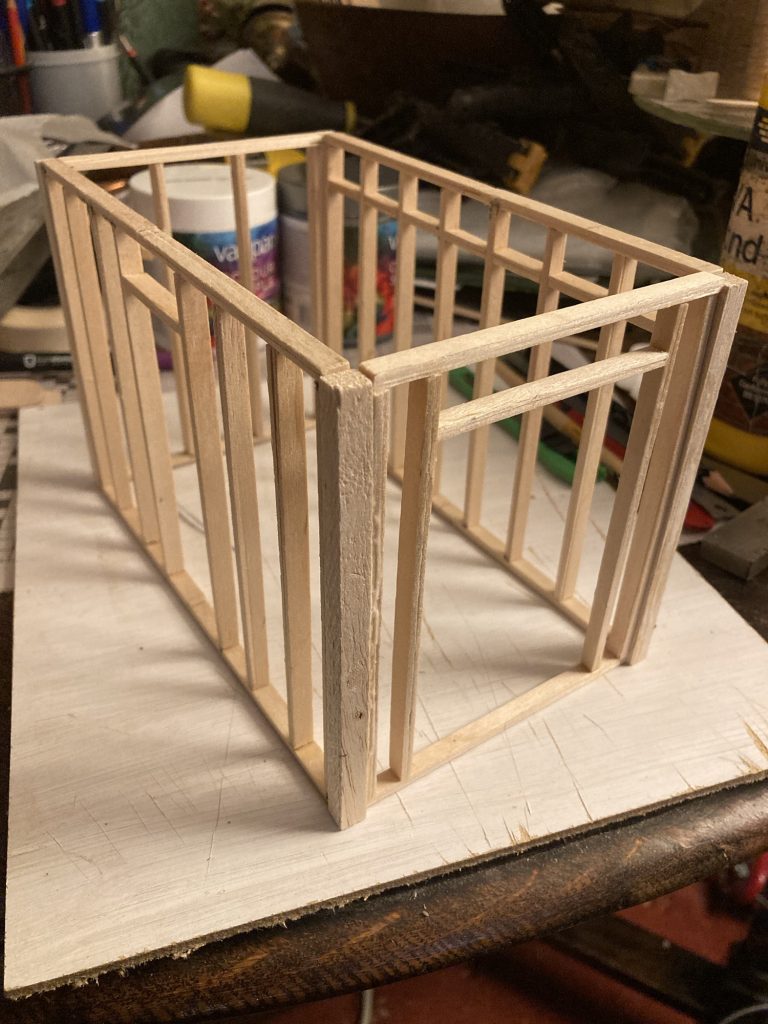
The framing panels assembled.
Looking pretty funky.

And to finish off today’s work, the framing for all the walls is now glued to the base. as pictured below.
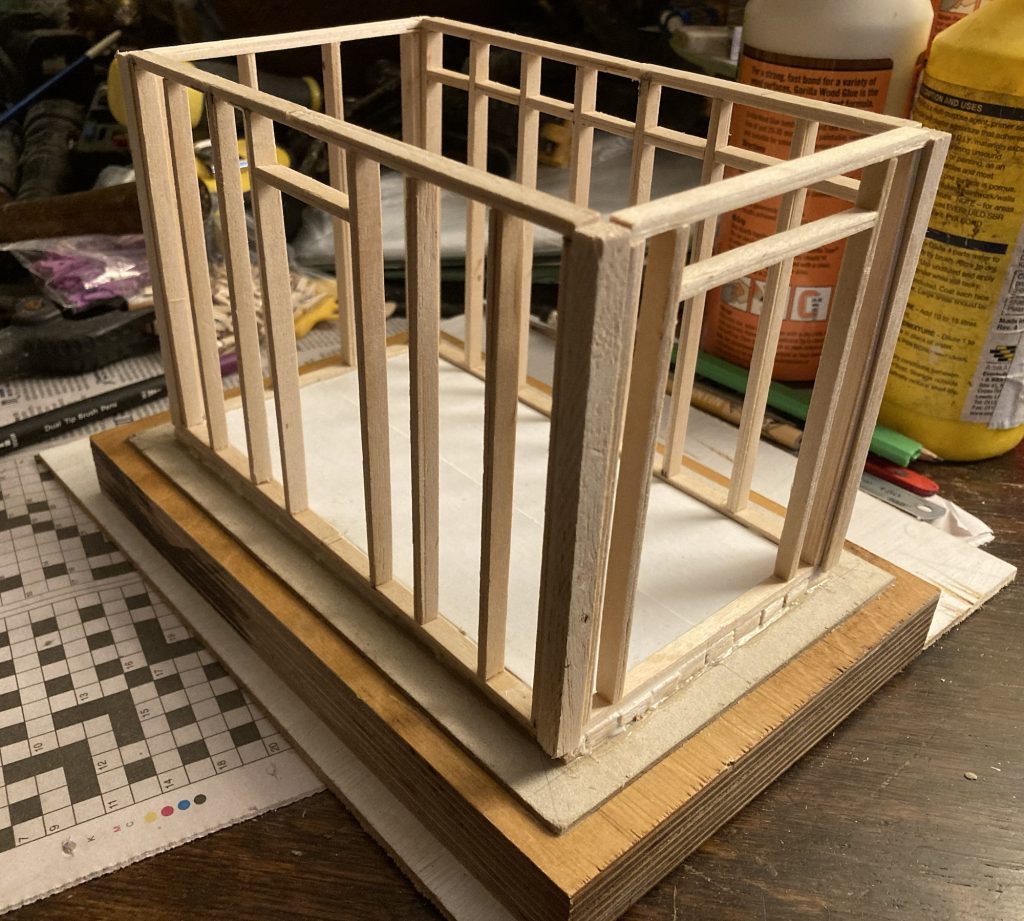
Getting there…

The plywood base is the ground. On that is a rectangle of card, which is the concrete base. Then there’s a course of bricks. Inside the bricks is a supported floor, with (altho’ not in this model) insulation between the cross members. On top of all of that is the main structure.
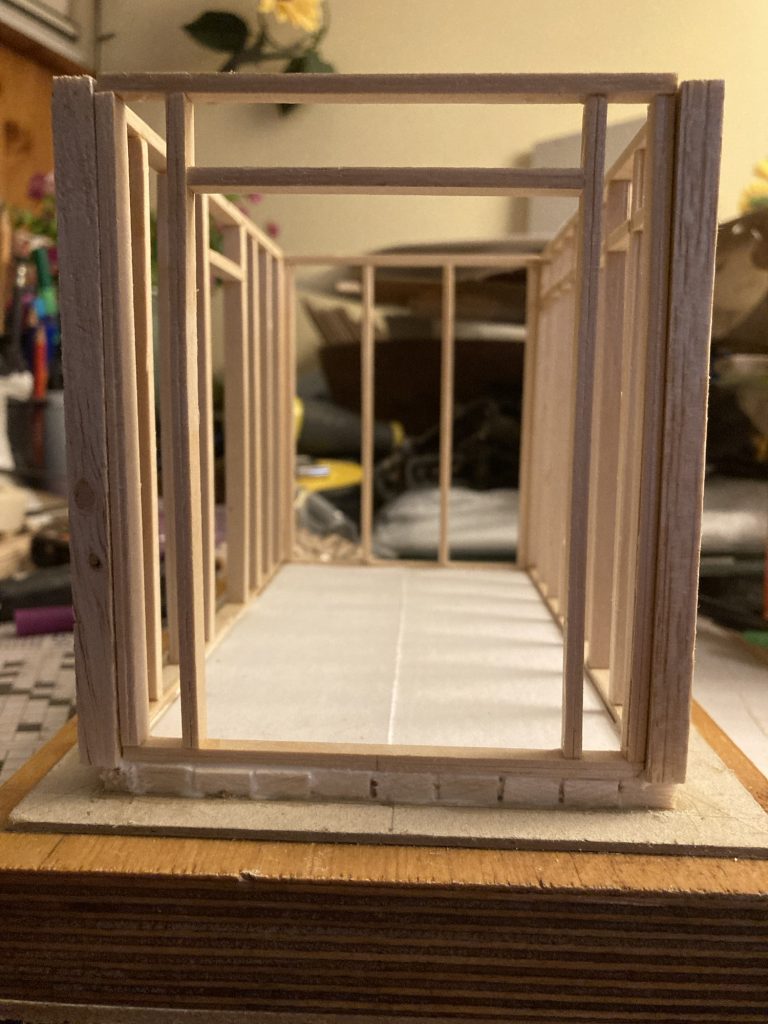
Looking into the studio from the garden end.

Next I need to fabricate doors and windows, somehow. I did try cutting up some Perspex today, for ‘glass’. But my puny efforts with the quite thick plastic were all to no avail!

The walls will need cladding, inside and out. Probably feather-edged weatherboard outside, and thin plain card (standing in for whatever material we use) inside.
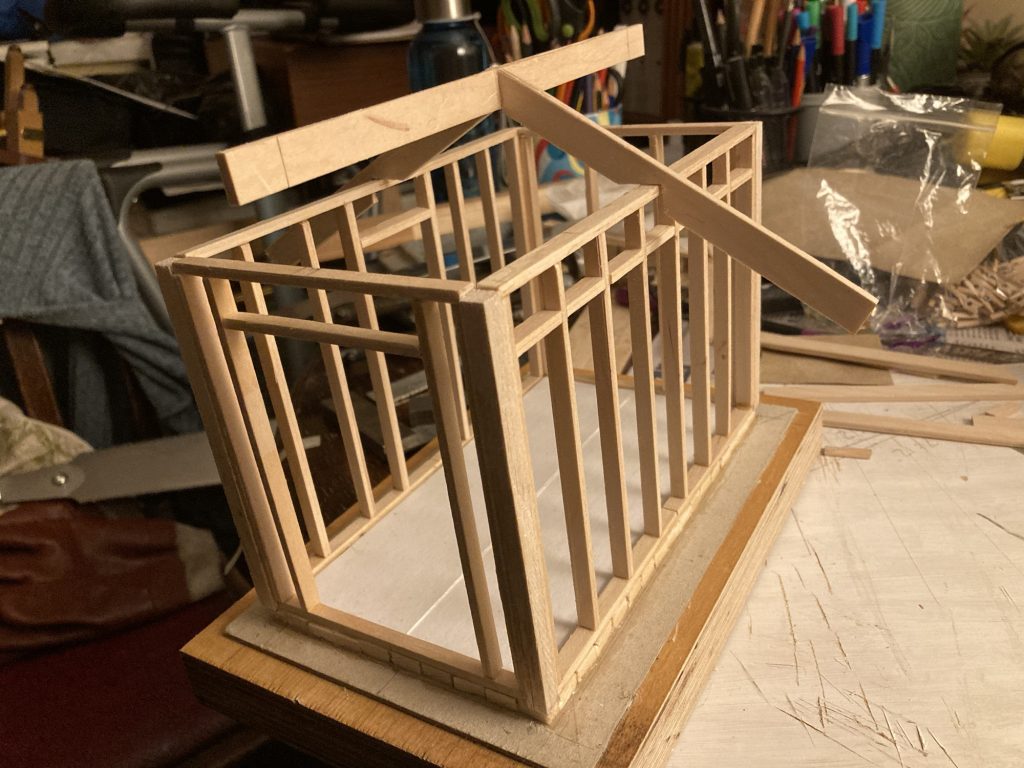
Started on the roof…

Gaaah!!! Some time much later…

I’ve not been able to control my efforts very well, on this project, today. I’ve kind of over intensely binged on it. And I’m recognising that my mental (and physical) health requires gentleness and moderation!
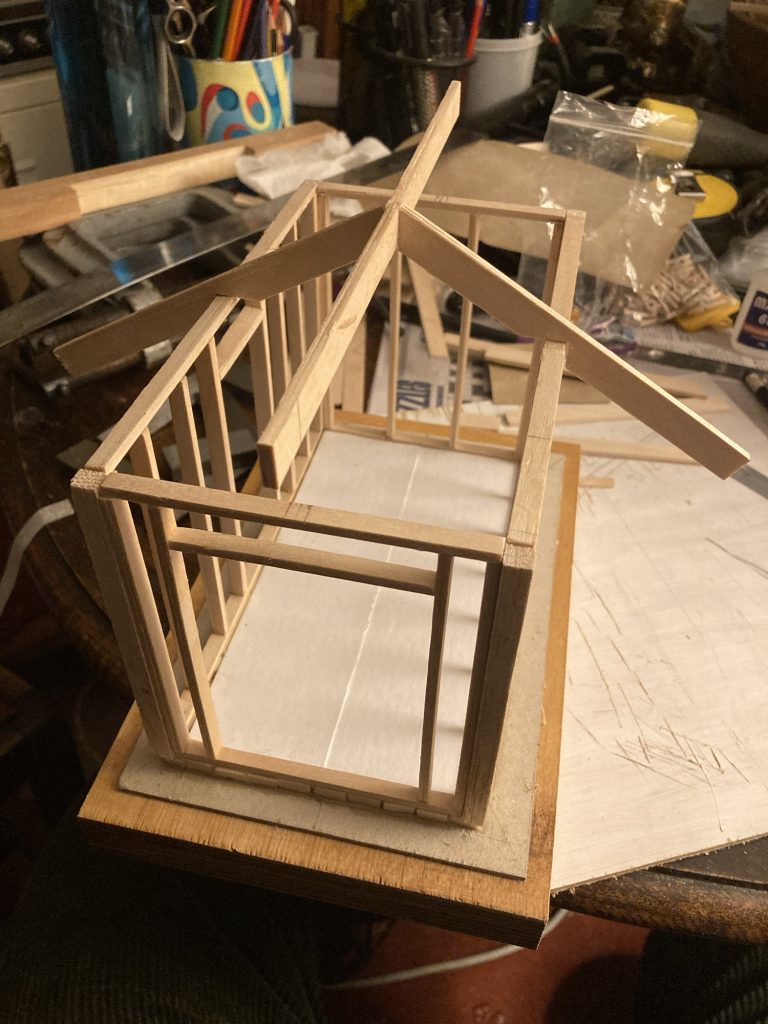
This was a bit of a nightmare, to be honest.

I hadn’t really meant to start on the roof. But I did. And I really ought to have come to bed and rested. Spesh’ as I feel pretty grotty, post Covid jab.
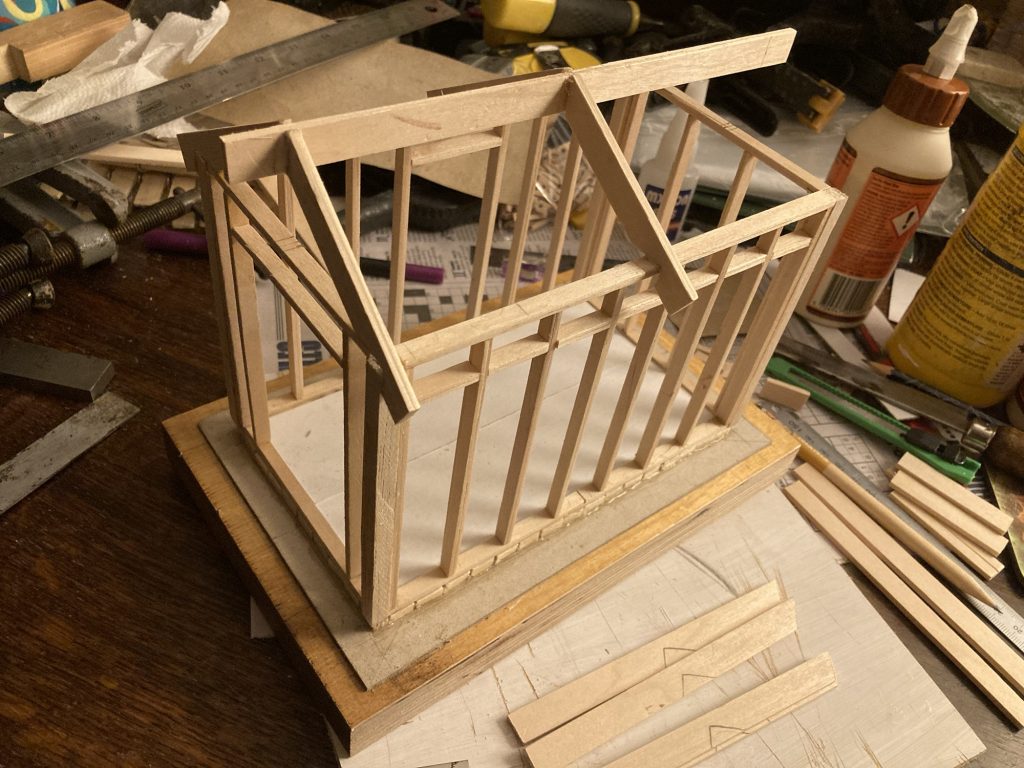
Close of play today.

Anyway… here’s where I left off tonight. I’ll try and … oh, shit! I just realised. How will I do the interior, if the roof is on!? Erm… hmmm!? Well, it’s a good job I’ve finally stopped. As I’m clearly not thinking straight any more. I’ve frazzled my brain. And my hands hurt. From all the sanding, sawing and gluing.

Everything in moderation, Seb… fer Chrissakes!

HOME/DiY: 1:20 Art Studio Model, Day IV

First panel mocked up.

Today we went to see Teresa’s mother and sister, at their home, in Stanmore. As well as just being a social call, we are helping them de-clutter. This is the second Flo’-load we’ve taken away. Some stuff to keep. Some stuff to dispose off.

Jean (Teresa’s mum), always feeds and waters us very generously. We had chicken curry, with rice and salad, for lunch, followed by peaches and evaporated milk. Lovely! And tea and coffee aplenty.
Very nice!

Teresa, Jean and Ruth.

But two hours each way, and about three and a half hours there, meant there was very little time available today to make progress on my studio model.

Still, a little every day will get us there. Schooner or later…

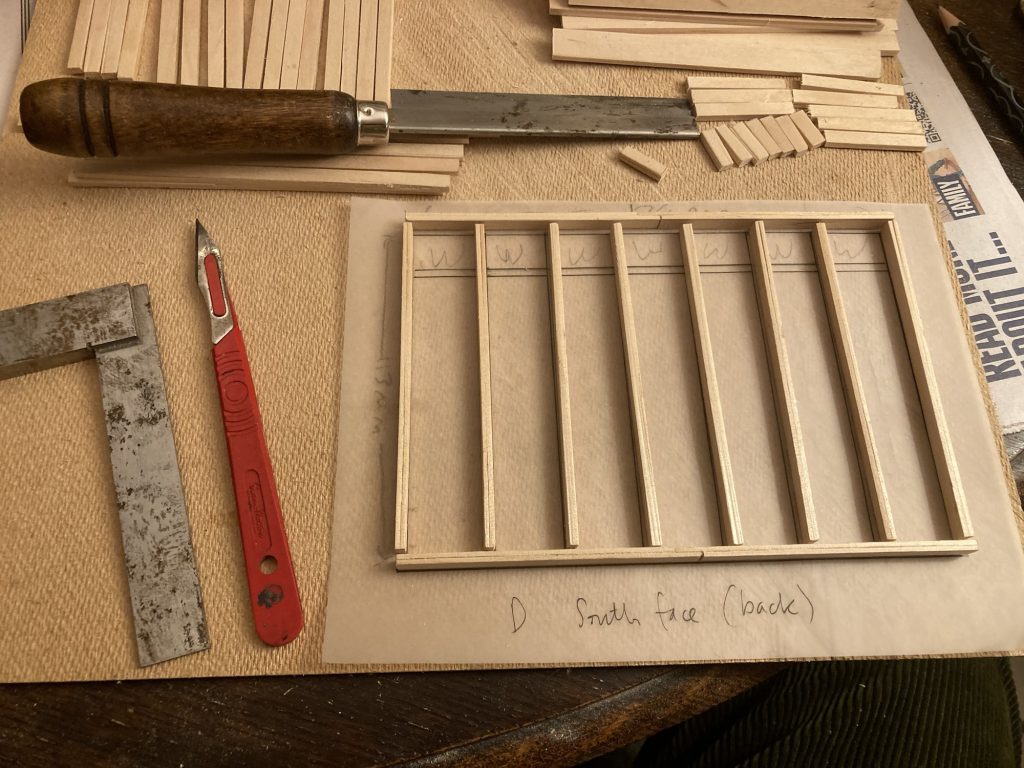
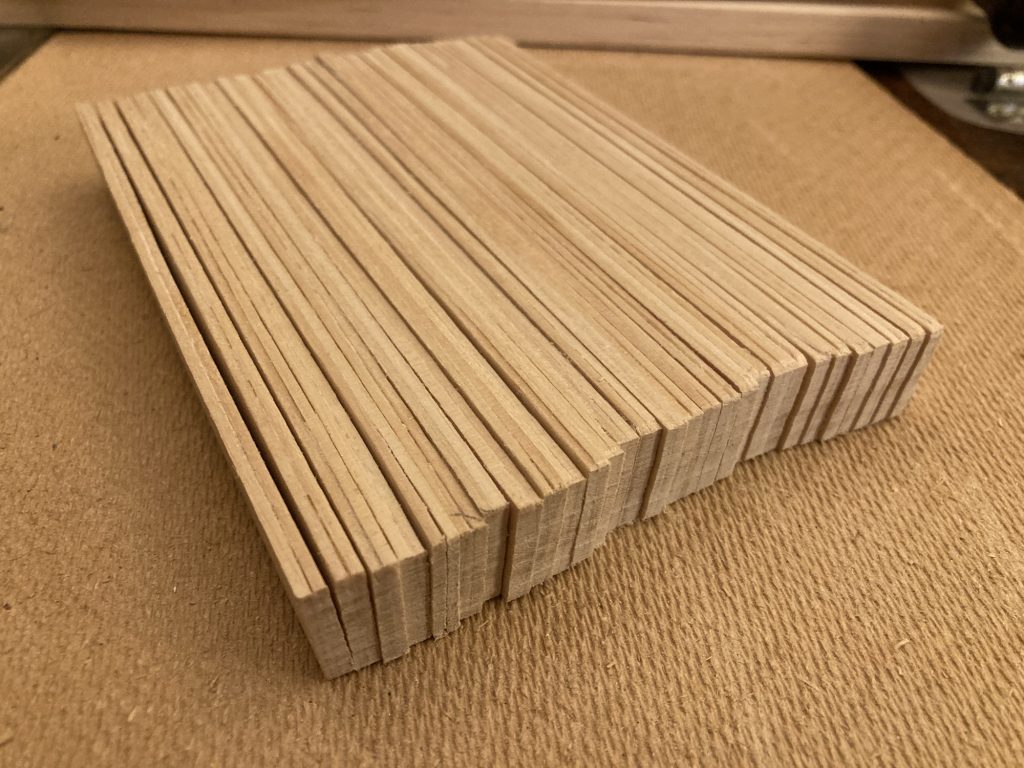
Today I cut down enough ‘timber’ (174 mm for horizontals; 113 mm for verticals), to frame up – nearly – the first panel. This would be the back panel.

The only pieces currently lacking are the seven small horizontal joining bits, that will frame a ‘clerestory’, along the top of the panel. I should be able to get these from the off-cut bits visible at upper right in the picture at the top of this post.

A bit later…

Glueing the verticals in place.

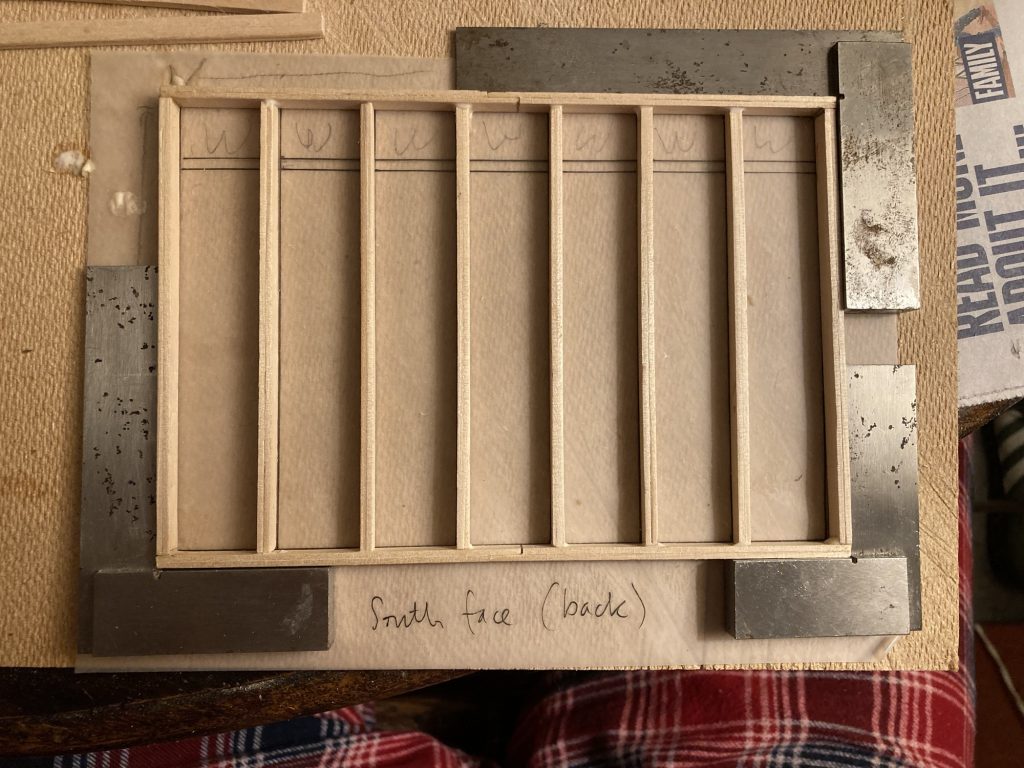
So… I decided to construct the first panel. Pictured above, a set of metal squares help keep everything nicely aligned.

Using a spacing block.

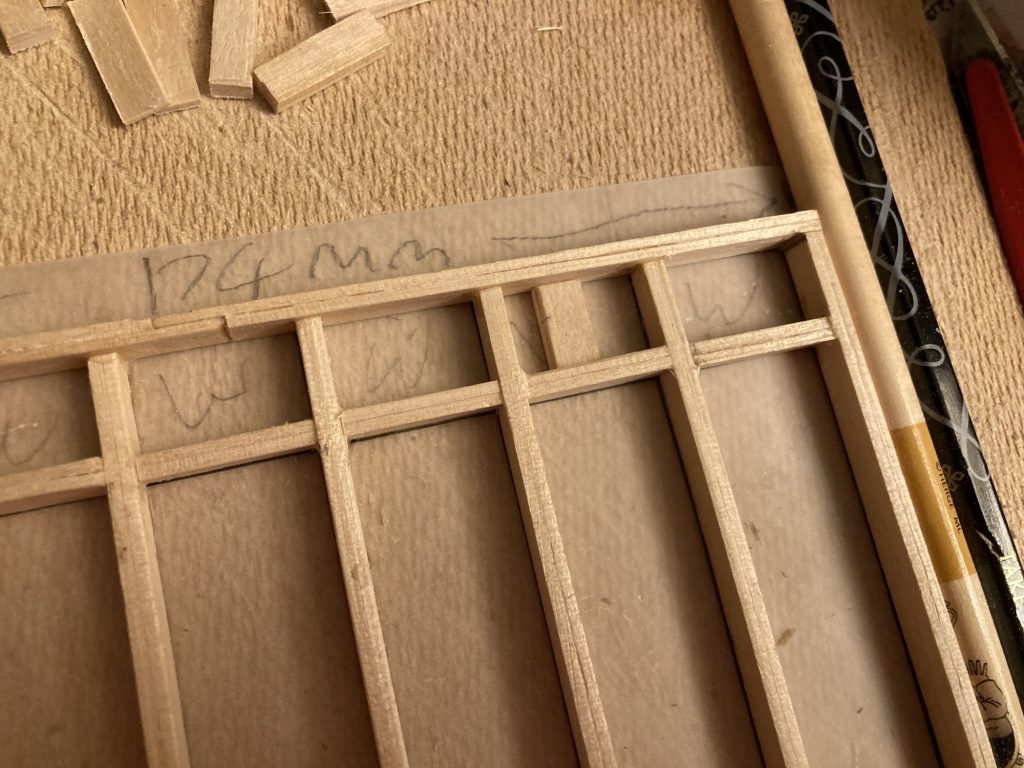
To align all the little horizontal beams, shown above and below, which will frame ‘clerestory’ windows, I used a little spacer block. I moved it side to side, within each aperture, to make sure everything aligned properly.

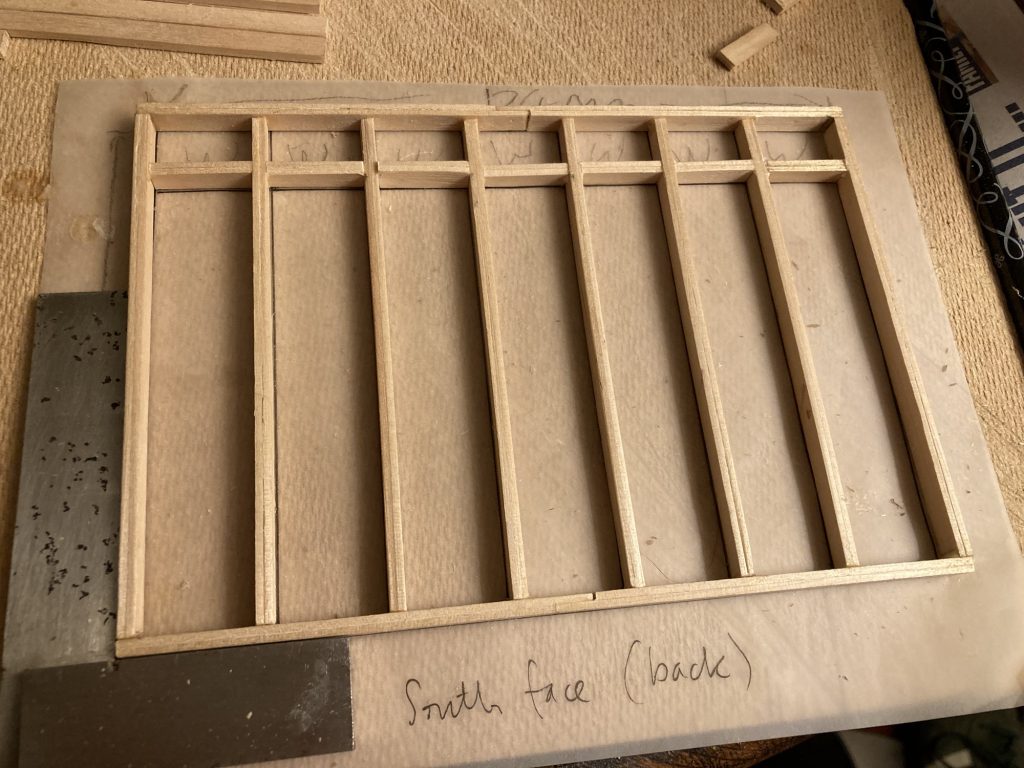
Boom! First panel completed.

Being so full from Jean’s feeding, we didn’t have any dinner (Teresa had actually prepped a roast!). But we did finish off a cherry pie, from last nights meal, with custard. Mmmm!

Then we both had a bath. And Teresa started re-watching some Rings of Power. Whilst she did that, I decided to finish the first panel. And I’m glad I did. It’s good to be finally doing something!

Ready to start the next panel.

And so, to close of play for today. Up the wooden hill, to bedfordshire, as Jeffers likes to say. Awaiting me tomorrow, the wherewithal to construct the next panel.

Ironically I’ve completed panel D first. The back or south facing wall. Tomorrow I’ll build panel A, the front or north facing side.

HOME/DiY: 1:20 Art Studio Model, Day III

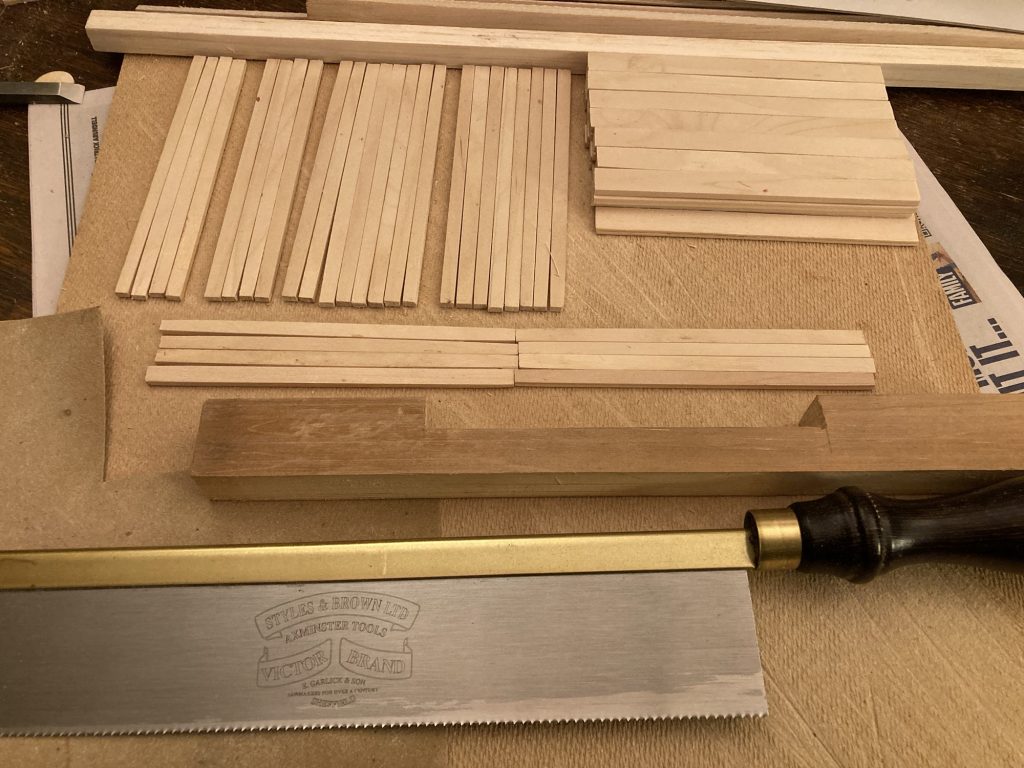
Lumber, timber and tools.

Today I spent a lot of time – I must be mad? – cutting the lumber (top right, above), into timber (left and centre), using the notched jig (above saw), and my ‘gentleman’s saw’.

A further cutting of the lumber will yield more than enough timber for the carcassing. In fact, I won’t have to do anything approaching all of it, as I have almost enough framing timber already.

I’m thinking I might make a raised plinth, or floor, so as to have underfloor insulation. If I do, I’ll work with the lolly sticks as they are, rather than doing any more of the gluing and cutting to size.

The set of eight – or two blocks of four – placed horizontally, above the cutting jig, are to be the lengthwise horizontal members. So they’ll need joining and then cutting down to size. I might do a stepped joint, for added strength?

6mm nails, on Amazon.

I’m also wondering about fixings. Do I just glue it all together? Or shall I go the extra mile, and use tiny tacks/pins, as nails? I’d like to do both, really. I wonder how small a nail type pin or tack one can get?

HOME/DiY: 1:20 Art Studio Model, Days I & II

Laying out carcassing.

After watching someone in America build a popsicle-stick house, on YouTube (below), I decided I’d like to make an architectural model myself. Of what? Well, why not try and built our art studio? And why not do so as a complete re-build?

I’ve been contemplating continuing with the bodged repairs to what we inherited for quite some time. But I’ve been lacking any energy or motivation to do so (never mind funds or materials).

All of a sudden I’ve felt the urge to do something creative. So, why not make a model of a totally new art-studio build? Thereby attaining the freedom to try out a completely new design.

I arrived at 1:20 scale partly due to it making a small enough model that it won’t be a problem storing it. And partly ‘cause the lollipop sticks I bought will work best, for me, at that scale.

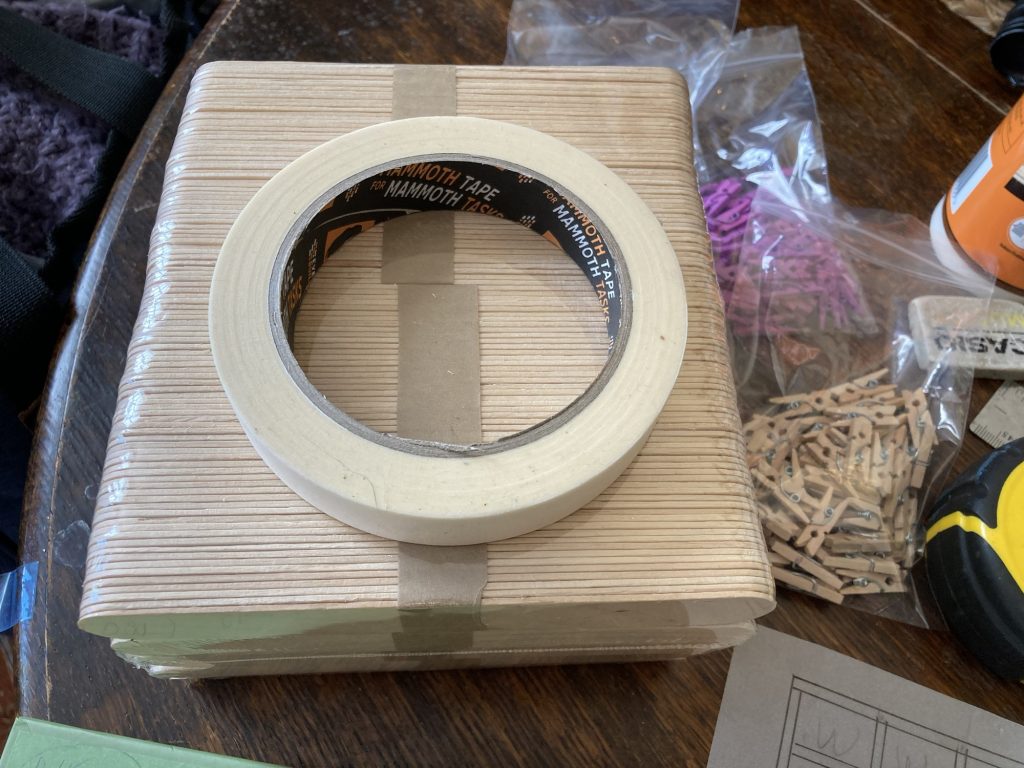
500 large lollipop sticks.

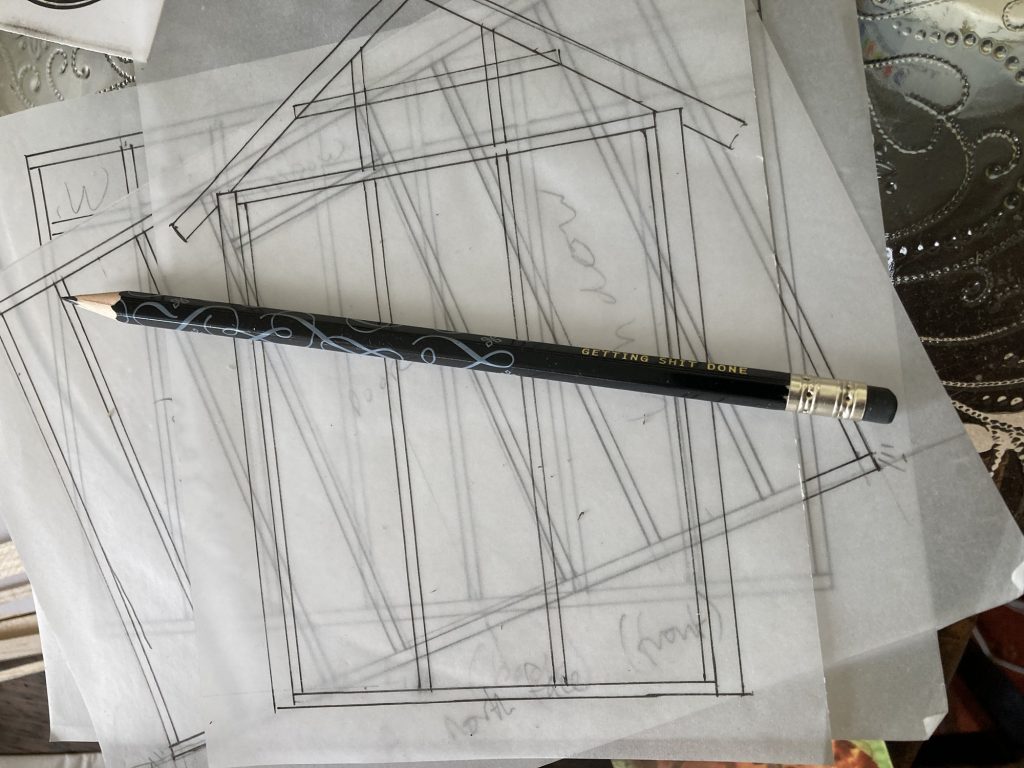
So far I’ve just drawn up some rough scale drawings of the various carcassing panels for each of the four walls. I’ve labelled them A through D: A is the North-facing ‘front’; B & C are the East- and West facing sides; D is the South-facing ‘back’.

My new design incorporates several doors I’ve collected, via Freecycle (or just general scavenging!), all of which let in more light, via numerous glass panes, than is currently available. And I’ll add lots more natural light via numerous windows. Some of the latter could be floor to ceiling.

Dual-pitch roof allows greater height.*

*Not according to what’s physically viable. But due to current building regulations.

I’ve also gone for a new dual-pitch roof, to maximise height and indoor space.

It’s interesting how doing this – sketching out a design, building a model, etc. – can help one refine one’s ideas. For example, my first drafts of the carcassing panels immediately needed amending, or just plain re-drawing.

First of all I’d forgotten to allow for four 4”x4” corner posts, and second, I initially used dimensions taken from the current shed. I’m staying with the footprint, size wise. But I’m making the new design significantly taller. Both in terms of wall heights, and the height of the new pitched roof.

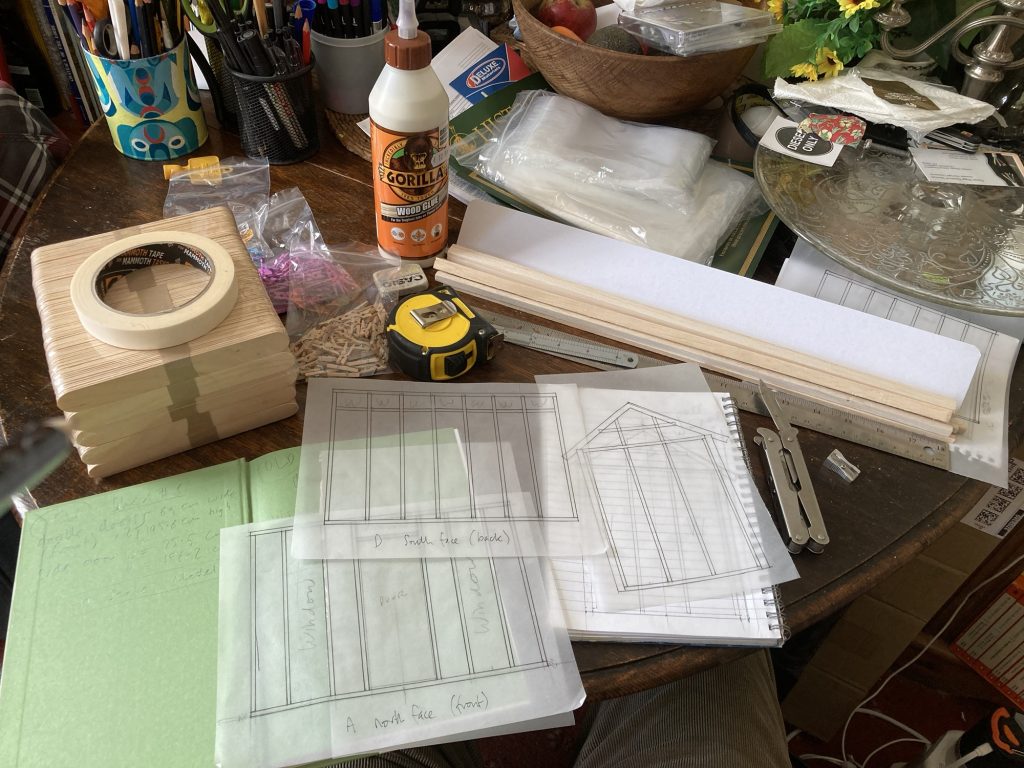
All the bits n’ bats…

Yesterday I bought raw materials for the model, and started on the scale design drawings. Today I intend to finish those drawings, and make a start on the model itself.

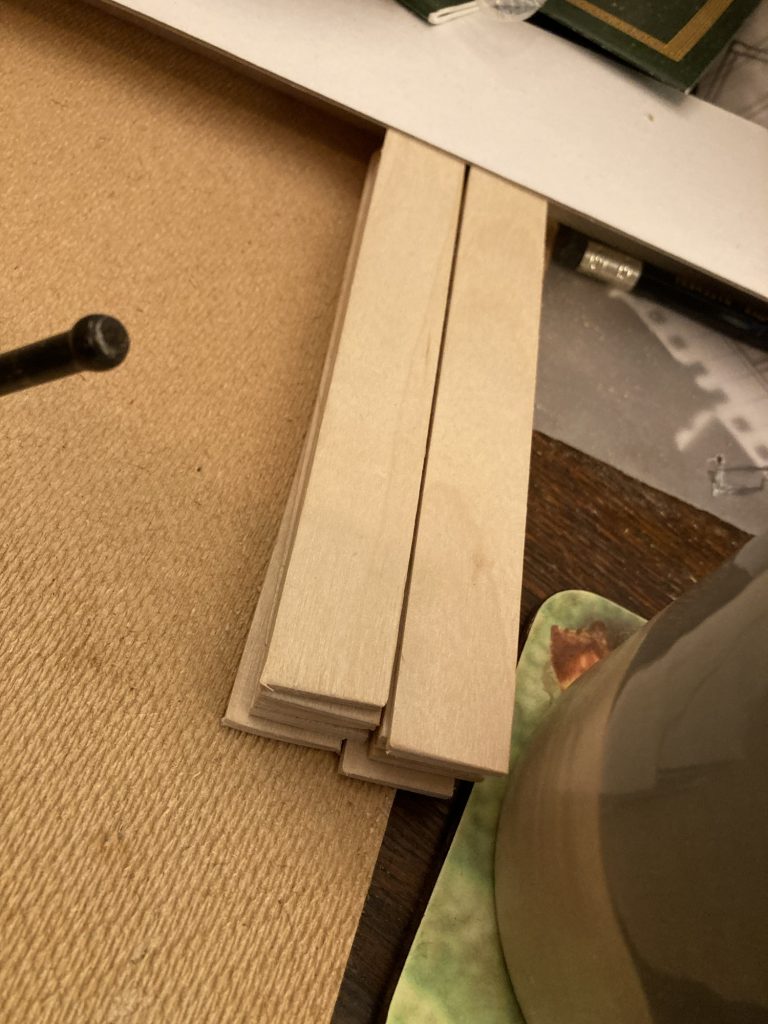
The latter will entail prepping the (jumbo) lolly-sticks; cutting off rounded ends, and gluing/laminating some of the sticks to create scaled down 2”x4” carcassing timber. I have some balsa that’s the right size for the 4”x4” corner posts.

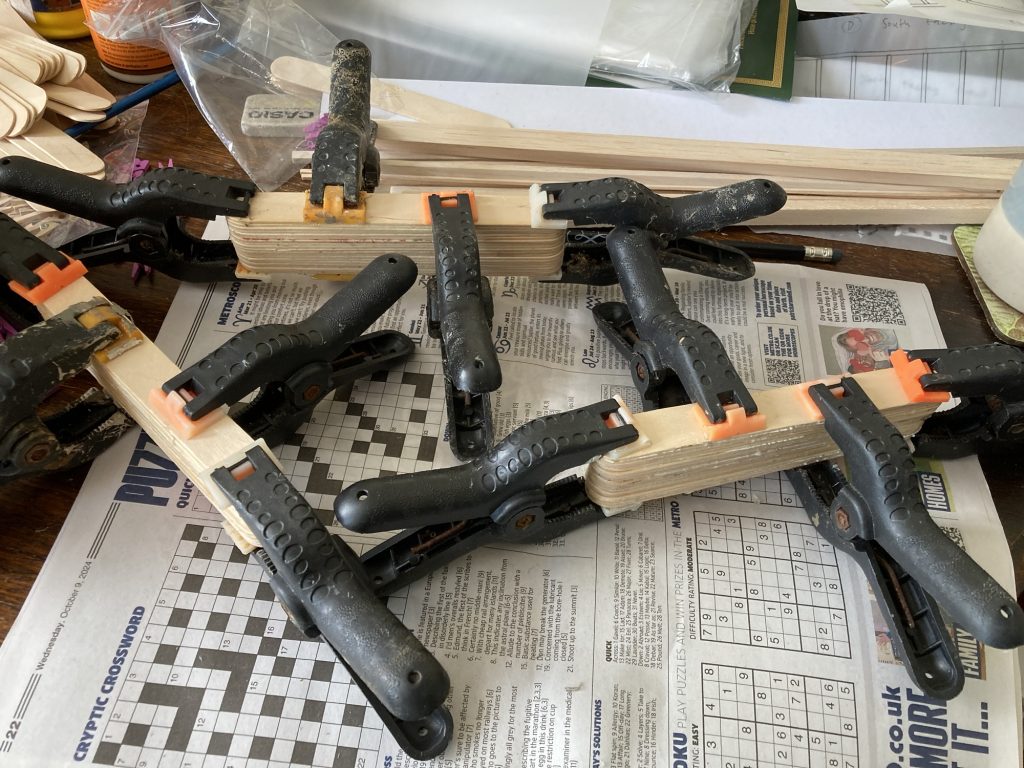
Gluing up.

I’ll need a stable and secure base for the model. And I might also need to create a jig or two for prepping all the ‘timber’. Hmmm…

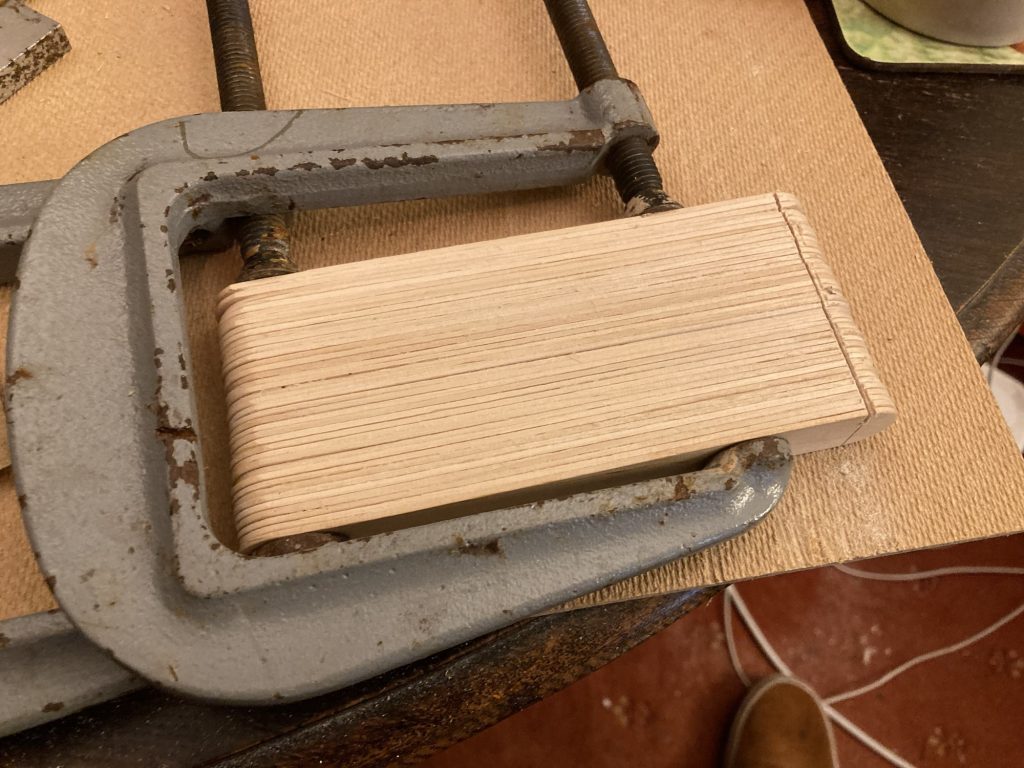
It seems the glue-up I did, gluing pairs of sticks together, so I can get proper 1:20 2”x4” ‘timber’ worked. I tried three different ways, of gluing. They all appear to have glued fine.

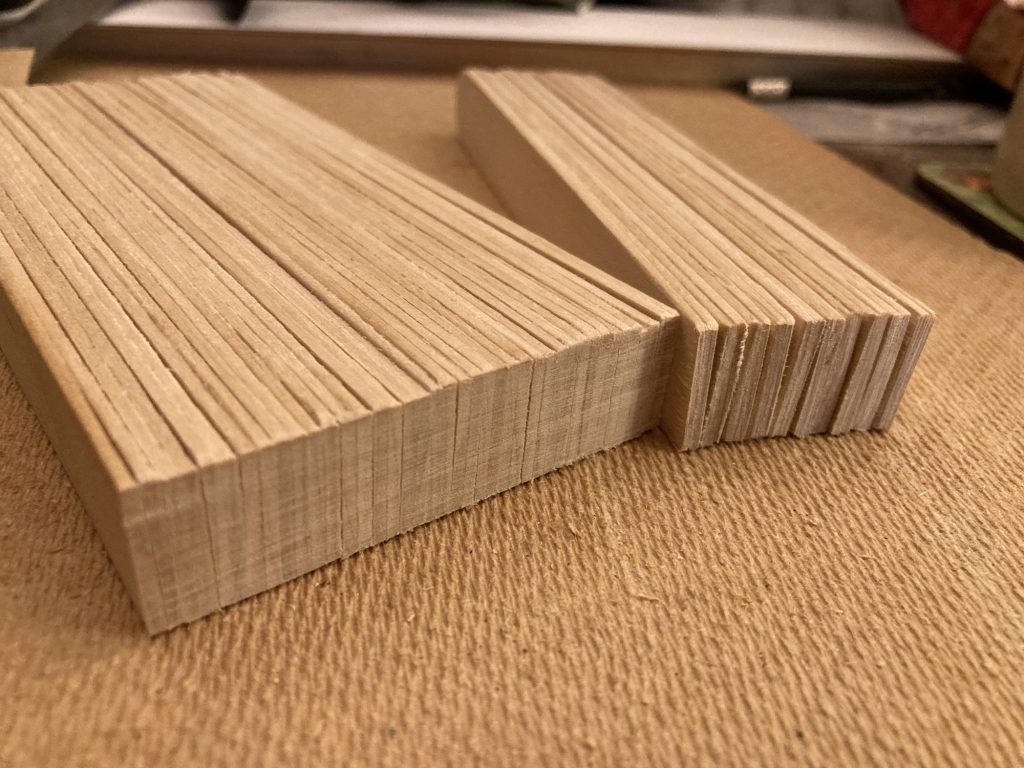
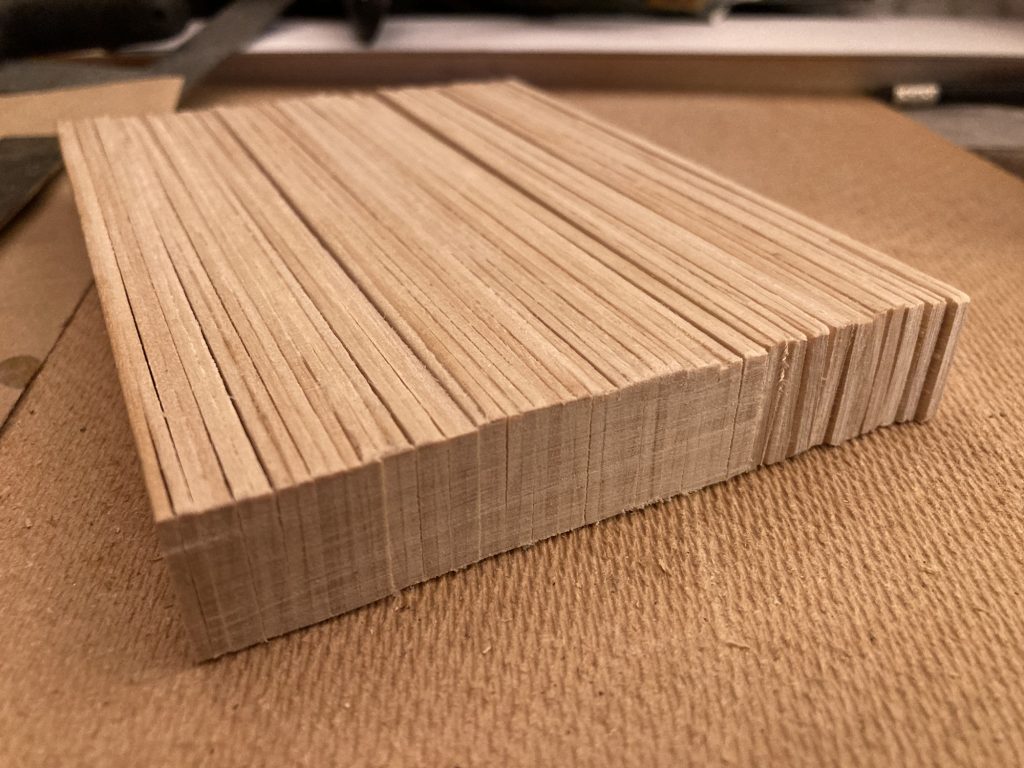
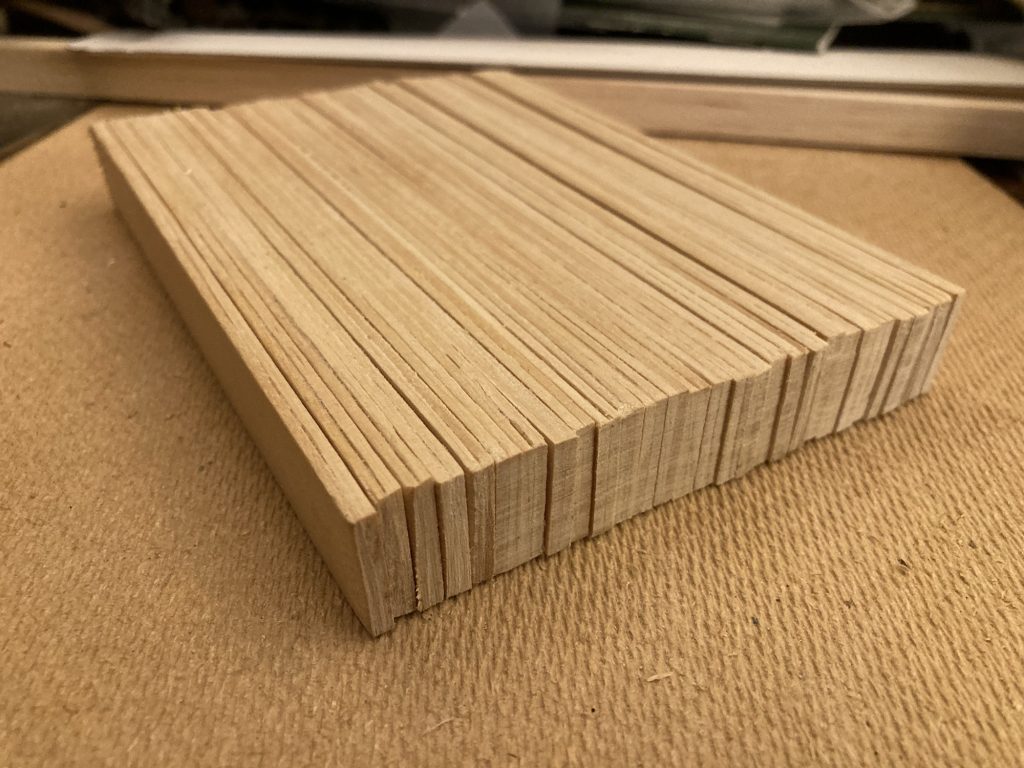
I also tried two ways of cutting off the ends. Individually, and en-masse. The en-masse method worked surprisingly well. You can see the contrast in the images below.

Cut these individually.
En masse at left; individual at right.

I also sanded all faces. To try and get everything ‘regular’. It’s a lot of little repetitive steps. But it’s fun.

All together now…

One end squared off.

Both ends now squared off.

My final work on this tonight is to square off the other end.

Also sanded length wise, along the edges.

The next step is to cut the lolly sticks length-wise. I wonder, will I be getting two or three beams per stick? I should be able to get three per stick. But we shall see.

UTTER TRiViA: Old Jamaica Ginger Beer

I used to enjoy this, occasionally.

I’m not a great fan of fizzy or canned drinks. But I did notice that I no longer saw the above Ginger Beer, in our local shops or supermarkets any more. Which is a shame, as it’s one of the only canned fizzy drinks I kind of liked!

I googled ‘old Jamaica ginger beer’, to find out what’s up. And got the following contradictory results:

Looks fairly clear/official.

So, the above is on a website with the registered domain name, oldjamaicagingerbeer.com. It looks both official and categorical. But I could find no dates. And there’s so much fakery online… who knows?

I also found this:

On Reddit.

Admittedly that’s on Reddit, which seems to be a cesspool of drivel, by and large. But when I search for the product itself, it does seem to be available. And that includes from all the places – Tesco, Sainsburys, etc. – that I couldn’t find it myself, in store. It’s also online, via Amazon, etc.

Most perplexing. And gassy… 🫧

HEALTH & WELLBEiNG: Early to Bed…

Well… I’ve just come upstairs, to go to bed. And it’s not even 6 pm! I slept till midday as well. But I am ridiculously exhausted. I have to confess, I think it’s depression exhaustion, as much as anything else.

It might also be this lingering cold? I’m over the worst, at least in terms of when I was producing rivers of snot. But I’m finding it hard to- or rather next to impossible – to shift the irritable throat cough.

But I’ve had something g in that line almost permanently since just before Covid officially hit. I’m still no wiser as to what that’s all about. But a general raspy tickle crackly wheeze SS has become almost the norm.

I had a single bottle of Perlenbacher 4% lager today. Surely that can’t be the reason? It’s certainly not the sole reason. But, I suspect, very sadly, that at present, any alcohol is just a bad idea.

Sexual frustration, and my overactive libido, play a part. Anyway, whatever… as folk say these days. I just want to be asleep. Please, please… pleeease… sleep, come and dull the pain of living.

Switch off the world. Please!

BOOK REViEW: Peiper’s War, Danny Parker

I finished this late last night. And I have to confess, I found it a fascinating and compelling read. 

Not sure where I read it (the intro, possibly?), but Parker says this book is part three of a ‘quadrilogy’ on Peiper. Clearly he’s obsessed with his subject! He also states that these works are the result of two decades of research. Impressive!

This is the only one of the authors’ books I’ve read, thus far. He hasn’t quite got the literary polish of your Stephen Ambrose, or Anthony Beevor types. And, like a good deal of specialist publishing, a bit more editorial finessing wouldn’t go amiss. But, all things considered, this is a very impressive and terrifically engaging work, on a sometimes darkly fascinating character, during some of the most awful and exciting times of the tumultuous 20th Century.

As the title says, this is the story of Peiper’s War. And as a prominent and favoured member of the elite Waffen SS – Himmler’s adjutant for a spell – he sees action all over; on both the Ostfront, and D-Day campaigns, in Northern Italy, during the Battle of the Bulge, and even in Hungary, at War’s end. 

The SS were, infamously, not just an equivalent of Napoleon’s Imperial Guard, but, more sinisterly, the oft’ fanatical ideological enforcers of Hitler’s deeply racist ideology. So, as well as the usual (and very compelling) military stuff, we also have to deal with complicity in many atrocities, on all Fronts. 

From Krasnaya Polyana in the East, and Boves in Northern Italy, to Malmedy, in Belgium, Peiper’s SS Men repeatedly – and fairly routinely, it would seem – took their ideological warfare to non-combatants. From helping round up Jews, as part of Hitler’s ‘Final Solution’, to reprisals against civilians, in the horrific tit-for-tat of guerrilla war, SS units, like those of Peiper’s Leibstandarte Adolf Hitler, were unremittingly brutal. 

The book covers all of this, with plenty of maps and supporting notes, very well. I was a bit surprised and disappointed that, near war’s end, the blow by blow narrative ceased; for some reason Peiper’s Battle of the Bulge and Lake Balaton stuff isn’t covered here. One suspects Parker will cover it in more detail elsewhere.*

Instead the last two chapters of this book focus on, 1) the infamous Malmedy massacre, and 2) P. O. Box 1142. The latter being a secret location (Fort Hunt) in the US, where German prisoners were bugged whilst kept captive, to gather intel’ for post-WWII war crimes trials. 

What I liked best about this book, if I’m honest, is the ‘ordinary’ military stuff. When Peiper and co. are fighting their armed adversaries. And given that they do so all over the various theatres of war, that aspect is the core of this book. There’s even a very sizeable chunk where we follow not just SS Leibestandarte Adolf Hitler, but the whole disintegration and rout of German forces in France, during which time Peiper was convalescing behind the lines.

In terms of an exciting and compelling read, I’d say this is five star stuff. But, given the nature –  and size and scope – of Parker’s interest in Peiper, on its own this wartime volume has, most notably at the end, some lamentable lacunae.

For this, and an occasional lack of editorial finesse, I go with four and a half stars. Nonetheless, it’s very readable book, and highly recommended.

*This – I discovered it’s existence after writing this review – will be the reason:

MiSC: Moquette…

I’m on a quest to find the Moquette used in old buses. Preferably in green. It might be a forlorn hope?

This is what I’m after!*

*From the Titfield Thunderbolt movie.

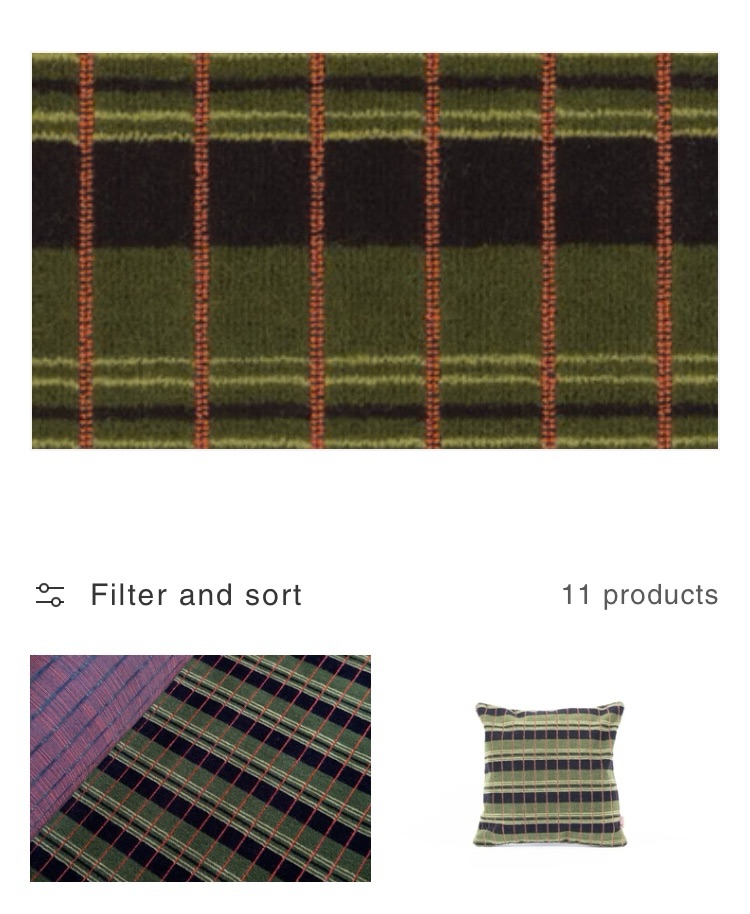
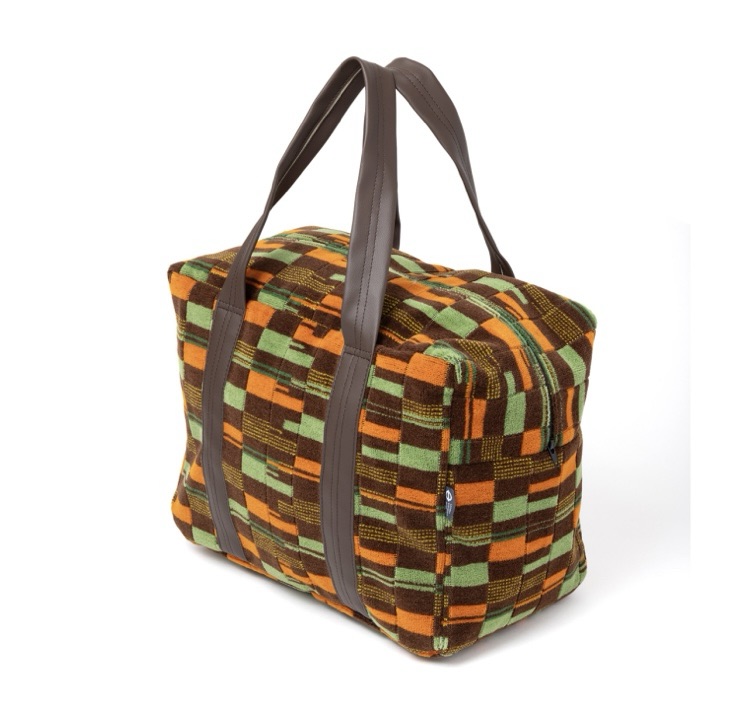
In the meantime, here are some moquettes and items made with them…

All very nice. But horrically expensive.

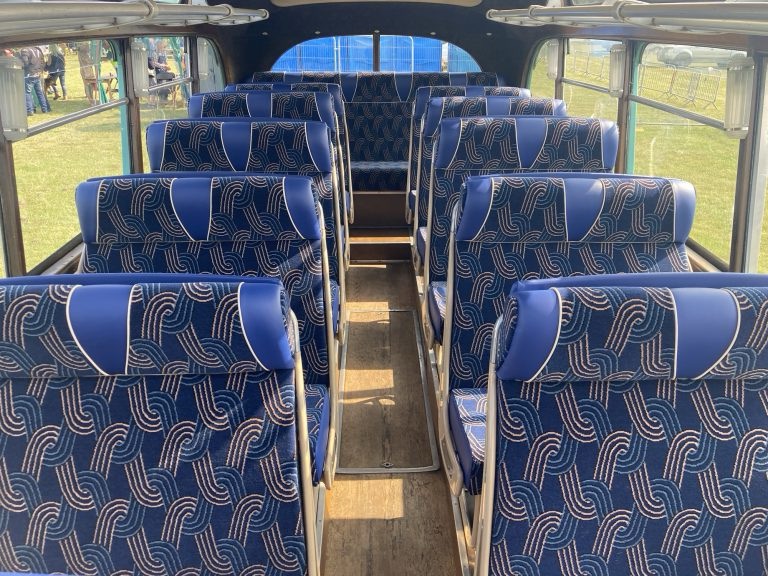
The closest I can find to what I’m looking for is this:

Seen at the Ramsey 1940s show, this summer, in an old bus. But blue, not green. I’ve found it online. And in red as well as blue. But not green, alas.

DAYS OUT: St Mary, Titchmarsh

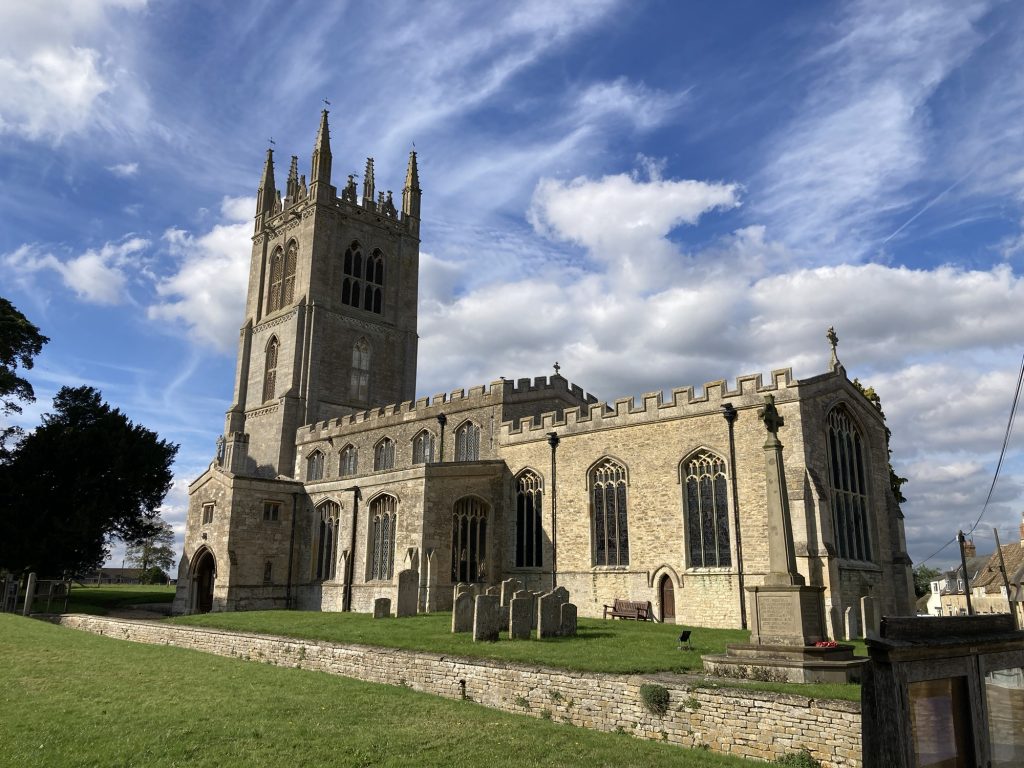
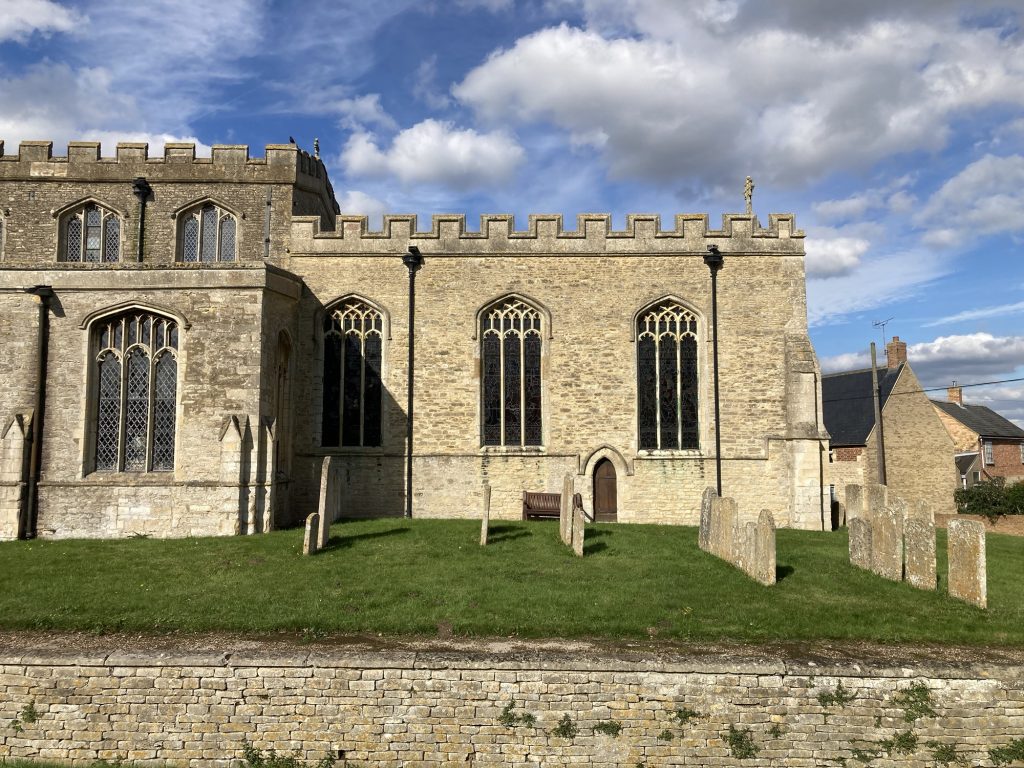
St Mary The Virgin, Titchmarsh.

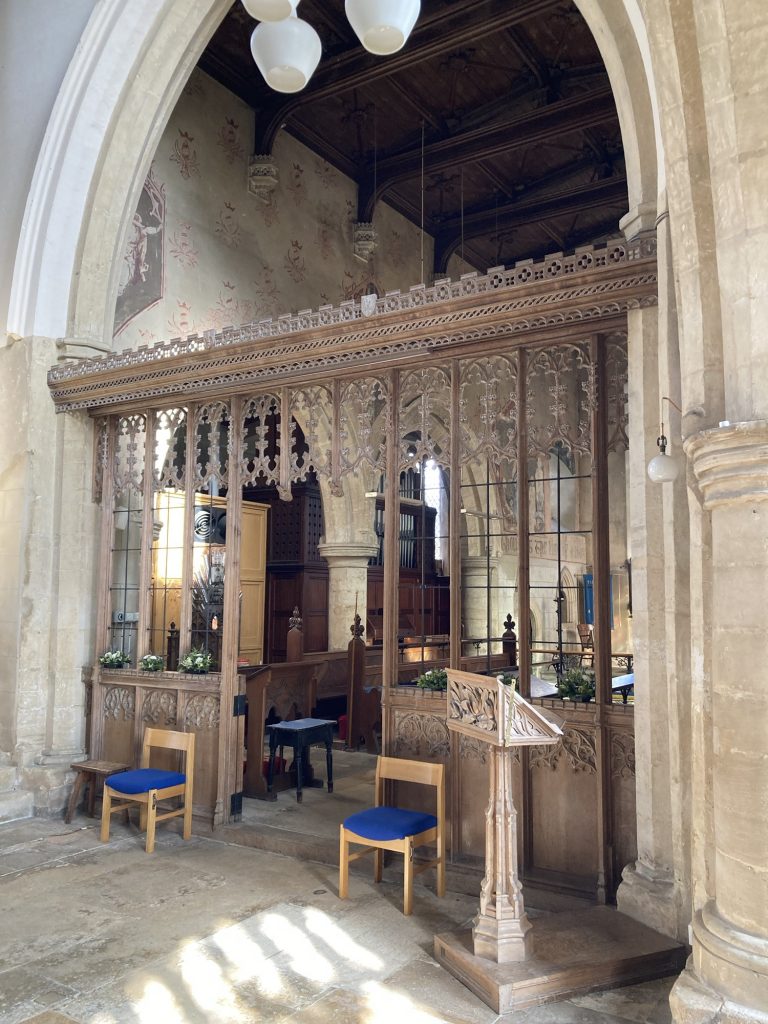
It’s been a while since I stopped to admire a nice old church. St Mary The Virgin, in Titchmarsh, is a pretty grand looking edifice.

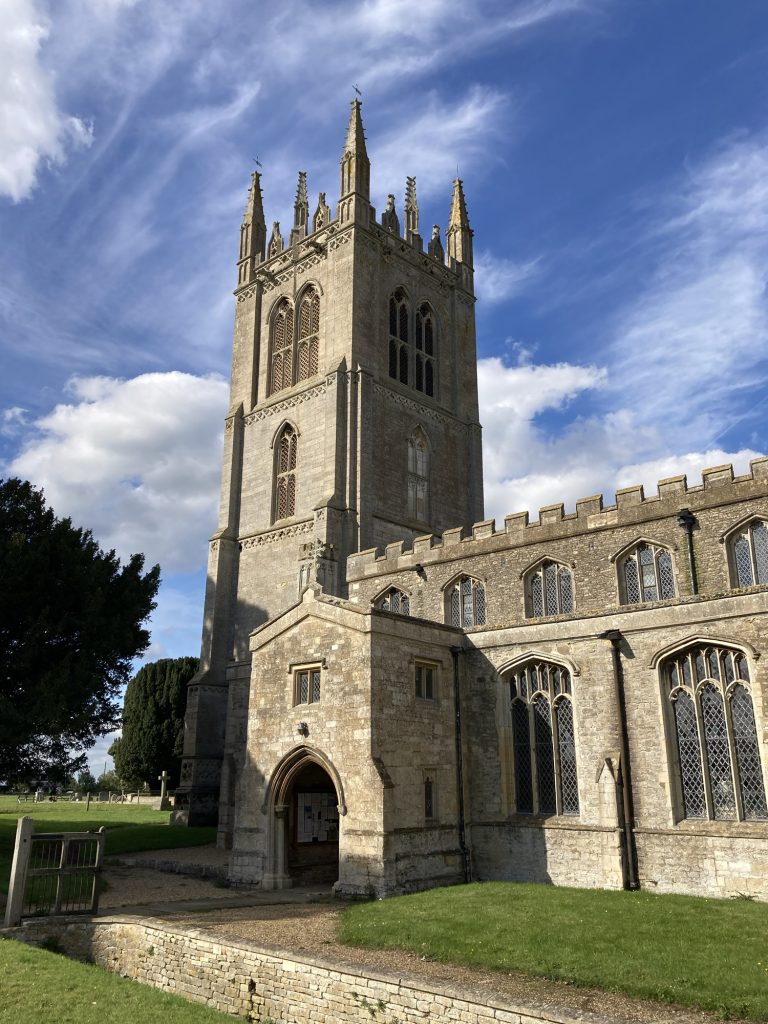
Above, the approach…

Not mind blowing. But worth a look.

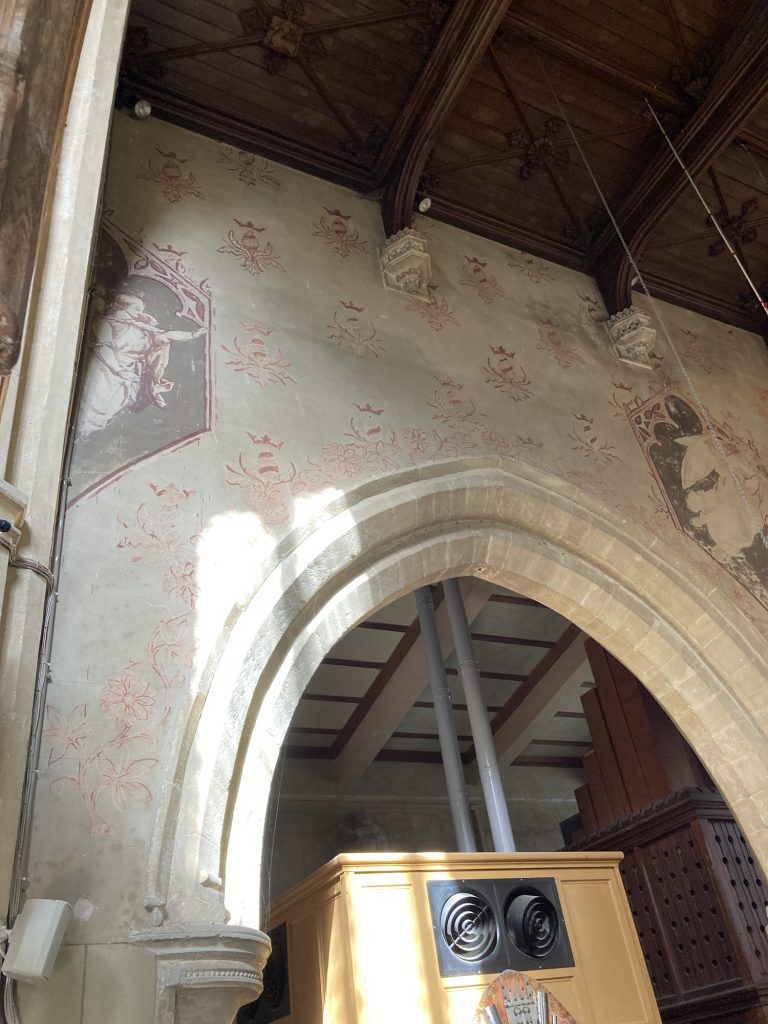
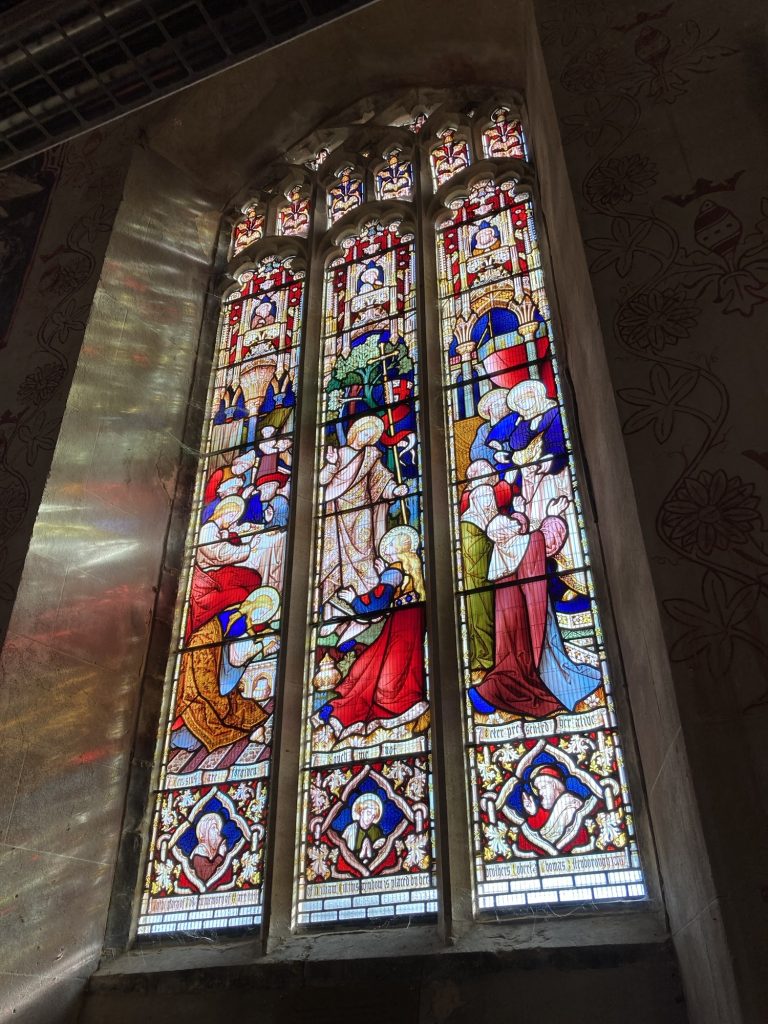
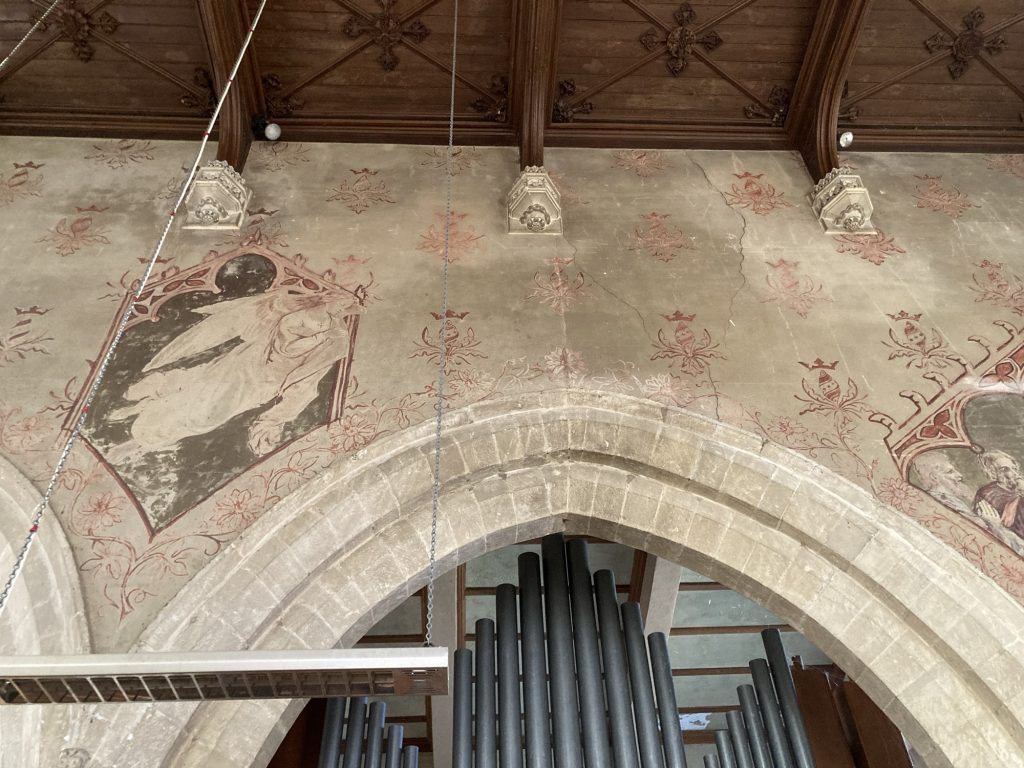
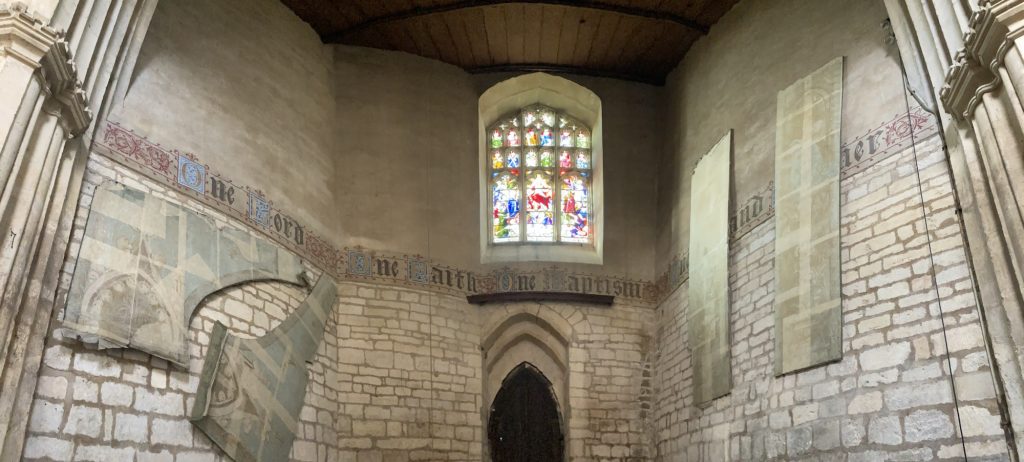
There are wall paintings. But they don’t look like old medieval ones. They look more Victorian. Some reasonably nice stained glass. They looked nice today, with the sunlight beaming through.

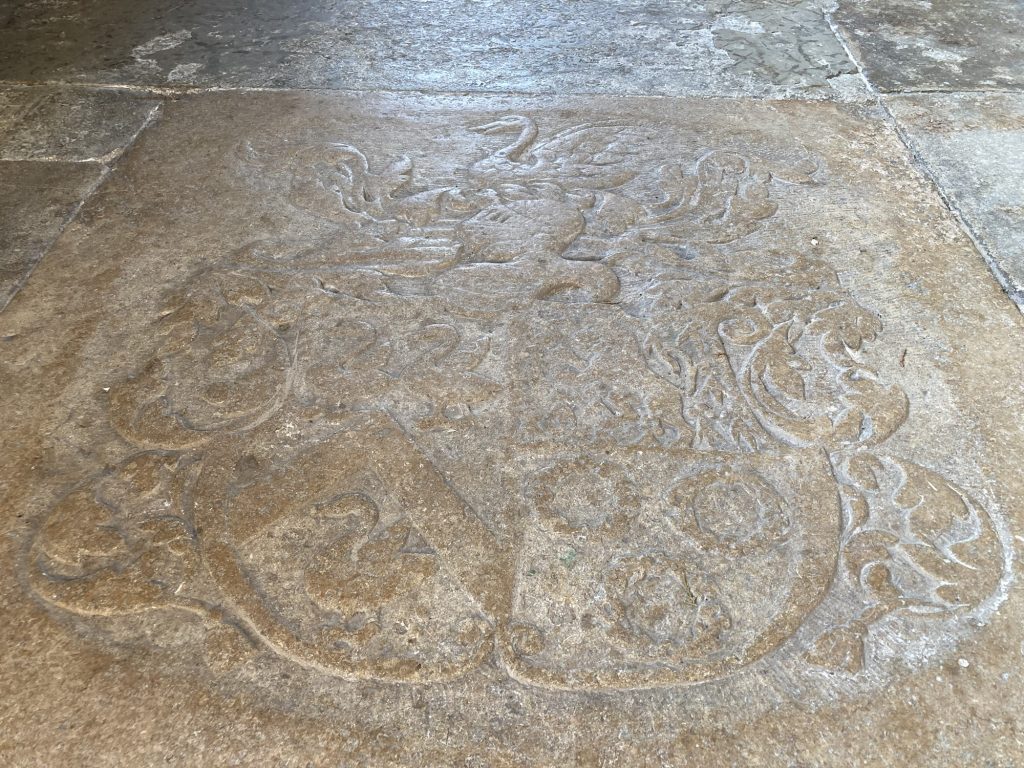
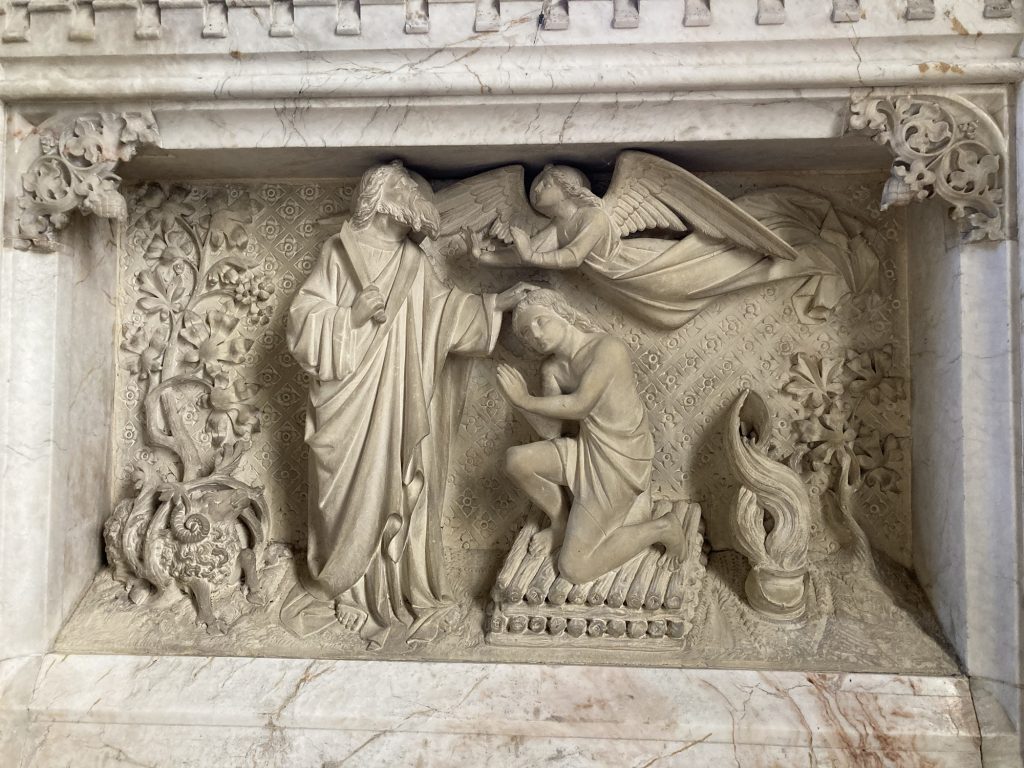
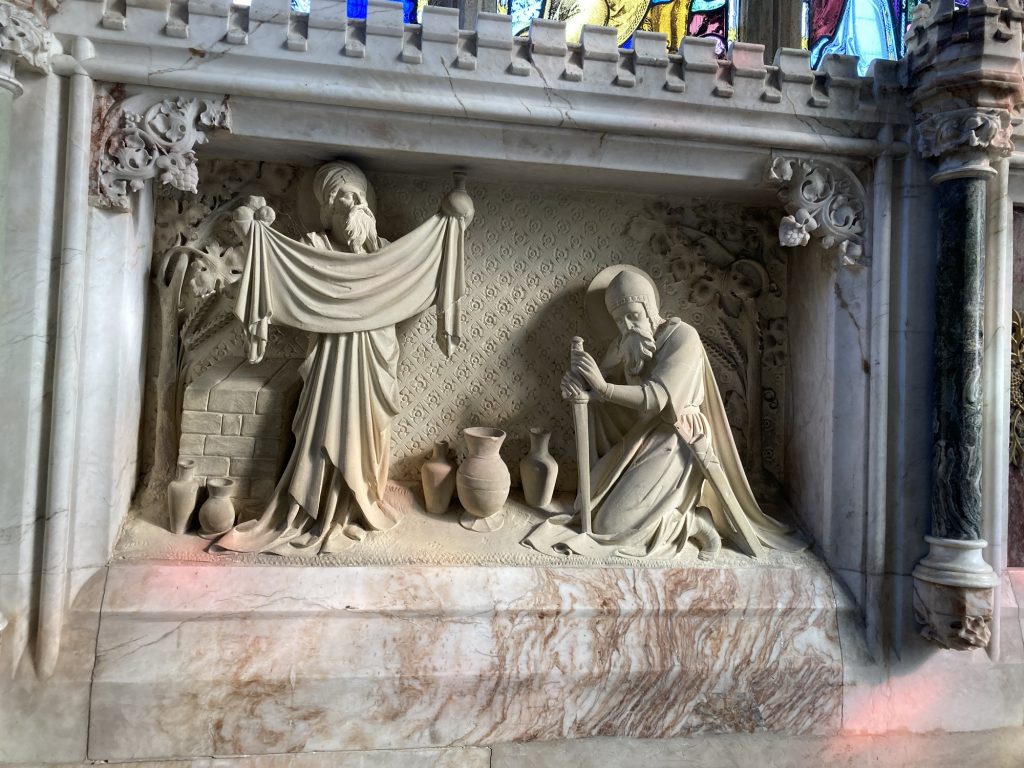
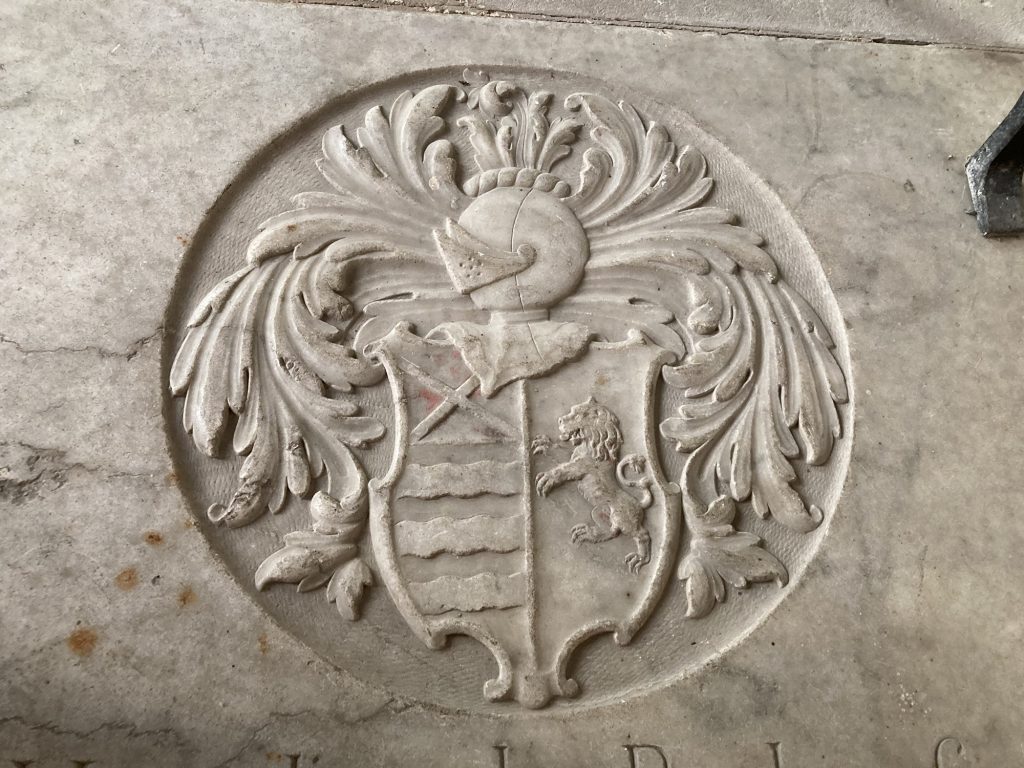
Above the altar are these two quite fancy carvings. And on the ground nearby, this terrific coat of arms.

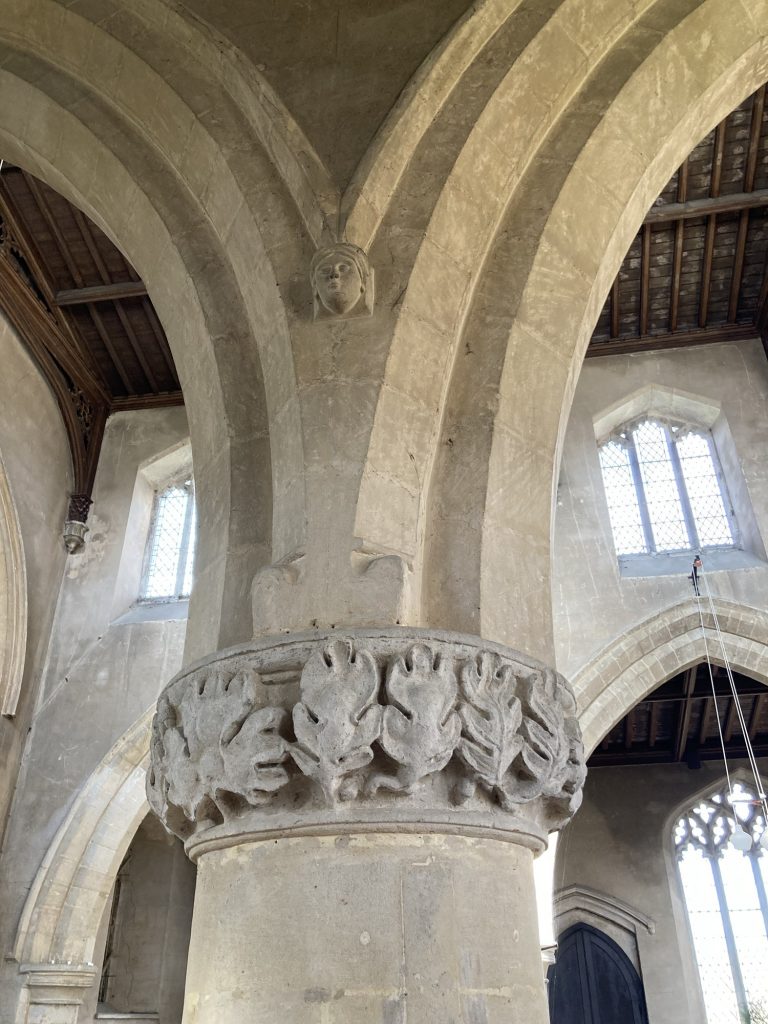
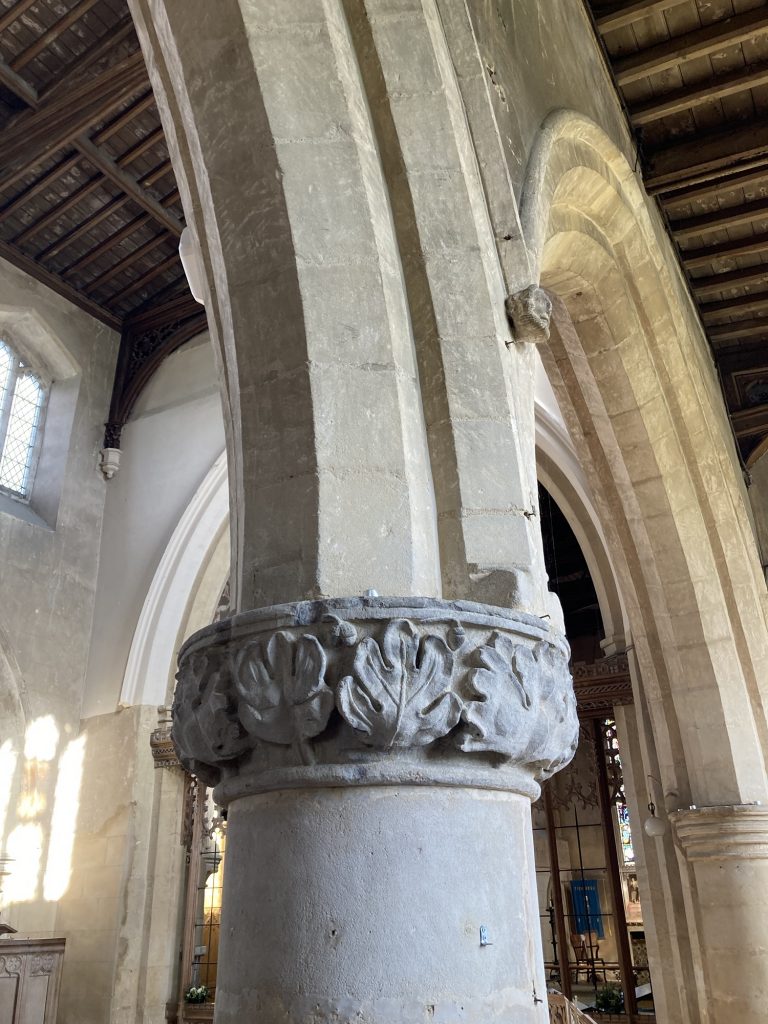
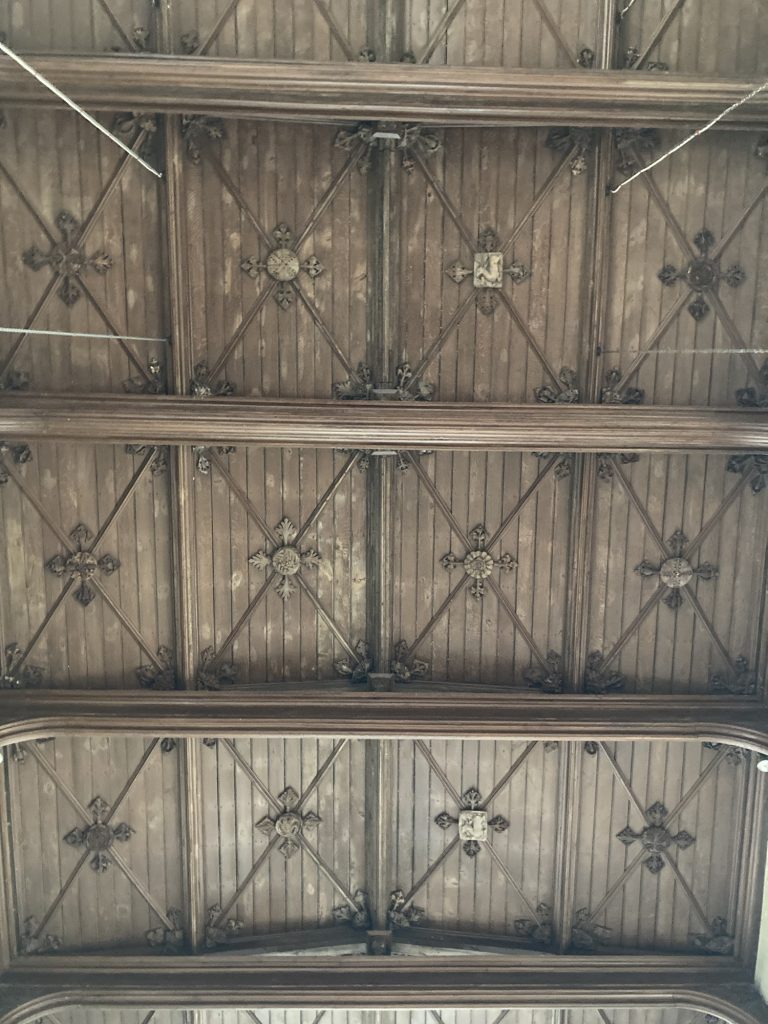
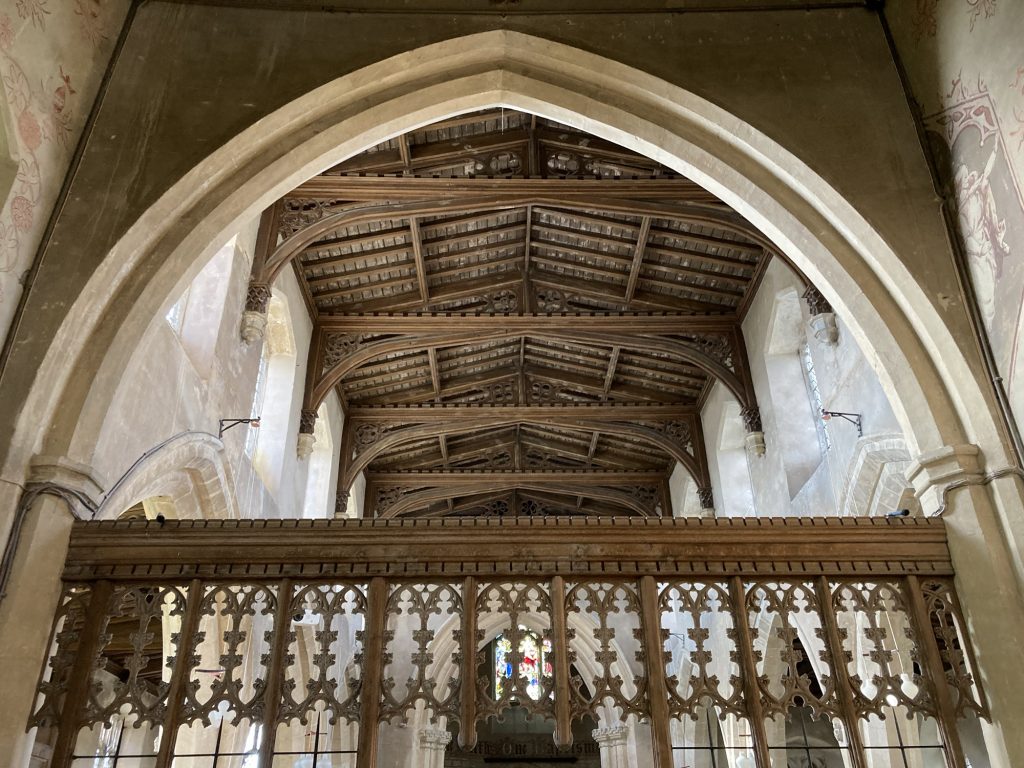
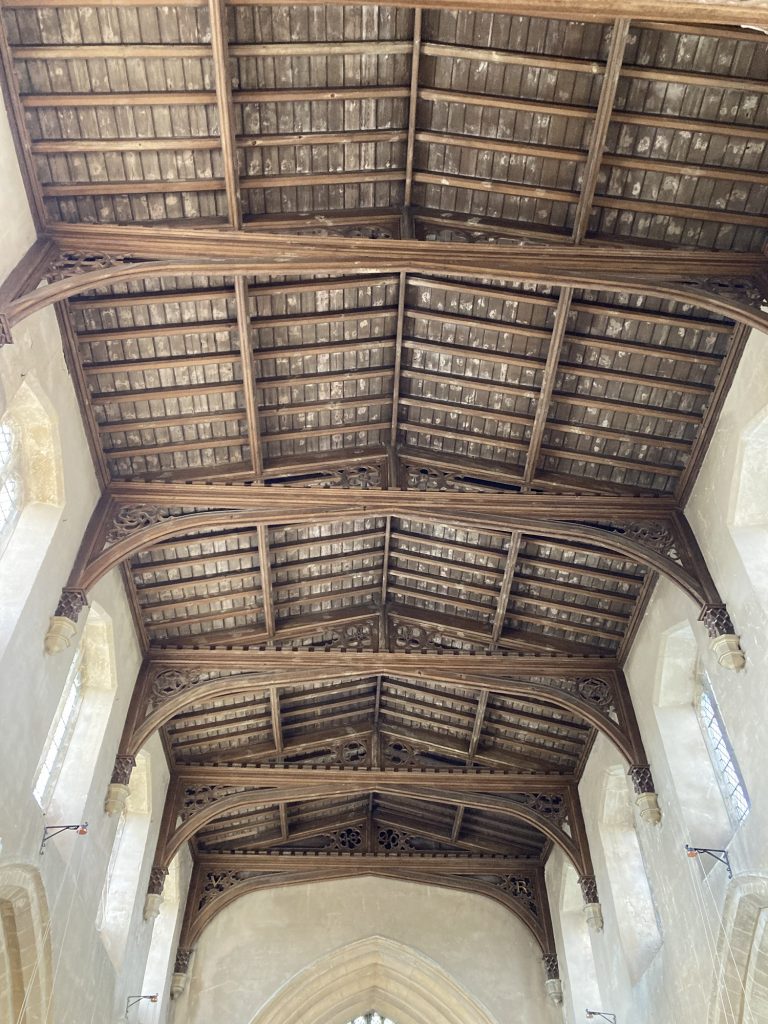
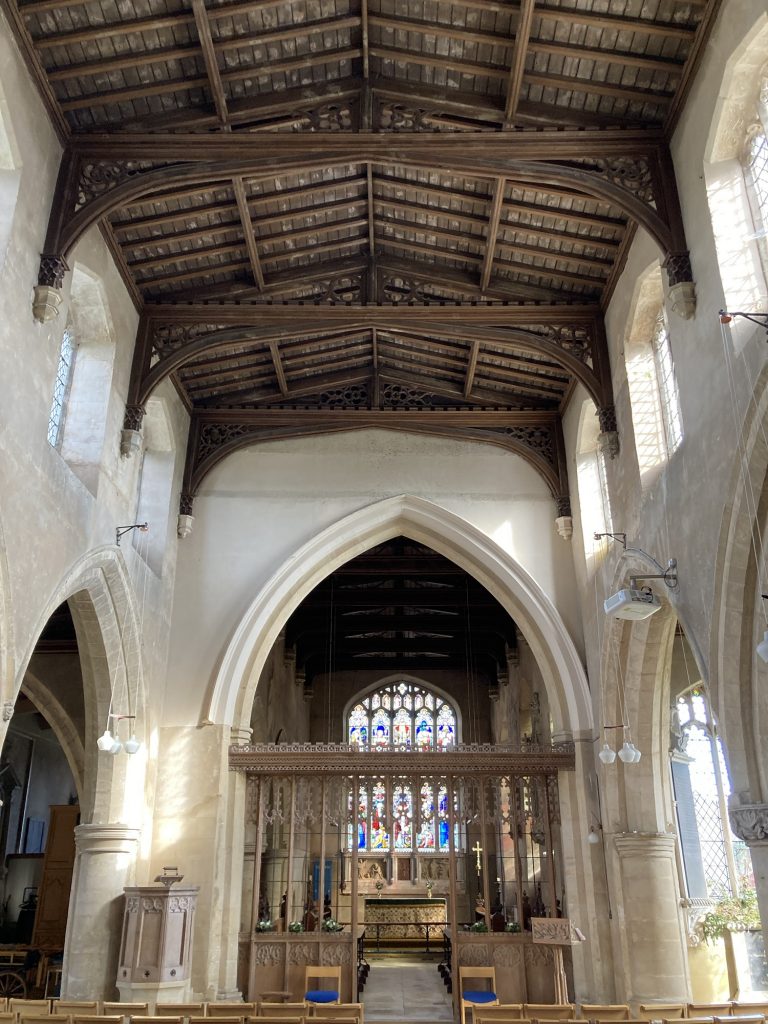
The roofs are all rather lovely.

And so, over and out…

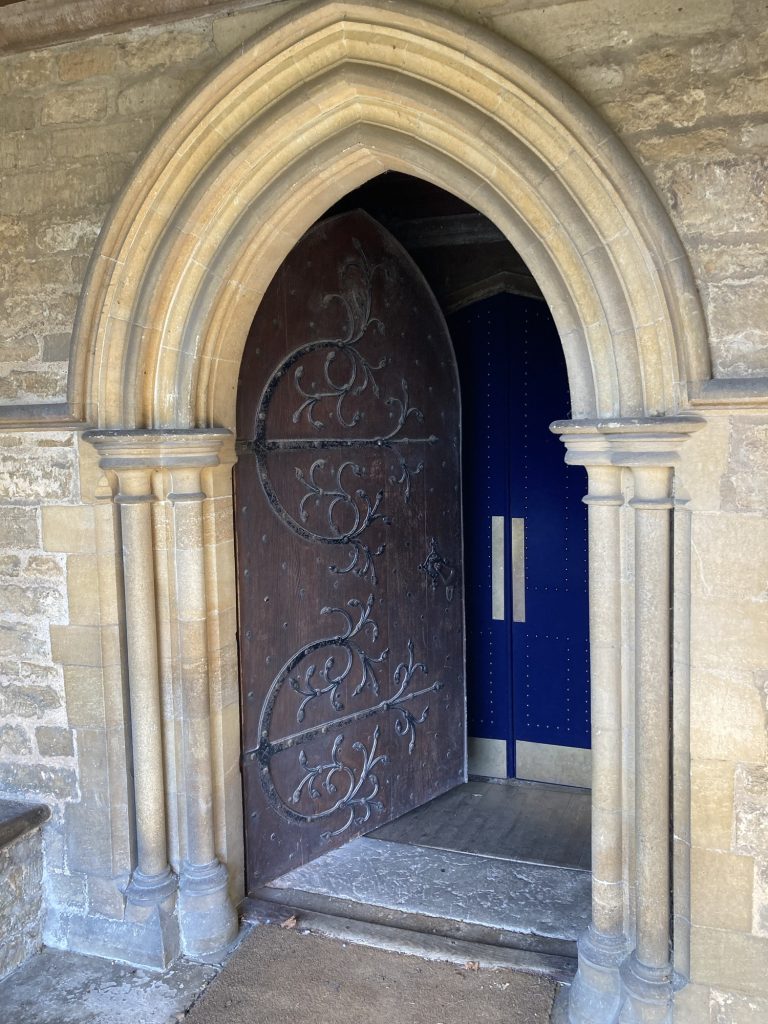
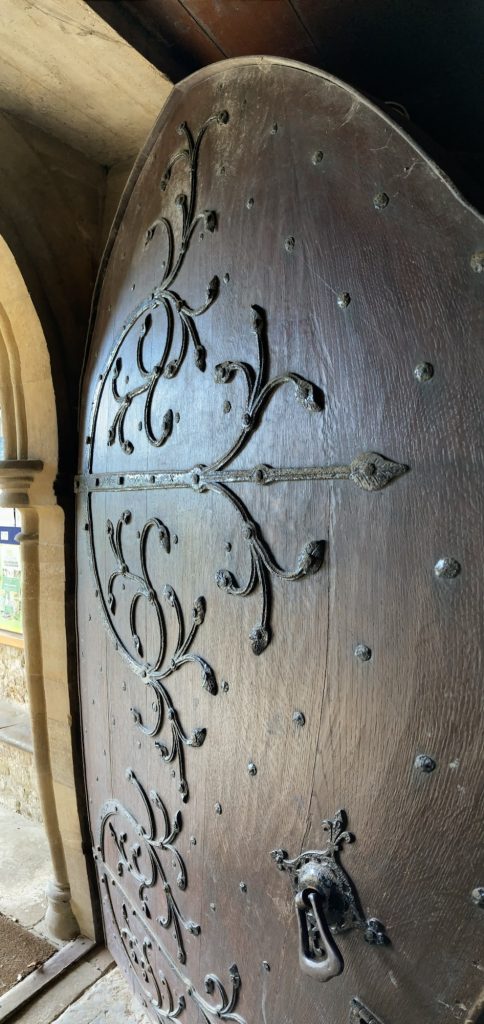
The fab’ door, on the way out.

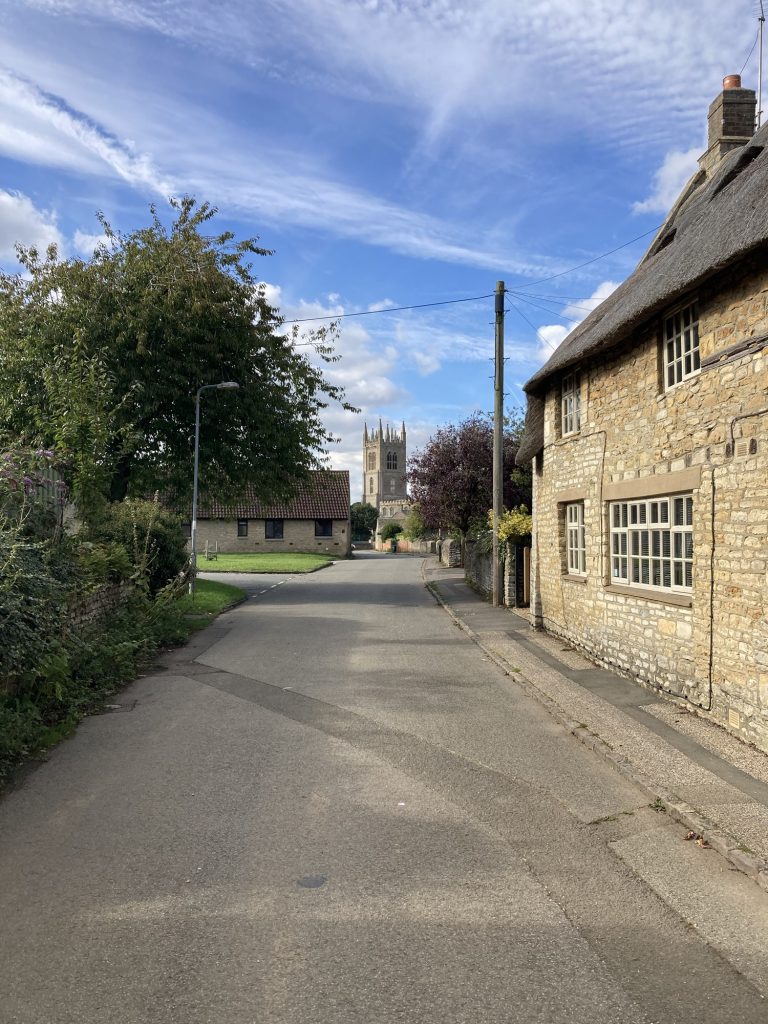
Titchmarsh is a very pretty little village.

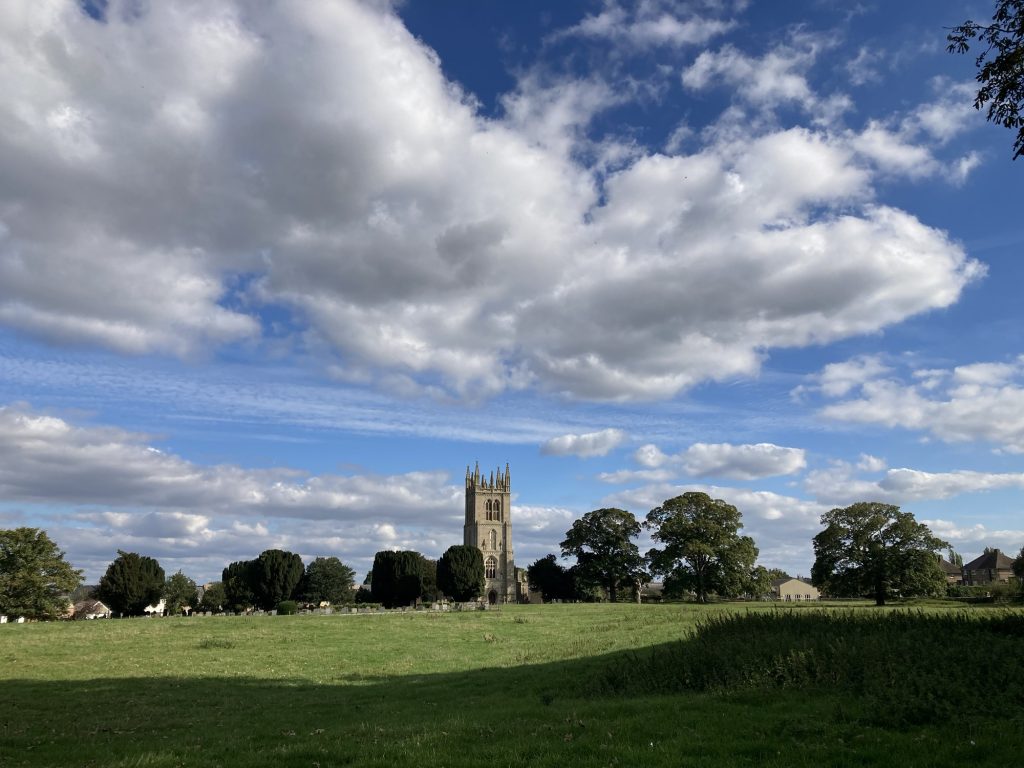
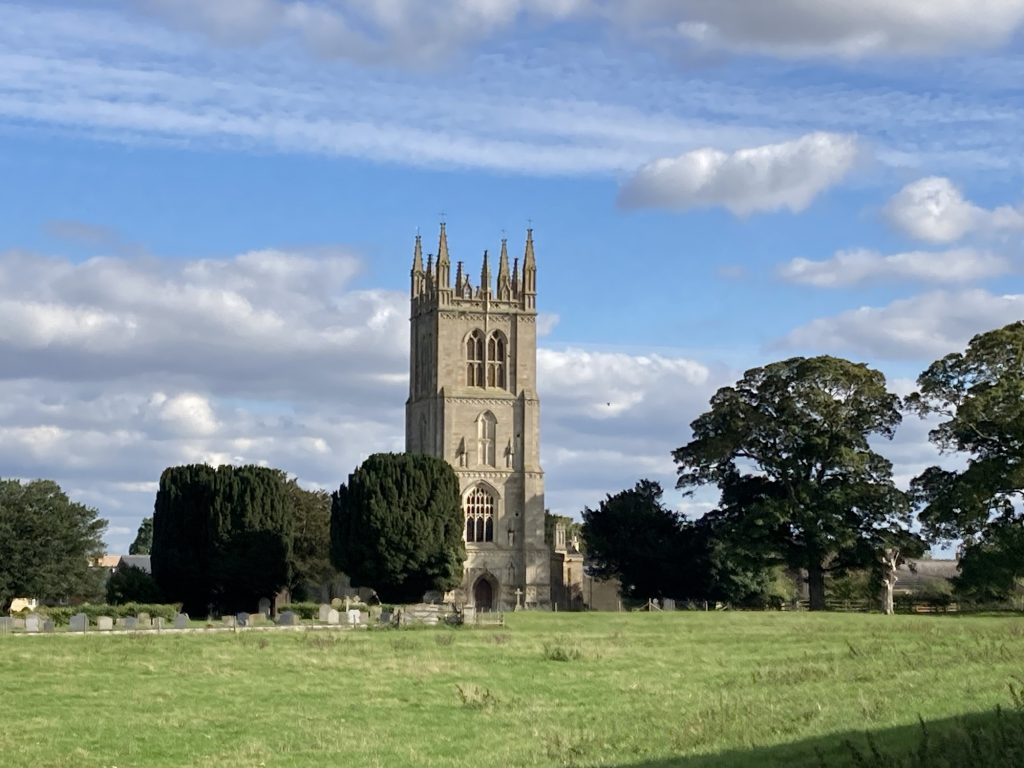
The church, viewed from afar.

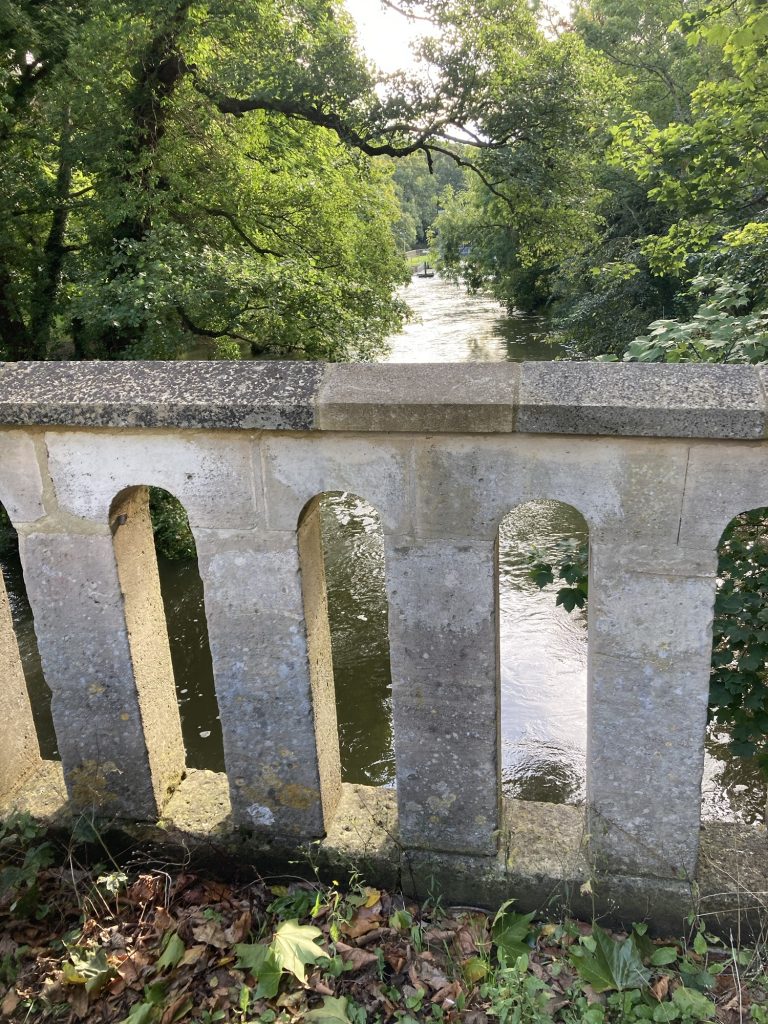
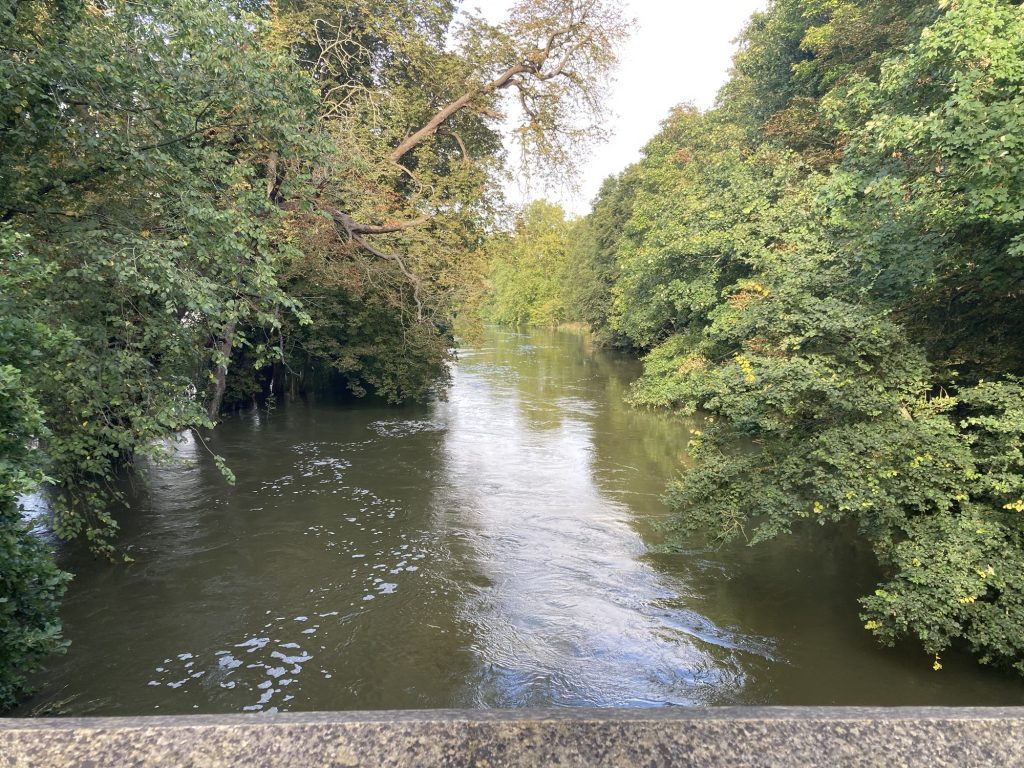
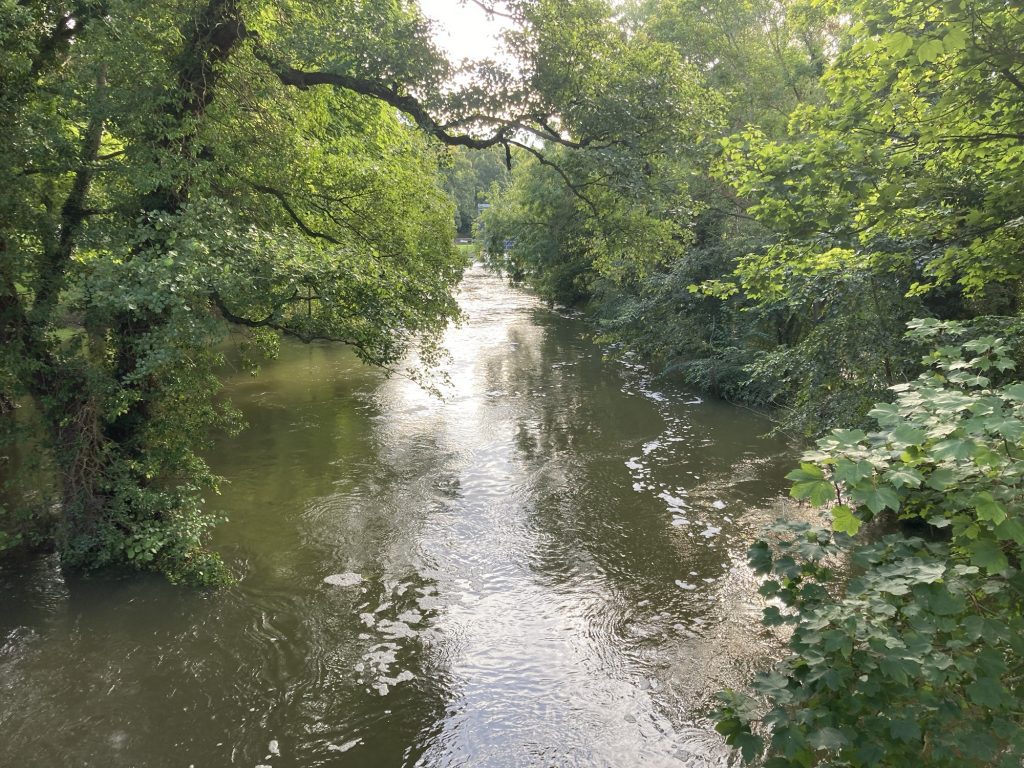
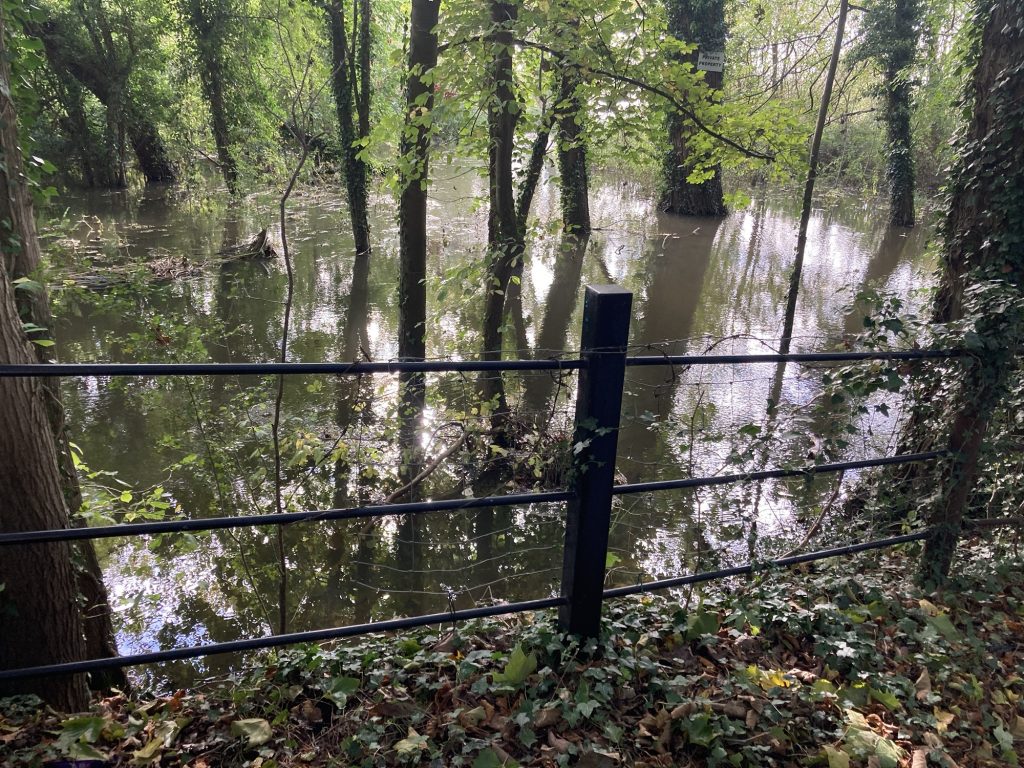
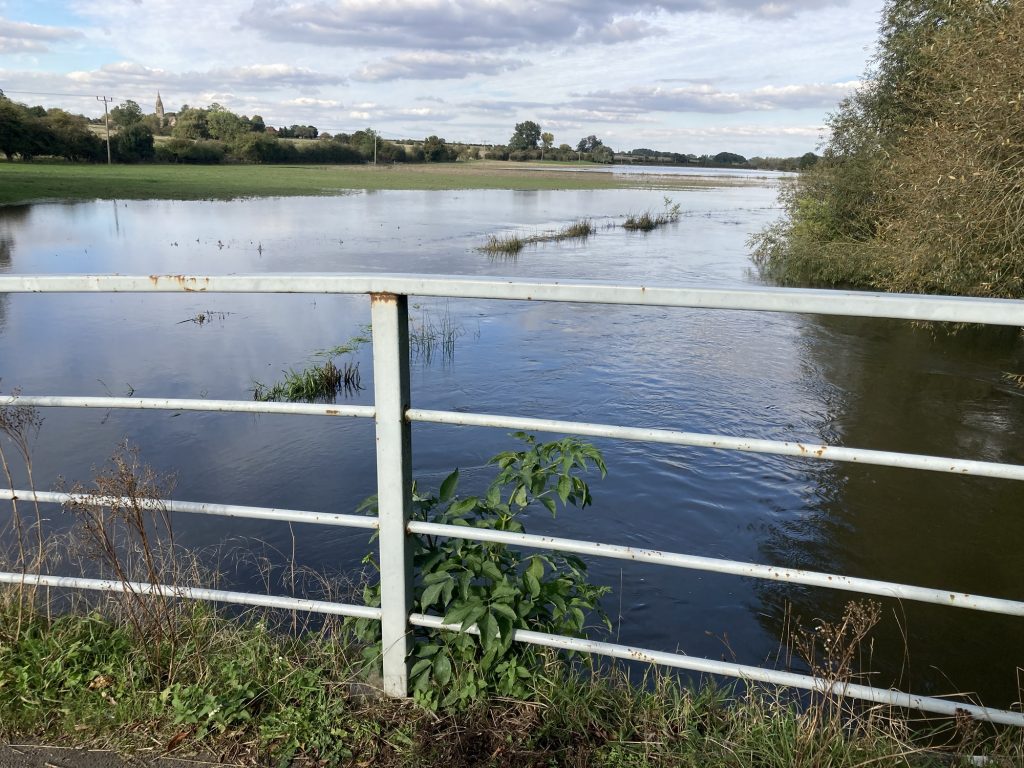
After the church, driving out of the village. The recent rains have left the rivers overflowing into the neighbouring woods and fields.

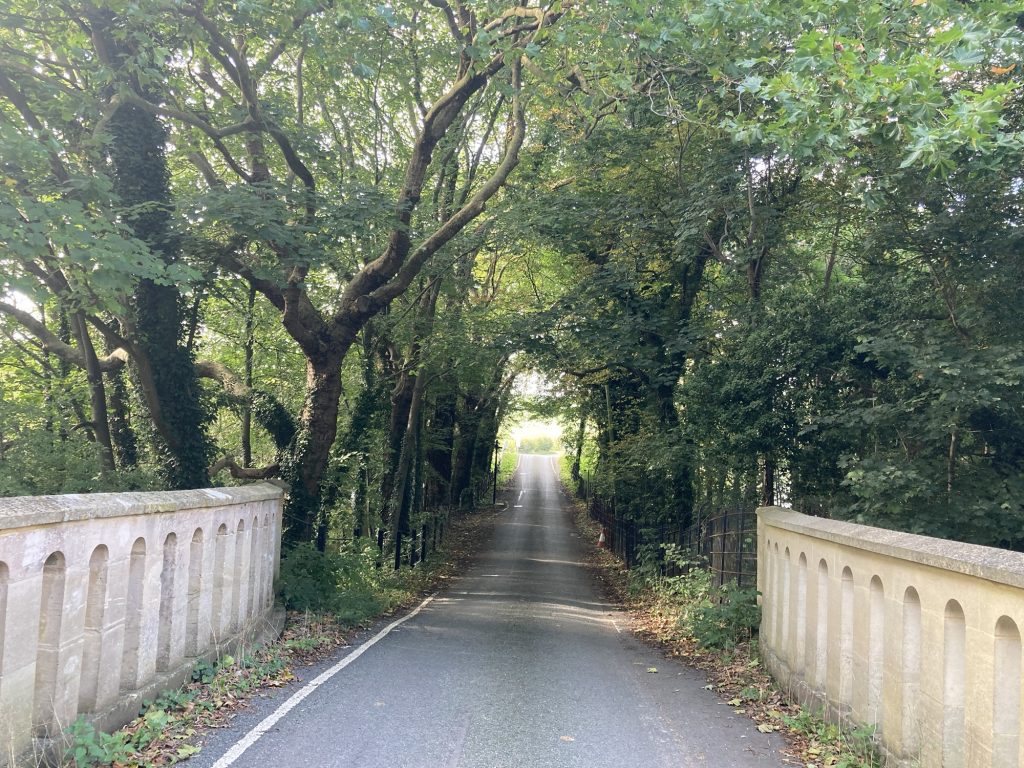
Stopped on the bridge…

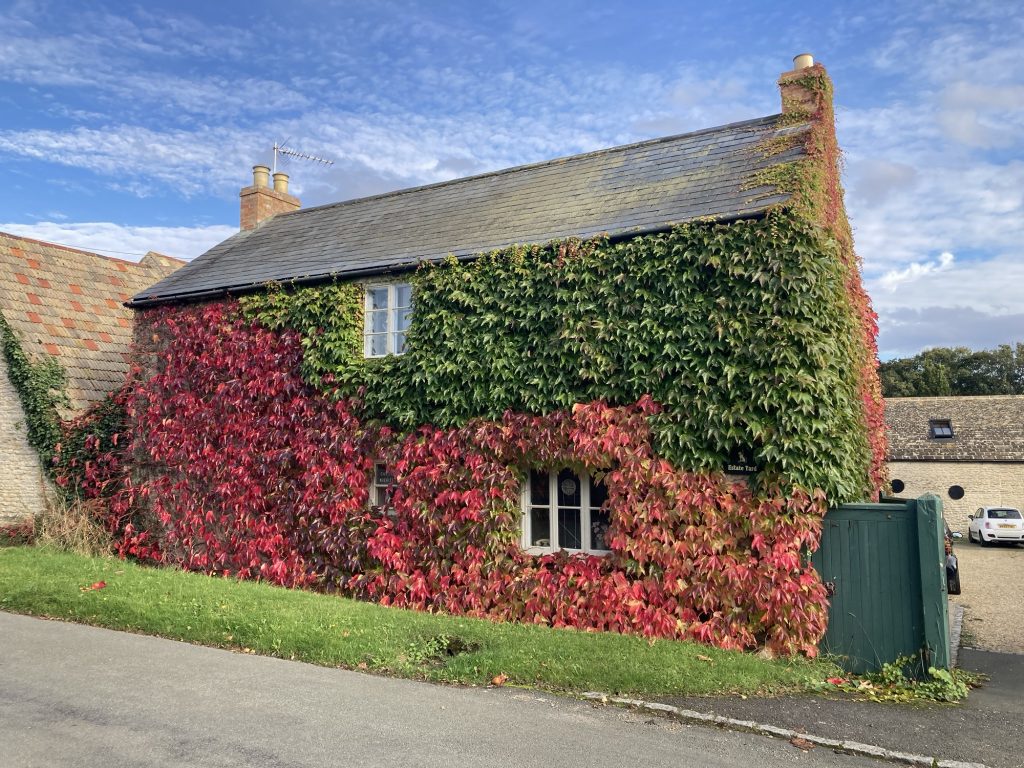
Another spectacularly beautiful village, Wadenhoe, has this pretty ivy covered domicile, in addition to large amounts of other gorgeous dwellings.

Beautiful!
So pretty.

A nice sunny day, travelling through some really lovely places.